CentOS7安装confluenceWIKI并破解汉化
wget https://www.atlassian.com/software/confluence/downloads/binary/atlassian-confluence-5.6.6-x64.bin

    * confluence5.6.6

    * Confluence-5.6.6-language-pack-zh_CN

    * mysql-connector

    * confluence_keygen
yum install -y java

java -version
[root@zabbix-server ~]# yum install -y mariadb-server
[root@zabbix-server bin]# systemctl enable mariadb.service

Created symlink from /etc/systemd/system/multi-user.target.wants/mariadb.service to /usr/lib/systemd/system/mariadb.service.

[root@zabbix-server bin]# systemctl start mariadb.service

[root@zabbix-server bin]#
[root@zabbix-server ~]# find / -type f -name "mysql_secure_installation"
/usr/bin/mysql_secure_installation #mariadb数据库自带的初始化脚本
[root@zabbix-server ~]#
[root@zabbix-server bin]# mysql_secure_installation
NOTE: RUNNING ALL PARTS OF THIS SCRIPT IS RECOMMENDED FOR ALL MariaDB
SERVERS IN PRODUCTION USE! PLEASE READ EACH STEP CAREFULLY!
In order to log into MariaDB to secure it, we'll need the current
password for the root user. If you've just installed MariaDB, and
you haven't set the root password yet, the password will be blank,
so you should just press enter here.
Enter current password for root (enter for none):
OK, successfully used password, moving on...
Setting the root password ensures that nobody can log into the MariaDB
root user without the proper authorisation.
Set root password? [Y/n] y
New password: #
Re-enter new password: #
Password updated successfully!
Reloading privilege tables..
... Success!
By default, a MariaDB installation has an anonymous user, allowing anyone
to log into MariaDB without having to have a user account created for
them. This is intended only for testing, and to make the installation
go a bit smoother. You should remove them before moving into a
production environment.
Remove anonymous users? [Y/n] y
... Success!
Normally, root should only be allowed to connect from 'localhost'. This
ensures that someone cannot guess at the root password from the network.
Disallow root login remotely? [Y/n] y
... Success!
By default, MariaDB comes with a database named 'test' that anyone can
access. This is also intended only for testing, and should be removed
before moving into a production environment.
Remove test database and access to it? [Y/n] y
- Dropping test database...
... Success!
- Removing privileges on test database...
... Success!
Reloading the privilege tables will ensure that all changes made so far
will take effect immediately.
Reload privilege tables now? [Y/n] y
... Success!
Cleaning up...
All done! If you've completed all of the above steps, your MariaDB
installation should now be secure.
Thanks for using MariaDB!
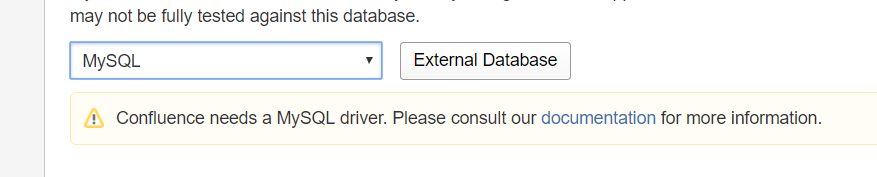
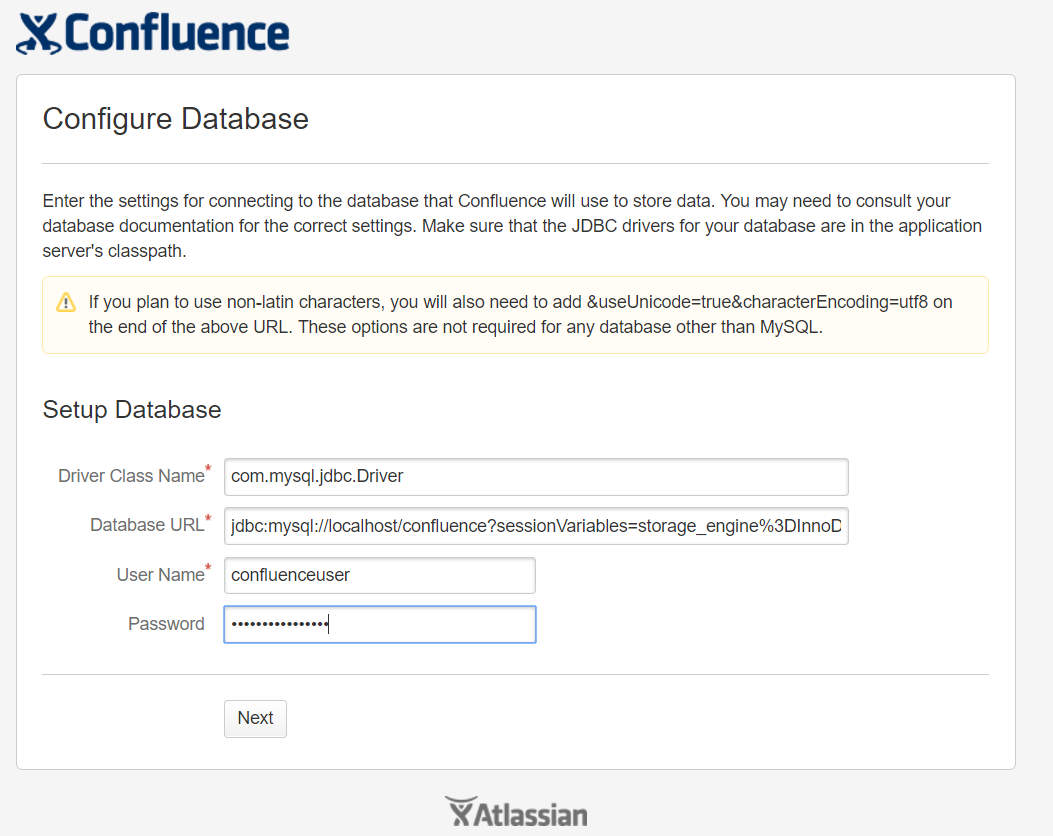
[root@zabbix-server bin] create database confluence default character set utf8;
grant all on confluence.* to 'confluenceuser'@'%' identified by 'confluencepasswd' with grant option;
grant all on confluence.* to 'confluenceuser'@localhost identified by 'confluencepasswd' with grant option;
flush privileges;
binlog_format=mixed
service mysqld stop

service mysqld start
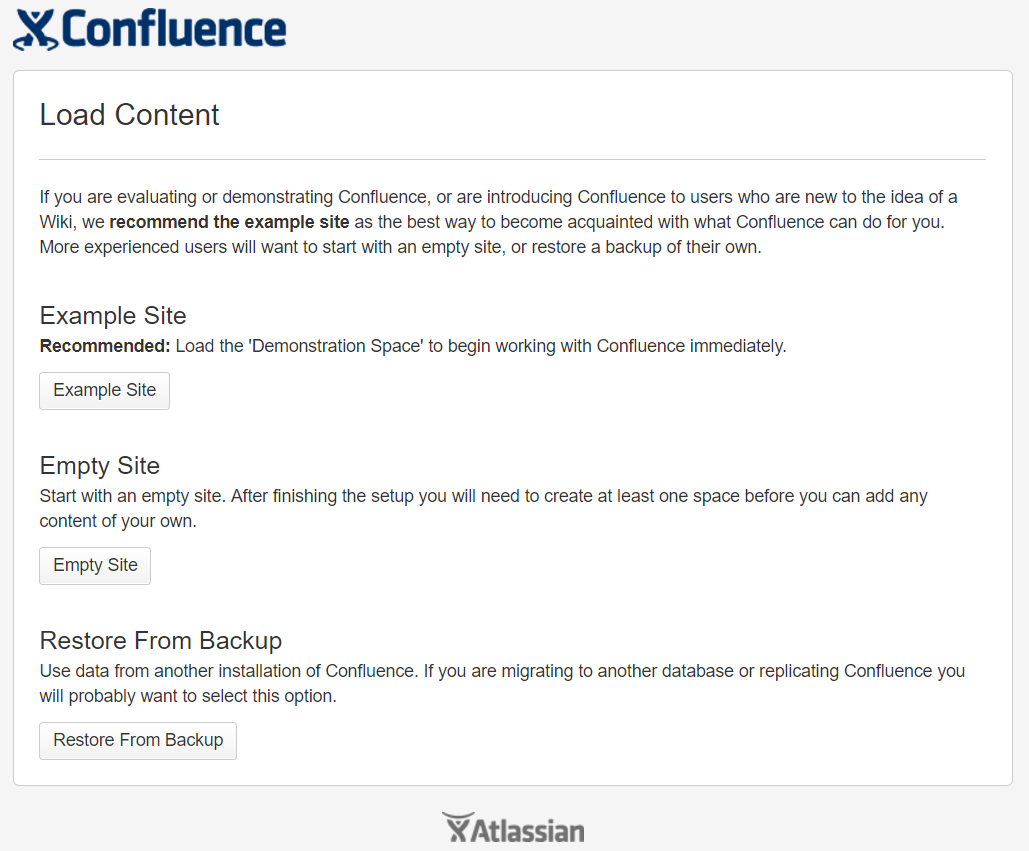
chmod 755 atlassian-confluence-5.6.6-x64.bin
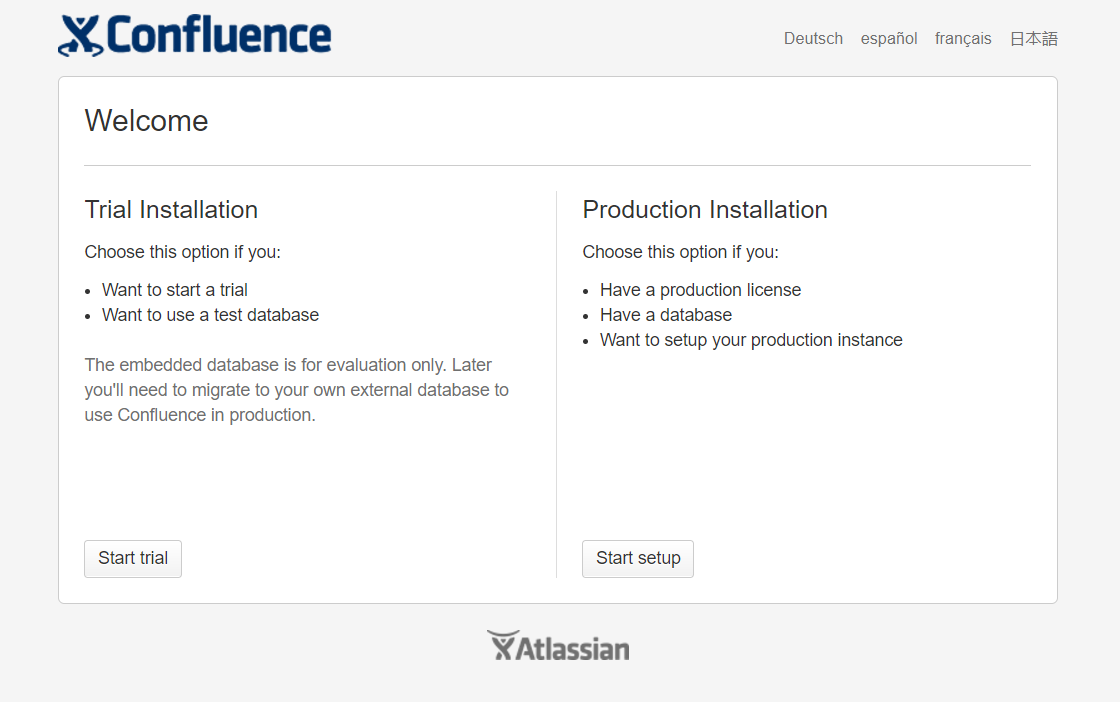
./atlassian-confluence-5.6.6-x64.bin
.png)
.png)

[root@linux-node1 tools]# /etc/init.d/confluence stop

executing using dedicated user

If you encounter issues starting up Confluence, please see the Installation guide at http://confluence.atlassian.com/display/DOC/Confluence+Installation+Guide

Server startup logs are located in /opt/atlassian/confluence/logs/catalina.out

Using CATALINA_BASE:   /opt/atlassian/confluence

Using CATALINA_HOME:   /opt/atlassian/confluence

Using CATALINA_TMPDIR: /opt/atlassian/confluence/temp

Using JRE_HOME:        /opt/atlassian/confluence/jre/

Using CLASSPATH:       /opt/atlassian/confluence/bin/bootstrap.jar:/opt/atlassian/confluence/bin/tomcat-juli.jar

Using CATALINA_PID:    /opt/atlassian/confluence/work/catalina.pid

Tomcat stopped.

[root@linux-node1 tools]#
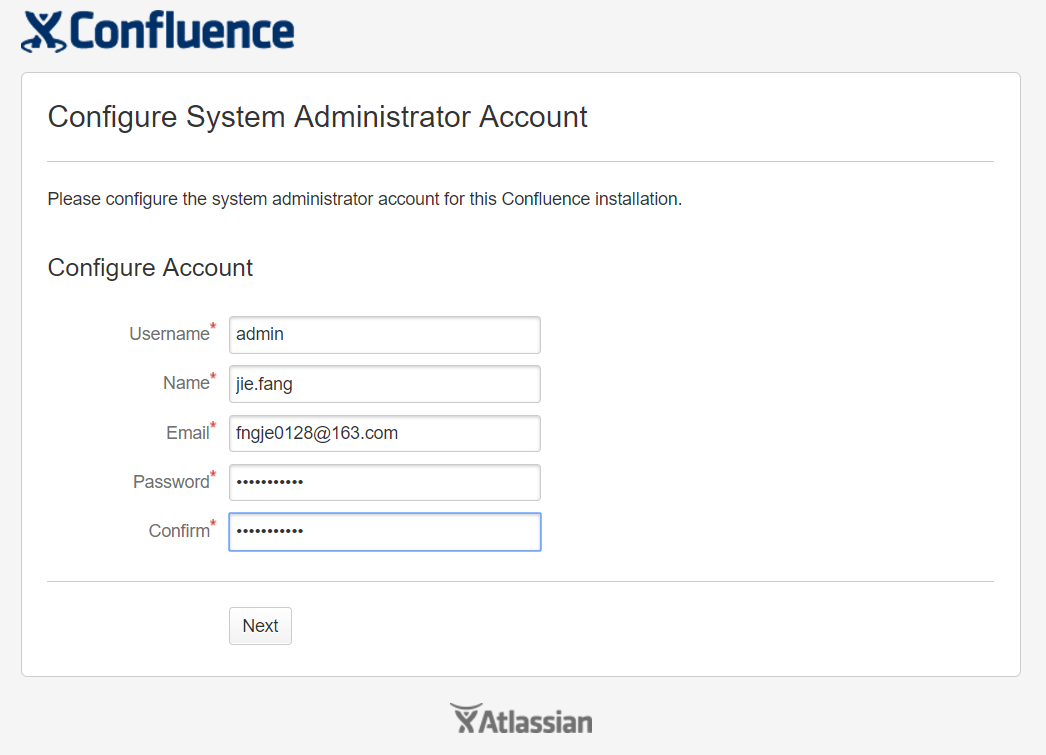
java -jar confluence_keygen.jar
.png)
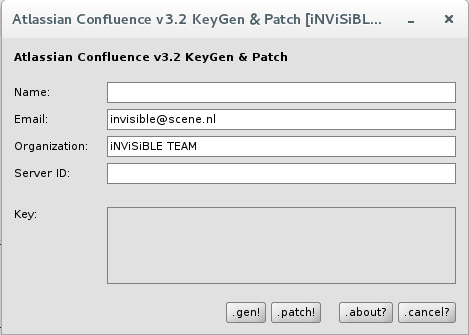

.png)
[root@linux-node1 lib]# /etc/init.d/confluence start

To run Confluence in the foreground, start the server with start-confluence.sh -fg

executing using dedicated user: confluence

If you encounter issues starting up Confluence, please see the Installation guide at http://confluence.atlassian.com/display/DOC/Confluence+Installation+Guide

Server startup logs are located in /opt/atlassian/confluence/logs/catalina.out

Using CATALINA_BASE:   /opt/atlassian/confluence

Using CATALINA_HOME:   /opt/atlassian/confluence

Using CATALINA_TMPDIR: /opt/atlassian/confluence/temp

Using JRE_HOME:        /opt/atlassian/confluence/jre/

Using CLASSPATH:       /opt/atlassian/confluence/bin/bootstrap.jar:/opt/atlassian/confluence/bin/tomcat-juli.jar

Using CATALINA_PID:    /opt/atlassian/confluence/work/catalina.pid

Tomcat started.

[root@linux-node1 lib]#
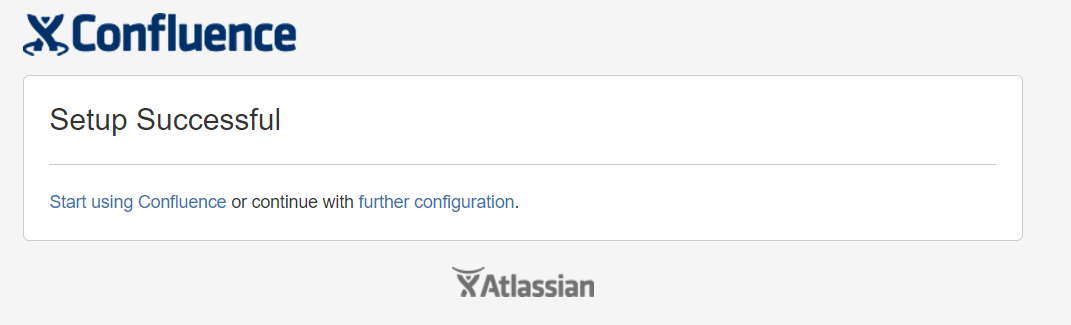
.png)
.png)
.png)
/etc/init.d/confluence stop

cd /opt/atlassian/confluence/

./uninstall
/etc/init.d/confluence stop

rm -rf /opt/atlassian/

rm -rf /var/atlassian/
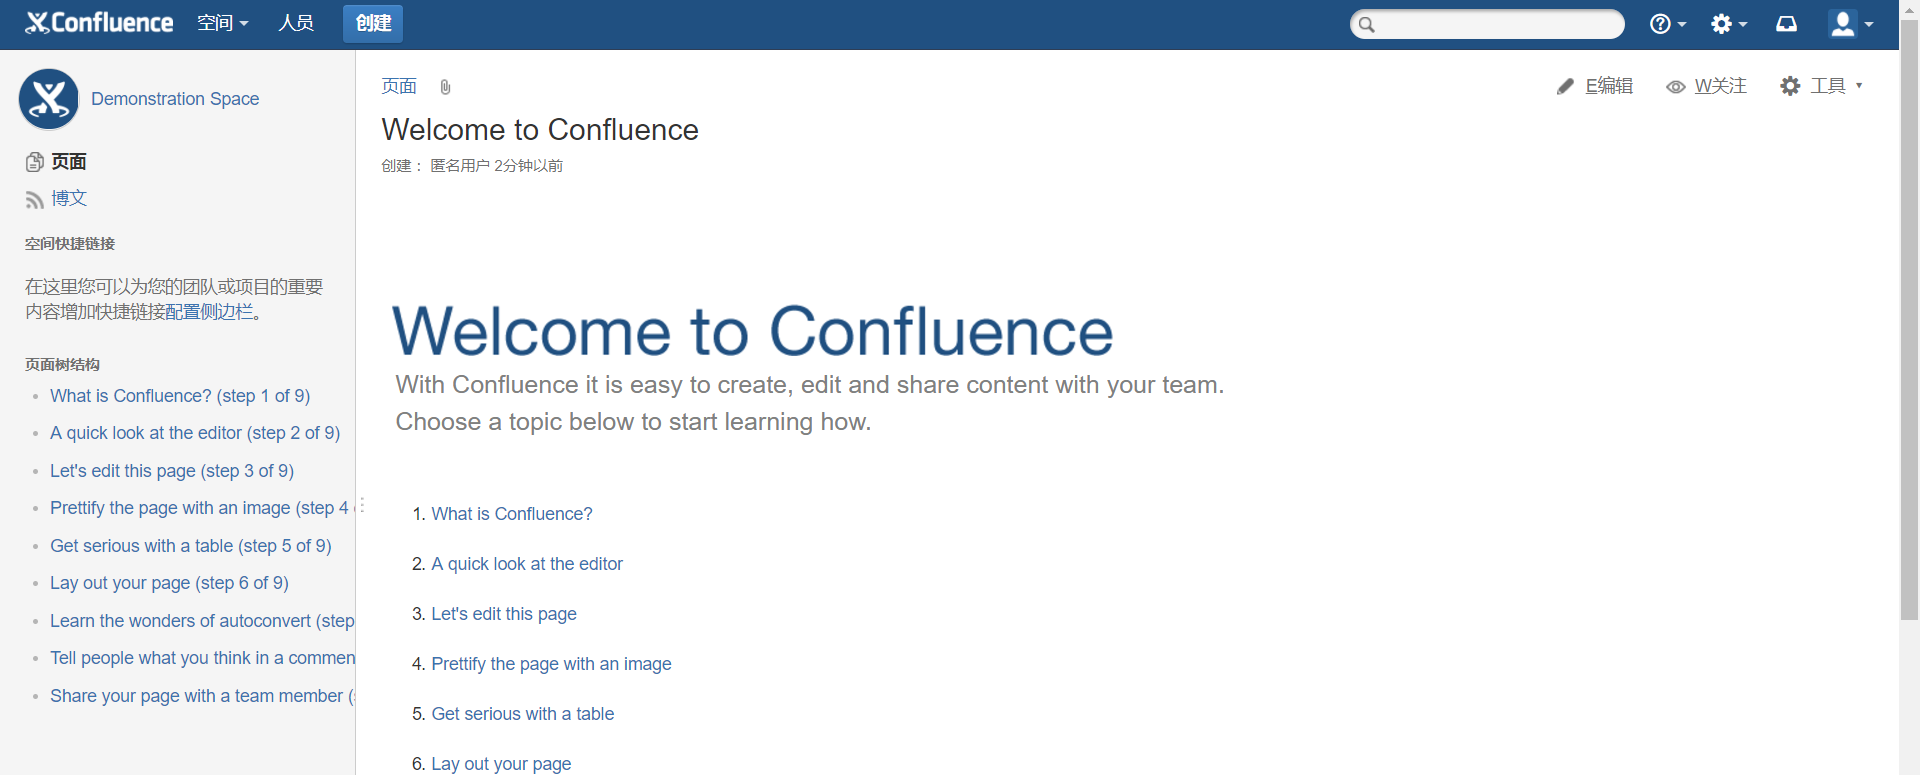
.png)
.png)
.png)

.png)
CentOS7安装confluenceWIKI并破解汉化的更多相关文章
- Windows下安装Confluence并破解汉化
注:本文来源于<Windows下安装Confluence并破解汉化> 一.事前准备 1:JDK下载并安装:jdk-6u45-windows-i586.exe 2:MySQL JDBC连接驱 ...
- Windows+Atlassian-Jira-6.0.4+MySql5.0安装破解汉化
Windows+Atlassian-Jira-6.0.4+MySql5.0安装破解汉化 一:整理的安装程序 例如以下图: 文件太大.上传不到csdn上.有须要的联系. 新增的百度云盘下载:链接: ...
- Jira 6.0.3安装破解汉化
前段时间和上海的朋友交流了下,他们公司使用JIRA管理项目.回来整理了下感觉很不错. http://www.unlimax.com/jira.html工作中总是有各种事务要去处理,而这些事务不仅仅是代 ...
- Confluence安装&破解&汉化
p.MsoNormal,li.MsoNormal,div.MsoNormal { margin: 0cm; margin-bottom: .0001pt; text-align: justify; f ...
- (整理)Sublime Text 3 安装、破解、安装Package Control、汉化、添加到右键菜单、代码格式化、禁止更新
Sublime Text 3好用,但是每次安装到最后用着顺手,得在网上找半天安装.破解.安装Package Control.汉化.添加到右键菜单.代码格式化等等的教程,今天有空给自己整理一下吧. 一. ...
- zend studio 13.6.1 安装+破解+汉化
zend studio 13.6.1 X64 安装+破解+汉化+补丁 一.下载相关文件 1.官网原版下载 : http://downloads.zend.com/studio-eclipse/13.6 ...
- zend studio 13.0.0 安装破解汉化
zend studio 13安装破解汉化步骤 官网原版下载 http://downloads.zend.com/studio-eclipse/13.0.0/ZendStudio-13.0.0-win3 ...
- IntelliJ IDEA 2016 完美破解+汉化补丁
百度网盘下载地址:链接:https://pan.baidu.com/s/1cB6XY-N02eRKgGs1kzvqKQ 密码:6pse IntelliJ IDEA 2016是一款JAVA语言发开发工具 ...
- Python环境搭建(win)——Pycharm(破解+汉化)
Pycharm搭建方法(破解+汉化): 本文以pycharm2019.2为例 写在前面:有能力的朋友,希望大家支持正版. IDE是集成开发环境 “Integrated Development Envi ...
随机推荐
- 第一章 : Android Studio 介绍 [Learn Android Studio 汉化教程]
摘自:http://ask.android-studio.org/?/question/789,为便于学习重新整理.. 本章将引导您完成安装和设置开发环境,然后你就可以跟随本书的例子和课程学习. 首先 ...
- selenium+python+pycharm环境搭建
1.安装python,配置path环境变量,验证python安装成功与否 2.安装Pycharm:Pycharm是Python的IDE,所以我们需要安装一下:下载安装Selenium 3.在官网(ht ...
- tornado 之 异步非阻塞
异步非阻塞 1.基本使用 装饰器 + Future 从而实现Tornado的异步非阻塞 import tornado.web import tornado.ioloop from tornado im ...
- Asp.Net 自定义 httpmodel 中间件 管道
https://msdn.microsoft.com/en-us/library/aa719858(v=vs.71).aspx http://www.cnblogs.com/jimmyzhang/ar ...
- eureka快速剔除失效服务
eureka服务端配置 #eureka server刷新readCacheMap的时间,注意,client读取的是readCacheMap,这个时间决定了多久会把readWriteCacheMap的缓 ...
- WOW研究资料收集
1,模拟服务器:trinity core, sunwell core等 参考:逍遥魔兽 2,大芒果:通用网游框架,带了WOW的模拟模块 参考资料: 大芒果论坛http://www.mangoscn.c ...
- django初体检课程
最简便的Python web开发框架. C:\Windows\System32>E: E:\>django-admin startproject mysite E:\>cd mysi ...
- Linux实战教学笔记47:JAVA企业级应用服务器之TOMCAT实战
第一章 Tomcat简介 Tomcat是Apache软件基金会(Apache Software Foundation)的Jakarta项目中的一个核心项目,由Apache,Sun和其他一些公司及个人共 ...
- C#登陆界面学习编写 2018.08.03
简单的登陆界面的编写,在编写如下界面时,设置错误次数上限需要用到静态变量 public static int count;//计算错误次数(为静态变量) 可以防止点击登陆后次数被清空,在登陆后打开新的 ...
- CSS隐藏元素 display visibility opacity的区别
{ display: none; /* 不占据空间,无法点击 */ } { visibility: hidden; /* 占据空间,无法点击 */ } { position: absolute; ...