IntelliJ IDEA+springboot+jdbctemplet+easyui+maven+oracle搭建简易开发框架(一)
前言:
这两天为了巩固easyui的各个控件用法,搭建了一个简易的框架用于开发,大家可以用来参考,如果发现文章中有哪些不正确不合理的地方,也请各位不吝赐教,感激不尽。文章最下面有源码,可以用于参考。整个框架共分三层controller service serviceImpl,并且包括easyui的整合。
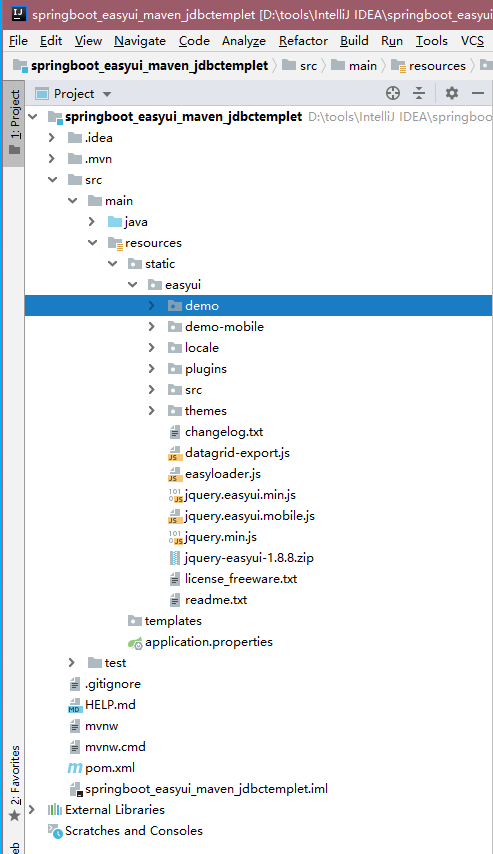
框架的目录:
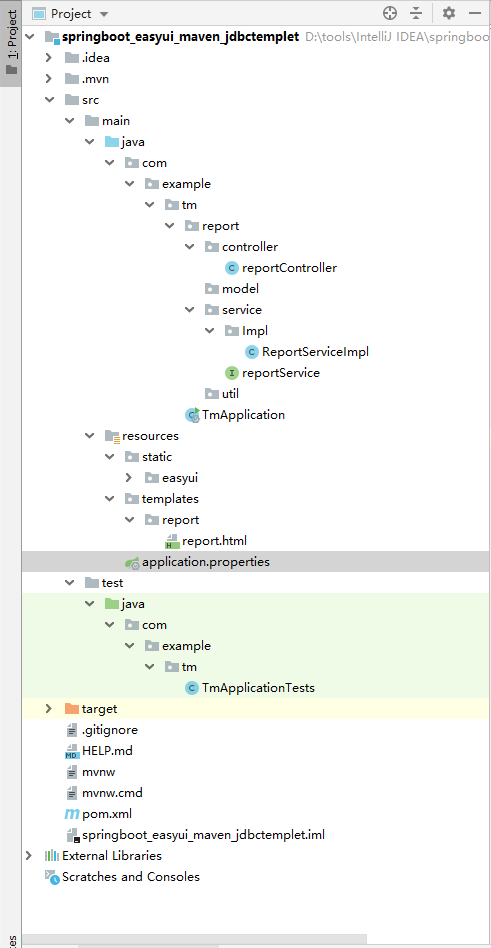
一:创建项目
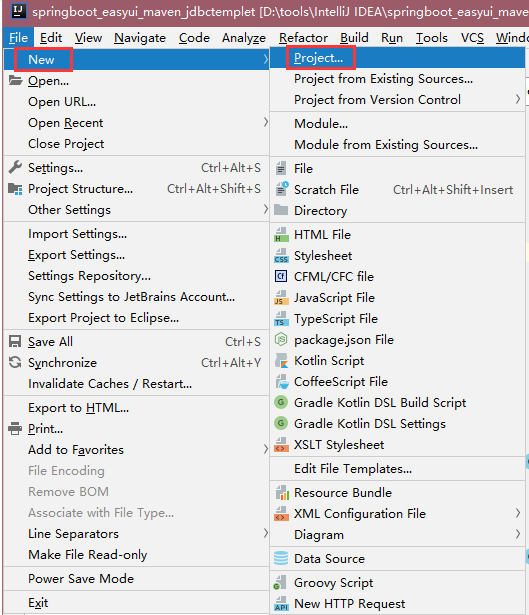
打开IntelliJ IDEA软件,点击File-New-Project创建项目
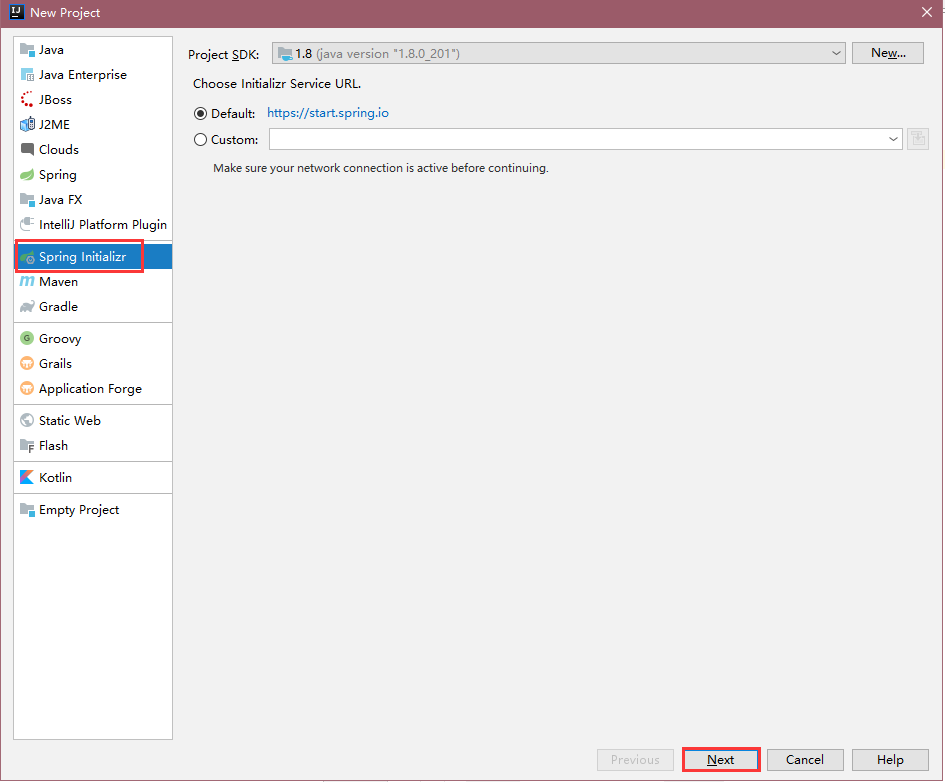
选中Spring Initializr 点击next
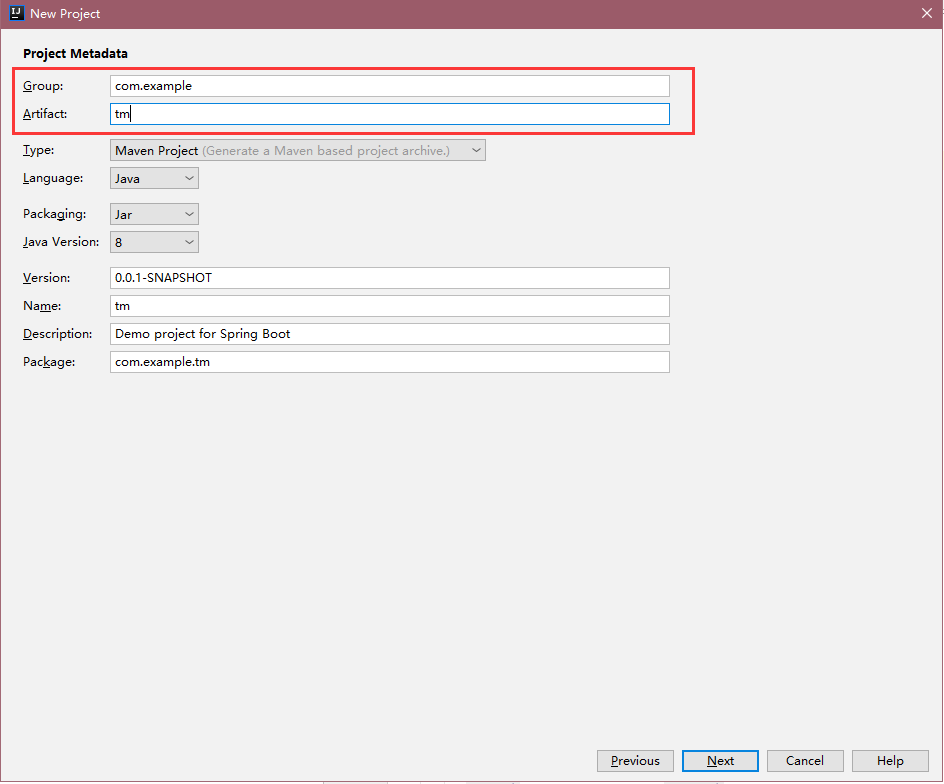
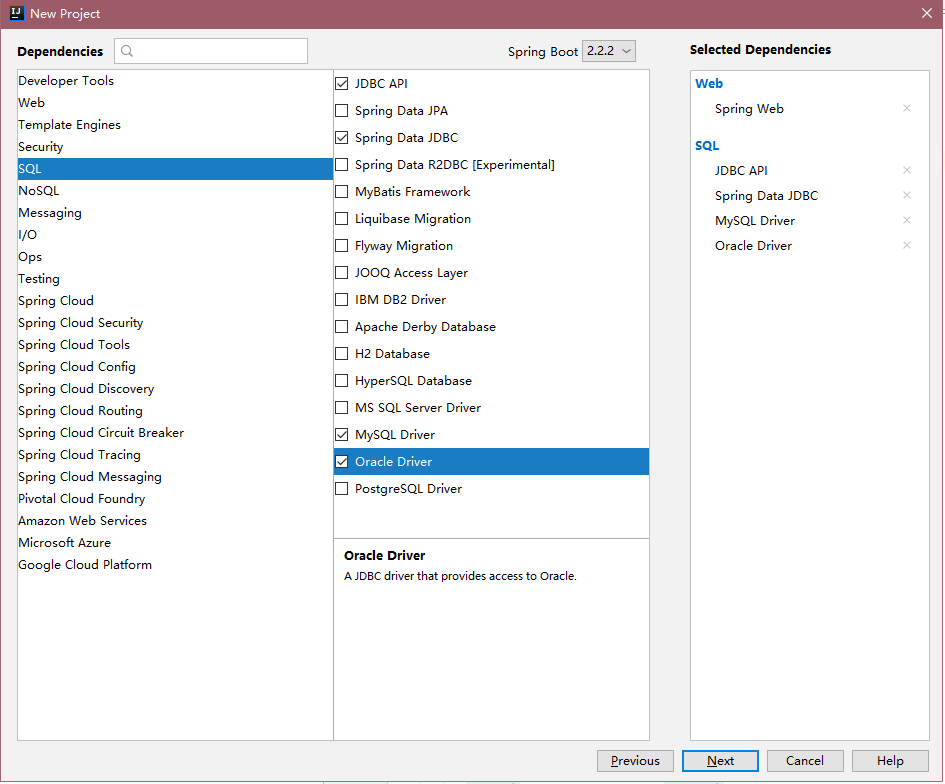
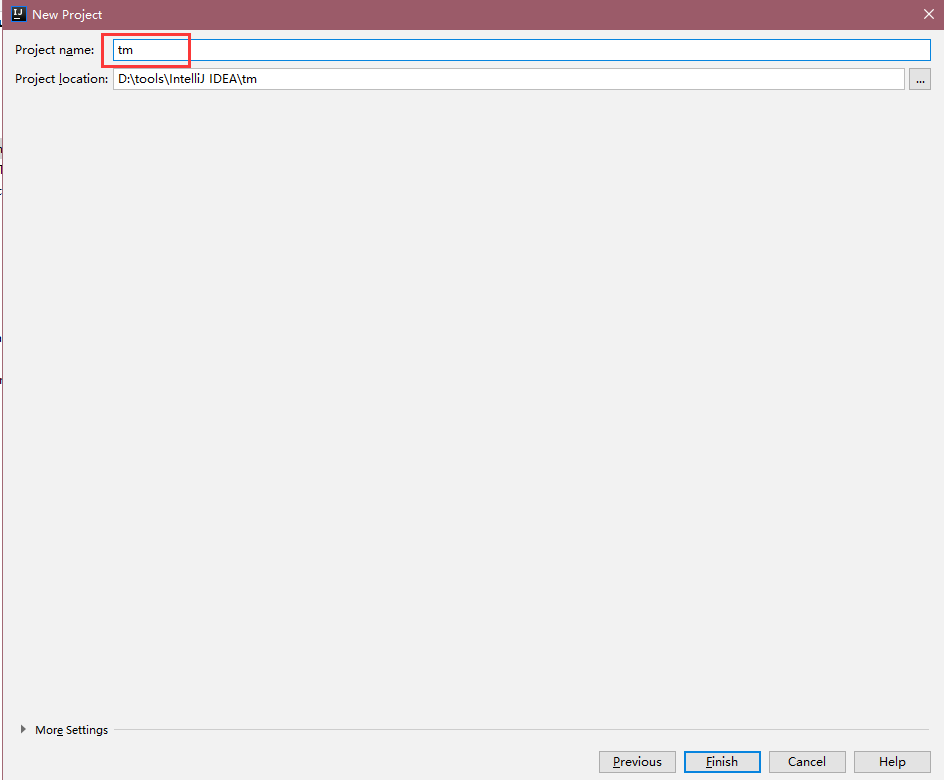
填写项目名 点击finish 注意:刚刚创建好的项目可能会自动引包,这里可以暂时暂停,因为我们后面是要修改pom.xml文件的内容的。
创建之后的项目路径如下:

二:修改配置,部分代码
点击File-setting 搜索maven
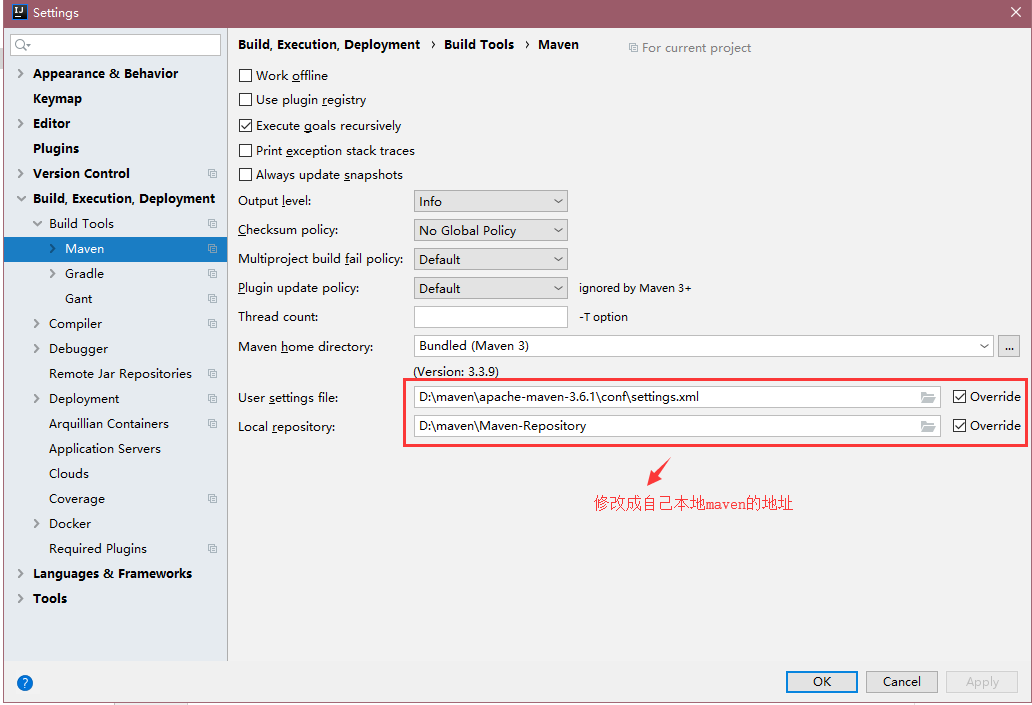
修改成功之后,修改下三个文件的内容,之后重新引包 三个文件分别是pom.xml (这个文件名称是跟你创建项目时候的名称对应生成的)Application.properties
<?xml version="1.0" encoding="UTF-8"?>
<project xmlns="http://maven.apache.org/POM/4.0.0" xmlns:xsi="http://www.w3.org/2001/XMLSchema-instance"
xsi:schemaLocation="http://maven.apache.org/POM/4.0.0 https://maven.apache.org/xsd/maven-4.0.0.xsd">
<modelVersion>4.0.0</modelVersion>
<parent>
<groupId>org.springframework.boot</groupId>
<artifactId>spring-boot-starter-parent</artifactId>
<version>1.5.14.RELEASE</version>
<relativePath/> <!-- lookup parent from repository --> </parent>
<groupId>com.example</groupId>
<artifactId>demo</artifactId>
<version>0.0.1-SNAPSHOT</version>
<name>demo</name>
<packaging>war</packaging>
<description>Demo project for Spring Boot</description> <properties>
<java.version>1.8</java.version>
</properties> <dependencies>
<dependency>
<groupId>org.springframework.boot</groupId>
<artifactId>spring-boot-starter-web</artifactId>
</dependency> <dependency>
<groupId>org.springframework.boot</groupId>
<artifactId>spring-boot-starter-tomcat</artifactId>
<!--<!–服务器–>-->
<!-- <scope>provided</scope>-->
<!--本地-->
<scope>compile</scope>
</dependency> <dependency>
<groupId>com.oracle</groupId>
<artifactId>ojdbc6</artifactId>
<version>11.2.0</version>
<!--<version>12.1.0</version>-->
</dependency> <dependency>
<groupId>org.springframework.boot</groupId>
<artifactId>spring-boot-starter</artifactId>
<version>1.5.14.RELEASE</version>
</dependency>
<dependency>
<groupId>org.springframework.boot</groupId>
<artifactId>spring-boot-starter-jdbc</artifactId>
</dependency> <dependency>
<groupId>org.springframework.boot</groupId>
<artifactId>spring-boot-starter-thymeleaf</artifactId>
</dependency> <dependency>
<groupId>org.springframework.boot</groupId>
<artifactId>spring-boot-starter-test</artifactId>
<scope>test</scope>
<exclusions>
<exclusion>
<groupId>org.junit.vintage</groupId>
<artifactId>junit-vintage-engine</artifactId>
</exclusion>
</exclusions>
</dependency>
</dependencies> <build>
<plugins>
<plugin>
<groupId>org.springframework.boot</groupId>
<artifactId>spring-boot-maven-plugin</artifactId>
</plugin>
<plugin>
<groupId>org.apache.maven.plugins</groupId>
<artifactId>maven-compiler-plugin</artifactId>
<configuration>
<source>1.7</source>
<target>1.7</target>
</configuration>
</plugin>
</plugins>
<resources>
<resource>
<directory>src/main/java</directory>
<includes>
<include>**/*.*</include>
</includes>
</resource>
<resource>
<directory>src/main/resources</directory>
<includes>
<include>**/*.*</include>
</includes>
</resource>
</resources>
</build>
</project>
pom.xml
启动类TmApplication
package com.example.tm;

import org.springframework.boot.SpringApplication;

import org.springframework.boot.autoconfigure.SpringBootApplication;

import org.springframework.boot.builder.SpringApplicationBuilder;

import org.springframework.boot.web.support.SpringBootServletInitializer;

@SpringBootApplication

public class TmApplication extends SpringBootServletInitializer {

    @Override

    protected SpringApplicationBuilder configure(SpringApplicationBuilder builder) {

        return builder.sources(TmApplication.class);

    }

    public static void main(String[] args) {

        SpringApplication.run(TmApplication.class, args);

    }

}
TmApplication
Application.properties 注意:数据库连接地址账号和密码都改成自己的就可以了
server.port=8080

server.application.name=demo

spring.datasource.url=jdbc:oracle:thin:@system:1521/orcl

spring.datasource.username=ORCL

spring.datasource.password=orcl

spring.datasource.driver-class-oracle.jdbc.driver.OracleDriver

spring.thymeleaf.suffix=.html

spring.thymeleaf.mode=HTML5

spring.thymeleaf.encoding=UTF-8

#热部署文件,页面不产生缓存,及时更新

spring.thymeleaf.cache=false

spring.resources.chain.strategy.content.enabled=true

spring.resources.chain.strategy.content.paths=/**
Application.properties
三:引入easyui
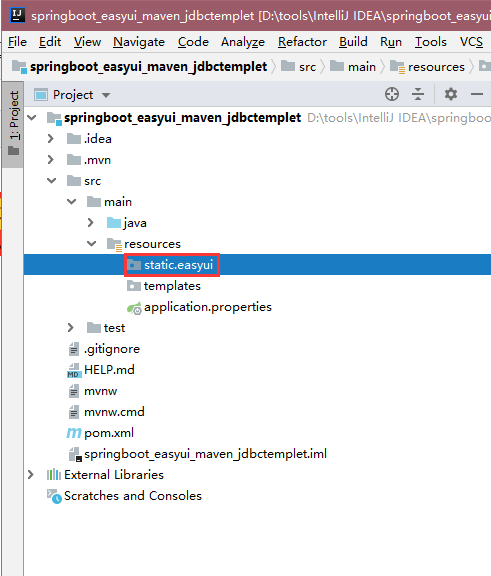
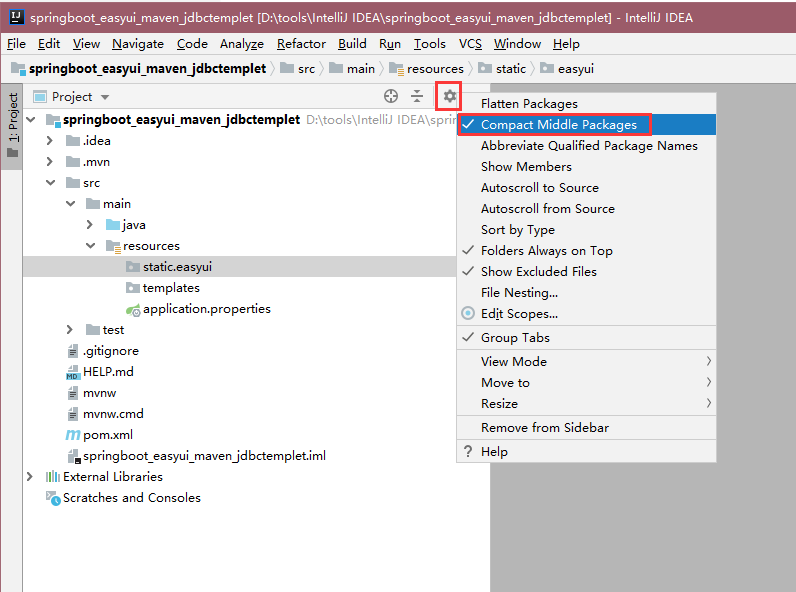
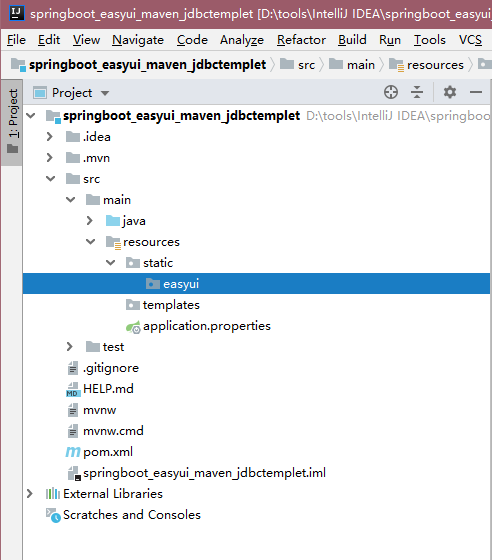
在static文件夹下先创建一个文件easyui

创建之后可以修改下显示的格式,有的人显示是下面这种‘点’连接的,我们改成树的会对结构看的更清楚
修改成树状结构的方法。
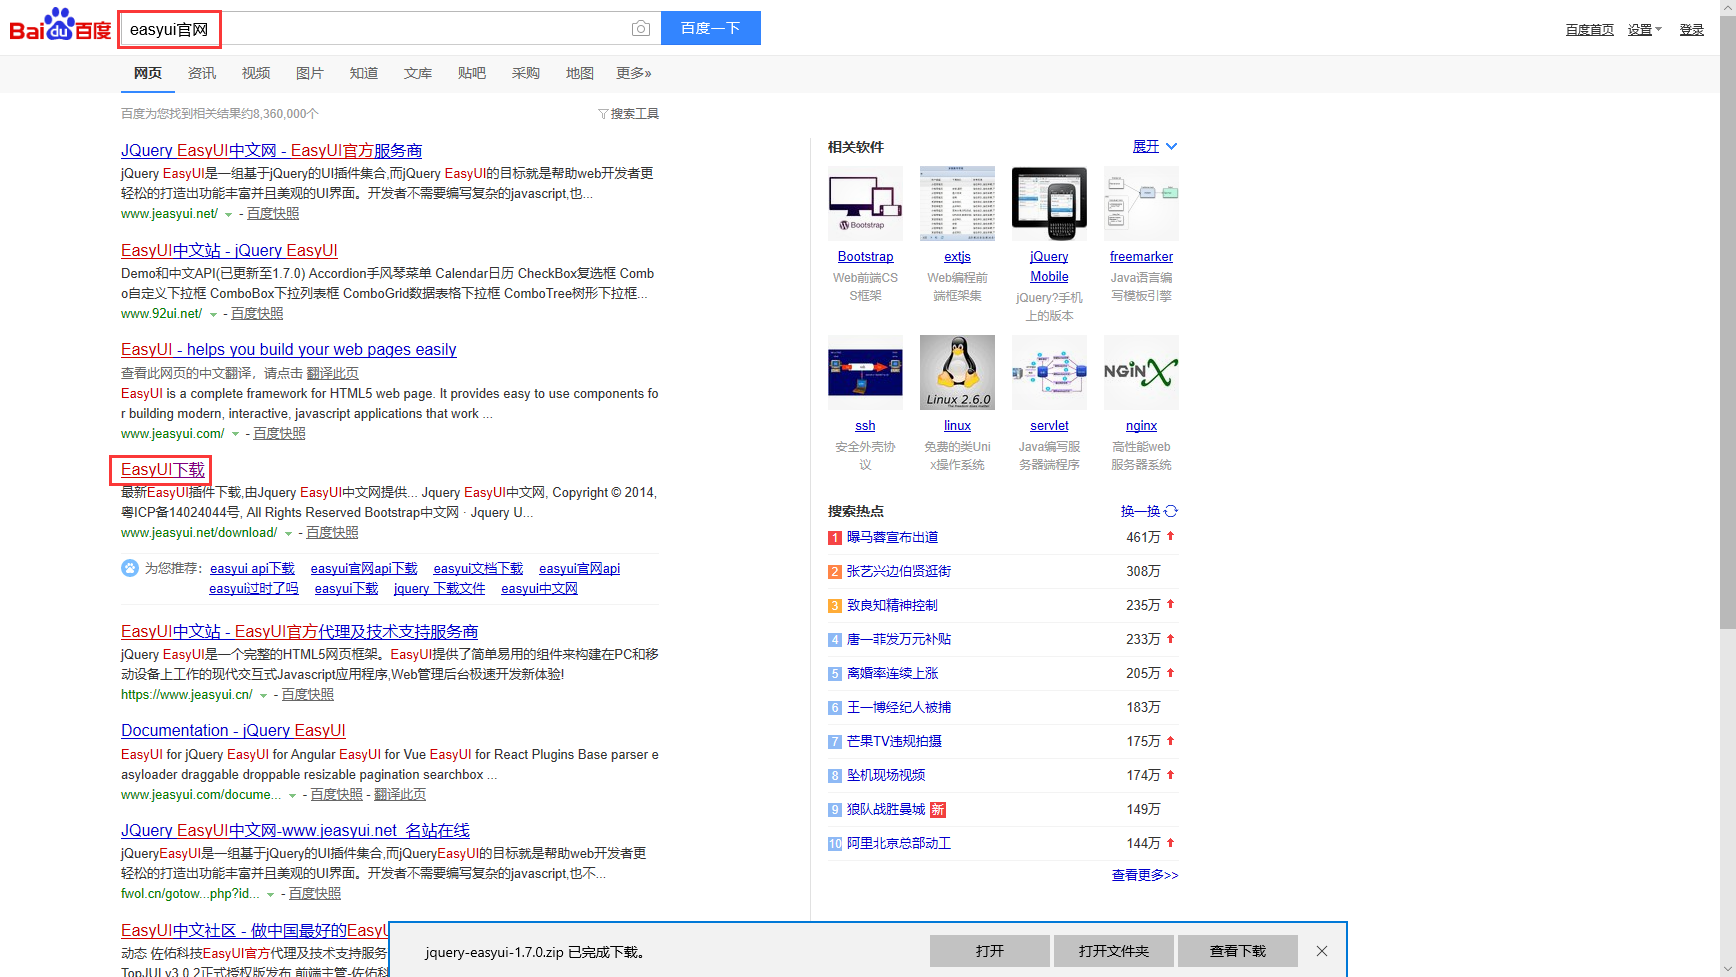
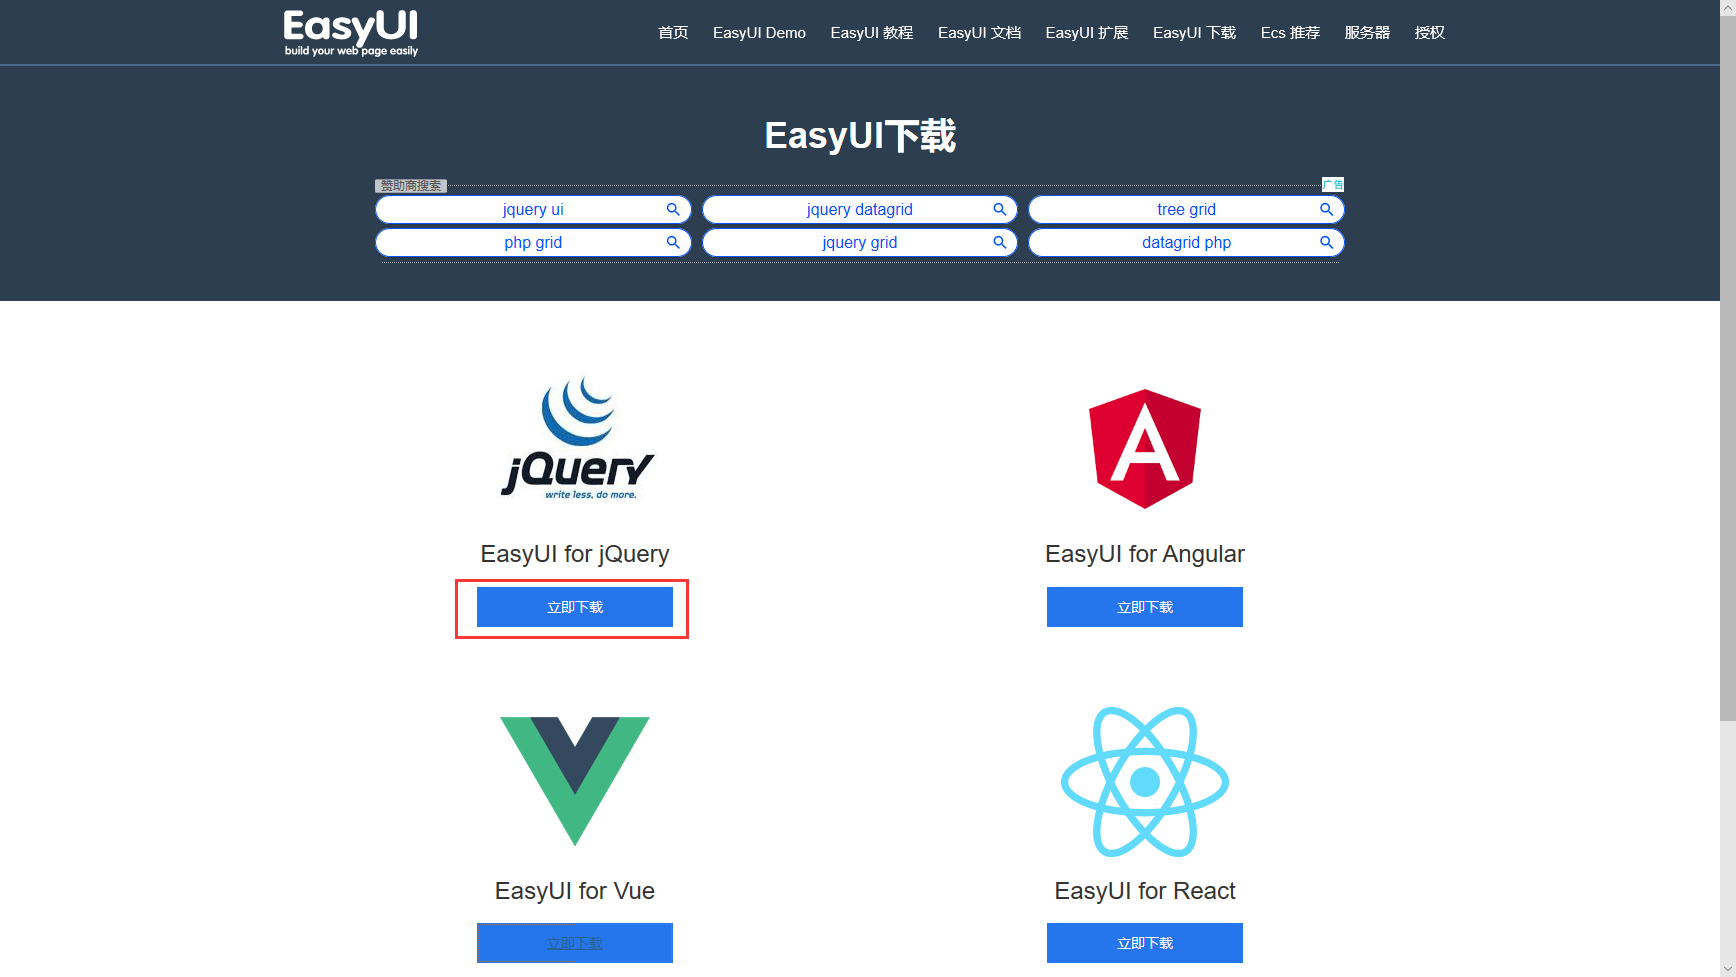
从网上下载easyui的包

将解压之后的内容直接复制到static文件夹下
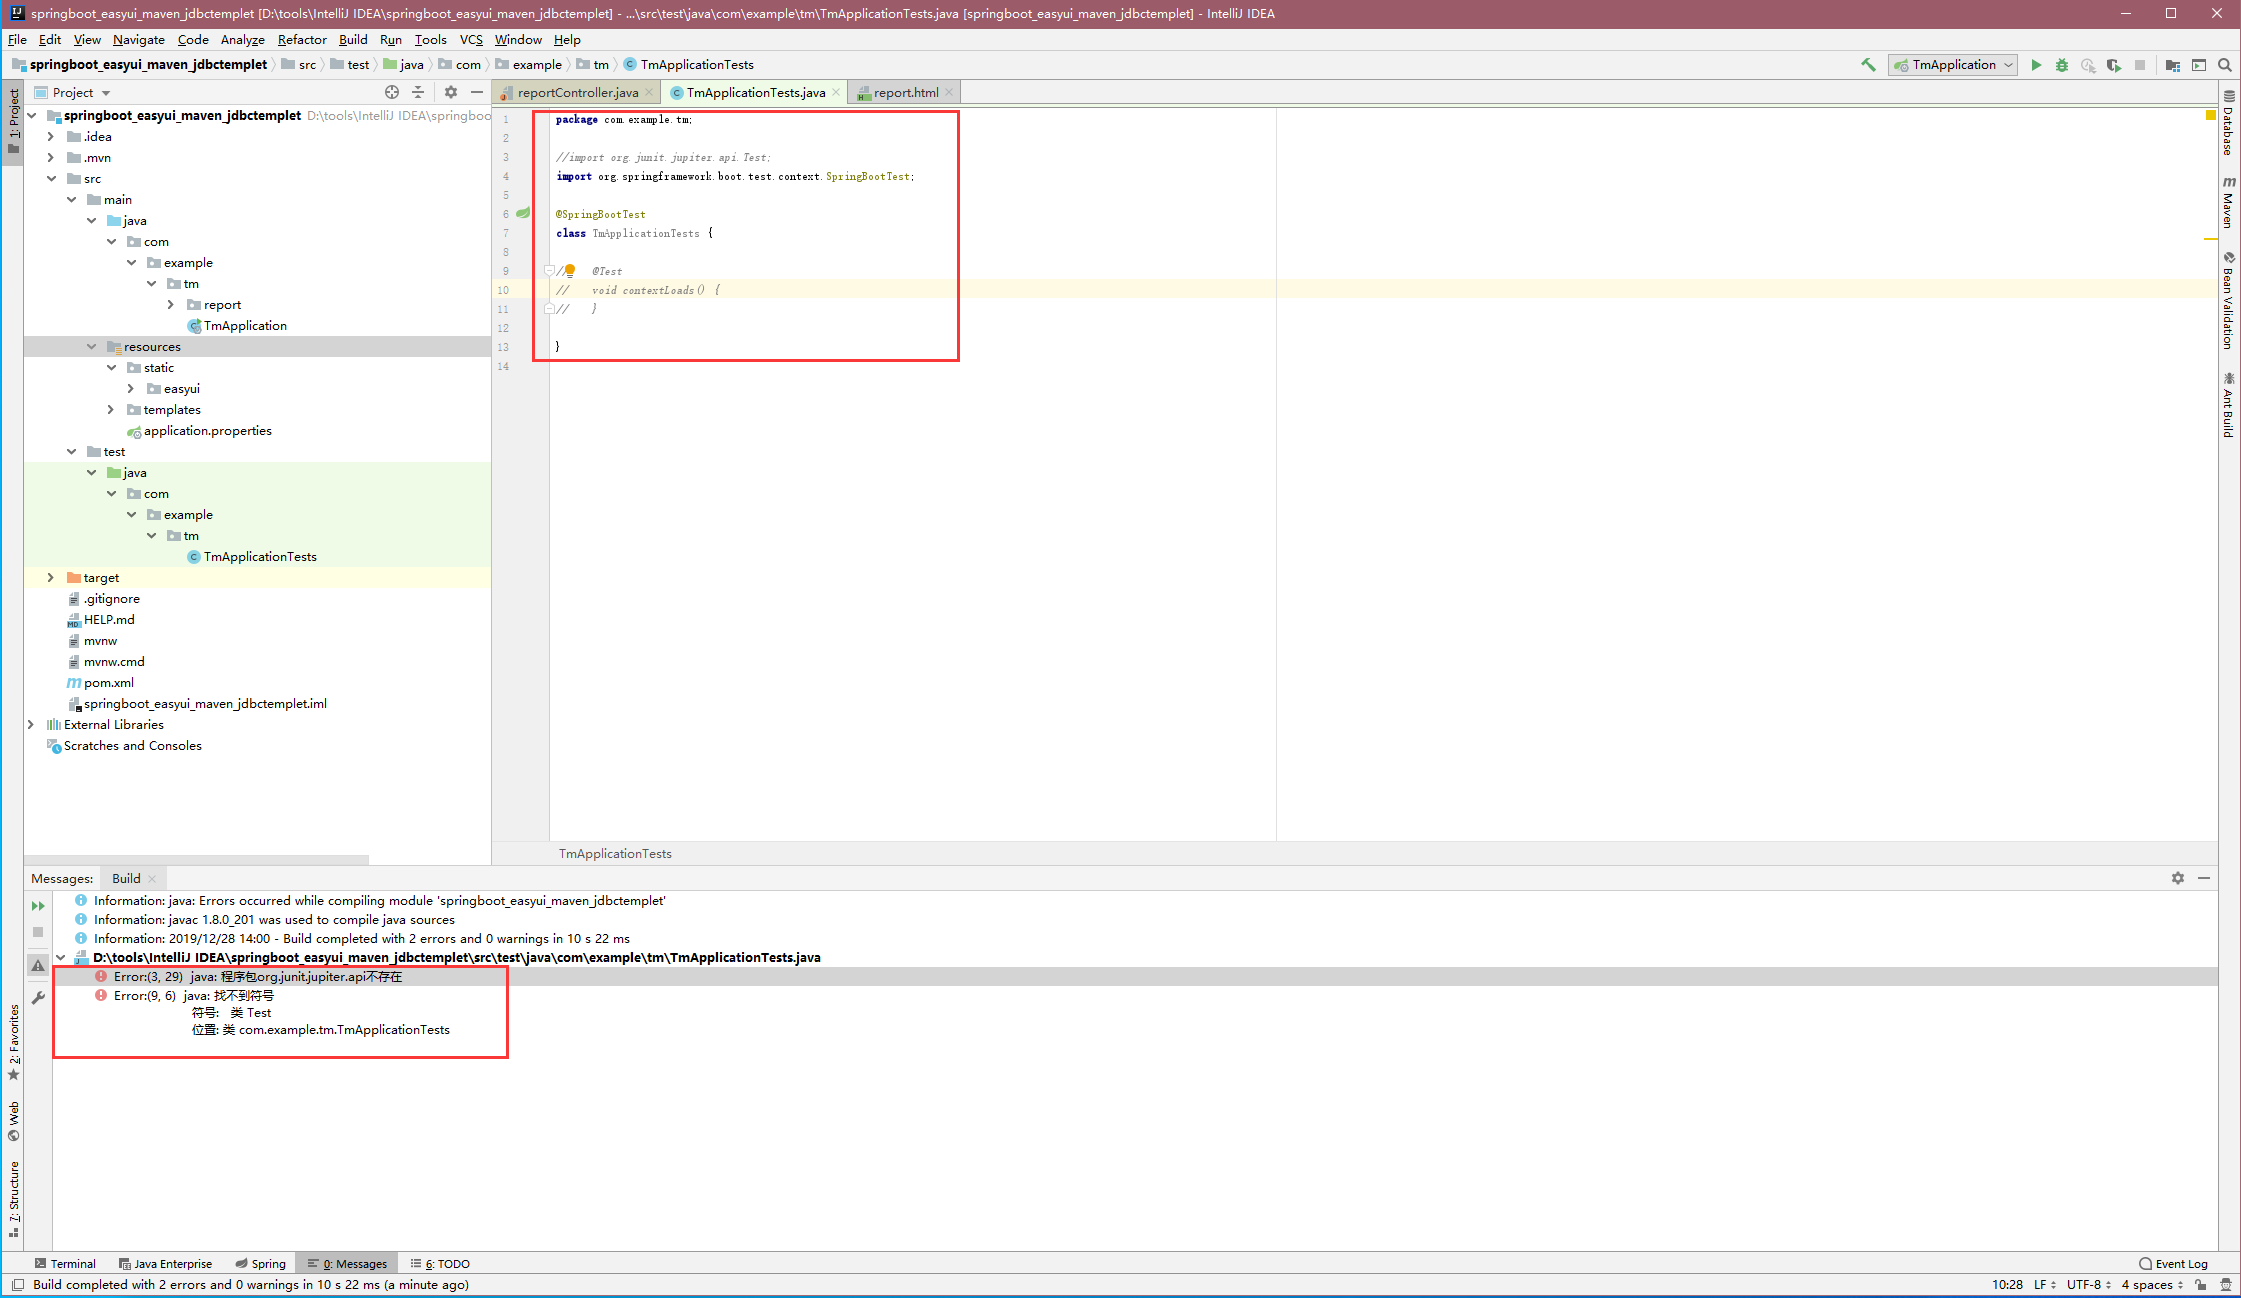
这里因为test文件我们暂时不用,所以可以先屏蔽掉,不屏蔽启动的时候可能会报错。
四:后台代码
参考此目录进行创建

进入页面暂时只需要controller层,这里先将整个框架写好。要注意的是后台类,方法上的注解不要写错。由于暂时没有与后台交互,所以数据库不需要创建表。但是上面配置文件中,还是需要指定数据库的地址账号密码,否则启动项目会报错
package com.example.tm.report.controller;

import com.example.tm.report.service.reportService;

import org.springframework.beans.factory.annotation.Autowired;

import org.springframework.stereotype.Controller;

import org.springframework.web.bind.annotation.GetMapping;

import org.springframework.web.bind.annotation.RequestMapping;

@Controller

@RequestMapping("/report")

public class reportController {

    @Autowired

    private reportService reportservice;

    /**

     * 功能:报表

     * 创建人:tm

     * 时间:2019-12-28

     */

    @GetMapping(value = "/report")

    public String report(){

        return "/report/report";

    }

}
reportController
reportService
package com.example.tm.report.service;

import org.springframework.stereotype.Service;

@Service("reportService")

public interface reportService {

}
reportService
ReportServiceImpl
package com.example.tm.report.service.Impl;

import com.example.tm.report.service.reportService;

import org.springframework.beans.factory.annotation.Autowired;

import org.springframework.jdbc.core.JdbcTemplate;

import org.springframework.stereotype.Service;

@Service("reportService")

public class ReportServiceImpl implements reportService {

    @Autowired

    private JdbcTemplate jdbcTemplate;

}
ReportServiceImpl
五:前台代码
参考此目录进行创建
注意:需要确认的几个地方
1. link和script标签指定的easyui相关路径地址名称一定要正确
2. 在js里如果要写js代码 要写在 /*<![CDATA[*/ /*]]>*/之内
<!DOCTYPE HTML>

<html xmlns:th="http://www.thymeleaf.org">

<head>

    <title>报表</title>

    <meta http-equiv="Content-Type" content="text/html; charset=UTF-8" />

    <link rel="stylesheet" type="text/css" href="../easyui/themes/default/easyui.css"/>

    <link rel="stylesheet" type="text/css" href="../easyui/themes/icon.css"/>

    <script type="text/javascript" src="../easyui/jquery.min.js"></script>

    <script type="text/javascript" src="../easyui/jquery.easyui.min.js"></script>

    <script type="text/javascript" src="../easyui/datagrid-export.js"></script>

    <script type="text/javascript" src="../easyui/locale/easyui-lang-zh_CN.js"></script>

    <script type="text/javascript">

        /*<![CDATA[*/

        /*]]>*/

    </script>

</head>

<body>

<div class="easyui-layout" style="width:100%;height:1000px;" fit="true">

    <div id="tb" style="padding:3px">

        <span>开始时间</span>

        <input type="text" class="easyui-datebox" id="starttime"/>

        <span>结束时间</span>

        <input type="text" class="easyui-datebox" id="endtime"/>

        <span>所在班组</span>

        <select id = "ProjectTree" class="easyui-combotree" url="getClassGroupTree" name="city" style="width:156px;"/>

        <a href="#" class="easyui-linkbutton" iconCls="icon-ok" onclick="doSearch()">查询</a>

        <a href="#" class="easyui-linkbutton" iconCls="icon-ok" onclick="toExcel()">导出</a>

    </div>

</div>

</body>

</html>
report.html
六:启动项目
启动项目分为两种,正常启动和debug模式启动

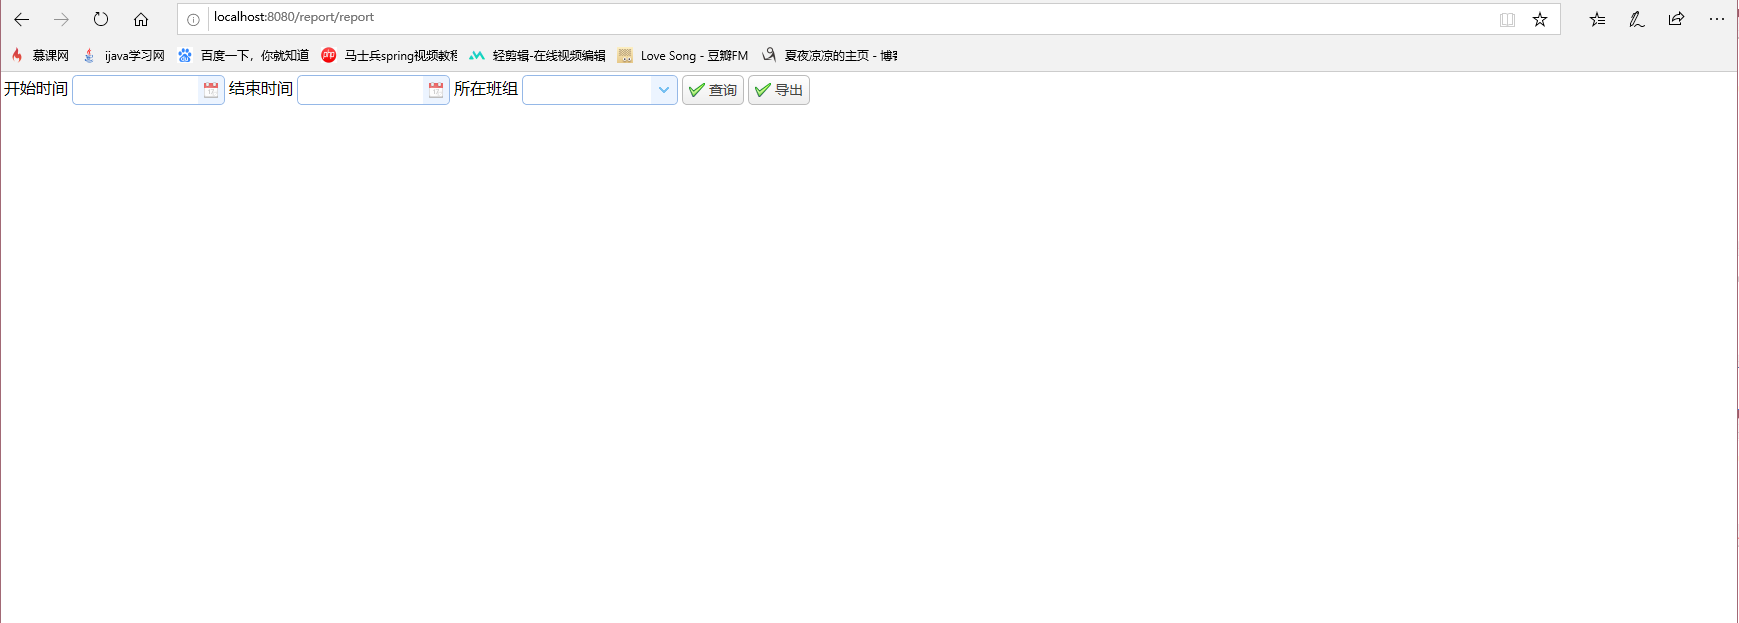
如果启动之后如下图所示没有报错,浏览器中直接输入 http://localhost:8080/report/report 就可以了(8080是application.properties文件中配置的,可以自行修改)

显示效果:
总结:此框架没有太深的技术,适用于刚刚接触springboot和开始学习搭框架的小伙伴们,接下来的文章里我会依据easyui为基础来完善各种easyui控件的用法,感兴趣的小伙伴可以查看我的博客springboot分类中的内容,如果文章有那些不合理不正确的内容,也请各位大神不吝赐教,小编感激不尽。
持续更新!!!
IntelliJ IDEA+springboot+jdbctemplet+easyui+maven+oracle搭建简易开发框架(一)的更多相关文章
- 搭建SpringBoot+dubbo+zookeeper+maven框架(一)
这几天项目还没来,所以就自己试着参考网上的一些资料,搭建了一个SpringBoot+dubbo+zookeeper+maven框架,网上参考的很多资料照着他们一步一步搭建,最后很多都运行不通,很是郁闷 ...
- 使用IntelliJ IDEA和Maven管理搭建Web开发环境(以Spring MVC为例)(二)
前言:在使用IntelliJ IDEA和Maven管理搭建Web开发环境(以Spring MVC为例)(一)中已经介绍了如何对web基础环境进行搭建,这里主要演示,如何对spring环境进行搭建,然后 ...
- 使用IntelliJ IDEA和Maven管理搭建Web开发环境(以Spring MVC为例)(一)
前言:原来一直使用MyEclipse,换工作后,新公司使用IDEA,初识IDEA发现,哇,它的快捷键可真多啊,但是一路用下来,觉得非常的好用,特别是利用Maven管理,那简直叫一个爽.当然笔者在使用过 ...
- 搭建SpringBoot+dubbo+zookeeper+maven框架(二)
上一篇文章是关于搭建SpringBoot+dubbo+zookeeper+maven框架的,但是里面的功能还不够完善,今天就日志管理方面做一些改善. 下了demo的网友可能会发现项目在启动时会有警告: ...
- 使用IntelliJ IDEA和Maven管理搭建+Web+Tomcat开发环境
使用IntelliJ IDEA和Maven管理搭建+Web+Tomcat开发环境 前言:原来一直使用Eclipse,换工作后使用IDEA,初识IDEA发现,哇,它的快捷键可真多啊,但是一路用下来,觉得 ...
- 使用maven+eclipse搭建最简单的struts2的helloworld
使用maven+eclipse搭建最简单的struts2的helloworld 一.web分层结构简介 1.web[细]粒度分层结构: 按细粒度分层可以分为以下6种: 1).表现层:html/css/ ...
- IDEA右侧 Maven oracle依赖包有红色波浪线
1\下载 ojdbc14-10.2.0.4.0.jar http://www.java2s.com/Code/Jar/o/Downloadojdbc14102040jar.htm 2.将ojdbc14 ...
- window Maven私服搭建——nexus
注:本文来源于 <window Maven私服搭建--nexus> Maven私服搭建--nexus 1.下载nexus https://www.sonatype.com/downlo ...
- Linux安装配置maven以及搭建nexus私服(编写启动脚本)
2011年07月12日16:32 下面介绍在Linux操作系统下安装配置maven和搭建nexus私服. 一.安装前的准备 下载 jdk http://www.oracle.com/technetw ...
随机推荐
- 看看国外的JavaScript题目
---恢复内容开始--- 题目一 (function(){ return typeof arguments;})(); 答案:“object” arguments是对象,伪数组有两件事要注意这里 ...
- Android 在图片的指定位置添加标记
这些天,项目里加了一个功能效果,场景是: 假如有一个家居图片,图片里,有各样的家居用品: 桌子,毛巾,花瓶等等,需要在指定的商品处添加标记,方便用户直接看到商品,点击该标记,可以进入到商品详情页 .实 ...
- lrj word
www.tup.tsinghua.edu.cn/upload/books/yz/055687-01.doc bing搜索UVa437 搜到这个word版本的电子书第9章
- jq实现二级菜单/下拉菜单
https://www.cnblogs.com/sandraryan/ 不是很难,直接上代码~ 有写注释 <!DOCTYPE html> <html lang="en&qu ...
- 理解java面向对象基础
1. 类和对象 一切皆对象,这可以说是面向对象的核心思想了. 类,就是具有相同性质对象的抽象. 而类的每一个具体的实例就是一个对象. 我们可以定义一个Person类,这个Person类就是所有的人的抽 ...
- 2018-8-10-win10-uwp-调试软件启动
title author date CreateTime categories win10 uwp 调试软件启动 lindexi 2018-08-10 19:16:51 +0800 2018-03-0 ...
- tensorflow在文本处理中的使用——skip-gram模型
代码来源于:tensorflow机器学习实战指南(曾益强 译,2017年9月)——第七章:自然语言处理 代码地址:https://github.com/nfmcclure/tensorflow-coo ...
- java编译器优化和运行期优化
概述 最近在看jvm优化,总结一下学习的相关知识 (一)javac编译器 编译过程 1.解析与填充符号表过程 1).词法.语法分析 词法分析将源代码的字符流转变为标记集合,单个字符是程序编 ...
- asp dotnet core 支持客户端上传文件
本文告诉大家如何在 asp dotnet core 支持客户端上传文件 新建一个 asp dotnet core 程序,创建一个新的类,用于给客户端上传文件的信息 public class Kanaj ...
- 【t098】符文之语
Time Limit: 1 second Memory Limit: 128 MB [问题描述] 当小FF来到神庙时,神庙已经破败不堪了.但神庙的中央有一个光亮如新的石台.小FF走进石台, 发现石台上 ...