centos7 部署 seafile
===============================================
2018/5/13_第1次修改 ccb_warlock
===============================================
最早接触seafile还是在1年多前,当时是为了能够搭建私有开源、具有同步目录功能的文件系统供员工使用,seafile的功能恰好满足这几点需求。但是考虑到需要占用服务器资源,从成本角度最后这个方案被砍掉了。最近由于工作需要,重新整理了seafile的部署内容。
一、准备工作
1.1 安装wget、vim
yum install -y wget vim
1.2 关闭防火墙
systemctl stop firewalld

systemctl disable firewalld
1.3 安装epel、Nux Dextop
# 安装epel源
rpm -ivh http://mirrors.ustc.edu.cn/epel/7/x86_64/Packages/e/epel-release-7-11.noarch.rpm
# 安装Nux Dextop源
rpm --import http://li.nux.ro/download/nux/RPM-GPG-KEY-nux.ro

rpm -Uvh http://li.nux.ro/download/nux/dextop/el7/x86_64/nux-dextop-release-0-5.el7.nux.noarch.rpm
二、部署seafile
2.1 安装mysql/mariadb
# 选择安装mariadb
yum -y install mariadb mariadb-server
# 启动、开机启动
systemctl start mariadb

systemctl enable mariadb
# 安全设置
mysql_secure_installation
# 根据下面的内容进行设置
# 第一次运行密码为空,回车。
Enter current password for root (enter for none): # 需要设置root密码,输入y后回车。
Set root password? [Y/n] y
接着输入两次新密码。 # 是否删除匿名用户,回车。
Remove anonymous users? [Y/n] # 是否禁止root远程登录,回车。
Disallow root login remotely? [Y/n] # 是否删除test数据库,回车。
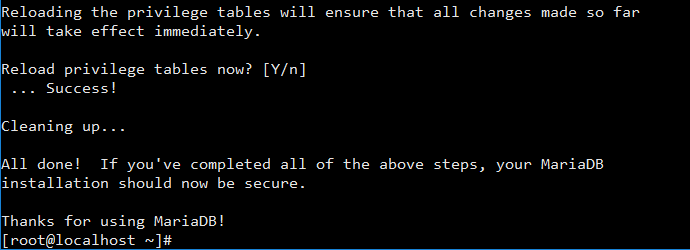
Remove test database and access to it? [Y/n] # 是否重新加载权限表,回车。
Reload privilege tables now? [Y/n]
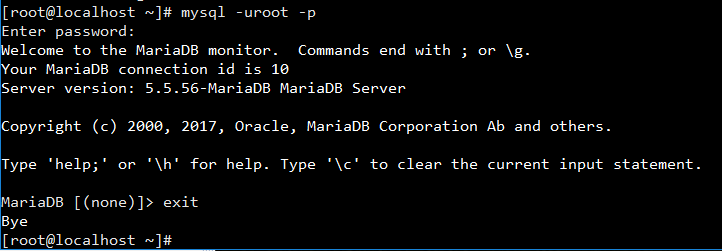
# 使用root账户登录mariadb
mysql -uroot -p
# 能连得进去说明刚才的设置已经生效

# 退出mariadb
exit
PS.如果需要远程连接,可以用下面的内容设置。
# 允许任意ip使用root远程连接

create user 'root'@'%' identified by 'root远程登录的密码';

# 添加权限给该root

grant all privileges on *.* to 'root'@'%' identified by 'root远程登录的密码';

# 配置立即生效

flush privileges;
2.2 安装依赖项
yum install -y python-memcached \

  python-ldap \

  python-urllib3 \

  python-imaging \

  MySQL-python \

  python-distribute \

  ffmpeg \

  ffmpeg-devel
2.3 安装seafile
# 获取安装包
cd
wget http://seafile-downloads.oss-cn-shanghai.aliyuncs.com/seafile-server_6.2.5_x86-64.tar.gz
# 解压
tar zxf seafile-server_6.2.5_x86-64.tar.gz
# 运行shell脚本安装
cd seafile-server-*

./setup-seafile-mysql.sh
# 根据下面的内容进行设置
# 显示给客户端的服务名,输入服务名后回车。

What is the name of the server? It will be displayed on the client.

3 - 15 letters or digits

[ server name ] OpsBakPE

# 输入ip或域名,由于内部使用直接ip,输入ip后回车。

What is the ip or domain of the server?

For example: www.mycompany.com, 192.168.1.101

[ This server's ip or domain ] 192.168.16.203

# 使用默认,将数据文件放在/root/seafile-data下,回车。

Where do you want to put your seafile data?

Please use a volume with enough free space

[ default "/root/seafile-data" ]

# 使用默认的文件服务端口8082,回车。

Which port do you want to use for the seafile fileserver?

[ default "" ]

# 使用新的seahub数据库,输入1后回车。

-------------------------------------------------------

Please choose a way to initialize seafile databases:

-------------------------------------------------------

[1] Create new ccnet/seafile/seahub databases

[2] Use existing ccnet/seafile/seahub databases

[ 1 or 2 ] 1

# 由于刚才装了mariadb,使用默认本地,回车。

What is the host of mysql server?

[ default "localhost" ]

# mariadb的默认端口就是3306,回车。

What is the port of mysql server?

[ default "" ]

# 使用默认的seafile作为seafile使用mariadb的用户,回车。

Enter the name for mysql user of seafile. It would be created if not exists.

[ default "seafile" ]

# 输入mariadb的用户seafile的密码,回车。

Enter the password for mysql user "seafile":

[ password for seafile ]

# 使用默认ccnet-db作为ccnet-server使用的数据库名,回车。

Enter the database name for ccnet-server:

[ default "ccnet-db" ]

# 使用默认seafile-db作为seafile-server使用的数据库名,回车。

Enter the database name for seafile-server:

[ default "seafile-db" ]

# 使用默认seahub-db作为seahub使用的数据库名,回车。

Enter the database name for seahub:

[ default "seahub-db" ]
# 检查配置项,没有问题回车安装。

# 等待片刻,安装完成。
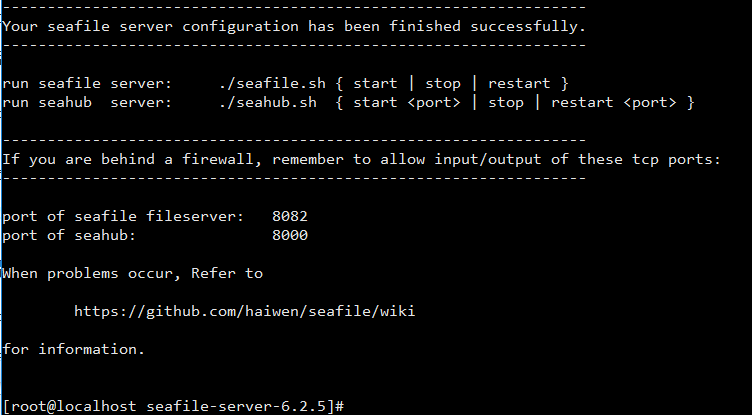
2.4 启动seafile、seahub
# 启动seafile服务
./seafile.sh start
# 启动seahub网站(这里加了80端口,不加端口的情况下默认运行在8000端口上)
./seahub.sh start 80
PS.第一次启动 seahub 时,seahub.sh脚本会提示创建seafile管理员帐号(邮箱名)。
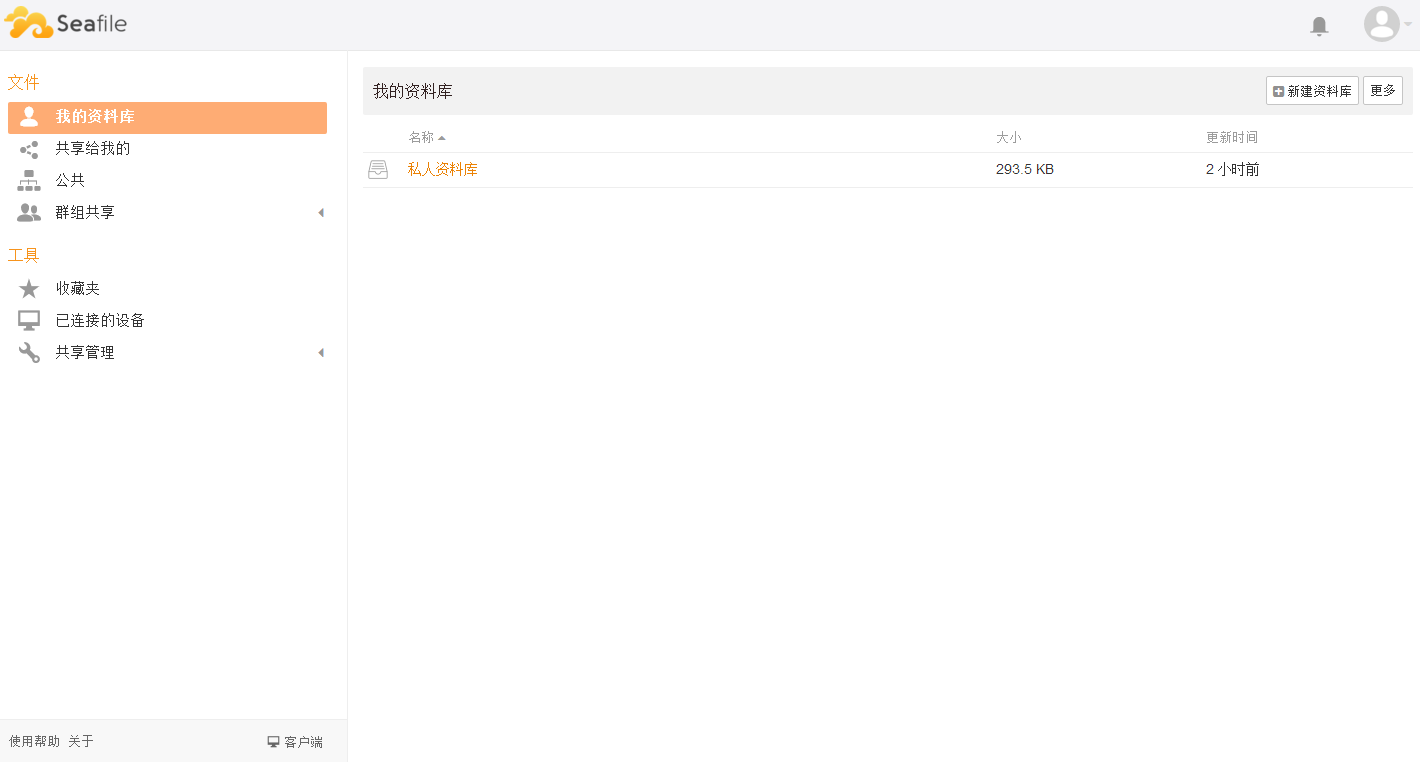
2.5 访问seafile
浏览器访问http://部署seafile的虚拟机IP,使用刚才创建的管理员账号登录。

三、设置开机启动
3.1 首先停止seafile、seahub服务
cd /root/seafile-server-*

./seafile.sh stop

./seahub.sh stop
3.2 创建seafile.service
vim /etc/systemd/system/seafile.service
# 添加下面的内容,wq保存。
[Unit]

Description=Seafile

After=mariadb.service

[Service]

Type=oneshot

ExecStart=/root/seafile-server-6.2.5/seafile.sh start

ExecStop=/root/seafile-server-6.2.5/seafile.sh stop

RemainAfterExit=yes

[Install]

WantedBy=multi-user.target
3.3 创建seahub.service
vim /etc/systemd/system/seahub.service
# 添加下面的内容,wq保存。
[Unit]

Description=Seafile hub

After=network.target seafile.service

[Service]

ExecStart=/root/seafile-server-6.2.5/seahub.sh start 80

ExecStop=/root/seafile-server-6.2.5/seahub.sh stop

Type=oneshot

RemainAfterExit=yes

[Install]

WantedBy=multi-user.target
3.4 启动、开机启动seafile、seahub
systemctl start seafile

systemctl enable seafile

systemctl start seahub

systemctl enable seahub
centos7 部署 seafile的更多相关文章
- [原]CentOS7部署osm2pgsql
转载请注明原作者(think8848)和出处(http://think8848.cnblogs.com) 部署Postgresql和部署PostGis请参考前两篇文章 本文主要参考GitHub上osm ...
- centos7 部署ssserver
centos7 部署shadowsocks服务端 为什么要选centos7? 以后centos7 肯定是主流,在不重要的环境还是尽量使用新系统吧 centos7 的坑 默认可能会有firewall 或 ...
- centos7 部署 docker compose
=============================================== 2019/4/10_第1次修改 ccb_warlock == ...
- centos7 部署 docker ce
=============================================== 2019/4/9_第1次修改 ccb_warlock === ...
- centos7 部署 open-falcon 0.2.0
=============================================== 2019/4/29_第3次修改 ccb_warlock 更新 ...
- centos7 部署 docker、shipyard
=============================================== 2019/4/9_第3次修改 ccb_warlock 更新说 ...
- centos7 部署 docker swarm
=============================================== 2019/4/9_第3次修改 ccb_warlock 更新说 ...
- docker stack 部署 seafile(http)
=============================================== 2018/5/13_第1次修改 ccb_warlock == ...
- CentOS7部署Nginx
CentOS7部署Nginx 1.准备工作 Nginx的安装依赖于以下三个包,意思就是在安装Nginx之前首先必须安装一下的三个包,注意安装顺序如下: 1 SSL功能需要openssl库,直接通过yu ...
随机推荐
- 如何合理的规划jvm性能调优
JVM性能调优涉及到方方面面的取舍,往往是牵一发而动全身,需要全盘考虑各方面的影响.但也有一些基础的理论和原则,理解这些理论并遵循这些原则会让你的性能调优任务将会更加轻松.为了更好的理解本篇所介绍的内 ...
- Find First and Last Position of Element in Sorted Array - LeetCode
目录 题目链接 注意点 解法 小结 题目链接 Find First and Last Position of Element in Sorted Array - LeetCode 注意点 nums可能 ...
- 【bzoj1937】 Shoi2004—Mst 最小生成树
http://www.lydsy.com/JudgeOnline/problem.php?id=1937 (题目链接) 题意 一个无向图,给出一个生成树,可以修改每条边的权值,问最小修改多少权值使得给 ...
- MySQL 性能比较测试:MySQL 5.6 GA -vs- MySQL 5.5
时间:2013年11月07日 ⁄ 分类: 数据库技术文档 ⁄ 我要吐槽发评论 MySQL 5.6 GA 发布了,毫无疑问,这是 MySQL 最棒的一个版本. 如果你还不清楚 MySQL 5.6 版 ...
- 响应式开发(三)-----Bootstrap框架的安装使用
下载 Bootstrap 可以从http://getbootstrap.com/上下载 Bootstrap 的最新版本. Download Bootstrap:下载 Bootstrap.点击该按钮,您 ...
- python检测服务器是否ping通
好想在2014结束前再赶出个10篇博文来,~(>_<)~,不写博客真不是一个好兆头,至少说明对学习的欲望和对知识的研究都不是那么积极了,如果说这1天的时间我能赶出几篇精致的博文,你们信不信 ...
- MVC4.0中cshtml中怎么解析html编码
http://bbs.csdn.net/topics/391060108?page=1 问题描述: 数据库中存储带有格式的文本,如 <span style="color:#333333 ...
- postgresql 数据库无法启动
在数据库无法启动时,一般可以根据报错信息,采取对应措施即可,下面列出一些在数据库启动时报出错误比较严重而解决方式又不那么明显的处理方法. 模拟错误,查到pg_class系统表中一个索引在磁盘中的位置, ...
- poj 3294 后缀数组 多字符串中不小于 k 个字符串中的最长子串
Life Forms Time Limit: 5000MS Memory Limit: 65536K Total Submissions: 16223 Accepted: 4763 Descr ...
- jQuery速看
本文参考w3school网站. jQuery是一个十分流行的javascript库. 基础语法是:$(selector).action() $:表示使用的语法为jquery selector:选择器 ...