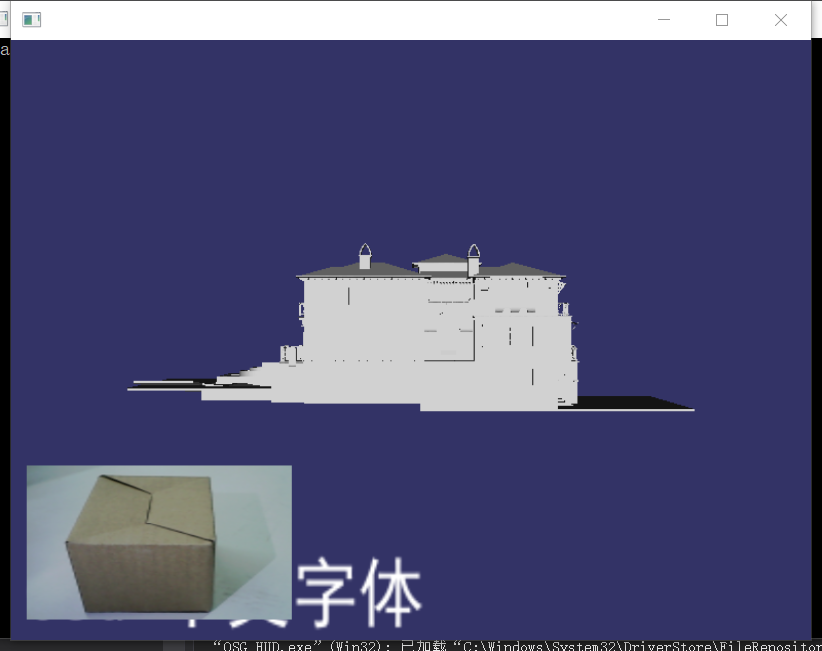
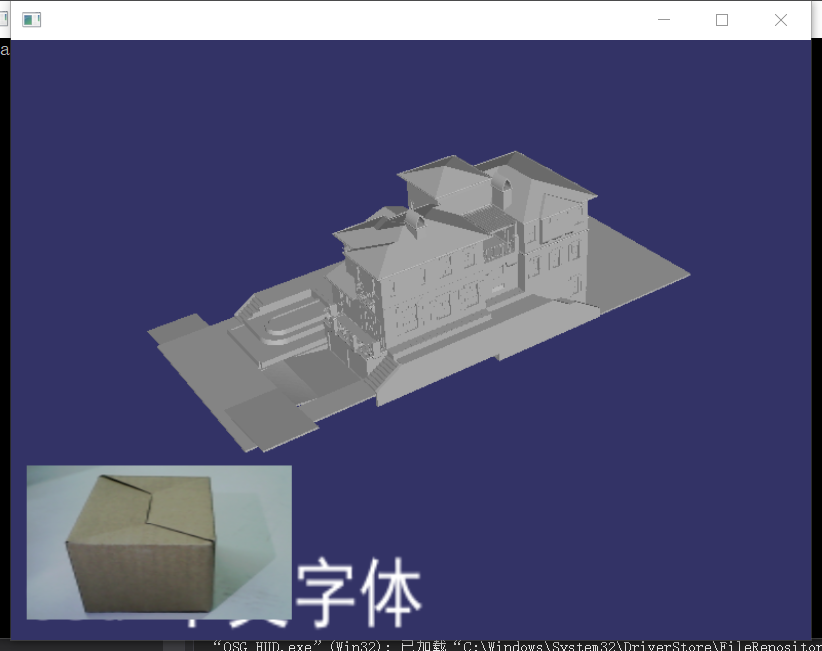
osg::Texture2D 贴纹理
#ifdef _WIN32

#include <Windows.h>

#endif // _WIN32

#include<iostream>

#include <osgViewer/Viewer>

#include <osgViewer/ViewerEventHandlers>

#include <osgViewer/CompositeViewer>

#include <osgDB/ReadFile>

#include <osg/Geode>

#include <osg/Node>

#include <osg/Geometry>

#include <osg/GraphicsContext>

#include <osg/ShapeDrawable>

#include <osg/Material>

#include <osg/Image>

#include <osg/Texture2D>

#include <osg/TexEnv>

#include <osg/TexGen>

#include <osg/NodeVisitor>

#include <osg/MatrixTransform>

#include <osg/PositionAttitudeTransform>

#include <osg/AnimationPath>

#include <osg/Matrixd>

#include <osg/PagedLOD>

#include <osg/Camera>

#include <osgText/Text>

#include <osgGA/TrackballManipulator>

#include <osgGA/GUIEventHandler>

#include <osgGA/CameraManipulator>

#include <osgGA/StandardManipulator>

#include <osgGA/OrbitManipulator>

#include <osgGA/TrackballManipulator>

#include <osgUtil/IntersectionVisitor>

#include <osgUtil/LineSegmentIntersector>

osg::Camera* createTextHUD()

{

    osg::ref_ptr<osg::Geode> geode1 = new osg::Geode;

    osg::ref_ptr<osgText::Text> text1 = new osgText::Text;

    osg::ref_ptr<osg::Camera> camera1 = new osg::Camera;

    osg::ref_ptr<osg::Geometry> geometry1 = new osg::Geometry;

    camera1->setViewMatrix(osg::Matrix::identity());

    camera1->setRenderOrder(osg::Camera::POST_RENDER);

    camera1->setClearMask(GL_DEPTH_BUFFER_BIT);

    camera1->setAllowEventFocus(false);

    camera1->setReferenceFrame(osg::Transform::ABSOLUTE_RF);

    camera1->setProjectionMatrixAsOrtho2D(-, , -, );

    text1->setFont("Fonts/simhei.ttf");

    text1->setCharacterSize();

    text1->setText(L"OSG 中文字体");

    text1->setPosition(osg::Vec3(0.0,0.0,0.0));

    //压入顶点

    osg::Vec3Array *vecArray = new osg::Vec3Array;

    vecArray->push_back(osg::Vec3(0.0,0.0,0.0));

    vecArray->push_back(osg::Vec3(200.0, 0.0, 0.0));

    vecArray->push_back(osg::Vec3(200.0, 100.0, 0.0));

    vecArray->push_back(osg::Vec3(0.0, 100.0, 0.0));

    geometry1->setVertexArray(vecArray);

    //法线

    osg::Vec3Array *vecNorm = new osg::Vec3Array;

    vecNorm->push_back(osg::Vec3(0.0,0.0,1.0));

    geometry1->setNormalArray(vecNorm);

    geometry1->setNormalBinding(osg::Geometry::BIND_OVERALL);

    //设置纹理

    osg::Vec2Array *vec2Coord = new osg::Vec2Array;

    vec2Coord->push_back(osg::Vec2(0.0,0.0));

    vec2Coord->push_back(osg::Vec2(1.0, 0.0));

    vec2Coord->push_back(osg::Vec2(1.0, 1.0));

    vec2Coord->push_back(osg::Vec2(0.0, 1.0));

    geometry1->setTexCoordArray(,vec2Coord);

    osg::DrawArrays *drawArrays1 = new osg::DrawArrays(osg::PrimitiveSet::QUADS, , );

    //geometry1->setPrimitiveSet(0,drawArrays1);

    geometry1->addPrimitiveSet(drawArrays1);

    //贴纹理

    osg::ref_ptr<osg::Image> image1 = osgDB::readImageFile("D:\\image_1\\20190325092002-save.jpg");

    osg::Texture2D *texture2d1 = new osg::Texture2D;

    texture2d1->setImage(image1);

    geometry1->getOrCreateStateSet()->setTextureAttributeAndModes(, texture2d1, osg::StateAttribute::ON);

    //关闭灯光

    geometry1->getOrCreateStateSet()->setMode(GL_LIGHTING, osg::StateAttribute::OFF);

    geode1->getOrCreateStateSet()->setMode(GL_LIGHTING,osg::StateAttribute::OFF);

    geode1->addDrawable(geometry1);

    geode1->addDrawable(text1);

    camera1->addChild(geode1.get());

    return camera1.release();

}

int main()

{

    osg::ref_ptr<osgViewer::Viewer> viewer1 = new osgViewer::Viewer;

    osg::ref_ptr<osg::Group> group1 = new osg::Group;

    //osg::ref_ptr<osg::Node> node1 = osgDB::readNodeFile("D:\\参考手册\\BIM\\osg\\build20190628.osgb");

    osg::ref_ptr<osg::Node> node2 = osgDB::readNodeFile("D:\\参考手册\\BIM\\osg\\build1.osgb");

    group1->addChild(node2.get());

    group1->addChild(createTextHUD());

    viewer1->setSceneData(group1.get());

    viewer1->setUpViewInWindow(,,,,);

    viewer1->run();

}
osg::Texture2D 贴纹理的更多相关文章
- osg gdal加载tif数据文件
osg加载.tif地形数据文件 #ifdef _WIN32 #include <Windows.h> #endif // _WIN32 #include <iostream> ...
- osg模型部分节点旋转
osg::ref_ptr<osg::Geode> CreateBox() { osg::ref_ptr<osg::Geode> geode = new osg::Geode; ...
- osg添加纹理示例
转自http://www.cnblogs.com/ylwn817/articles/1976851.html #include <osgDB/ReadFile>#include <o ...
- osg使用shader动态修改纹理坐标
#include <osg/Node> #include <osg/Geometry> #include <osg/Notify> #include <osg ...
- OSG学习:计算纹理坐标
在很多时候,直接指定纹理坐标是非常不方便的,如曲面纹理坐标,只有少数的曲面(如圆锥.圆柱等)可以在不产生扭曲的情况下映射到平面上,其他的曲面在映射到表面时都会产生一定程度的扭曲.一般而言,曲面表面的曲 ...
- OSG绘制金字塔geode+动态纹理坐标
osg::Node* createPyramidModel() { // create the root node which will hold the model. osg::Group* roo ...
- 基于osg的python三维程序开发(三)------几何形体及纹理
def createScene(): geode = osg.Geode() pointsGeom = osg.Geometry() vertices = osg.Vec3Array() vertic ...
- osg纯手工画球+贴纹理
手动计算球面顶点的坐标,纹理坐标,来画球并贴纹理 其中createSphereGeom()函数的的二个参数为18,意思是在经纬度上每10度设一个点,因为经度一共是180度,180/18=10,相当于横 ...
- OSG快速生成一个带有纹理的四边形Geometry
可以使用Geometry头文件中的 Geometry* createTexturedQuadGeometry osg::ref_ptr<osg::Texture2D> texture = ...
随机推荐
- linux网络编程之posix信号量与互斥锁
继上次学习了posix线程之后,这次来讨论一下posix信号量与互斥锁相关的知识: 跟posix消息队列,共享内存的打开,关闭,删除操作一样,不过,上面的函数是对有名信号量进行操作,通过man帮助可以 ...
- MySQL 主从复制 详细实例讲解 与 常见错误解决方法
一.主机ip 192.168.0.128 ,从机ip:192.168.0.130 分别测试是否能ping通对方,如果不能,请关闭防火墙或开放对应端口 二.主服务器配置 1.备份主服务器的数据 mysq ...
- XAMPP启动Apache服务时启动失败
9:48:49 [Apache] Apache Service detected with wrong path 9:48:49 [Apache] Change XAMPP Apache and Co ...
- 杭电2019多校第八场 Acesrc and Good Numbers——思维打表&&oeis
题意 给定 $d,x$,$f(d,k)$ 表示 $1 \sim k$ 中 $d$ 出现的次数, $k$ 满足 $f(d,k) = k$,求小于 $x$ 的最大的 $k$. 分析 正解不会...,学习了 ...
- 2018 Arab Collegiate Programming Contest (ACPC 2018) G. Greatest Chicken Dish (线段树+GCD)
题目链接:https://codeforces.com/gym/101991/problem/G 题意:给出 n 个数,q 次询问区间[ li,ri ]之间有多少个 GCD = di 的连续子区间. ...
- SublimeText 括号插件 Bracket Highlighter高亮设置
1. ctrl + shift + p,打开命令面板,输入install,在菜单中选择Package Control:Install Package如图 2. 步骤1后弹出的命令输入框中 输入:Bra ...
- HTML 009 CSS
HTML 样式- CSS CSS (Cascading Style Sheets) 用于渲染HTML元素标签的样式. Look! Styles and colors Manipulate Te ...
- eclipse和scala整合,打包配置文件及打包步骤
我写的是maven项目,pom文件为: <project xmlns="http://maven.apache.org/POM/4.0.0" xmlns:xsi=" ...
- 简单了解Web Workers API
1. 为什么使用Web Workers API 通过使用该API,web应用程序可以独立于主线程,运行一个单独的线程来处理脚本. 可以在独立的线程中解决耗时较长的任务,避免主线程阻塞. 2. 应用 1 ...
- mybatis oracle 逆向工程