IDEA+SpringBoot整合Swagger2创建API文档
------------恢复内容开始------------
1.创建SpringBoot项目
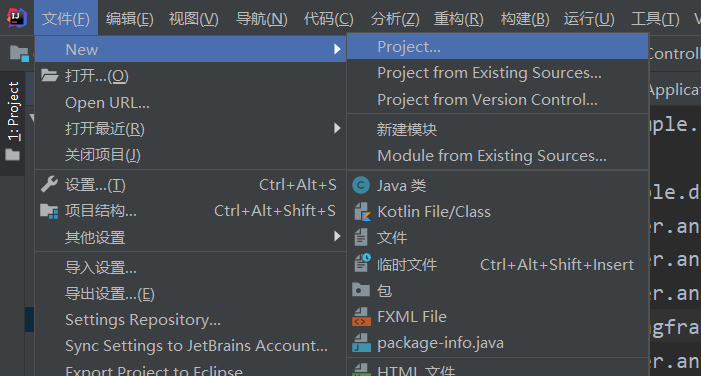
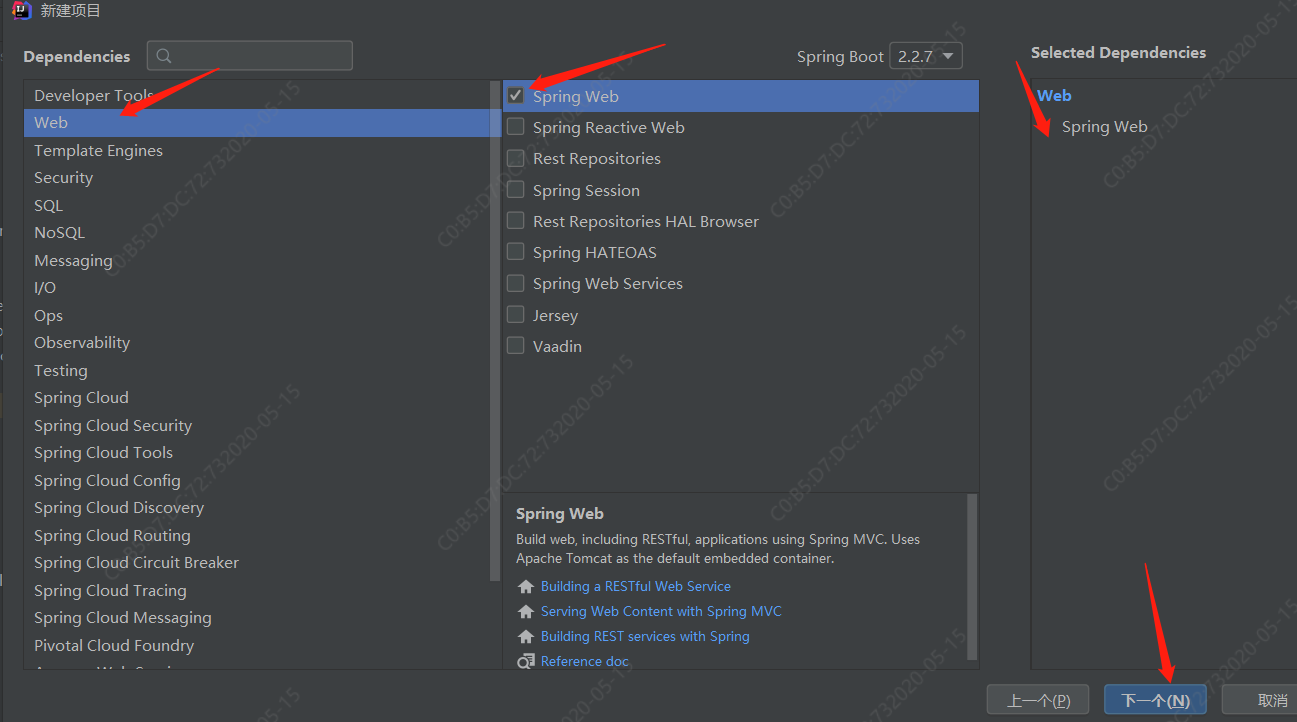
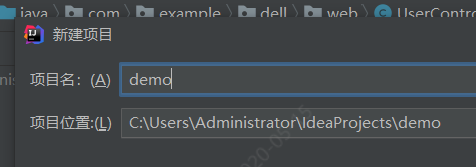
2.选择快捷方式创建springboot项目


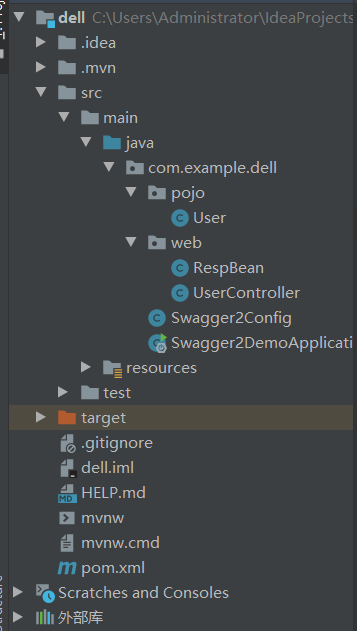
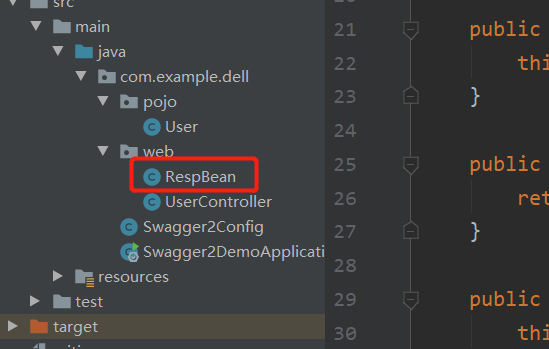
3.工程文件树形图
4.pom.xml中导入Swagger依赖
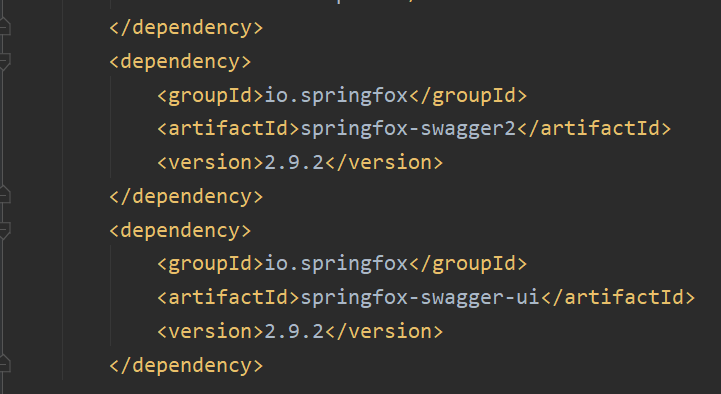
代码如下:
 1        <dependency>

 2             <groupId>io.springfox</groupId>

 3             <artifactId>springfox-swagger2</artifactId>

 4             <version>2.9.2</version>

 5         </dependency>

 6         <dependency>

 7             <groupId>io.springfox</groupId>

 8             <artifactId>springfox-swagger-ui</artifactId>

 9             <version>2.9.2</version>

10         </dependency>
5.配置Swagger信息
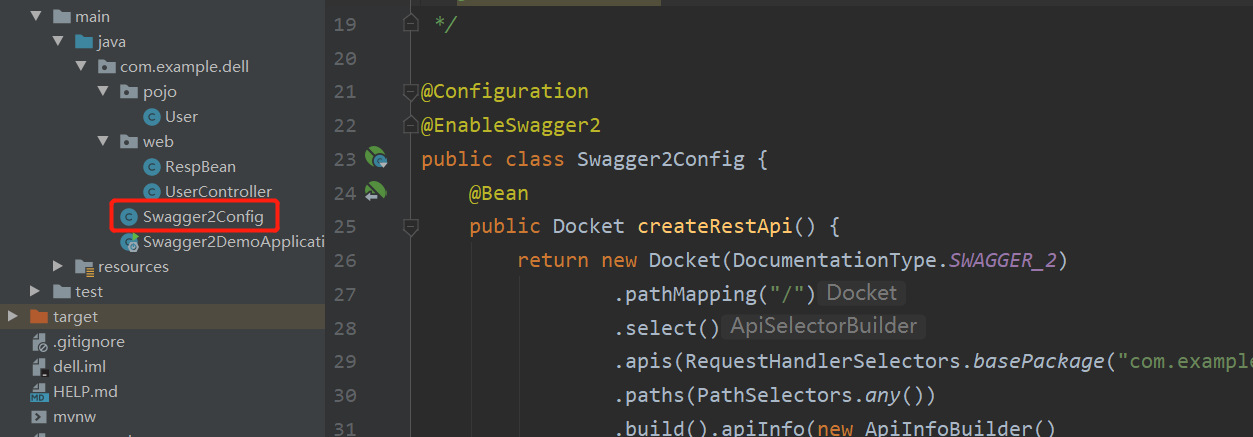
代码如下:
 1 package com.example.dell;

 2

 3 import org.springframework.context.annotation.Bean;

 4 import org.springframework.context.annotation.Configuration;

 5 import springfox.documentation.builders.ApiInfoBuilder;

 6 import springfox.documentation.builders.PathSelectors;

 7 import springfox.documentation.builders.RequestHandlerSelectors;

 8 import springfox.documentation.service.Contact;

 9 import springfox.documentation.spi.DocumentationType;

10 import springfox.documentation.spring.web.plugins.Docket;

11 import springfox.documentation.swagger2.annotations.EnableSwagger2;

12

13 /**

14  * @program:swagger2-demo

15  * @description:swagger配置类

16  * @author:feixiang

17  * @create:2020/5/14

18  */

19

20 @Configuration

21 @EnableSwagger2

22 public class Swagger2Config {

23     @Bean

24     public Docket createRestApi() {

25         return new Docket(DocumentationType.SWAGGER_2)

26                 .pathMapping("/")

27                 .select()

28                 .apis(RequestHandlerSelectors.basePackage("com.example.dell.web"))

29                 .paths(PathSelectors.any())

30                 .build().apiInfo(new ApiInfoBuilder()

31                         .title("飞翔用接口自动化平台")

32                         .description("飞翔独享")

33                         .version("9.0")

34                         .contact(new Contact("马化腾","blog.csdn.net","aaa@gmail.com"))

35                         .license("The Apache License")

36                         .licenseUrl("http://www.baidu.com")

37                         .build());

38     }

39 }
创建接口
接下来就是创建接口了,Swagger2相关的注解其实并不多,而且很容易懂,下面我来分别向小伙伴们举例说明
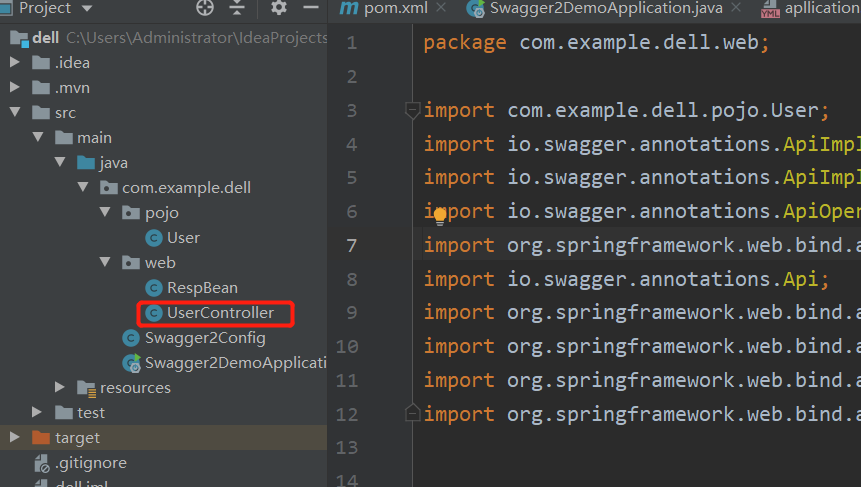
代码如下
 1 package com.example.dell.web;

 2

 3 import com.example.dell.pojo.User;

 4 import io.swagger.annotations.ApiImplicitParam;

 5 import io.swagger.annotations.ApiImplicitParams;

 6 import io.swagger.annotations.ApiOperation;

 7 import org.springframework.web.bind.annotation.*;

 8 import io.swagger.annotations.Api;

 9 import org.springframework.web.bind.annotation.PathVariable;

10 import org.springframework.web.bind.annotation.RequestBody;

11 import org.springframework.web.bind.annotation.RequestMapping;

12 import org.springframework.web.bind.annotation.RestController;

13

14

15

16 @RestController

17 @Api(tags = "用户管理相关接口")

18 @RequestMapping("/user")

19 public class UserController{

20     @PostMapping("/")

21     @ApiOperation("添加用户的接口")

22     @ApiImplicitParams({

23             @ApiImplicitParam(name = "username", value = "用户名", defaultValue = "张三"),

24             @ApiImplicitParam(name = "address", value = "用户地址", defaultValue = "佛山", required = true)

25     }

26     )

27     public RespBean addUser(String username, @RequestParam(required = true) String address) {

28         return new RespBean();

29     }

30

31     @GetMapping("/")

32     @ApiOperation("根据id查询用户的接口")

33     @ApiImplicitParam(name = "id", value = "用户id", defaultValue = "99", required = true)

34     public User getUserById(@PathVariable Integer id) {

35         User user = new User();

36         user.setId(id);

37         return user;

38     }

39     @PutMapping("/{id}")

40     @ApiOperation("根据id更新用户的接口")

41         public User updateUserById(@RequestBody User user) {

42         return user;

43     }

44 }
这里边涉及到多个API,我来向小伙伴们分别说明:
@Api注解可以用来标记当前Controller的功能。
@ApiOperation注解用来标记一个方法的作用。
@ApiImplicitParam注解用来描述一个参数,可以配置参数的中文含义,也可以给参数设置默认值,这样在接口测试的时候可以避免手动输入。
如果有多个参数,则需要使用多个@ApiImplicitParam注解来描述,多个@ApiImplicitParam注解需要放在一个@ApiImplicitParams注解中。
需要注意的是,@ApiImplicitParam注解中虽然可以指定参数是必填的,但是却不能代替@RequestParam(required = true),前者的必填只是在Swagger2框架内必填,抛弃了Swagger2,这个限制就没用了,所以假如开发者需要指定一个参数必填,@RequestParam(required = true)注解还是不能省略。
如果参数是一个对象(例如上文的更新接口),对于参数的描述也可以放在实体类中。例如下面一段代码: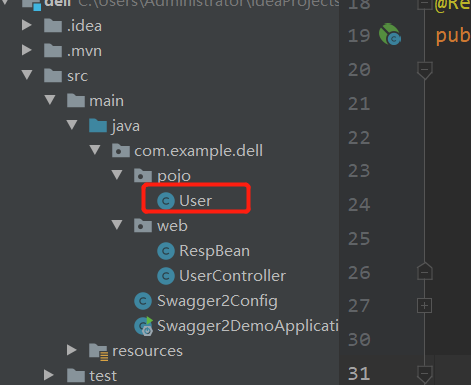
 1 package com.example.dell.pojo;

 2

 3 import io.swagger.annotations.ApiModelProperty;

 4

 5

 6

 7

 8 public class User {

 9     @ApiModelProperty(value = "用户id")

10     private Integer id;

11     @ApiModelProperty(value = "用户名")

12     private String username;

13     @ApiModelProperty(value = "用户地址")

14     private String address;

15     //getter/setter

16

17     public Integer getId() {

18         return id;

19     }

20

21     public void setId(Integer id) {

22         this.id = id;

23     }

24

25     public String getUsername() {

26         return username;

27     }

28

29     public void setUsername(String username) {

30         this.username = username;

31     }

32

33     public String getAddress() {

34         return address;

35     }

36

37     public void setAddress(String address) {

38         this.address = address;

39     }

40 }
代码如下:
 1 package com.example.dell.web;

 2

 3 import io.swagger.annotations.ApiModelProperty;

 4

 5 public class RespBean {

 6     @ApiModelProperty(value = "用户id")

 7     private Integer id;

 8     @ApiModelProperty(value = "用户名")

 9     private String username;

10     @ApiModelProperty(value = "用户地址")

11     private String address;

12     //getter/setter

13

14     public Integer getId() {

15         return id;

16     }

17

18     public void setId(Integer id) {

19         this.id = id;

20     }

21

22     public String getUsername() {

23         return username;

24     }

25

26     public void setUsername(String username) {

27         this.username = username;

28     }

29

30     public String getAddress() {

31         return address;

32     }

33

34     public void setAddress(String address) {

35         this.address = address;

36     }

37 }
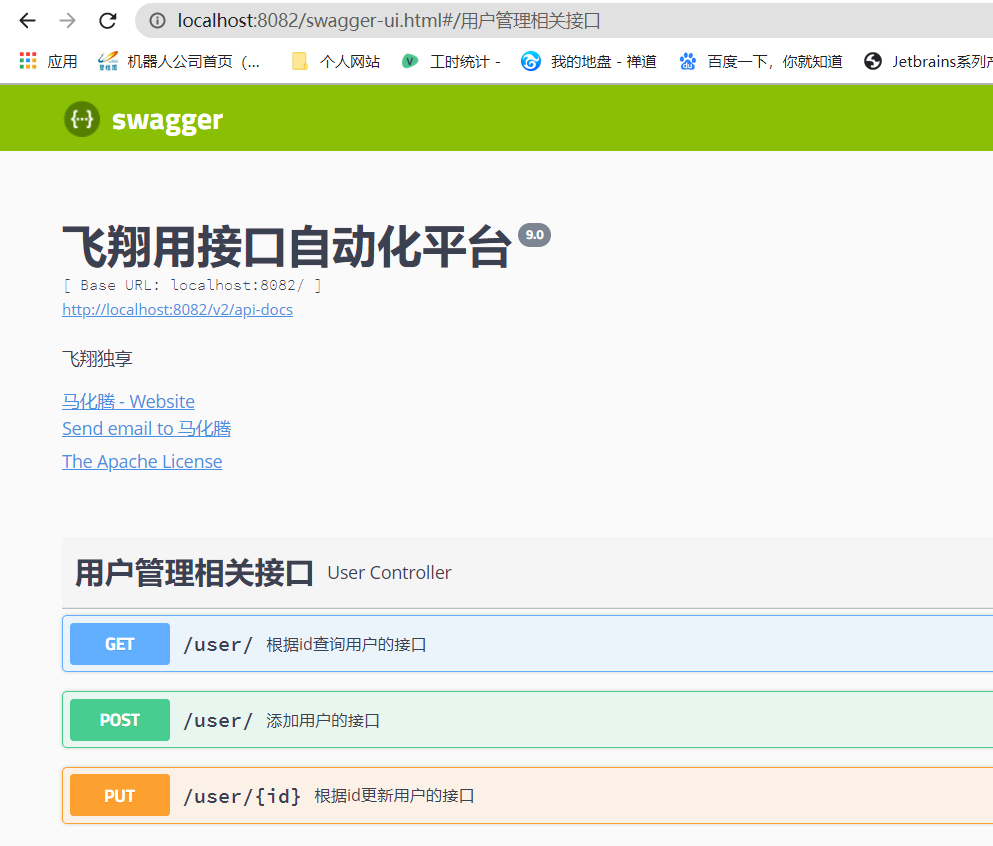
然后启动,运行
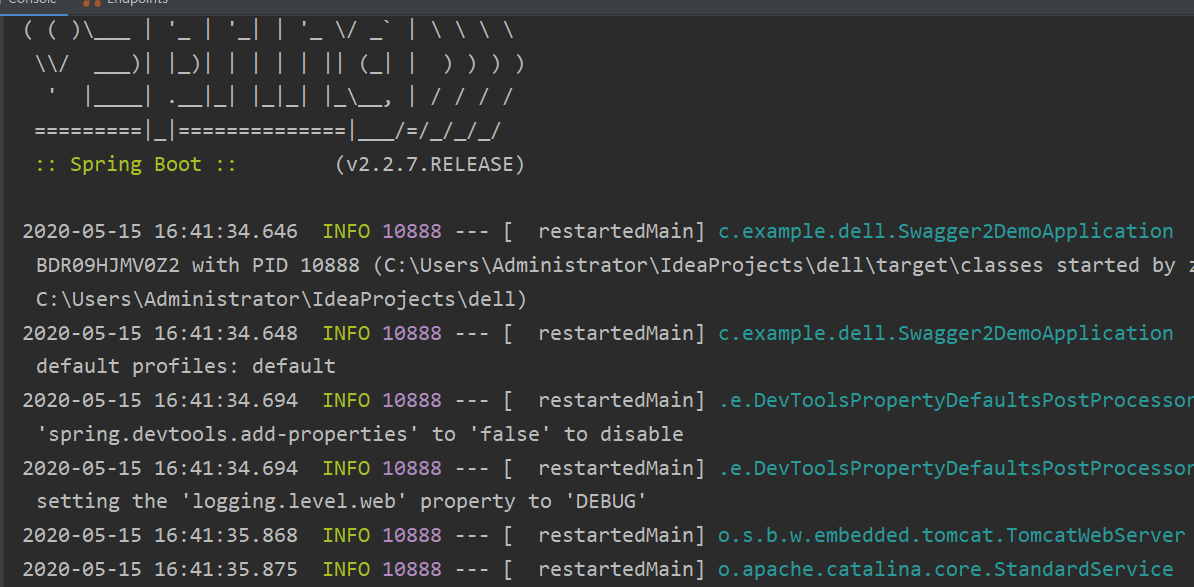
此时启动项目,输入http://localhost:8080/swagger-ui.html,能够看到如下页面,说明已经配置成功了:
IDEA+SpringBoot整合Swagger2创建API文档的更多相关文章
- Spring Boot 整合Swagger2构建API文档
1.pom.xml中引入依赖 <dependency> <groupId>io.springfox</groupId> <artifactId>spri ...
- SpringBoot使用Swagger2构建API文档
后端开发中经常需要对移动客户端提供RESTful API接口,在后期版本快速迭代的过程中,修改接口实现的时候都必须同步修改接口文档,而文档与代码又处于两个不同的媒介,除非有严格的管理机制,不然很容易导 ...
- SpringBoot整合Swagger2搭建API在线文档
Swagger,中文"拽"的意思,它是一个功能强大的在线API在线文档,目前它的版本为2.x,所以称为Swagger2.Swagger2提供了在线文档的查阅和测试功能.利用Swag ...
- SpringBoot+rest接口+swagger2生成API文档+validator+mybatis+aop+国际化
代码地址:JillWen_SpringBootDemo mybatis 1. 添加依赖: <dependency> <groupId>org.mybatis.spring.bo ...
- springboot学习-jdbc操作数据库--yml注意事项--controller接受参数以及参数校验--异常统一管理以及aop的使用---整合mybatis---swagger2构建api文档---jpa访问数据库及page进行分页---整合redis---定时任务
springboot学习-jdbc操作数据库--yml注意事项--controller接受参数以及参数校验-- 异常统一管理以及aop的使用---整合mybatis---swagger2构建api文档 ...
- Spring Boot中使用Swagger2构建API文档
程序员都很希望别人能写技术文档,自己却很不愿意写文档.因为接口数量繁多,并且充满业务细节,写文档需要花大量的时间去处理格式排版,代码修改后还需要同步修改文档,经常因为项目时间紧等原因导致文档滞后于代码 ...
- 白话SpringCloud | 第十一章:路由网关(Zuul):利用swagger2聚合API文档
前言 通过之前的两篇文章,可以简单的搭建一个路由网关了.而我们知道,现在都奉行前后端分离开发,前后端开发的沟通成本就增加了,所以一般上我们都是通过swagger进行api文档生成的.现在由于使用了统一 ...
- 使用springfox+swagger2书写API文档(十八)
使用springfox+swagger2书写API文档 springfox是通过注解的形式自动生成API文档,利用它,可以很方便的书写restful API,swagger主要用于展示springfo ...
- springboot利用swagger构建api文档
前言 Swagger 是一款RESTFUL接口的文档在线自动生成+功能测试功能软件.本文简单介绍了在项目中集成swagger的方法和一些常见问题.如果想深入分析项目源码,了解更多内容,见参考资料. S ...
- SpringBoot中使用springfox+swagger2书写API文档
随着前后端的分离,借口文档变的尤其重要,springfox是通过注解的形式自动生成API文档,利用它,可以很方便的书写restful API,swagger主要用于展示springfox生成的API文 ...
随机推荐
- 苹果ios APP怎么打包?推荐这个网站
众所周知,苹果的应用开发需要基于苹果电脑环境,而我们很多开发者并不具备这样的条件.如果你买一台贵的苹果电脑只是为了发布一个应用,成本太高了! 就算你有苹果电脑,你也可以自己开发一个基于web的IOS应 ...
- 12.java链表栈和数组栈
栈是一个先入后出的有序列表,栈是限制线性表中元素的插入和删除只能在线性表的同一端进行的一种特殊线性表,一端为变化的一端,称为栈顶,另一端是固定的,称为栈底.先入的元素在栈底,最后放入的元素在栈顶,删除 ...
- KingbaseES V8R6备份恢复案例之---自定义表空间指定恢复目录数据恢复
案例说明: KingbaseES V8R6在通过sys_rman执行物理备份恢复时,可以通过参数'--kb1-path',指定恢复的数据(data)目录,但如果原备份中包含自定义表空间时,需要建立表空 ...
- [转]md Typora旧版免费安装包(多平台版本)
typora旧版免费安装包: 链接:https://pan.baidu.com/s/1pIqeO2nTJ9_s16IZj6z3sA?pwd=gut4 提取码:gut4 v1.0以上的版本都要收费了,我 ...
- [转并修改]C#编程中跨线程访问控件
C#编程中跨线程访问控件 一.简述 二.Winforms中跨线程访问控件 三.WPF中跨线程访问控件 参考文档 一.简述 C#中不允许跨线程直接访问界面控件,即一个线程中如主线程创建的控件不允许被其他 ...
- golang 日志
package log import ( "NOONASN/global" "github.com/natefinch/lumberjack" "go ...
- 从main_phase跳回reset_phase的方式
在main_phase中调用: phase.jump(uvm_reset_phase::get()); 注意需要防止进入死循环.
- 【笔记】小米路由器AX1800开启ipv6外部访问
首先你的路由器要能获取ipv6地址 获取不到的光猫改桥接 路由器拨号 然后想办法开SSH ssh进路由器修改防火墙规则 ip6table的 建议先导出规则 ip6tables-save 在第120行插 ...
- 在windows上搭建spark遇到的问题
报错如下: The root scratch dir: /tmp/hive on HDFS should be writable. Current permissions are: --------- ...
- YOLOV4网络
Yolov4网络代码 from collections import OrderedDict import torch import torch.nn as nn from Darknet_53 im ...