【代码】Processing笔触手写板笔刷代码合集(包含流速、毛笔笔触、压感笔触等多种)
代码来源于openprocessing,考虑到国内不是很好访问,我把我找到的比较好的搬运过来!
@
合集1
参考:https://openprocessing.org/sketch/793375
https://github.com/SourceOf0-HTML/processing-p5.js/tree/master
这个可以体验6种笔触,作者介绍如下:
There are multiple pages. Use the "←" "→" buttons below to switch.
The second page explains the UI.
I will explain the sketches I made in the past.
Some variable names have been changed. I wanted to explain in order, so I divided the processing in detail. The UI has been added so the code is getting longer ...
Video of this sketch in action (Twitter)
https://twitter.com/BUN_information/status/1195300719231791104
Gorilla Sun has written an explanation of each part with animations on his blog. Thank you!
https://gorillasun.de/blog/Simulating-brush-strokes-with-Hookes-Law-in-P5JS-and-Processing
其中三种种笔触的代码如下:
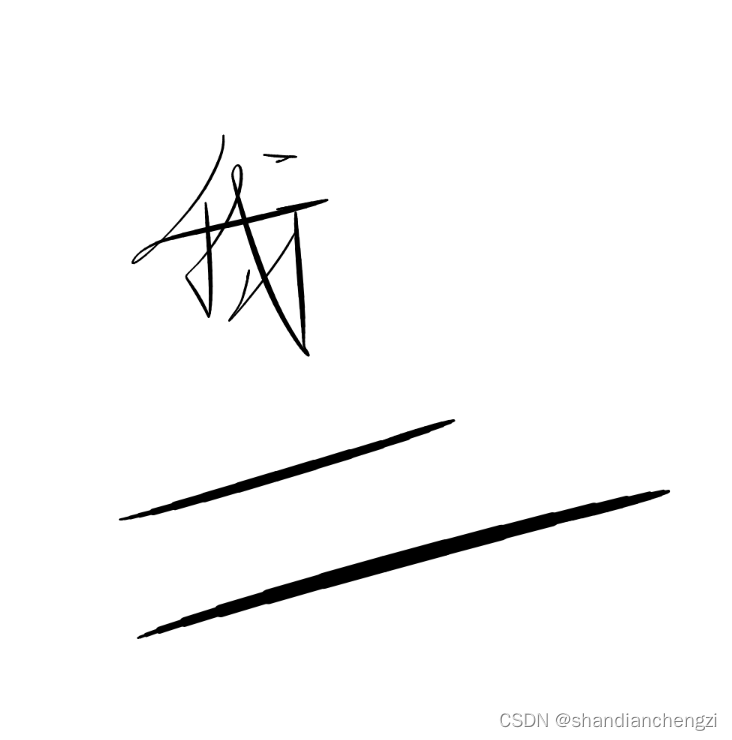
笔触4(流速笔触,速写)
特点:越快越粗,很适合画速写。
代码
/*

setup=()=>{m=n=x=y=u=v=0,s=0.08,f=0.8;createCanvas(L=500,L);background(C=255)}

draw=()=>{u+=(m-x)*s,v+=(n-y)*s,u*=f,v*=f,a=x,b=y;strokeWeight(abs(u+v)/3+1);line(x+=u,y+=v,a,b)}

mousePressed=()=>{x=m=mouseX,y=n=mouseY}

mouseDragged=()=>{m=mouseX,n=mouseY}

/**/

function setup() {

  mX = mY = x = y = ax = ay = 0;

  spring = 0.08;

  friction = 0.8;

  createCanvas( 500, 500 );

  background( 255 );

}

function draw() {

  ax += ( mX - x ) * spring;

  ay += ( mY - y ) * spring;

  ax *= friction;

  ay *= friction;

  oldX = x;

  oldY = y;

  x += ax;

  y += ay;

  strokeWeight( abs( ax + ay ) / 3 + 1 );

  line( x, y, oldX, oldY );

}

function mousePressed() {

  mX = x = mouseX;

  mY = y = mouseY;

}

function mouseDragged() {

  mX = mouseX;

  mY = mouseY;

}
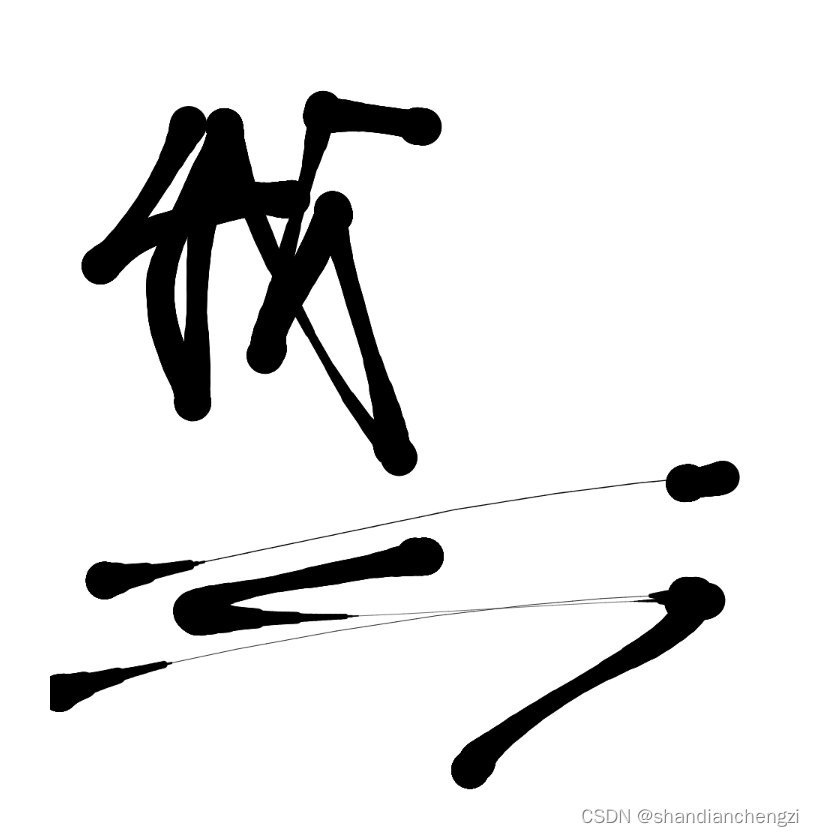
笔触5(流速笔触,晕染)
特点:越慢越粗,墨水有晕染感,适合写字。
/*

setup=_=>createCanvas(S=500,S),D=10,m=n=x=y=u=v=r=f=0

draw=_=>{R=r;if(mouseIsPressed){m=mouseX;n=mouseY;!f?(f=1,x=m,y=n):0;u+=(m-x)/2;v+=(n-y)/2;u/=2;v/=2;r=25-sqrt(u*u+v*v)*.7;i=D;while(--i)strokeWeight(R+=(r-R)/D),line(x,y,x+=u/D,y+=v/D)}else if(f){u=v=f=0}}

/**/

function setup() {

  createCanvas(S=500,S);

  distance = 10;

  spring = 0.5;

  friction = 0.5;

  mX = mY = x = y = ax = ay = r = f = 0;

}

function draw() {

  oldR = r;

  if(mouseIsPressed) {

    mX = mouseX;

    mY = mouseY;

    if(!f) {

      f = 1;

      x = mX;

      y = mY;

    }

    ax += ( mX - x ) * spring;

    ay += ( mY - y ) * spring;

    ax *= friction;

    ay *= friction;

    r = 25 - sqrt( ax*ax + ay*ay ) * 0.7;

    for( i = 0; i < distance; ++i ) {

      oldX = x;

      oldY = y;

      x += ax / distance;

      y += ay / distance;

      oldR += ( r - oldR ) / distance;

      strokeWeight( oldR );

      line( x, y, oldX, oldY );

    }

  } else if(f) {

    ax = ay = f = 0;

  }

}

/**/
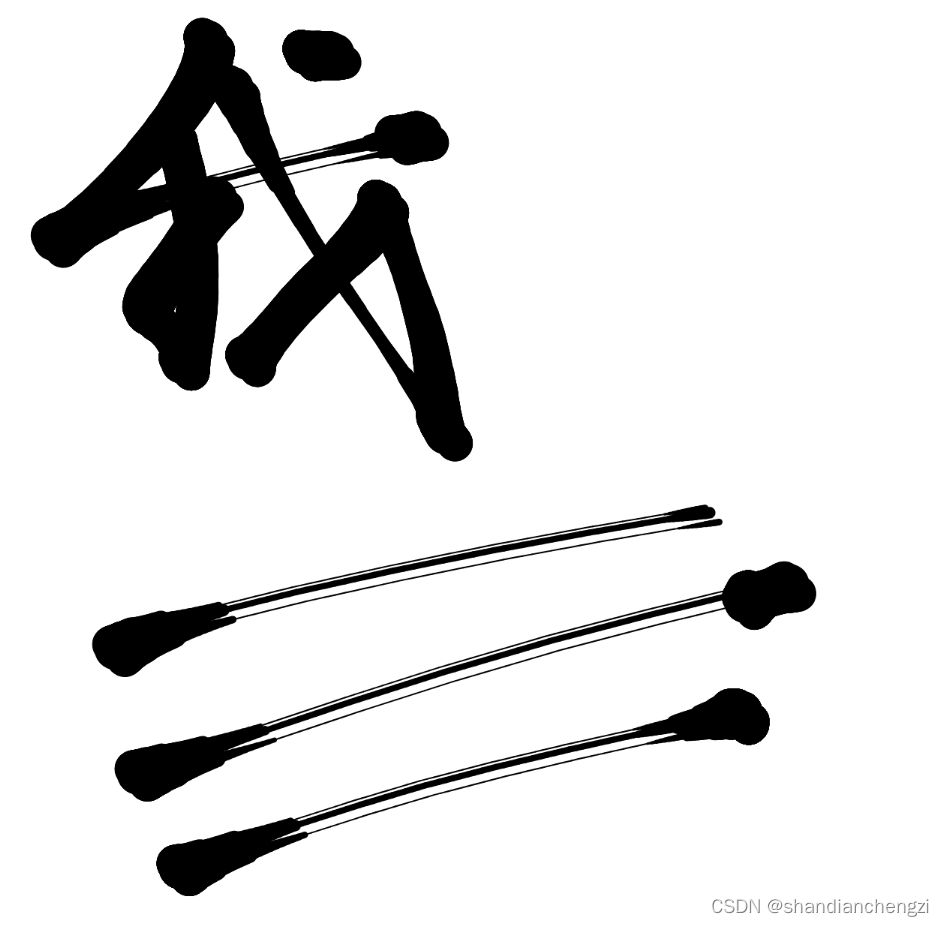
笔触6(流速笔触,毛笔)
特点:越慢越粗,有墨水晕染,线条有割裂,适合写毛笔字。
/**

 * Added on October 22, 2020

 *

 * Hi, I'm BUN.

 * I've been surprised at how many people have forked over this sketch, more than I expected. Thanks.

 *

 * Here is a sketch that explains this code with multiple codes.

 * Please use it as a reference.

 * https://www.openprocessing.org/sketch/793375

 *

 * Brief explanation.

 * This code primarily uses "Hook's Law".

 * In other words, it simulates the motion of a spring.

 *

 * From the mouse position, the position to be drawn is moved like a spring.

 * And the width of the line is changed according to the speed of the movement.

 *

 ** Added on May 8, 2021 **

 * Gorilla Sun has written an explanation of each part with animations on his blog. Thank you!

 * https://gorillasun.de/blog/Simulating-brush-strokes-with-Hooke's-Law-in-P5JS-and-Processing

 **/

function setup() {

  createCanvas(windowWidth,windowHeight);

  distance = 10;

  spring = 0.5;

  friction = 0.5;

  size = 25;

  diff = size/8;

  x = y = ax = ay = a = r = f = 0;

}

function draw() {

  oldR = r;

  if(mouseIsPressed) {

    mX = mouseX;

    mY = mouseY;

    if(!f) {

      f = 1;

      x = mX;

      y = mY;

    }

    ax += ( mX - x ) * spring;

    ay += ( mY - y ) * spring;

    ax *= friction;

    ay *= friction;

    a += sqrt( ax*ax + ay*ay ) - a;

    a *= 0.6;

    r = size - a;

    for( i = 0; i < distance; ++i ) {

      oldX = x;

      oldY = y;

      x += ax / distance;

      y += ay / distance;

      oldR += ( r - oldR ) / distance;

      if(oldR < 1) oldR = 1;

      strokeWeight( oldR+diff );

      line( x, y, oldX, oldY );

      strokeWeight( oldR );

      line( x+diff*2, y+diff*2, oldX+diff*2, oldY+diff*2 );

      line( x-diff, y-diff, oldX-diff, oldY-diff );

    }

  } else if(f) {

    ax = ay = f = 0;

  }

}

/**/
合集2
压感笔触,这个我暂时也没找到合集也没找到太多现成的就只找到一个,剩下的我打算自己写一下。
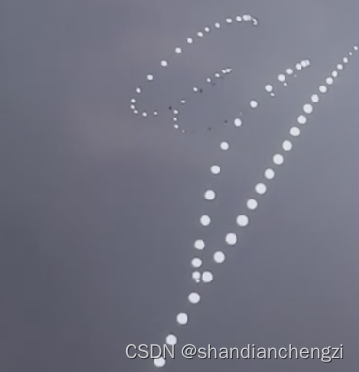
笔触1(平板压感笔触,不连续圆点)
特点: 有压感,支持平板手写笔,可惜是不连续的圆点。
size(600,600);

var p=0;

this.addEventListener('pointermove', function(ev) {

	p=(ev.pressure);

 }, false);

background(55);

draw = function(){

ellipse(mouseX,mouseY,20*p,20*p);

};
笔触2(平板压感笔触,连续)【自制】
基于前面的笔触自己合的。
var p=0;

this.addEventListener('pointermove', function(ev) {

	p=(ev.pressure);

 }, false);

function setup() {

  createCanvas(S=500,S);

  distance = 10;

  spring = 0.5;

  friction = 0.5;

  mX = mY = x = y = ax = ay = r = f = 0;

}

function draw() {

  if(mouseIsPressed) {

    mX = mouseX;

    mY = mouseY;

    if(!f) {

      f = 1;

      x = mX;

      y = mY;

    }

    ax += ( mX - x ) * spring;

    ay += ( mY - y ) * spring;

    ax *= friction;

    ay *= friction;

    for( i = 0; i < distance; ++i ) {

      oldX = x;

      oldY = y;

      x += ax / distance;

      y += ay / distance;

      strokeWeight( p*20 );

      line( x, y, oldX, oldY );

    }

  } else if(f) {

    ax = ay = f = 0;

  }

}
笔触3(平板压感笔触,连续,修复上一个的压感不连续的毛病)【自制】
已经公开发布,欢迎测试:https://openprocessing.org/sketch/2249898
var p=0;

// this.addEventListener('pointermove', function(ev) {

// 	p=(ev.pressure);

//  }, false);

function setup() {

  createCanvas(S=500,S);

  distance = 10;

  spring = 0.5;

  friction = 0.5;

	size = 150;

	pressure = 0;

  mX = mY = x = y = ax = ay = r = f = 0;

}

function draw() {

	oldX = x;

	oldY = y;

  if(mouseIsPressed) {

		oldR = r;

		// get pressure 取第一个touches的压力值

		for (i = 0; i < touches.length; i++) {

			pressure = touches[i].pressure;

			break;

		}

		r = size * pressure; // 使用压力值来调整圆点大小

    if (r < 1) r = 1; // 确保圆点有最小大小

    mX = mouseX;

    mY = mouseY;

    if(!f) {

      f = 1;

      x = mX;

      y = mY;

    }

    ax += ( mX - x ) * spring;

    ay += ( mY - y ) * spring;

    ax *= friction;

    ay *= friction;

    for( i = 0; i < distance; ++i ) {

      oldX = x;

      oldY = y;

      x += ax / distance;

      y += ay / distance;

			// 平滑过度压力值

      oldR += ( r - oldR ) / distance;

      strokeWeight( oldR ); // 设置基于压力的笔触宽度

      // 画一个基于压力大小的线

			line( x, y, oldX, oldY );

    }

  } else if(f) {

    ax = ay = f = 0;

  }

}
【代码】Processing笔触手写板笔刷代码合集(包含流速、毛笔笔触、压感笔触等多种)的更多相关文章
- 《Programming WPF》翻译 第7章 3.笔刷和钢笔
原文:<Programming WPF>翻译 第7章 3.笔刷和钢笔 为了在屏幕上绘制一个图形,WPF需要知道你想要为图形填充什么颜色以及如何绘制它的边框.WPF提供了一些Brush类型支 ...
- .Net 2014 Connect() 相关文章合集
微软在11月中旬的Connect()研讨会中公布了一系列 2015年的发展规划,今天在MSDN Blog上看到了一篇比较全的相关文章合集,这里转录一下,感兴趣的朋友可以看看. Announcement ...
- jsfl调整笔刷的笔触和颜色
今天在用jsfl写脚本以简化对fla资源的处理工作,在画矩形时需要能自动调整笔刷的笔触颜色,填充颜色透明度,查jsfl文档无果,上网查了多番资料写出了可用代码,共享下: var fill = fl.g ...
- 计算机视觉与模式识别代码合集第二版two
Topic Name Reference code Image Segmentation Segmentation by Minimum Code Length AY Yang, J. Wright, ...
- 计算机视觉与模式识别代码合集第二版three
计算机视觉与模式识别代码合集第二版three Topic Name Reference code Optical Flow Horn and Schunck's Optical Flow ...
- WooCommerce代码合集整理
本文整理了一些WooCommerce代码合集,方便查阅和使用,更是为了理清思路,提高自己.以下WooCommerce简称WC,代码放在主题的functions.php中即可. 修改首页和分类页面每页产 ...
- Javascript 语言精粹 代码片段合集
Javascript 语言精粹 代码片段合集 标签:Douglas-Crockford Javascript 最佳实践 原文链接 更好的阅读体验 使用一个method 方法定义新方法 Function ...
- 关于下拉刷新你是否真的非常理解还是只会搬砖?附 Android 实例子源代码文件下载地址380个合集
1,推荐几篇非常有用的博文 原创写的真的非常好 主要讲解原理,整体布局三部分组成以及设置padding等等作用, 下拉的具体实现 滑动到底部具体加载以及判断手势事件,再次推荐作者的 详细讲解 建议先看 ...
- 天气类API调用的代码示例合集:全国天气预报、实时空气质量数据查询、PM2.5空气质量指数等
以下示例代码适用于 www.apishop.net 网站下的API,使用本文提及的接口调用代码示例前,您需要先申请相应的API服务. 全国天气预报:数据来自国家气象局,可根据地名.经纬度GPS.IP查 ...
- 位置信息类API调用的代码示例合集:中国省市区查询、经纬度地址转换、POI检索等
以下示例代码适用于 www.apishop.net 网站下的API,使用本文提及的接口调用代码示例前,您需要先申请相应的API服务. 中国省市区查询:2017最新中国省市区地址 经纬度地址转换:经纬度 ...
随机推荐
- 德承GP-3100 x DeepSeek:边缘运算工控机在Windows系统下私有化部署DeepSeek-R1 AI模型教程
2025年春节前夕,中国人工智能企业深度求索(DeepSeek)发布其开源AI模型DeepSeek-R1,性能对标OpenAI开发的GPT-o1正式版,一时之间各类相关的话题引爆国内外.除了可以在手机 ...
- 用python做时间序列预测七:时间序列复杂度量化
本文介绍一种方法,帮助我们了解一个时间序列是否可以预测,或者说了解可预测能力有多强. Sample Entropy (样本熵) Sample Entropy是Approximate Entropy(近 ...
- 动态编译 Java 的神器 Liquor v1.3.10 发布
Liquor 是一个开源的轻量级 Java 动态编译器(零依赖,40KB),它可以在运行时编译 Java 字符串代码片段.类.方法等. 源码地址:https://gitee.com/noear/liq ...
- C# 性能优化 --- Lazy<T> 用法学习
参考原文:https://kb.cnblogs.com/page/99182/ 延迟实例化,对于需要创建大量对象,而又不需要立即使用的场景非常有用.一下实例说明了Lazy<T>的用法. u ...
- C# 全角字符和半角字符相互转换
参考链接:https://blog.csdn.net/willingtolove/article/details/106923879 1. 全角转半角 /// <summary> /// ...
- 【博客搭建】Latex数学书写笔记
[博客搭建]Latex 数学书写笔记 Latex 是一种文档书写语言,支持大量的特殊字符,包括书写数学公式,并且很多 Markdown 环境都支持该语言. 布局实现 靠左:使用内联数学块$...$. ...
- Linux - openssh通过源码build rpm包
# 安装依赖包 yum install --downloadonly --downloaddir=/home/rpm-install rpm-build gcc gcc-c++ glibc glibc ...
- devops第一步:CentOS初始化流程
设置IP vi /etc/sysconfig/network-scripts/ifcfg-ens192 修改下面两个配置 BOOTPROTO=static ONBOOT=yes 添加以下配置 # 改成 ...
- JSON驱动的vue可视化表单设计器组件
form-create-designer 是基于 @form-create/element-ui 实现的表单设计器组件.可以通过拖拽的方式快速创建表单,轻松帮你搞定表单. 源码地址: Github | ...
- python py文件名称不能和库名称一样,否则报错module 'requests' has no attribute 'post'
这个问题自己犯过几次,加深一下记忆