001 Hello Security 的框架搭建
一:STS
1.下载STS
官网:http://spring.io/tools
使用一个干净的STS进行操作学习。
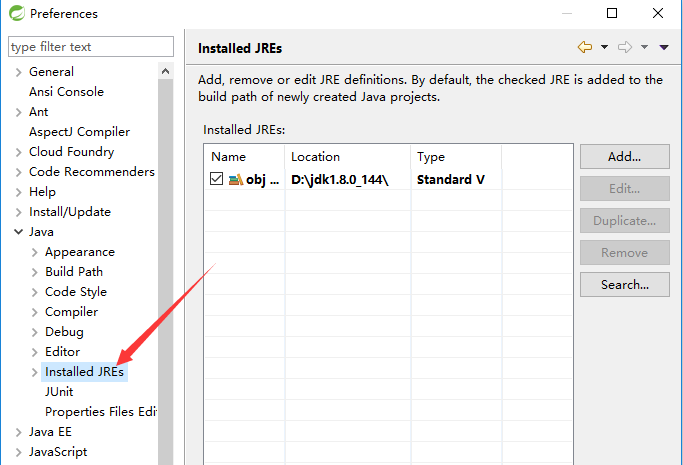
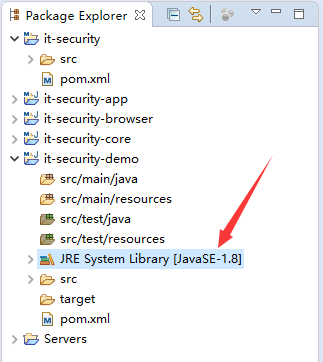
2.jdk检查
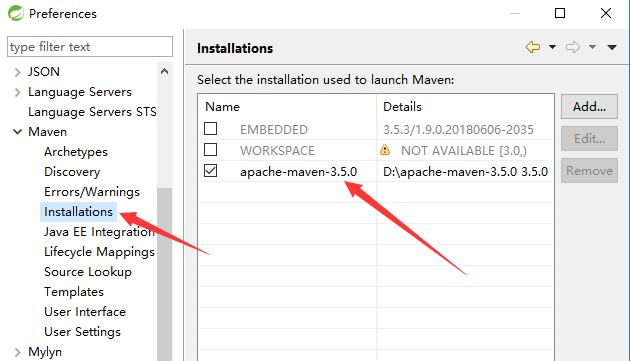
3.添加自己的maven
4.使用tomcat

二:新建项目
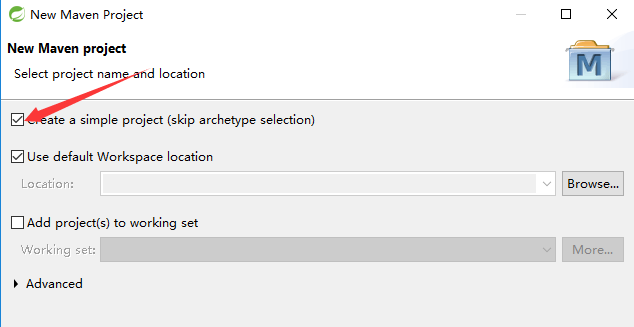
1.新建项目
新建的是maven项目。
所有的groupId使用一样的。
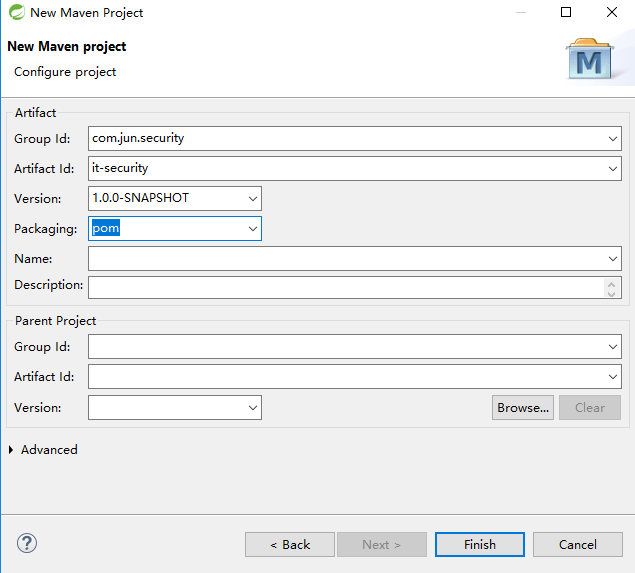
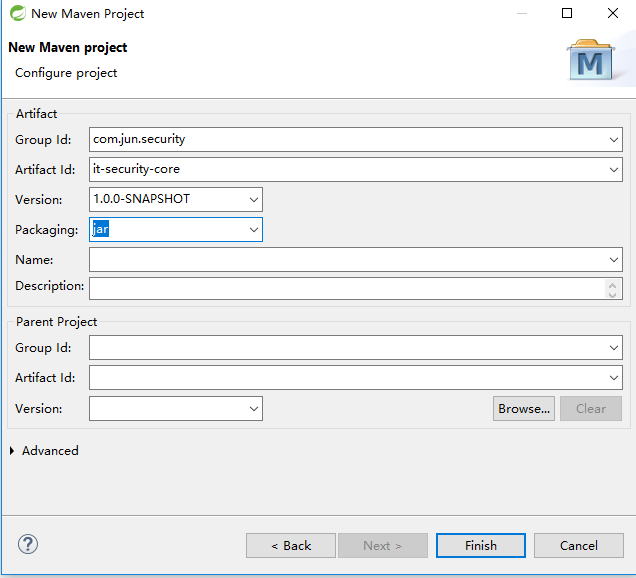
2.新建第一个项目
注意点是打包的时候选择pom,因为这个模块主要是用来打包。
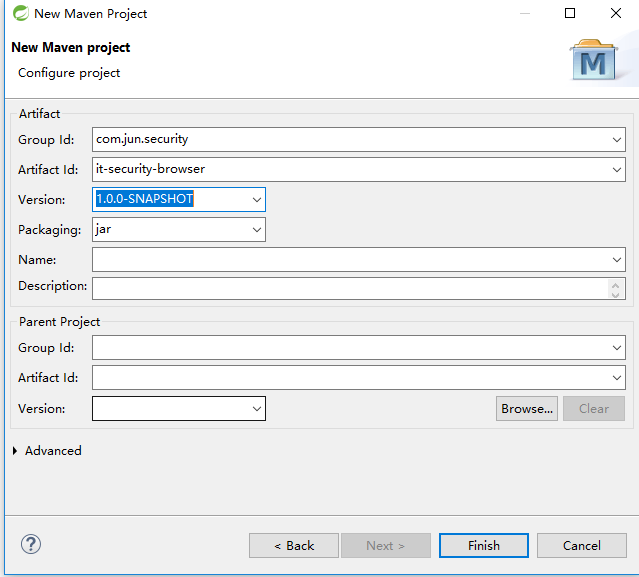
3.新建第二个项目
packaging是jar
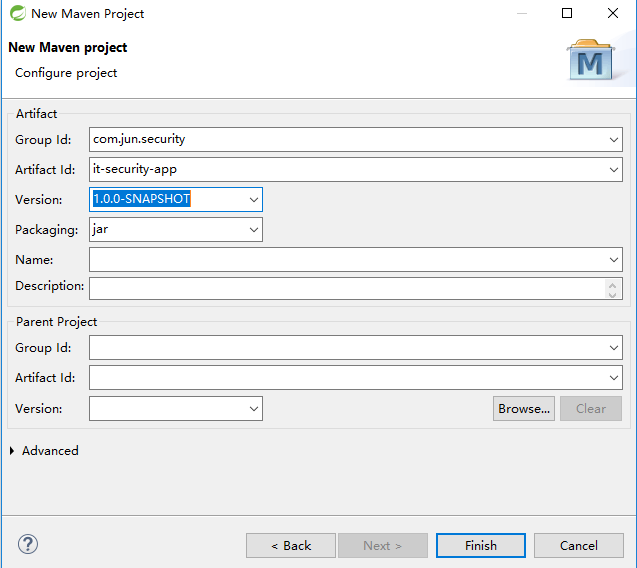
4.新建第三个项目
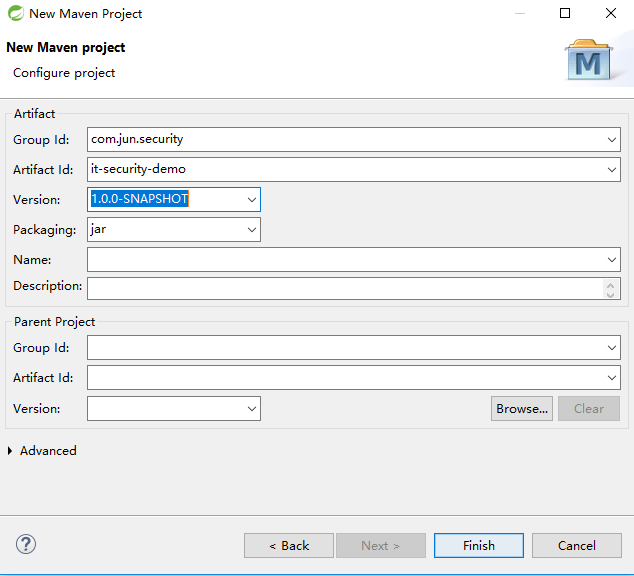
5.新建第四个项目
6.新建第五个项目
三:第一个项目
1.修改pom
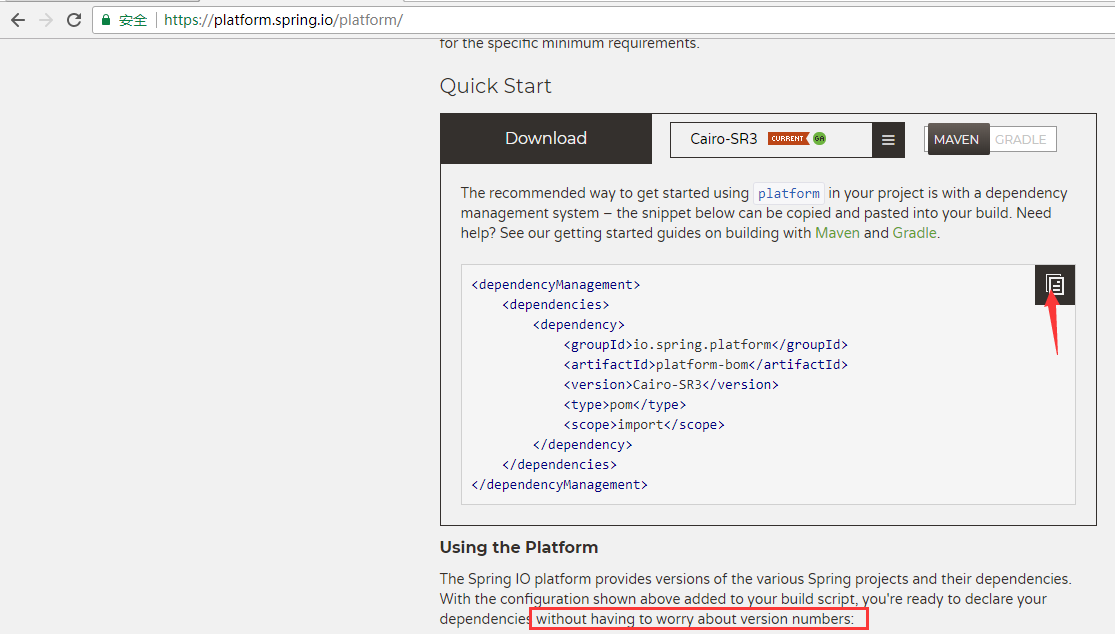
使用io

复制
可以让IO来管理,主要是依赖的冲突问题可以不需要考虑。
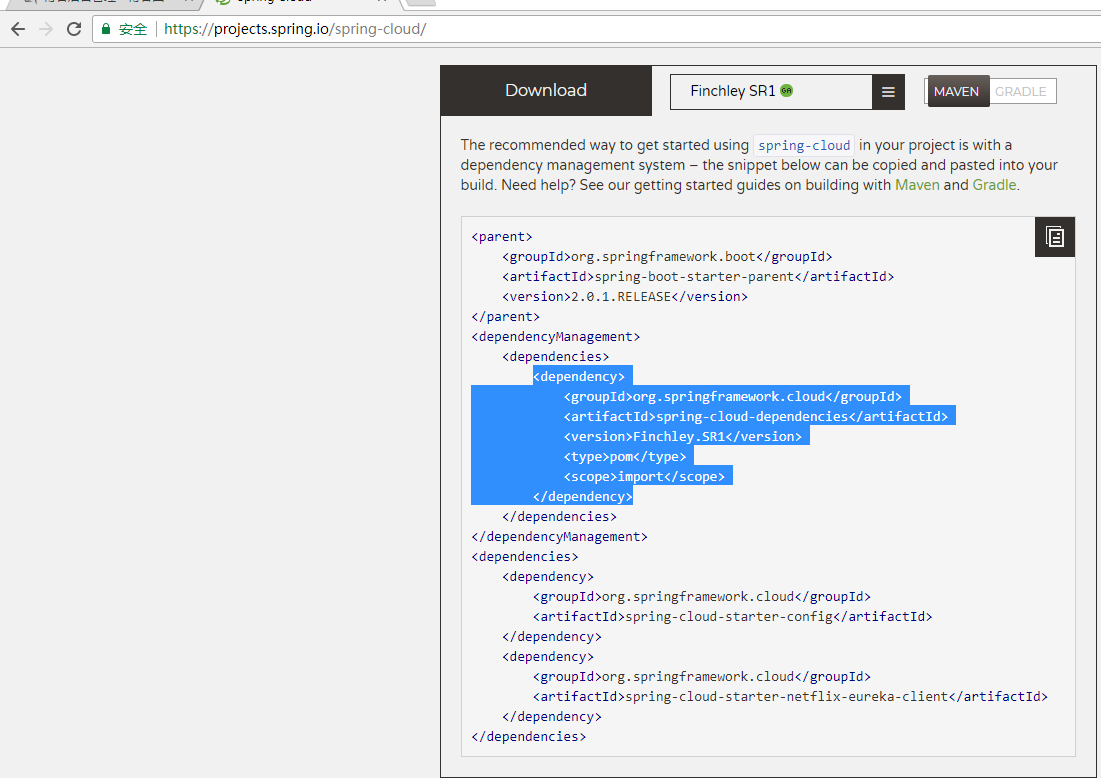
使用Cloud
进行依赖管理
POM:
 <project xmlns="http://maven.apache.org/POM/4.0.0"

     xmlns:xsi="http://www.w3.org/2001/XMLSchema-instance"

     xsi:schemaLocation="http://maven.apache.org/POM/4.0.0 http://maven.apache.org/xsd/maven-4.0.0.xsd">

     <modelVersion>4.0.0</modelVersion>

     <groupId>com.jun.security</groupId>

     <artifactId>it-security</artifactId>

     <version>1.0.0-SNAPSHOT</version>

     <packaging>pom</packaging>

     <dependencyManagement>

         <dependencies>

             <dependency>

                 <groupId>io.spring.platform</groupId>

                 <artifactId>platform-bom</artifactId>

                 <version>Brussels-SR4</version>

                 <type>pom</type>

                 <scope>import</scope>

             </dependency>

             <dependency>

                 <groupId>org.springframework.cloud</groupId>

                 <artifactId>spring-cloud-dependencies</artifactId>

                 <version>Dalston.SR2</version>

                 <type>pom</type>

                 <scope>import</scope>

             </dependency>

         </dependencies>

     </dependencyManagement>

     <build>

         <plugins>

             <plugin>

                 <groupId>org.apache.maven.plugins</groupId>

                 <artifactId>maven-compiler-plugin</artifactId>

                 <version>2.3.2</version>

                 <configuration>

                     <source>1.8</source>

                     <target>1.8</target>

                     <encoding>UTF-8</encoding>

                 </configuration>

             </plugin>

         </plugins>

     </build>

 </project>
2.关联子项目
添加子模块:
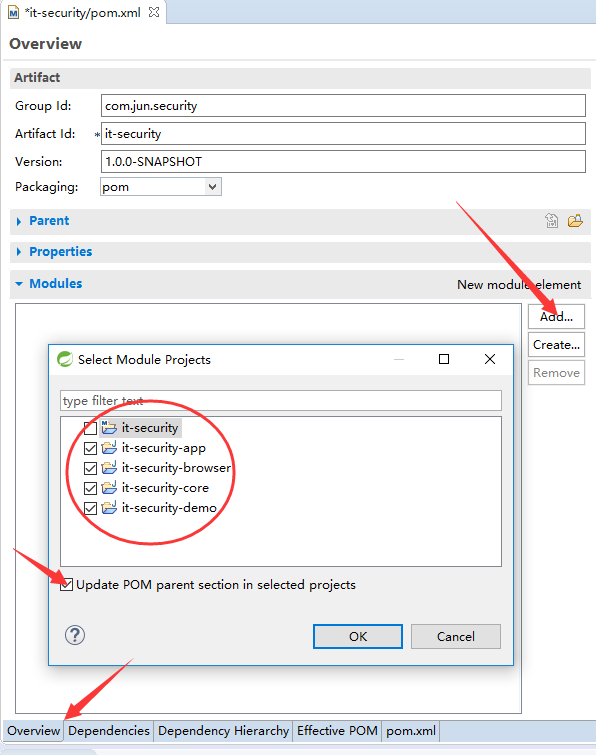
会多出配置:
         <modules>

         <module>../it-security-app</module>

         <module>../it-security-browser</module>

         <module>../it-security-core</module>

         <module>../it-security-demo</module>

     </modules>
3.然后更新子模块
因为这个时候子模块的编译不是1.8.
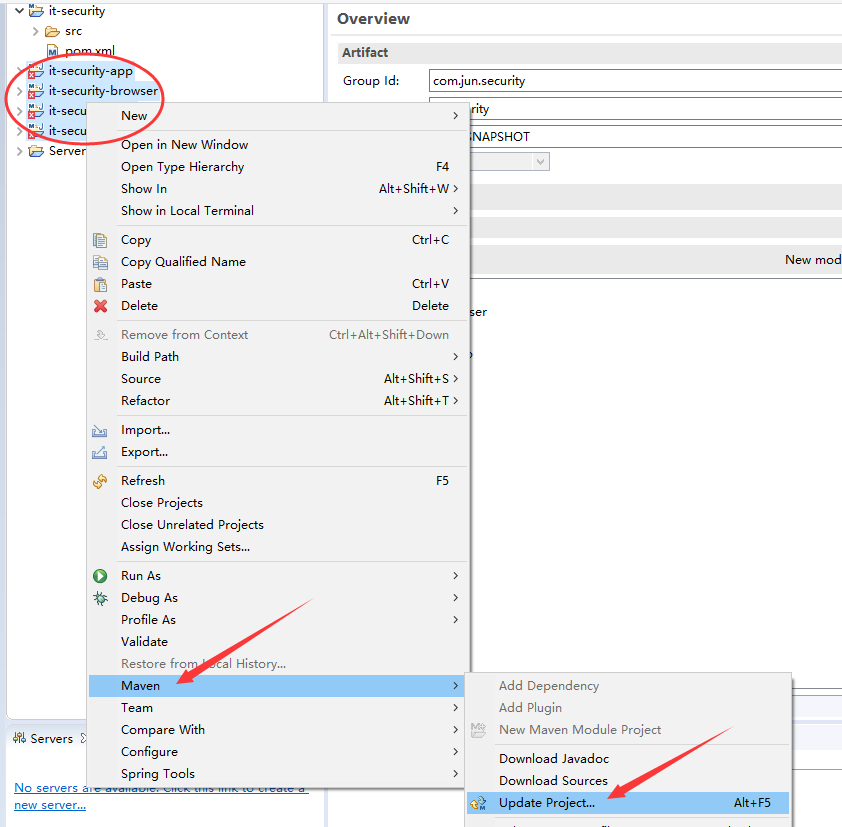
效果:
四:添加各个模块的pom
1.it-security-core项目的pom
 <project xmlns="http://maven.apache.org/POM/4.0.0" xmlns:xsi="http://www.w3.org/2001/XMLSchema-instance" xsi:schemaLocation="http://maven.apache.org/POM/4.0.0 http://maven.apache.org/xsd/maven-4.0.0.xsd">

   <modelVersion>4.0.0</modelVersion>

   <artifactId>it-security-core</artifactId>

   <parent>

       <groupId>com.jun.security</groupId>

       <artifactId>it-security</artifactId>

       <version>1.0.0-SNAPSHOT</version>

       <relativePath>../it-security</relativePath>

   </parent>

   <dependencies>

         <dependency>

             <groupId>org.springframework.cloud</groupId>

             <artifactId>spring-cloud-starter-oauth2</artifactId>

         </dependency>

         <dependency>

             <groupId>org.springframework.boot</groupId>

             <artifactId>spring-boot-starter-data-redis</artifactId>

         </dependency>

         <dependency>

             <groupId>org.springframework.boot</groupId>

             <artifactId>spring-boot-starter-jdbc</artifactId>

         </dependency>

         <dependency>

             <groupId>mysql</groupId>

             <artifactId>mysql-connector-java</artifactId>

         </dependency>

         <dependency>

             <groupId>org.springframework.social</groupId>

             <artifactId>spring-social-config</artifactId>

         </dependency>

         <dependency>

             <groupId>org.springframework.social</groupId>

             <artifactId>spring-social-core</artifactId>

         </dependency>

         <dependency>

             <groupId>org.springframework.social</groupId>

             <artifactId>spring-social-security</artifactId>

         </dependency>

         <dependency>

             <groupId>org.springframework.social</groupId>

             <artifactId>spring-social-web</artifactId>

         </dependency>

         <dependency>

             <groupId>commons-lang</groupId>

             <artifactId>commons-lang</artifactId>

         </dependency>

         <dependency>

             <groupId>commons-collections</groupId>

             <artifactId>commons-collections</artifactId>

         </dependency>

         <dependency>

             <groupId>commons-beanutils</groupId>

             <artifactId>commons-beanutils</artifactId>

         </dependency>

         <dependency>

             <groupId>org.springframework.boot</groupId>

             <artifactId>spring-boot-configuration-processor</artifactId>

         </dependency>

     </dependencies>

 </project>
2.it-security-browser的pom
先去住目录定义it.security.version版本,到时候在修改core的时候,只要修改一下父变量即可。
然后引用core,不过需要额外引用session做集群的session管理。
 <project xmlns="http://maven.apache.org/POM/4.0.0"

     xmlns:xsi="http://www.w3.org/2001/XMLSchema-instance"

     xsi:schemaLocation="http://maven.apache.org/POM/4.0.0 http://maven.apache.org/xsd/maven-4.0.0.xsd">

     <modelVersion>4.0.0</modelVersion>

     <artifactId>it-security-browser</artifactId>

     <parent>

         <groupId>com.jun.security</groupId>

         <artifactId>it-security</artifactId>

         <version>1.0.0-SNAPSHOT</version>

         <relativePath>../it-security</relativePath>

     </parent>

     <dependencies>

         <dependency>

             <groupId>com.jun.security</groupId>

             <artifactId>it-security-core</artifactId>

             <version>${it.security.version}</version>

         </dependency>

         <dependency>

             <groupId>org.springframework.session</groupId>

             <artifactId>spring-session</artifactId>

         </dependency>

         <dependency>

             <groupId>org.apache.shiro</groupId>

             <artifactId>shiro-core</artifactId>

             <version>1.2.2</version>

         </dependency>

     </dependencies>

 </project>
3.it-security-app的pom
只需要引用core。
 <project xmlns="http://maven.apache.org/POM/4.0.0"

     xmlns:xsi="http://www.w3.org/2001/XMLSchema-instance"

     xsi:schemaLocation="http://maven.apache.org/POM/4.0.0 http://maven.apache.org/xsd/maven-4.0.0.xsd">

     <modelVersion>4.0.0</modelVersion>

     <artifactId>it-security-app</artifactId>

     <parent>

         <groupId>com.jun.security</groupId>

         <artifactId>it-security</artifactId>

         <version>1.0.0-SNAPSHOT</version>

         <relativePath>../it-security</relativePath>

     </parent>

     <dependencies>

         <dependency>

             <groupId>com.jun.security</groupId>

             <artifactId>it-security-core</artifactId>

             <version>${it.security.version}</version>

         </dependency>

     </dependencies>

 </project>
4.it-security-demo的pom
先引一个进行开发。
 <project xmlns="http://maven.apache.org/POM/4.0.0" xmlns:xsi="http://www.w3.org/2001/XMLSchema-instance" xsi:schemaLocation="http://maven.apache.org/POM/4.0.0 http://maven.apache.org/xsd/maven-4.0.0.xsd">

   <modelVersion>4.0.0</modelVersion>

   <artifactId>it-security-demo</artifactId>

   <parent>

       <groupId>com.jun.security</groupId>

       <artifactId>it-security</artifactId>

       <version>1.0.0-SNAPSHOT</version>

       <relativePath>../it-security</relativePath>

   </parent>

   <dependencies>

       <dependency>

             <groupId>com.jun.security</groupId>

             <artifactId>it-security-browser</artifactId>

             <version>${it.security.version}</version>

         </dependency>

   </dependencies>

 </project>
001 Hello Security 的框架搭建的更多相关文章
- 原创:Equinox OSGi应用嵌入Jersey框架搭建REST服务
一.环境 eclipse版本:eclipse-luna 4.4 jre版本:1.8 二.Equinox OSGi应用嵌入Jersey框架搭建REST服务 1.新建插件工程HelloWebOSGI a. ...
- [c#]asp.net开发微信公众平台(2)多层架构框架搭建和入口实现
上篇已经设计出比较完善的数据库了,这篇开始进入代码. 首先把上篇设计的数据库脚本在数据库中执行下,生成数据库,然后在VS中建立项目,为了方便理解和查看,我设计的都是很直白的类名和文件名,没有命名空间 ...
- EF框架搭建小总结--CodeFirst模型优先
前言:之前在下总结编写了一篇 EF框架搭建小总结--ModelFirst模型优先 博文,看到一段时间内该博文的访问量蹭.蹭蹭.蹭蹭蹭...往上涨(实际也不是很多,嘿嘿),但是还是按捺不住内心的喜悦(蛮 ...
- 整合springboot(app后台框架搭建四)
springboot可以说是为了适用SOA服务出现,一方面,极大的简便了配置,加速了开发速度:第二方面,也是一个嵌入式的web服务,通过jar包运行就是一个web服务: 还有提供了很多metric,i ...
- springmvc跨域+token验证(app后台框架搭建二)
这是app后台框架搭建的第二课,主要针对app应用是跨域的运用,讲解怎么配置跨域服务:其次讲解怎么进行token验证,通过拦截器设置token验证和把token设置到http报文中.主要有如下: ...
- Equinox OSGi应用嵌入Jersey框架搭建REST服务
原文地址:https://www.cnblogs.com/kira2will/p/5040264.html 一.环境 eclipse版本:eclipse-luna 4.4 jre版本:1.8 二.Eq ...
- EF框架搭建小总结--CodeFirst代码优先
前言:之前在下总结编写了一篇 EF框架搭建小总结--ModelFirst模型优先 博文,看到一段时间内该博文的访问量蹭.蹭蹭.蹭蹭蹭...往上涨(实际也不是很多,嘿嘿),但是还是按捺不住内心的喜悦(蛮 ...
- SSM+Redis+Shiro+Maven框架搭建及集成应用
引文: 本文主要讲述项目框架搭建时的一些简单的使用配置,教你如何快速进行项目框架搭建. 技术: Spring+SpringMVC+Mybatis+Redis+Shiro+Maven ...
- webapi框架搭建-安全机制(四)-可配置的基于角色的权限控制
webapi框架搭建系列博客 在上一篇的webapi框架搭建-安全机制(三)-简单的基于角色的权限控制,某个角色拥有哪些接口的权限是用硬编码的方式写在接口上的,如RBAuthorize(Roles = ...
随机推荐
- Spring加载加密的配置文件
一.继承并实现自己的属性文件配置器类 /** * 带加密的Spring属性配置文件扩展类 * 加密方式:AES * @author simon * */ public class EncryptPro ...
- Android 常用正则表达式
前言 闲扯一下,已经有好久没更新博客了,记得上一篇博客的更新时间为 2017-05-12 15:20.截止到今天,超过一百天没更新了. 这篇博客的内容大多数是从别的博客摘抄过来的,写这篇博客的目的主要 ...
- 【MySql】Order By 排序
你可以使用任何字段来作为排序的条件,从而返回排序后的查询结果. 你可以设定多个字段来排序. 你可以使用 ASC 或 DESC 关键字来设置查询结果是按升序或降序排列. 默认情况下,它是按升序排列. 你 ...
- SpringMVC环境搭建
Spring MVC为展现层提供的基于MVC设计理念的优秀Web框架,是目前最主流的MVC框架之一. Spring 3.0之后完全超越Struts2,称为最优秀的MVC框架.学完SpringMVC之后 ...
- java Swing组件和事件处理
1.常见的容器 JComponent是 Container 的子类,中间容器必须添加到底层容器中才能够发挥作用, JPanel 面板 :使用jPanel 创建一个面板,再通过添加组件到该面板上面,JP ...
- QuerySet中添加Extra进行SQL查询
select参数接受一个映射到SQL的字符串标识字典,让你可以根据SQL select子句里的选择进行对模型实例添加属性,或者查询. from blog.models import BlogPost& ...
- bzoj 2186
非常有趣的题 题意:求1~N!中有多少个与M!互质的数,T组询问,答案对R取模 题解: 首先,因为N>M,所以N!>M!,所以答案一定有一部分是φ(M!) 接下来做一些分析: 引理: 若x ...
- 重建控制文件报错 ORA-01503 ORA-01192
1. 错误信息 ORA-: CREATE CONTROLFILE failed ORA-: must have at least one enabled thread 2. 重建脚本 CREATE C ...
- js 图片转换base64 base64转换为file对象
function getImgToBase64(url,callback){//将图片转换为Base64 var canvas = document.createElement('canvas'), ...
- Install zeal on ubuntu16.04
Dash is a helpful software for macOS users. For Windows and Linux users, zeal is the open-source cou ...