使用IDEA完成一个SpringBoot的demo
打算开始做毕业设计了,写一些博客记录一下做毕业设计的过程。
前两天从老师那里拿了学长学姐做的非常简陋的代码,配置环境跑了一下,老师找我的时候说还剩下50%的工作,但感觉至少还有70%。
废话不多说,今天先学习用IDEA做个小demo。
开发环境的话是windows10、IntelliJ IDEA Community Edition 2020.2.3 x64、JDK11。
一.创建项目
首先在初始界面New Project。
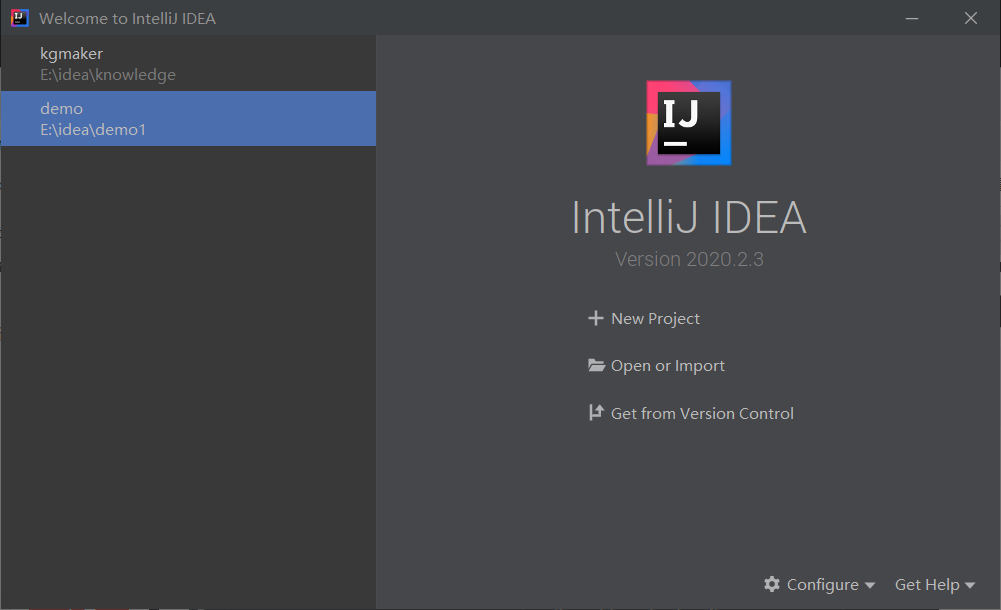

按照网上的教程需要选择spring Initializr,可是我这个社区版并没有,所以需要一个插件。
返回到开始界面,右下角配置处点击Plugins。
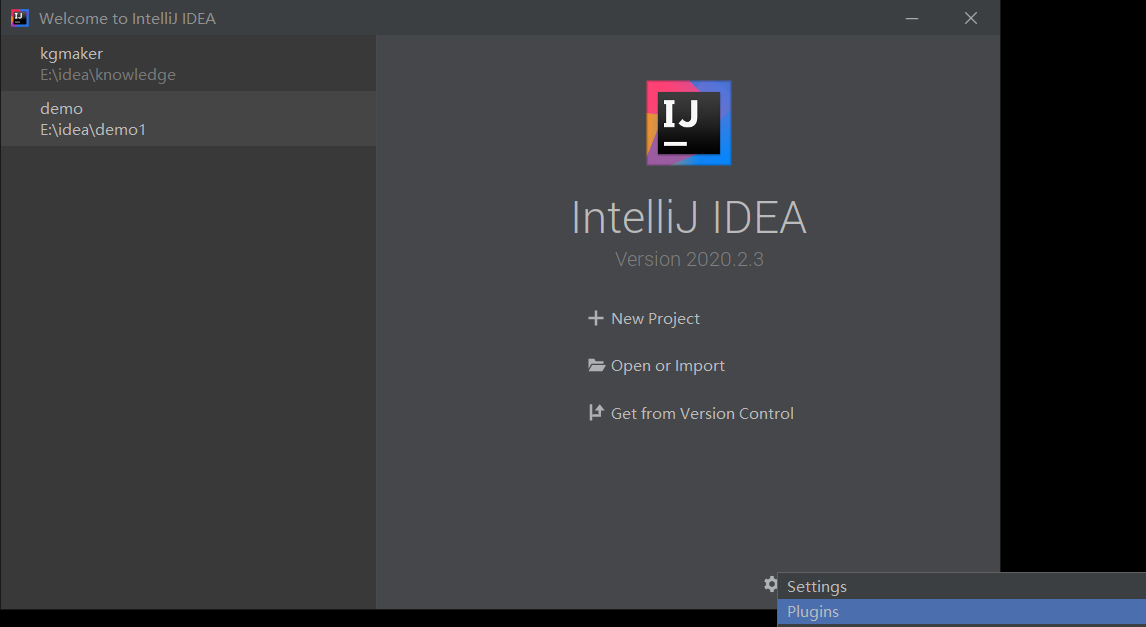
下载Spring Assiant。

这样子完成之后新建项目时就会有一个Spring Assistant,默认选项点击next就可以了。

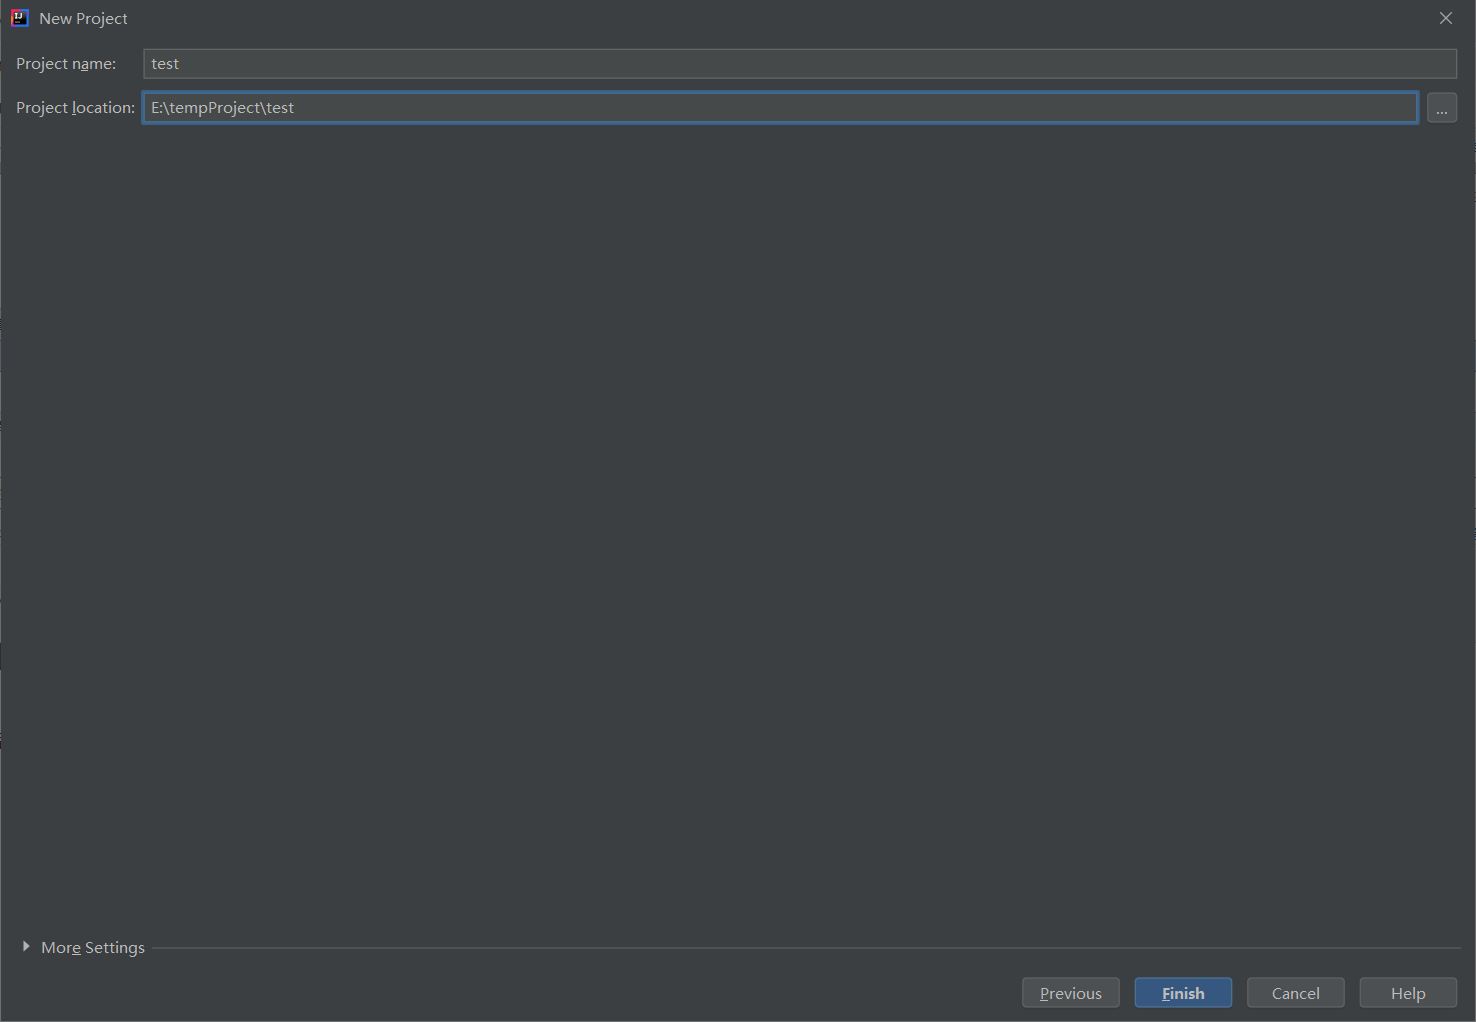
修改一下项目的配置,next。

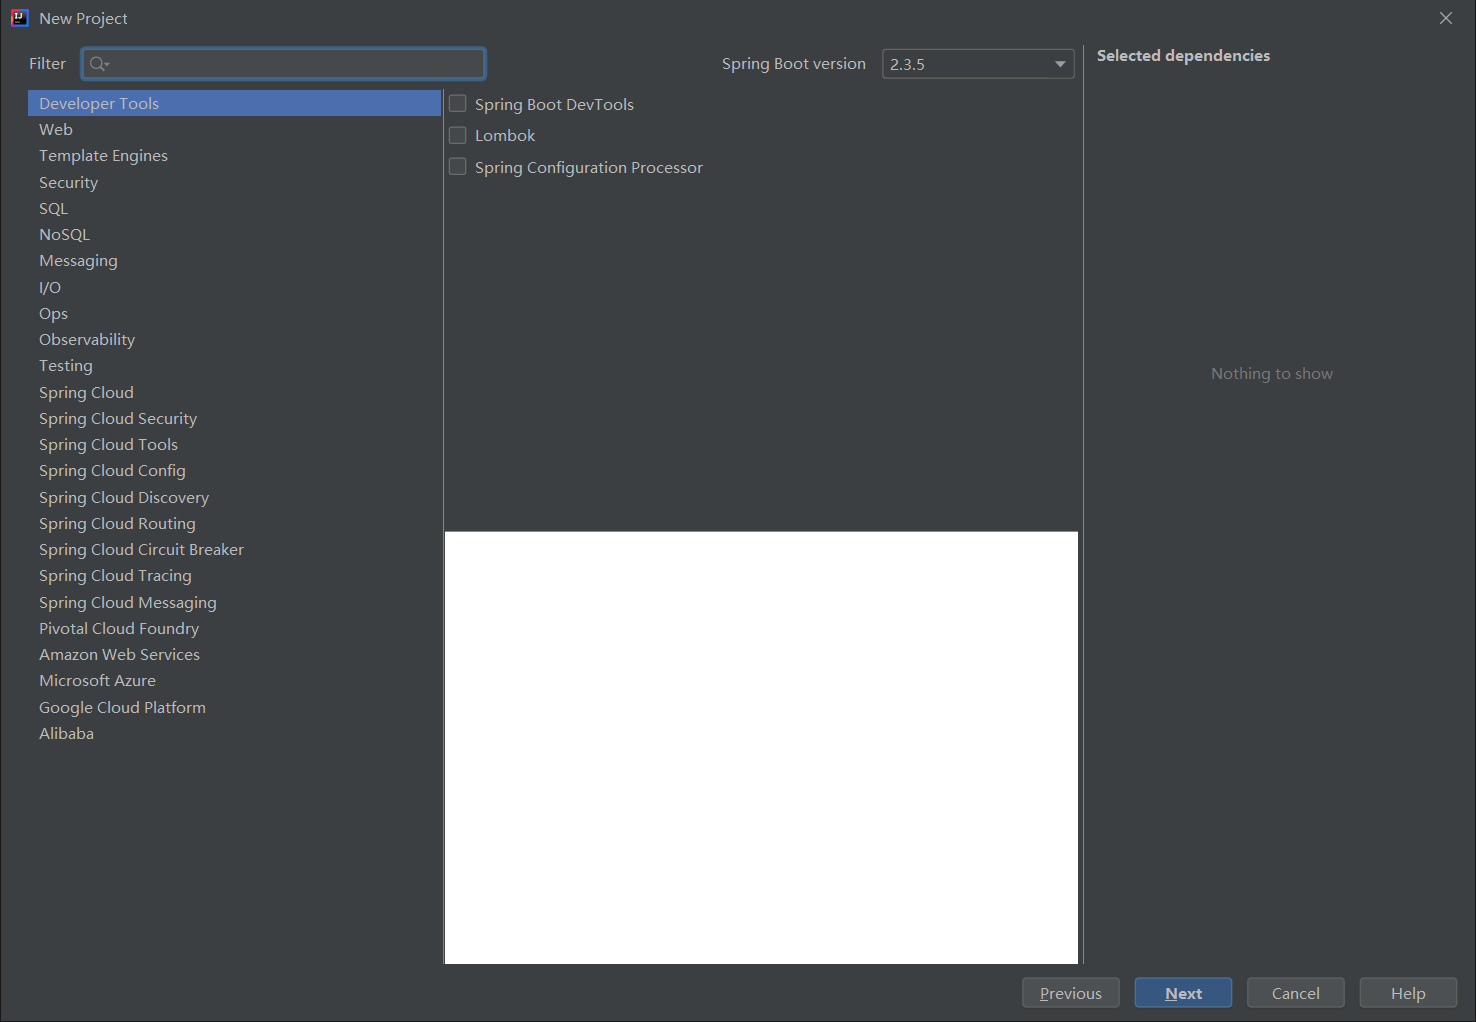
然后勾选需要的服务,按照网上的说法需要Web下勾选Spring Web ,Template Englines勾选Thymeleaf;SQL勾选:MySQL Driver,JDBC API 和 MyBatis Framework三项;点击next;
我这个Spring Boot的版本是2.3.5。
最后设置存储路径点击Finish。
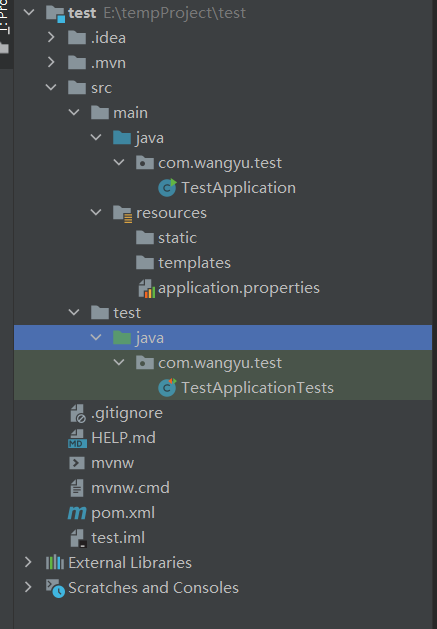
二.配置项目
首先看一下创建好项目的结构。
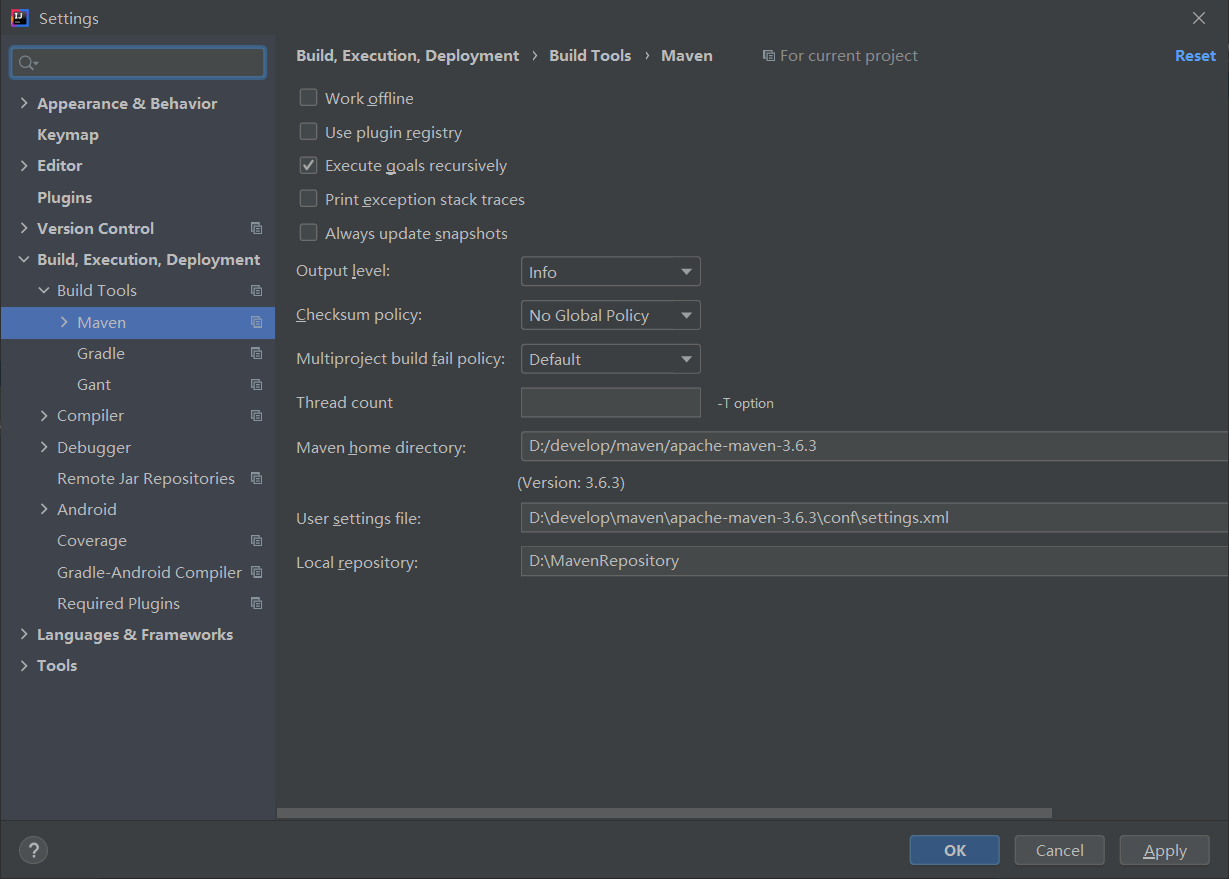
先要进行maven仓库的配置,配置maven位置和仓库位置,然后下载更新所需要的jar包。

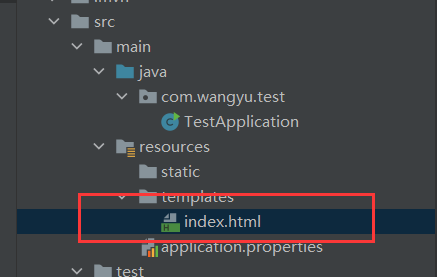
三.正式编写
在templates文件下新建index.html页面,作为启动的初始页面
<!DOCTYPE html>

<html lang="en">

<head>

    <meta charset="UTF-8">

    <title>Title</title>

</head>

<body>

    这里是一个简单的启动页面

</body>

</html>
在com.wangyu.test下新建controller文件夹,在controller文件夹下建一个简单的HelloController类;(Controller类要添加@Controller注解,项目启动时,SpringBoot会自动扫描加载Controller)

package com.wangyu.test.controller;

import org.springframework.stereotype.Controller;

import org.springframework.web.bind.annotation.RequestMapping;

@Controller

public class HelloController {

    @RequestMapping("/index")

    public String sayHello(){

        return "index";

    }

}
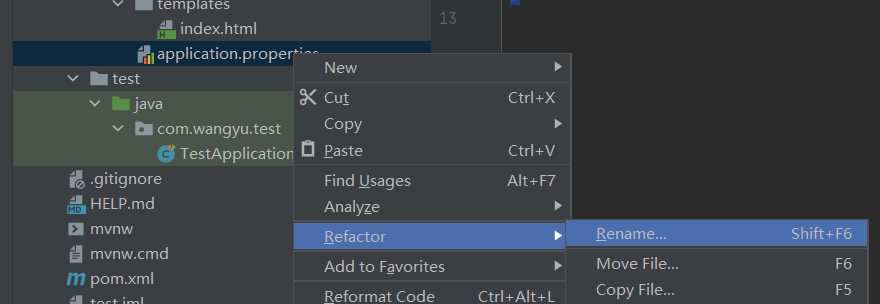
在resources文件夹下application中先配置DataSource基本信息,application文件有两种文件格式,一种是以.properties为后缀,一种是以.yml为后缀的,两种配置方式略有差别,详情可参考这个网址:https://blog.csdn.net/qq_29648651/article/details/78503853;在这我是用.yml后缀的文件格式。右键application文件选择Refact,选择Rename,将后缀改为yml。
spring:

  datasource:

    name: springboottest

    url: jdbc:mysql://localhost:3306/springboottest

    username: root

    password: xxxxxx

    driver-class-name: com.mysql.cj.jdbc.Driver
pom.xml文件配置信息。
<?xml version="1.0" encoding="UTF-8"?>

<project xmlns="http://maven.apache.org/POM/4.0.0" xmlns:xsi="http://www.w3.org/2001/XMLSchema-instance"

    xsi:schemaLocation="http://maven.apache.org/POM/4.0.0 https://maven.apache.org/xsd/maven-4.0.0.xsd">

    <modelVersion>4.0.0</modelVersion>

    <parent>

        <groupId>org.springframework.boot</groupId>

        <artifactId>spring-boot-starter-parent</artifactId>

        <version>2.3.5.RELEASE</version>

        <relativePath/> <!-- lookup parent from repository -->

    </parent>

    <groupId>com.wangyu</groupId>

    <artifactId>test</artifactId>

    <version>0.0.1-SNAPSHOT</version>

    <name>test</name>

    <description>Demo project for Spring Boot</description>

    <properties>

        <java.version>11</java.version>

    </properties>

    <dependencies>

        <dependency>

            <groupId>org.springframework.boot</groupId>

            <artifactId>spring-boot-starter-jdbc</artifactId>

        </dependency>

        <!--thymeleaf模板引擎配置-->

        <dependency>

            <groupId>org.springframework.boot</groupId>

            <artifactId>spring-boot-starter-thymeleaf</artifactId>

        </dependency>

        <!--Web依赖-->

        <dependency>

            <groupId>org.springframework.boot</groupId>

            <artifactId>spring-boot-starter-web</artifactId>

        </dependency>

        <!--MyBatis配置-->

        <dependency>

            <groupId>org.mybatis.spring.boot</groupId>

            <artifactId>mybatis-spring-boot-starter</artifactId>

            <version>2.1.3</version>

        </dependency>

        <!--MySQL数据库配置-->

        <dependency>

            <groupId>mysql</groupId>

            <artifactId>mysql-connector-java</artifactId>

            <scope>runtime</scope>

        </dependency>

        <!--单元测试配置-->

        <dependency>

            <groupId>org.springframework.boot</groupId>

            <artifactId>spring-boot-starter-test</artifactId>

            <scope>test</scope>

            <exclusions>

                <exclusion>

                    <groupId>org.junit.vintage</groupId>

                    <artifactId>junit-vintage-engine</artifactId>

                </exclusion>

            </exclusions>

        </dependency>

    </dependencies>

    <build>

        <plugins>

            <plugin>

                <groupId>org.springframework.boot</groupId>

                <artifactId>spring-boot-maven-plugin</artifactId>

            </plugin>

        </plugins>

    </build>

</project>
Bean实体类,依据数据库表,生成set和get方法:
package com.wangyu.test.bean;

public class UserBean {

    private int id;

    private String name;

    private String password;

    public int getId() {

        return id;

    }

    public void setId(int id) {

        this.id = id;

    }

    public String getName() {

        return name;

    }

    public void setName(String name) {

        this.name = name;

    }

    public String getPassword() {

        return password;

    }

    public void setPassword(String password) {

        this.password = password;

    }

}
Mapper层访问数据库接口文件:
package com.wangyu.test.mapper;

import com.wangyu.test.bean.UserBean;

public interface UserMapper {

    UserBean getInfo(String name, String password);

}
Mapper层访问数据库实现文件(需在resource包下创建mapper文件夹,然后再创建一个UserMapper.xml.在application配置文件中mybatis:mapper-locations:对应的就是该文件地址),注意<mapper>标签的namespace属性要填写 访问数据库接口类文件路径:
<?xml version="1.0" encoding="UTF-8"?>

<!DOCTYPE mapper PUBLIC "-//mybatis.org//DTD Mapper 3.0//EN" "http://mybatis.org/dtd/mybatis-3-mapper.dtd" >

<mapper namespace="com.wangyu.test.mapper.UserMapper">

    <select id="getInfo" parameterType="String" resultType="com.wangyu.test.bean.UserBean">

        SELECT * FROM user WHERE name = #{name} AND password = #{password}

    </select>

</mapper>
Service层业务接口类编写:
package com.wangyu.test.service;

import com.wangyu.test.bean.UserBean;

public interface UserService {

    UserBean loginIn(String name, String password);

}
Service层业务实现类编写,注意要注解@Service,注入Mapper:
package com.wangyu.test.serviceImpl;

import com.wangyu.test.bean.UserBean;

import com.wangyu.test.mapper.UserMapper;

import com.wangyu.test.service.UserService;

import org.springframework.beans.factory.annotation.Autowired;

import org.springframework.stereotype.Service;

@Service

public class UserServiceImpl implements UserService {

    //将DAO注入Service层

    @Autowired

    private UserMapper userMapper;

    @Override

    public UserBean loginIn(String name, String password) {

        return userMapper.getInfo(name,password);

    }

}
项目启动类要添加注解@MapperScan项目启动时扫描mapper接口,否则会报错找不到mapper文件:
package com.wangyu.test;

import org.mybatis.spring.annotation.MapperScan;

import org.springframework.boot.SpringApplication;

import org.springframework.boot.autoconfigure.SpringBootApplication;

@SpringBootApplication

@MapperScan("com.wangyu.test.mapper")

public class TestApplication {

    public static void main(String[] args) {

        SpringApplication.run(TestApplication.class, args);

    }

}
编写测试类,看是否能成功 访问数据库,获取数据库信息:
package com.wangyu.test;

import com.wangyu.test.bean.UserBean;

import com.wangyu.test.service.UserService;

import org.junit.Test;

import org.junit.runner.RunWith;

import org.springframework.beans.factory.annotation.Autowired;

import org.springframework.boot.test.context.SpringBootTest;

import org.springframework.test.context.junit4.SpringRunner;

@RunWith(SpringRunner.class)

@SpringBootTest

public class TestApplicationTests {

    @Autowired

    UserService userService;

    @Test

    public void contextLoads() {

        UserBean userBean = userService.loginIn("a","a");

        System.out.println("该用户ID为:");

        System.out.println(userBean.getId());

    }

}
controller层,注意添加@controller注解,注入Service服务:
package com.wangyu.test.controller;

import com.wangyu.test.bean.UserBean;

import com.wangyu.test.service.UserService;

import org.springframework.beans.factory.annotation.Autowired;

import org.springframework.stereotype.Controller;

import org.springframework.web.bind.annotation.RequestMapping;

import org.springframework.web.bind.annotation.RequestMethod;

@Controller

public class LoginController {

    //将Service注入Web层

    @Autowired

    UserService userService;

    @RequestMapping("/login")

    public String show(){

        return "login";

    }

    @RequestMapping(value = "/loginIn",method = RequestMethod.POST)

    public String login(String name,String password){

        UserBean userBean = userService.loginIn(name,password);

        if(userBean!=null){

            return "success";

        }else {

            return "error";

        }

    }

}
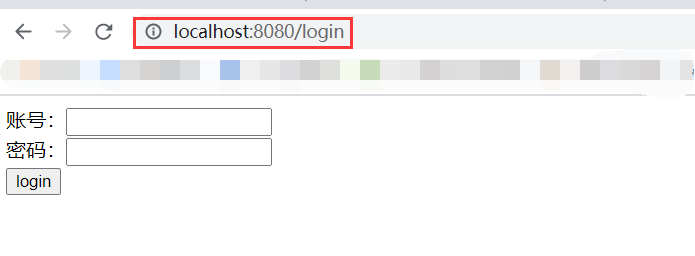
login.html
<!DOCTYPE html>

<html lang="en">

<head>

    <meta charset="UTF-8">

    <title>login</title>

</head>

<body>

<form role="form" action = "/loginIn" method="post">

    账号:<input type="text" id="name" name = "name"> <br>

    密码:<input type="password" id = "password" name = "password"> <br>

    <input type="submit" id = "login" value = "login">

</form>

</body>

</html>
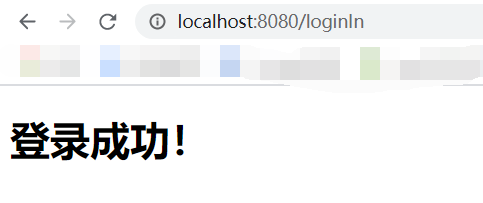
success.html
<!DOCTYPE html>

<html lang="en">

<head>

    <meta charset="UTF-8">

    <title>success</title>

</head>

<body>

    <h1>登录成功!</h1>

</body>

</html>
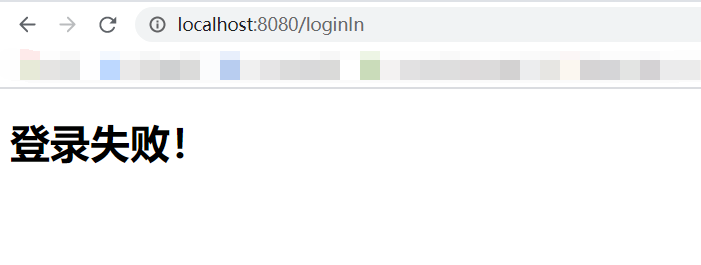
error.html
<!DOCTYPE html>

<html lang="en">

<head>

    <meta charset="UTF-8">

    <title>error</title>

</head>

<body>

    <h1>登录失败!</h1>

</body>

</html>
先运行测试类,看是否成功获取数据库信息:
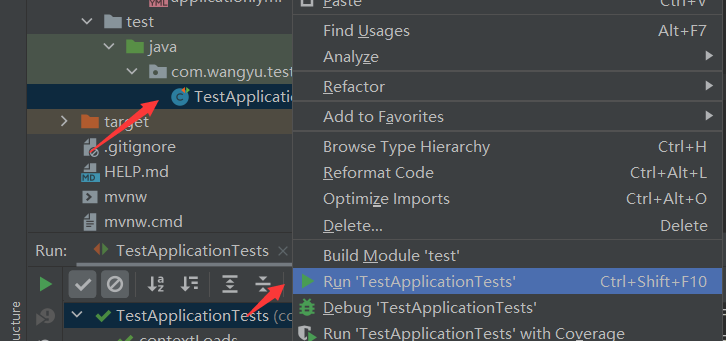

运行TestApplication.java文件,启动项目,进入浏览器输入localhost:8080/login

输入账号密码测试网页跳转是否正常。
到这里为止,整个demo就大功告成了。
参考:
https://blog.csdn.net/baidu_39298625/article/details/98102453
https://blog.csdn.net/crazilyer/article/details/80313323
https://blog.csdn.net/qq_29648651/article/details/78503853
https://www.cnblogs.com/kaikai-2018/p/13030719.html
https://blog.csdn.net/qq_40902709/article/details/105806376
import com.wangyu.test.bean.UserBean;
import com.wangyu.test.service.UserService;
import org.junit.Test;
import org.junit.runner.RunWith;
import org.springframework.beans.factory.annotation.Autowired;
import org.springframework.boot.test.context.SpringBootTest;
import org.springframework.test.context.junit4.SpringRunner;
使用IDEA完成一个SpringBoot的demo的更多相关文章
- 创建第一个SpringBoot的demo程序
在这里,我只介绍手动创建的其中一种方式. 默认,你已经安装了IntelliJ IDEA和JDK1.8,如果没有,请先安装. 第一步:选择新建一个项目 File-->New-->Proj ...
- SpringBoot入门Demo
前言:相信做java后台编程的童鞋都知道Spring家族,Spring作为我们项目中必备的框架.JavaSpringBoot号称javaEE的颠覆者,这引起了本Y的好奇,这才花费了一点时间,学习了下s ...
- 第一个SpringBoot应用
第一个SpringBoot应用 新建eclipse项目 编写pom文件,配置maven导入的springboot的jar包 <?xml version="1.0" encod ...
- activeMQ的spring、springboot的DEMO
一.activeMQ实现spring的demo 1:pom.xml文件 <dependencies> <dependency> <groupId>junit< ...
- 建一个springboot项目
1.打开 https://start.spring.io/ 新建一个maven的demo,这里选择的是1.5.18的版本 2.将自动生成的demo导入eclipse,直接选中File里的import, ...
- SpringBoot 入门 Demo
SpringBoot 入门 Demo Spring Boot是由Pivotal团队提供的全新框架,其设计目的是用来简化新Spring应用的初始搭建以及开发过程.该框架使用了特定的方式来进行配置,从 ...
- 整理代码,将一些曾经用过的功能整合进一个spring-boot
一 由于本人的码云太多太乱了,于是决定一个一个的整合到一个springboot项目里面. 附上自己的项目地址https://github.com/247292980/spring-boot 功能 1. ...
- 用MyEclipse2016 CI版创建一个SpringBoot程序
之前先要在Eclipse里安装STS,步骤如下: 1.点击菜单Help->Install from Catalog 2.在弹出的对话框中点击Popular选项卡,在STS旁边点Install按钮 ...
- SpringBoot | 第一章:第一个SpringBoot应用
springboot简单介绍 概述 SpringBoot的核心功能 优缺点 优点 缺点 工程搭建 创建项目 项目结构 pom依赖 主入口 编写controller 启动应用 总结 老生常谈 sprin ...
随机推荐
- Java中 util 包 Calendar类制作万年历(不用自己写方法,直接用Java写好的包中的类的方法)
代码前需要了解的关于Calendar类的内容: 1.在util包中,首先要知道Calendar 提供了一个类方法 getInstance,以获得此类型的一个通用的对象.Calendar 的 ...
- Xnip Mac上方便好用的截图工具
Xnip Mac上方便好用的截图工具 标注 Xnip 拥有齐全的标注功能,您可以对截取的图片进行标注,在标注的同时还能重新调整截图大小. 查看标注操作 GIF 滚动截图 Xnip 的滚动截图功能可以让 ...
- 视频+图文教程 | Java之安装JDK与环境配置
演示所用软件JDK 8与Eclipse(Java开发工具)软件下载链接: 链接:https://pan.baidu.com/s/1Vg9ulrQH8WlGRAE89Y02UA提取码:swwl 视频介绍 ...
- Hello World -- 第一篇博客 -- 活着的意义
今年注定是不寻常的一年,因为技术,接触了许多大牛.通过一篇篇博文,看到了大牛们勤奋好学.孜孜不倦的精神,于是决定也开个博客,向大牛学习. 博客开了,写点什么呢?奈何肚子里墨水不多,吐出来也多是白沫,不 ...
- Tomcat配置Gizp 客户端使用okHttp3
找到tomcat 在 server.xml 新增如下配置 <Connector connectionTimeout="20000" port="8088" ...
- day17 Pyhton学习 内置函数继续
1. locals 本地作用域/局部作用域 会随着位置的改变而改变 2.globals 全局作用域 永远不变,永远是全局 3.complex:复数 实数(有理数和无理数) 某一个数的平方是-1 ...
- echo输出彩色文字
开启转义功能 echo -e表示开启转义功能,比如: 彩色文字语法 echo -e "\e[前景;背景;特效m""hello""\e[0m" ...
- centos 7安装搜狗输入法之失败案例
最近打算在旧电脑上安装centos用,先用虚拟机做个测试 默认的intelligence pinyin不太好用,打算安装搜狗输入法.在网上找了几篇看起来还"不错"的, 基本上来第一 ...
- ssm整合之applicationContext.xml
<?xml version="1.0" encoding="UTF-8"?><beans xmlns="http://www.spr ...
- 通过代码实现 `OutOfMemory
通过代码实现 OutOfMemory Intro 来尝试写一个发生 OutOfMemoryException 的代码吧,开启煞笔代码第三篇 -- OutofMemory OutOfMemory Out ...