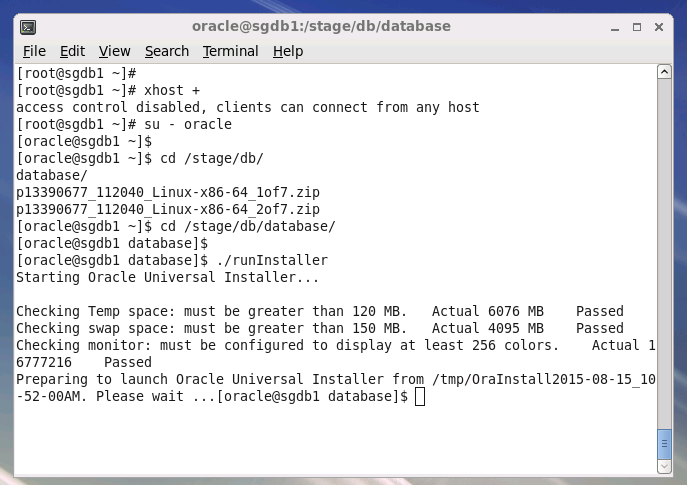
第8步:安装Oracle
- 安装Oracle
| [root@sgdb1~]# xhost+
[root@sgdb1~]# su - oracle
|

.png)
| [oracle @sgdb1~]$ cd database
[oracle @sgdb1~]$ ./runinstaller
|
.png)
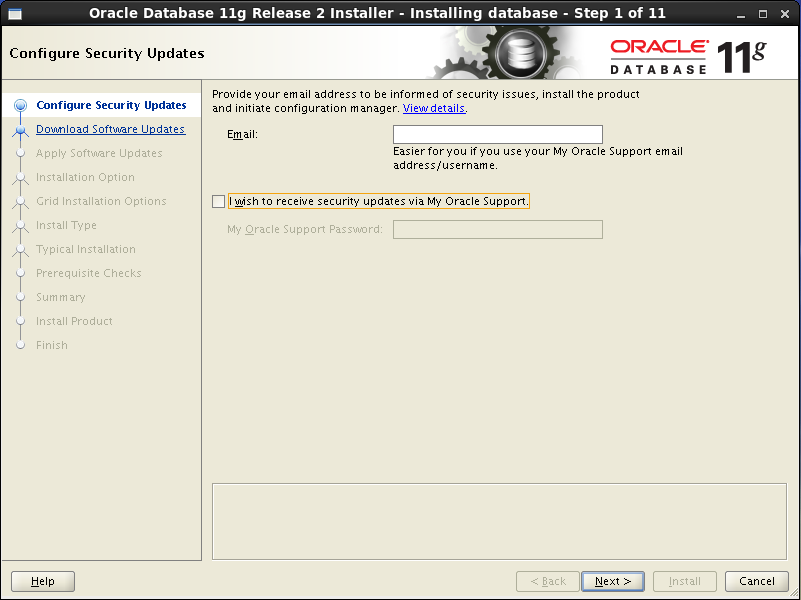
- 取消软件更新
.png)
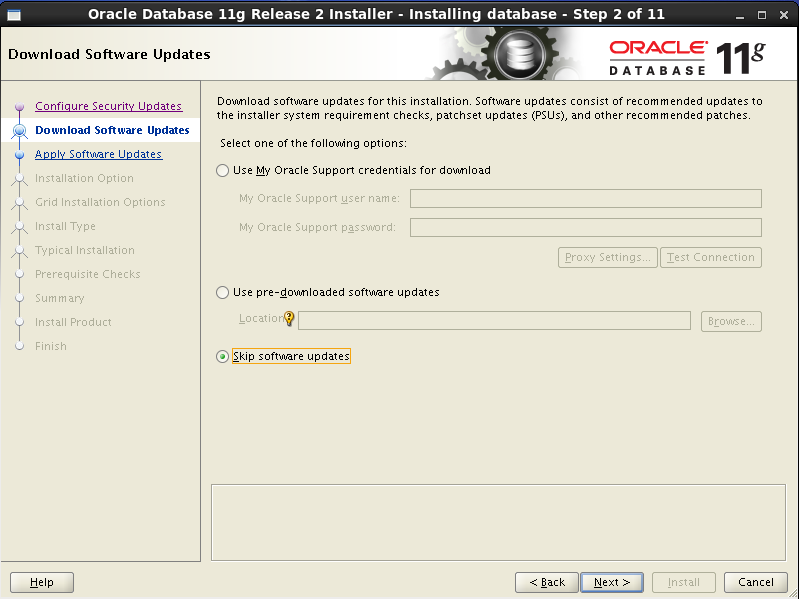
- 跳过软件更新
.png)
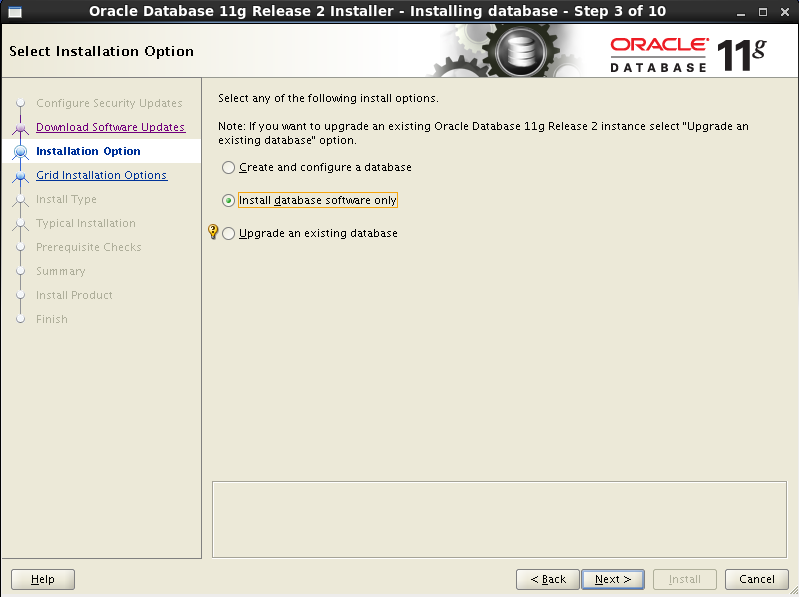
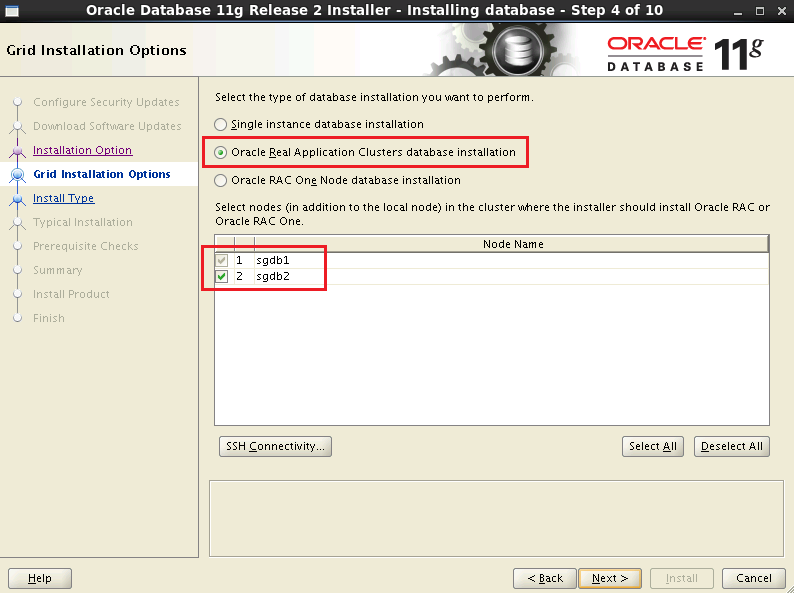
- Oracle安装选项
.png)
- Oracle安装方式
.png)
- Oralce安装语言
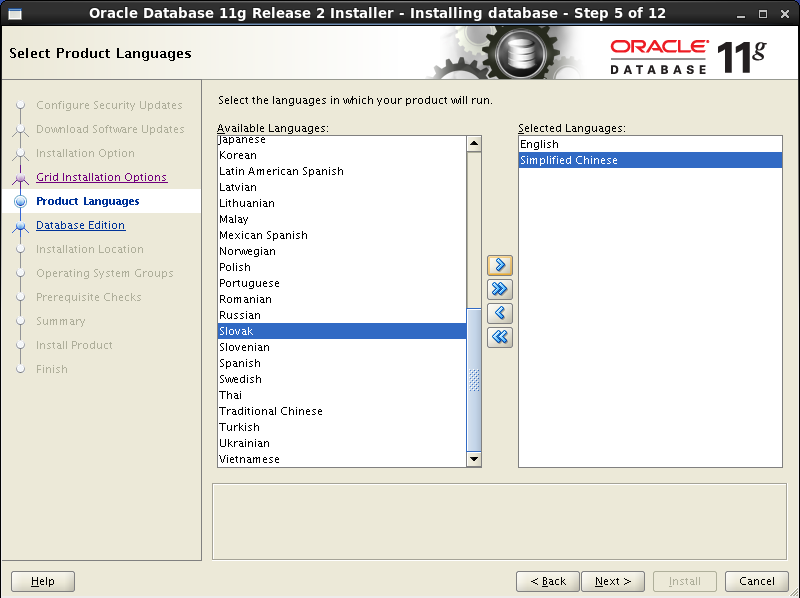
.png)
- 安装版本选择
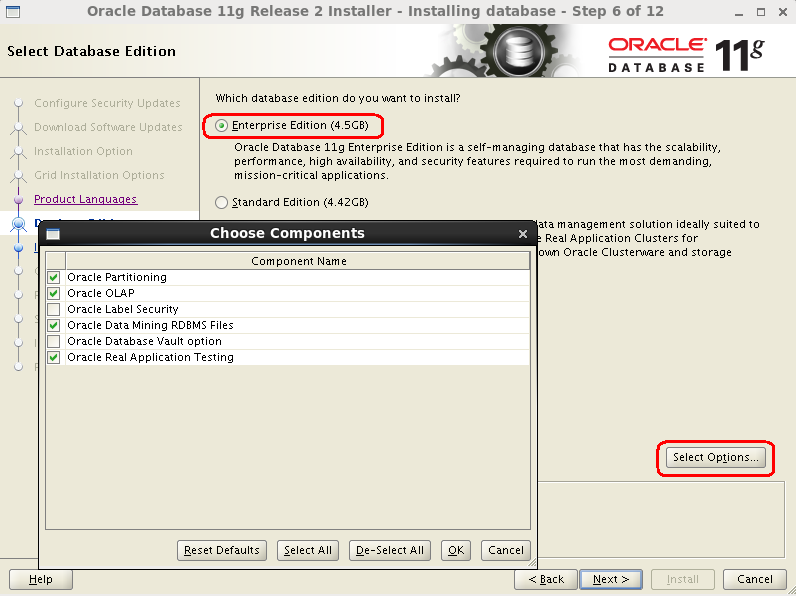
.png)
- 选择安装目录
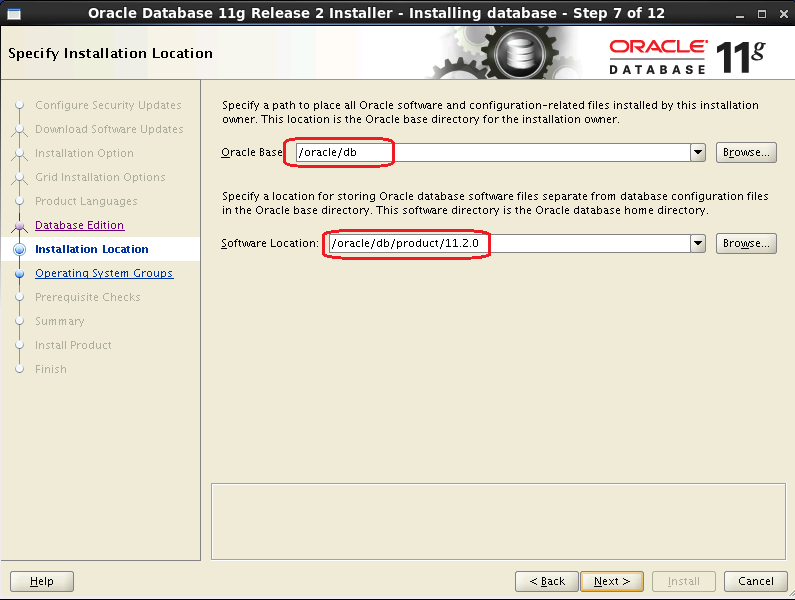
.png)
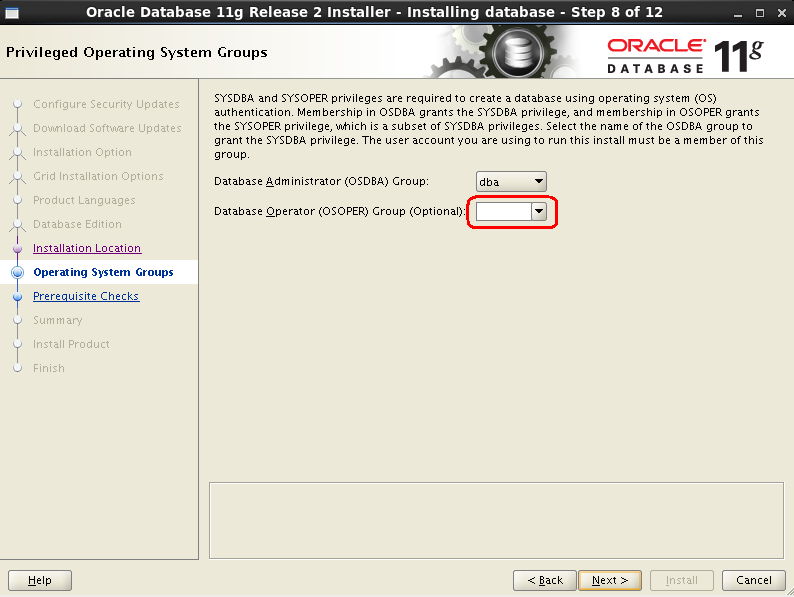
- 选择组
.png)
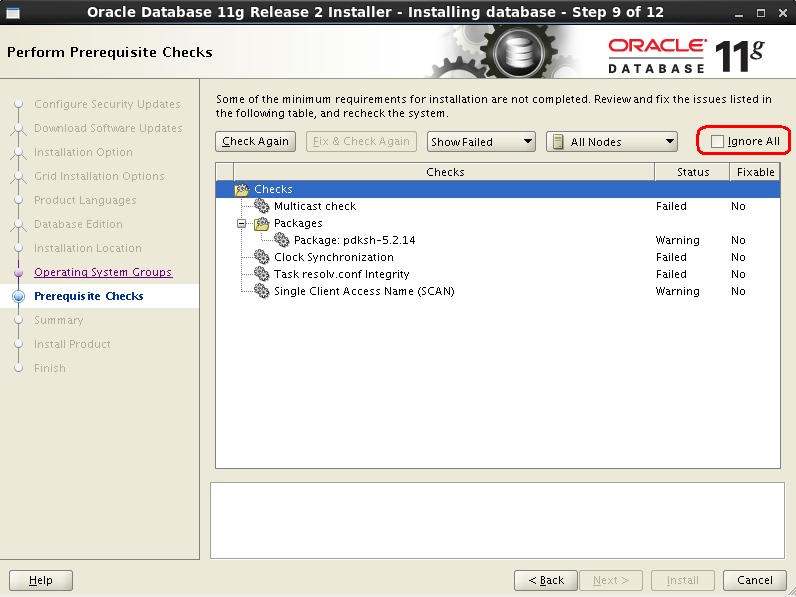
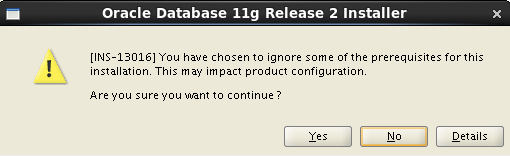
- 执行安装前检查
.png)
.png)
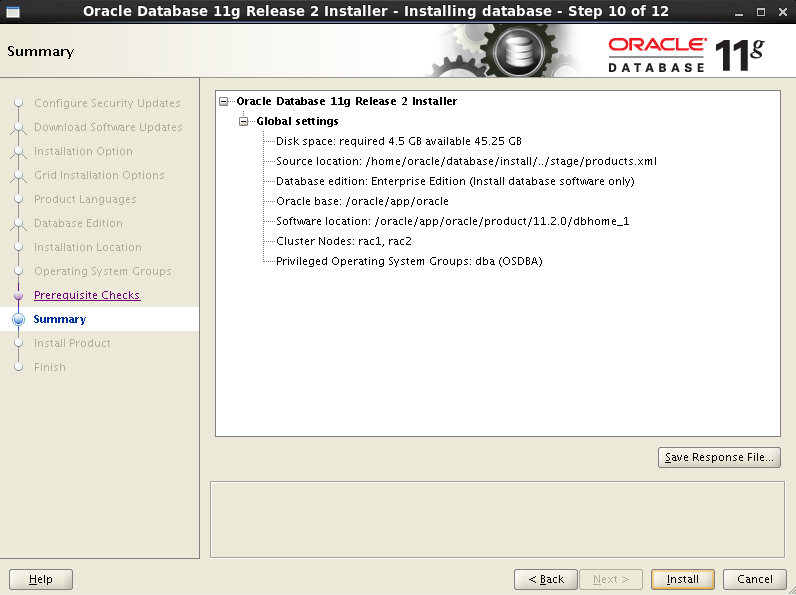
- 安装信息统计
.png)
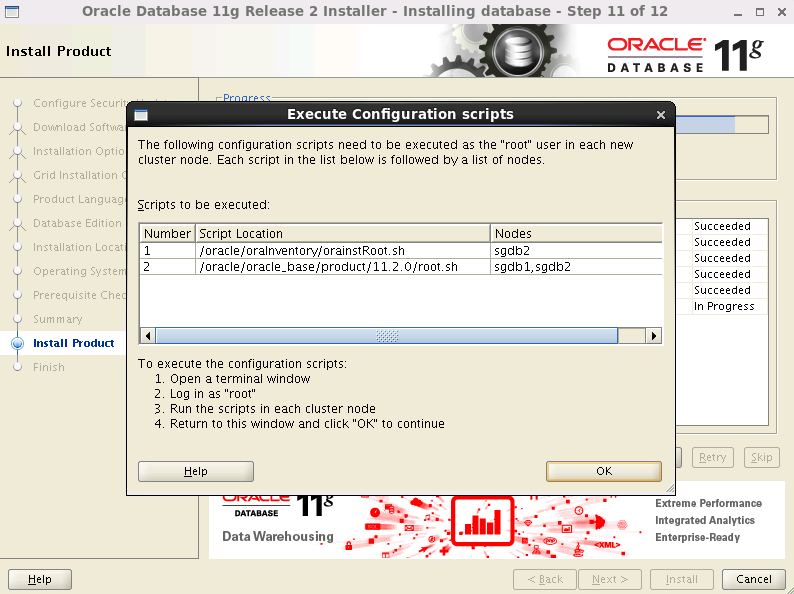
- 安装结束前,需要执行脚本
.png)
| [root@sgdb1 ~]# /oracle/oraInventory/orainstRoot.sh
Changing permissions of /oracle/oraInventory.
Adding read,write permissions for group.
Removing read,write,execute permissions for world.
Changing groupname of /oracle/oraInventory to oinstall.
The execution of the script is complete.
|
| [root@sgdb2 ~]# /oracle/oraInventory/orainstRoot.sh
Changing permissions of /oracle/oraInventory.
Adding read,write permissions for group.
Removing read,write,execute permissions for world.
Changing groupname of /oracle/oraInventory to oinstall.
The execution of the script is complete.
|
| [root@sgdb1 ~]# /oracle/db/product/11.2.0/root.sh
Performing root user operation for Oracle 11g
The following environment variables are set as:
ORACLE_OWNER= oracle
ORACLE_HOME= /oracle/db/product/11.2.0
Enter the full pathname of the local bin directory: [/usr/local/bin]:
The contents of "dbhome" have not changed. No need to overwrite.
The contents of "oraenv" have not changed. No need to overwrite.
The contents of "coraenv" have not changed. No need to overwrite.
Entries will be added to the /etc/oratab file as needed by
Database Configuration Assistant when a database is created
Finished running generic part of root script.
Now product-specific root actions will be performed.
Finished product-specific root actions.
|
| [root@sgdb2 ~]# /oracle/db/product/11.2.0/root.sh
Performing root user operation for Oracle 11g
The following environment variables are set as:
ORACLE_OWNER= oracle
ORACLE_HOME= /oracle/db/product/11.2.0
Enter the full pathname of the local bin directory: [/usr/local/bin]:
The contents of "dbhome" have not changed. No need to overwrite.
The contents of "oraenv" have not changed. No need to overwrite.
The contents of "coraenv" have not changed. No need to overwrite.
Entries will be added to the /etc/oratab file as needed by
Database Configuration Assistant when a database is created
Finished running generic part of root script.
Now product-specific root actions will be performed.
Finished product-specific root actions.
|
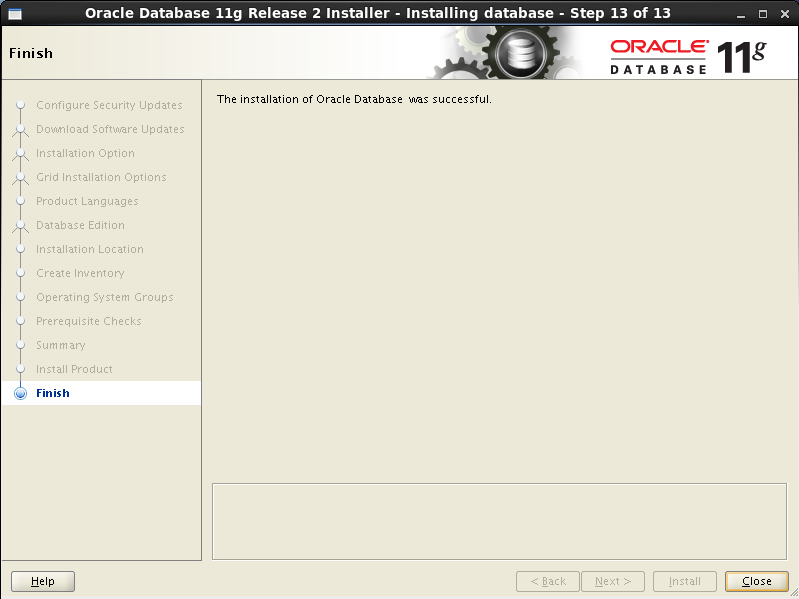
.png)
第8步:安装Oracle的更多相关文章
- 在Linux上安装Oracle RAC 12 c(12.1) 虚拟机,一步一步向导
Oracle RAC 12 c(12.1)在Linux上安装虚拟机,一步一步向导 今天我们将看到如何安装 12 c版本1 RAC(真正的应用程序集群)数据库2 Linux 64位的虚拟机 使用VMWa ...
- 一步一步搭建 oracle 11gR2 rac+dg之grid安装(四)【转】
一步一步在RHEL6.5+VMware Workstation 10上搭建 oracle 11gR2 rac + dg 之grid安装 (四) 转自 一步一步搭建 oracle 11gR2 rac+d ...
- 一步一步搭建oracle 11gR2 rac+dg之database安装(五)【转】
一步一步在RHEL6.5+VMware Workstation 10上搭建 oracle 11gR2 rac + dg 之database安装 (五) 转自 一步一步搭建oracle 11gR2 ...
- DBArtist之Oracle入门第3步: 安装配置PL/SQL Developer
操作系统: WINDOWS 7 (64位) 数据库: Oracle 11gR2 (64位) PL/SQL Developer : PL/SQL ...
- DBArtist之Oracle入门第1步: 如何安装Oracle 11g
操作系统: Windows 7 数据库 : Oracle 11gR2 第一步: 下载Oracle安装包 Oracle官网: https://www.oracle.com/index.html ...
- 安装oracle
1.安装vnc yum install tigervnc tigervnc-server 2.vncserver启动 3.安装依赖库 yum install -y compat-libstdc* ...
- CentOS7安装Oracle 11gR2 安装
概述 Oracle 在Linux和window上的安装不太一样,公司又是Linux系统上的Oracle,实在没辙,研究下Linux下Oracle的使用,oracle默认不支持CentOS系统安装,所以 ...
- Linux CentOS下安装Oracle
1 .在安装oracle之前首先安装以下组件包,直接输入下列语句安装. yum install binutils* -y yum install compat-lib* -y yum install ...
- linux下一步一步安装禅道项目管理工具
linux下一步一步安装禅道项目管理工具 因为禅道官网的安装教程实在是太简陋了,所以记录在此. 1.安装apache服务 archlinux下直接 sudo pacman -S apache ubun ...
随机推荐
- vue - webpack.base.conf.js
描述:webapck基本配置文件. 为了给开发文件和打包文件(webpack.dev.conf.js|| webpack.prod.conf.js) 提供方便. 'use strict' // 路径 ...
- winfrom 底层类 验证码
效果图: watermark/2/text/aHR0cDovL2Jsb2cuY3Nkbi5uZXQvdTAxMzgxNjcwOQ==/font/5a6L5L2T/fontsize/400/fill/I ...
- adb shell root
因为开发需要,我经常会用到adb这个工具(Android Debug Bridge),我们都知道adb shell默认是没有root权限的,修改系统文件就很不方便了,adb push一个文件就提示Pe ...
- vue 项目心得
v-bind 数据绑定 可以简写成 : 通过 props 将数据对象 传给 组件 export default { props: { seller: { type: Object } } } crea ...
- Vue 作用域插槽
使用场景:复用子组件的slot,又可以使slot的内容不一样. <!DOCTYPE html> <html lang="zh"> <head> ...
- Building Vim from source(转)
Compiling Vim from source is actually not that difficult. Here's what you should do: First, install ...
- 学习-短信的上行(MO)和下行(MT)详解
基础知识: SP服务提供商: 通常是指在移动网内运营增值业务的社会合作单位, 它们建立与移动网络建立相连的服务平台, 为手机用户提供一系列信息服务, 如:娱乐.游戏.短信.彩信.WAP.彩铃.铃声下载 ...
- Python-编码之大彻大悟
1.了解各种编码的来历及其在计算机内部的存储: http://www.cnblogs.com/JohnABC/p/3507219.html http://www.ruanyifeng.com/blog ...
- Linux top命令的图解使用
Linux下的top命令的图解使用 linux下top命令参数解释 TOP命令详解
- java基础讲解11-----java中的异常
1.java利用 try catch语句块捕获异常 2.finally语句 表示总是执行,不管程序是否异常 注意:1.在finally语句块异常 2.在前面的代码中使用Sysrtem.exit ...