Xamarin.Android 利用Fragment实现底部菜单
效果图:

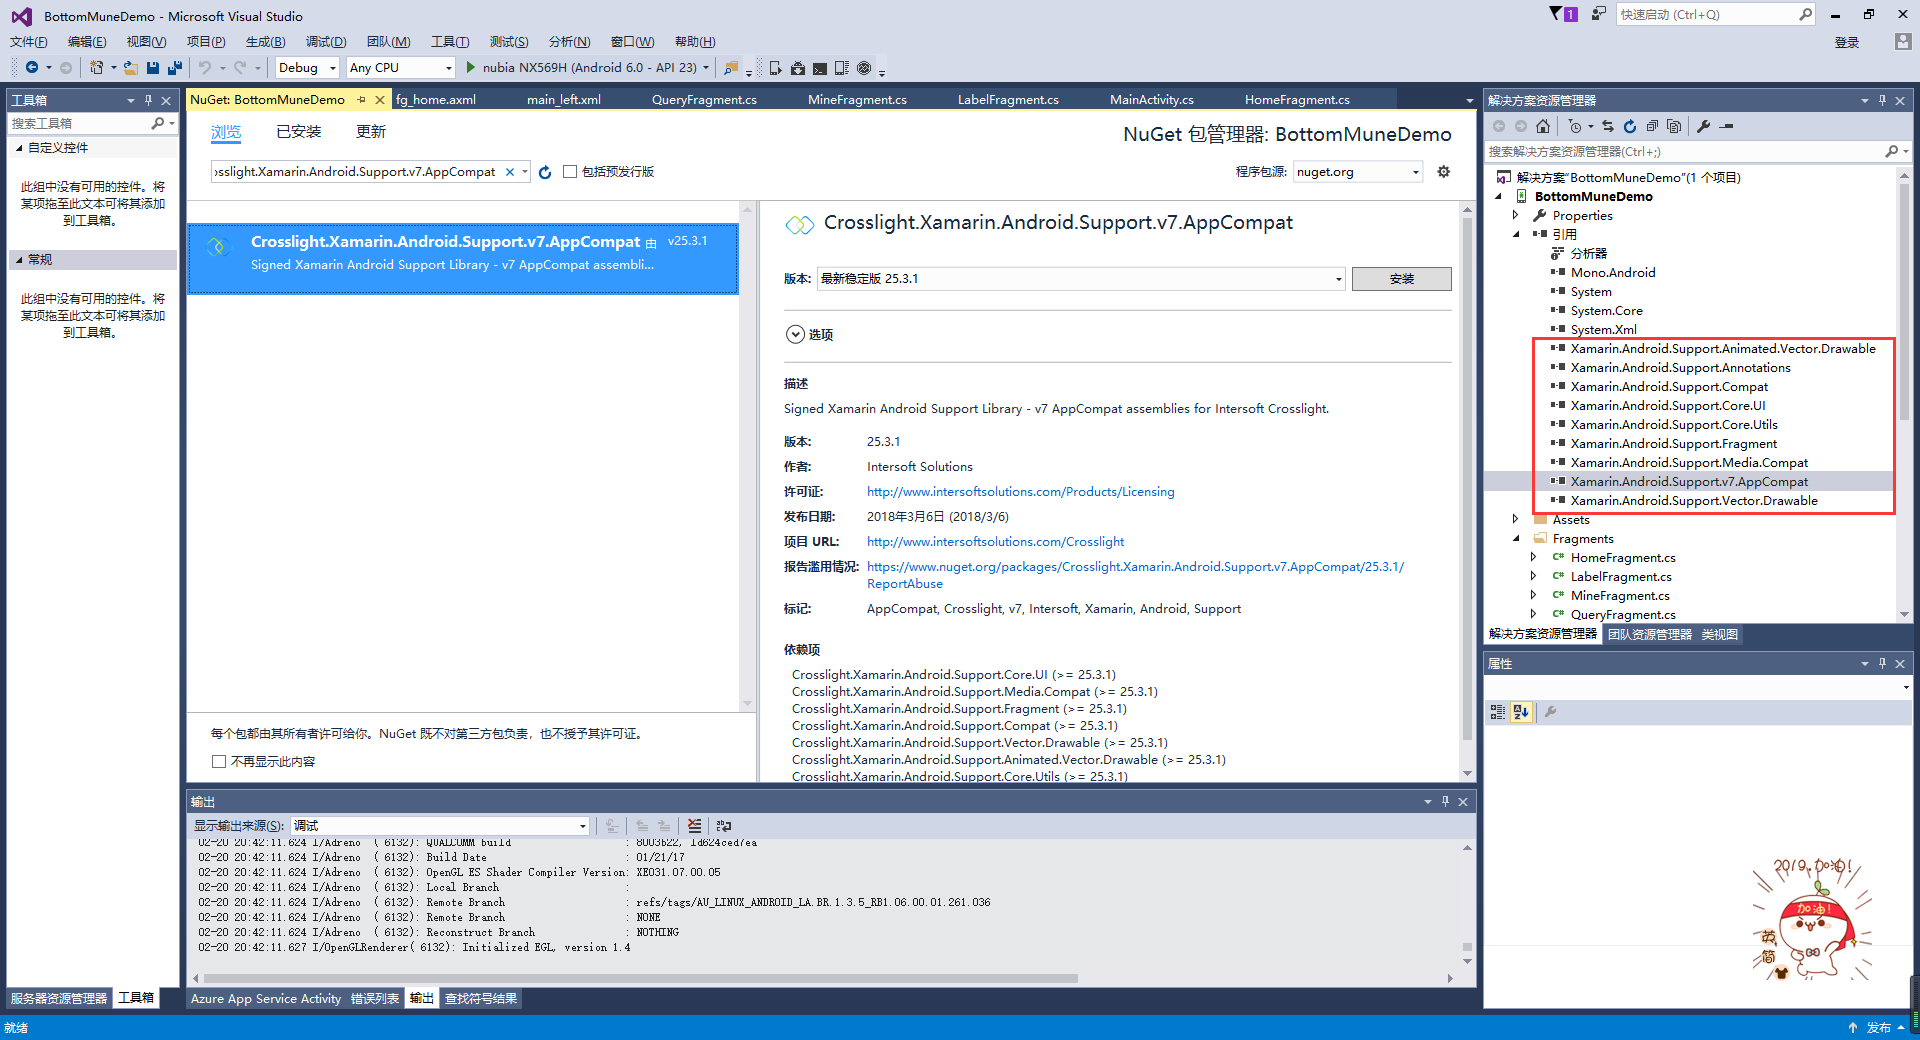
第一步:添加引用
引用 Crosslight.Xamarin.Android.Support.v7.AppCompat 这个包。
第二步:绘制Main和Fragment界面
fg_home.axml
<?xml version="1.0" encoding="utf-8"?>

<LinearLayout xmlns:android="http://schemas.android.com/apk/res/android"

    android:orientation="vertical"

    android:layout_width="match_parent"

    android:layout_height="match_parent"

    android:background="#FFFFFF">

    <TextView

        android:id="@+id/txt_content"

        android:layout_width="match_parent"

        android:layout_height="match_parent"

        android:gravity="center"

        android:text="首页"

        android:textColor="#000000"

        android:textSize="20sp" />

</LinearLayout>
fg_label.axml
<?xml version="1.0" encoding="utf-8"?>

<LinearLayout xmlns:android="http://schemas.android.com/apk/res/android"

    android:orientation="vertical"

    android:layout_width="match_parent"

    android:layout_height="match_parent"

    android:background="#FFFFFF">

    <TextView

        android:id="@+id/txt_content"

        android:layout_width="match_parent"

        android:layout_height="match_parent"

        android:gravity="center"

        android:text="贴签"

        android:textColor="#000000"

        android:textSize="20sp" />

</LinearLayout>
fg_mine.axml
<?xml version="1.0" encoding="utf-8"?>

<LinearLayout xmlns:android="http://schemas.android.com/apk/res/android"

    android:orientation="vertical"

    android:layout_width="match_parent"

    android:layout_height="match_parent"

    android:background="#FFFFFF">

    <TextView

        android:id="@+id/txt_content"

        android:layout_width="match_parent"

        android:layout_height="match_parent"

        android:gravity="center"

        android:text="我的"

        android:textColor="#000000"

        android:textSize="20sp" />

</LinearLayout>
fg_query.axml
<?xml version="1.0" encoding="utf-8"?>

<LinearLayout xmlns:android="http://schemas.android.com/apk/res/android"

    android:orientation="vertical"

    android:layout_width="match_parent"

    android:layout_height="match_parent"

    android:background="#FFFFFF">

    <TextView

        android:id="@+id/txt_content"

        android:layout_width="match_parent"

        android:layout_height="match_parent"

        android:gravity="center"

        android:text="查询"

        android:textColor="#000000"

        android:textSize="20sp" />

</LinearLayout>
Main.axml
<?xml version="1.0" encoding="utf-8"?>

<LinearLayout xmlns:android="http://schemas.android.com/apk/res/android"

    xmlns:tools="http://schemas.android.com/tools"

    android:layout_width="match_parent"

    android:layout_height="match_parent"

    android:orientation="vertical">

    <include

        layout="@layout/main_left" />

</LinearLayout>
main_left.xml
<?xml version="1.0" encoding="utf-8"?>

<android.support.v4.widget.DrawerLayout xmlns:android="http://schemas.android.com/apk/res/android"

    android:id="@+id/dl_left"

    android:layout_width="match_parent"

    android:layout_height="match_parent"

    android:background="#f0f0f0">

  <!--主布局-->

  <LinearLayout

      android:layout_width="match_parent"

      android:layout_height="match_parent"

      android:orientation="horizontal">

    <RelativeLayout

    android:layout_width="match_parent"

    android:layout_height="match_parent"

    android:id="@+id/relativelayout1"

     android:fitsSystemWindows="true">

      <RelativeLayout

          android:id="@+id/ly_top_bar"

          android:layout_width="match_parent"

          android:layout_height="48dp"

          android:visibility="gone">

      </RelativeLayout>

      <LinearLayout

           android:id="@+id/ly_tab_bar"

            android:layout_width="match_parent"

            android:layout_height="50dp"

            android:layout_alignParentBottom="true"

            android:background="#FFFFFF"

             android:orientation="vertical">

        <View

            android:layout_width="match_parent"

            android:layout_height="2px"

            android:background="#cccccc" />

        <LinearLayout

            android:layout_width="match_parent"

            android:layout_height="40dp"

            android:orientation="horizontal"

            android:layout_marginTop="5dp">

          <ImageView

            android:id="@+id/iv_home"

            android:layout_width="25.6dp"

            android:layout_height="37.6dp"

            android:src="@drawable/icon_home1"

            android:layout_weight="1"/>

          <ImageView

           android:id="@+id/iv_query"

           android:layout_width="25.6dp"

            android:layout_height="37.6dp"

           android:src="@drawable/icon_query1"

           android:layout_weight="1"/>

          <ImageView

           android:id="@+id/iv_label"

          android:layout_width="25.6dp"

            android:layout_height="37.6dp"

           android:src="@drawable/icon_label1"

           android:layout_weight="1"/>

          <ImageView

           android:id="@+id/iv_mine"

           android:layout_width="25.6dp"

            android:layout_height="37.6dp"

           android:src="@drawable/icon_mine1"

           android:layout_weight="1"/>

        </LinearLayout>

      </LinearLayout>

     <View

          android:id="@+id/div_tab_bar"

          android:layout_width="match_parent"

          android:layout_height="2px"

          android:background="#FFFFFF"

          android:layout_above="@id/ly_tab_bar" />

      <FrameLayout

          android:layout_width="match_parent"

          android:layout_height="match_parent"

           android:id="@+id/fy_home"

          android:layout_below="@id/ly_top_bar"

          android:layout_above="@id/div_tab_bar" />

      <FrameLayout

          android:layout_width="match_parent"

          android:layout_height="match_parent"

          android:id="@+id/fy_query"

           android:layout_below="@id/ly_top_bar"

          android:layout_above="@id/div_tab_bar"/>

      <FrameLayout

          android:layout_width="match_parent"

          android:layout_height="match_parent"

          android:id="@+id/fy_label"

           android:layout_below="@id/ly_top_bar"

          android:layout_above="@id/div_tab_bar"/>

      <FrameLayout

          android:layout_width="match_parent"

          android:layout_height="match_parent"

          android:id="@+id/fy_mine"

           android:layout_below="@id/ly_top_bar"

          android:layout_above="@id/div_tab_bar"/>

    </RelativeLayout>

  </LinearLayout>

</android.support.v4.widget.DrawerLayout>
第三步:在value文件下创建Style,并且自定义 BaseAppTheme 样式
<?xml version="1.0" encoding="utf-8" ?>

<resources>

  <color name="primary">#1e89e7</color>

  <color name="primaryDark">#1976d2</color>

  <color name="red">#ff0000</color>

  <color name="white">#ffffff</color>

  <style name="BaseAppTheme" parent="Theme.AppCompat.Light.DarkActionBar">

    <item name="windowActionBar">false</item>

    <item name="windowNoTitle">true</item>

    <item name="colorPrimary">@color/primary</item>

    <item name="colorPrimaryDark">@color/primaryDark</item>

    <item name="drawerArrowStyle">@style/AppTheme.DrawerArrowToggle</item>

  </style>

  <style name="AppTheme.DrawerArrowToggle" parent="Base.Widget.AppCompat.DrawerArrowToggle">

    <item name="color">@android:color/white</item>

  </style>

</resources>
第四步:编写每个Fragment的后台,这里只写一个。
using System;

using System.Collections.Generic;

using System.Linq;

using System.Text;

using Android.App;

using Android.Content;

using Android.OS;

using Android.Runtime;

using Android.Util;

using Android.Views;

using Android.Widget;

namespace BottomMuneDemo.Fragments

{

    public class HomeFragment : Fragment

    {

        private string content { get; set; }

        public HomeFragment(string content)

        {

            this.content = content;

        }

        public override void OnCreate(Bundle savedInstanceState)

        {

            base.OnCreate(savedInstanceState);

            // Create your fragment here

        }

        public override View OnCreateView(LayoutInflater inflater, ViewGroup container, Bundle savedInstanceState)

        {

            View view = inflater.Inflate(Resource.Layout.fg_home, container, false);

            TextView txt_content = (TextView)view.FindViewById(Resource.Id.txt_content);

            txt_content.Text = "首页";

            return view;

        }

    }

}
第五步:在Main活动中进行设置。
using Android.App;

using Android.Widget;

using Android.OS;

using Android.Support.V7.App;

using BottomMuneDemo.Fragments;

using Android.Views;

namespace BottomMuneDemo

{

    [Activity(Label = "BottomMuneDemo", MainLauncher = true, Theme = "@style/BaseAppTheme")]

    public class MainActivity : AppCompatActivity

    {

        private ImageView iv_home;

        private ImageView iv_query;

        private ImageView iv_label;

        private ImageView iv_mine;

        private FrameLayout fy_home;

        private FrameLayout fy_query;

        private FrameLayout fy_label;

        private FrameLayout fy_mine;

        HomeFragment fg1;

        QueryFragment fg2;

        LabelFragment fg3;

        MineFragment fg4;

        protected override void OnCreate(Bundle savedInstanceState)

        {

            base.OnCreate(savedInstanceState);

            SetContentView(Resource.Layout.Main);

            fy_home = (FrameLayout)FindViewById(Resource.Id.fy_home);

            fy_query = (FrameLayout)FindViewById(Resource.Id.fy_query);

            fy_label = (FrameLayout)FindViewById(Resource.Id.fy_label);

            fy_mine = (FrameLayout)FindViewById(Resource.Id.fy_mine);

            iv_home = (ImageView)FindViewById(Resource.Id.iv_home);

            iv_query = (ImageView)FindViewById(Resource.Id.iv_query);

            iv_label = (ImageView)FindViewById(Resource.Id.iv_label);

            iv_mine = (ImageView)FindViewById(Resource.Id.iv_mine);

            bindViews();

            iv_home.PerformClick();

        }

        #region 底部菜单选项卡

        //ui组件初始化与事件绑定

        private void bindViews()

        {

            iv_home.Click += (s, e) => { onClick(iv_home); };

            iv_query.Click += delegate { onClick(iv_query); };

            iv_label.Click += delegate { onClick(iv_label); };

            iv_mine.Click += delegate { onClick(iv_mine); };

        }

        //隐藏所有Fragment

        private void hideAllFragment(FragmentTransaction fragmentTransaction)

        {

            if (fg1 != null) fragmentTransaction.Hide(fg1);

            if (fg2 != null) fragmentTransaction.Hide(fg2);

            if (fg3 != null) fragmentTransaction.Hide(fg3);

            if (fg4 != null) fragmentTransaction.Hide(fg4);

            iv_home.SetImageResource(Resource.Drawable.icon_home1);

            iv_query.SetImageResource(Resource.Drawable.icon_query1);

            iv_label.SetImageResource(Resource.Drawable.icon_label1);

            iv_mine.SetImageResource(Resource.Drawable.icon_mine1);

        }

        //重置所有文本的选中状态

        private void setSelected()

        {

            iv_home.Selected = false;

            iv_query.Selected = false;

            iv_label.Selected = false;

            iv_mine.Selected = false;

        }

        //单击事件

        public void onClick(View v)

        {

            FragmentTransaction fTransaction = FragmentManager.BeginTransaction();

            hideAllFragment(fTransaction);

            switch (v.Id)

            {

                case Resource.Id.iv_home:

                    setSelected();

                    iv_home.Selected = true;

                    iv_home.SetImageResource(Resource.Drawable.icon_home2);

                    if (fg1 == null)

                    {

                        fg1 = new HomeFragment("首页");

                        fTransaction.Add(Resource.Id.fy_home, fg1);

                    }

                    else { fTransaction.Show(fg1); }

                    break;

                case Resource.Id.iv_query:

                    setSelected();

                    iv_query.Selected = true;

                    iv_query.SetImageResource(Resource.Drawable.icon_query2);

                    if (fg2 == null)

                    {

                        fg2 = new QueryFragment("查询");

                        fTransaction.Add(Resource.Id.fy_query, fg2);

                    }

                    else { fTransaction.Show(fg2); }

                    break;

                case Resource.Id.iv_label:

                    setSelected();

                    iv_label.Selected = true;

                    iv_label.SetImageResource(Resource.Drawable.icon_label2);

                    if (fg3 == null)

                    {

                        fg3 = new LabelFragment("贴签");

                        fTransaction.Add(Resource.Id.fy_label, fg3);

                    }

                    else { fTransaction.Show(fg3); }

                    break;

                case Resource.Id.iv_mine:

                    setSelected();

                    iv_mine.Selected = true;

                    iv_mine.SetImageResource(Resource.Drawable.icon_mine2);

                    if (fg4 == null)

                    {

                        fg4 = new MineFragment("我的");

                        fTransaction.Add(Resource.Id.fy_mine, fg4);

                    }

                    else { fTransaction.Show(fg4); }

                    break;

            }

            fTransaction.Commit();

        }

        #endregion

    }

}
到这里就结束了,亲测代码有效,如有问题请留言。
Xamarin.Android 利用Fragment实现底部菜单的更多相关文章
- Android应用主界面底部菜单实现
介绍 现在绝大多数主流的应用主界面,都会包含一个底部菜单,就拿腾讯的QQ与微信来说,看起来是这样的 <---我是底部菜单 原理 在很久以前,可以通过TabActivity实现相关功能,自从Fr ...
- Xamarin.Android之Fragment Walkthrough
利用Fragment设计能够兼容不同屏幕的应用 这里我们先围观下最后的成果图,给读者打打气: 普通手机上显示的结果: 在平板上显示的结果: 笔者要郑重声明下,虽然看似是两种不同的显示效果,但是同一个应 ...
- Android编程: fragment组件、菜单和Intent组件
学习内容:fragment组件.菜单和Intent组件 ====fragment组件====1.fragment是一种自我容纳,模块化的,嵌入在一个Activity里面的视图组件 可以在运行时动 ...
- Android自定义控件系列(四)—底部菜单(下)
转载请注明出处:http://www.cnblogs.com/landptf/p/6290862.html 在app中经常会用到底部菜单的控件,每次都需要写好多代码,今天我们用到了前几篇博客里的控件来 ...
- Activity内切换fragment实现底部菜单切换遇到的坑
1.一般说来,app底部导航都会设计为5个菜单,可以使用textView,也可使用radioButton,这里我选择用radioButton,给radioButton直接设置selector就可以实现 ...
- 利用TabWidget实现底部菜单
TabWidget类似于通话记录的界面,通过切换多个标签从而显示出多个不同内容,能够展示内容丰富的页面信息,而且彼此之间不会干扰,有利于展示.下面,通过一个例子来学习用法 首先用一个类来继承TabAc ...
- [Android] Android 使用 FragmentTabHost + Fragment 实现 微信 底部菜单
Android 使用 FragmentTabHost + Fragment 实现 微信 底部菜单 利用FragmentTabHost实现底部菜单,在该底部菜单中,包括了4个TabSpec,每个TabS ...
- Xamarin.Android开发实践(十六)
Xamarin.Android之Fragment Walkthrough 利用Fragment设计能够兼容不同屏幕的应用 这里我们先围观下最后的成果图,给读者打打气: 普通手机上显示的结果: 在平板上 ...
- [置顶]
xamarin android Fragment实现底部导航栏
前段时间写了篇关于Fragment的文章,介绍了基础的概念,用静态和动态的方式加载Fragment Xamarin Android Fragment的两种加载方式.下面的这个例子介绍xamarin ...
随机推荐
- 博客六--Tensorflow卷积神经网络的自主搭建
本人较懒也很忙,所以就不重复工作.连接我的开源中国博客查询:https://my.oschina.net/u/3770644/blog/3042523
- char对比varchar
char对比varchar 相同点:char与varchar都是存储字符串的数据类型 不同点:char是固定长度的字符类型,而varchar是可变长度的字符类型,这个一定要注意.另外进行select时 ...
- 茶杯头开枪ahk代码
;说明这个工具是为了茶杯头写的,F1表示换枪攻击,F3表示不换枪攻击,F2表示停止攻击. $F1::loop{ GetKeyState, state, F2, Pif state = D{break ...
- Context 解析
· ContextWrapper比较有意思,其在SDK中的说明为“Proxying implementation ofContext that simply delegates all of its ...
- Cookie随笔
解决了服务器不能识别不同浏览器的问题,相当于给每个浏览器加了个“身份证”. Cookie首先由服务器创建发给浏览器,随后浏览器每次访问服务器时都带上这个Cookie. Cookie缺点: ·Cooki ...
- xbee3的先进性功能用法
xbee3以及xbee3 PRO 是digi无线模块的又一大突破:不仅实现了所有2.4G的模块整合,更在以后的程序更新中会增加蓝牙功能:它打通了xbee系列1和系列2之间的壁垒:不同于xbee S2C ...
- mysql 数据库链接 过期产品
注意下面的"@" 必须要加的!否则会报错! $link = @mysql_connect('localhost','root','root') or die("link ...
- 在idea中,mavne项目使用mybatis-generator-maven-plugin自动生成实体了的时候,在maven插件里面始终不显示
最近想学习mybatis的知识,自己搭了个简单的ssm框架,想通过插件自动生成实体类,发现想要的插件一直都没显示出来,着实很郁闷: pom.xm中的配置: <!--mybatis-generat ...
- HTML常用的特殊符号&前端使用的标点符号
不想在项目中使用图片, 还得切,如关闭按钮“×”.男女符号“♂♀”.对勾“√”等,找到了一篇全面的博客,转自https://www.haorooms.com/post/html_tsfh,感谢. 如下 ...
- qscoj 喵哈哈村的打印机游戏 区间dp
点这里去看题 区间dp ,dp[l][r][d]代表从l到r的区间底色为d,具体看代码 第一次见到区间dp...两个小时对着敲了五遍终于自己敲懂了一遍ac #include<bits/stdc+ ...