Linux安装oracle 12C
安装虚拟系统CentOS6.5,分配给至少1G的内存,其他条件适当高些,具体参考官方文档
环境准备
vim /etc/profile
export JAVA_HOME=/opt/jdk1.7.0_79
export CLASSPATH=.:JAVA_HOME/lib/dt.jar:$JAVA_HOME/lib/tools.jar:
export PATH=$PATH:$JAVA_HOME/bin::$JAVA_HOME/jre/bin
vim /etc/sysconfig/network-scripts/ifcfg-eth0
DEVICE="eth0"
BOOTPROTO="static"
HWADDR="00:0C:29:4E:F7:94"
IPV6INIT="yes"
NM_CONTROLLED="yes"
ONBOOT="yes"
TYPE="Ethernet"
UUID="5f54dad9-eaa6-473f-bcf2-29248d67825e"
IPADDR=192.168.11.31
vi /etc/hosts
192.168.11.31 oracle001
vim /etc/sysconfig/network
NETWORKING=yes
HOSTNAME=oracle001
-- 关机本机防火墙
service iptables status
service iptables stop
chkconfig iptables off
-- 虚拟机启动镜像连接
-- 挂载yum源
cd /etc/yum.repos.d/
vim rhel-dvd.repo
[Server]
name=PackagesLib
baseurl=file:///mnt
enabled=1
gpgcheck=0
cp rhel-source.repo rhel-info.repo
vim rhel-info.repo
[rhel-info]
name=Red Hat Enterprise Linux - Info
baseurl=file:///mnt/Server
enabled=1
gpgcheck=0
mount /dev/cdrom /mnt/
cd /mnt/;ll
yum clean all
yum repolist all
yum install readline* -y
一、安装数据库:
1、安装依赖软件包


yum install binutils -y

yum install compat-libcap -y

yum install compat-libstdc++-33 -y

yum install compat-libstdc++-33.i686 -y

yum install gcc -y

yum install gcc-c++ -y

yum install glibc -y

yum install glibc.i686 -y

yum install glibc-devel -y

yum install glibc-devel.i686 -y

yum install ksh -y

yum install libgcc -y

yum install libgcc.i686 -y

yum install libstdc++ -y

yum install libstdc++.i686 -y

yum install libstdc++-devel -y

yum install libstdc++-devel.i686 -y

yum install libaio -y

yum install libaio.i686 -y

yum install libaio-devel -y

yum install libaio-devel.i686 -y

yum install libXext -y

yum install libXext.i686 -y

yum install libXtst -y

yum install libXtst.i686 -y

yum install libX11 -y

yum install libX11.i686 -y

yum install libXau -y

yum install libXau.i686 -y

yum install libxcb -y

yum install libxcb.i686 -y

yum install libXi -y

yum install libXi.i686 -y

yum install make -y

yum install sysstat -y

yum install unixODBC -y

yum install unixODBC-devel -y

yum install zlib-devel -y
yum -y install compat-libcap1-1.10
2、创建用户和组
[root@centos ~]# groupadd dba
[root@centos ~]# groupadd oinstall
[root@centos ~]# useradd -g oinstall -G dba oracle
[root@centos ~]# passwd oracle
3、创建oracle软件安装目录
[root@centos ~]# mkdir -p /u01/app/oracle
[root@centos ~]# chown -R oracle:oinstall /u01
[root@centos ~]# chmod -R 775 /u01/
4、编辑/etc/sysctl.conf文件
kernel.shmmni = 4096

kernel.sem = 250 32000 100 128

net.ipv4.ip_local_port_range = 9000 65500

net.core.rmem_default = 4194304

net.core.rmem_max = 4194304

net.core.wmem_default = 262144

net.core.wmem_max = 1048586

fs.aio-max-nr = 1048576

fs.file-max = 6815744
使用下面的命令让内核参数更改生效,这样就无需重启计算机:
[root@centos ~]# sysctl -p
5、编辑/etc/security/limits.conf文件
[root@centos ~]# vim /etc/security/limits.conf
root用户修改,在末尾添加:
oracle soft nproc 2047

oracle hard nproc 16384

oracle soft nofile 1024

oracle hard nofile 65536
6、编辑/etc/pam.d/login文件
[root@centos ~]# vim /etc/pam.d/login
在文件末尾添加:
session    required     /lib/security/pam_limits.so

session    required     pam_limits.so
7、编辑/etc/profile文件(root用户修改)
[root@centos ~]# vim /etc/profiles
if [ $USER = "oracle" ];then

if [ $SHELL = "/bin/ksh" ];then

ulimit -p 16384

ulimit -n 65536

else

ulimit -u 16384 -n 65536

fi

fi
8、编辑/etc/hosts文件
[root@centos ~]# hostname
centos
[root@centos ~]# ifconfig eth0|grep "inet addr"
          inet addr:192.168.121.178  Bcast:192.168.121.255  Mask:255.255.255.0
[root@centos ~]# cat /etc/hosts
127.0.0.1   localhost localhost.localdomain localhost4 localhost4.localdomain4
::1         localhost localhost.localdomain localhost6 localhost6.localdomain6
192.168.11.1  centos                   #添加此行
9、用oracle用户身份编辑/home/oracle/.bash_profile
[root@centos ~]# su - oracle
[oracle@host ~]$ vim /home/oracle/.bash_profile
在末尾添加以下内容:
export TMP=/tmp;
export TMPDIR=$TMP;
export ORACLE_TERM=xterm
export ORACLE_BASE=/u01/app/oracle
export ORACLE_HOME=$ORACLE_BASE/product/12.1.0/db_1
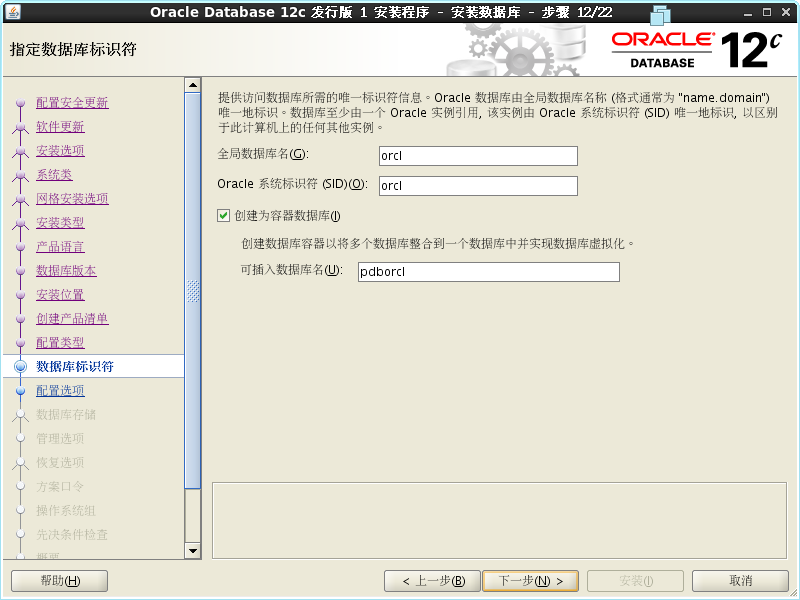
export ORACLE_SID=orcl
export PATH=$ORACLE_HOME/bin:$PATH
使用下面的命令让设置生效:
[oracle@host ~]$ source /home/oracle/.bash_profile
10、上传文件到/home/oracle,并用oracle用户解压缩
文件权限中oracle为所有者:
[root@centos oracle]# ls /home/oracle/ -l

-rwxrw-rw-. 1 root   root     1361028723 6月   2 08:10 linuxamd64_12c_database_1of2.zip

-rwxrw-rw-. 1 root   root     1116527103 6月   2 08:09 linuxamd64_12c_database_2of2.zip

[root@centos oracle]# chown oracle /home/oracle linuxamd64_12c_database_1of2.zip

[root@centos oracle]# chown oracle /home/oracle linuxamd64_12c_database_2of2.zip

[root@centos oracle]# ls /home/oracle/ -l

-rwxrw-rw-. 1 oracle root     1361028723 6月   2 08:10 linuxamd64_12c_database_1of2.zip

-rwxrw-rw-. 1 oracle root     1116527103 6月   2 08:09 linuxamd64_12c_database_2of2.zip
切换成oracle用户解压:
[root@vn oracle]# su - oracle
[oracle@host ~]$ unzip linuxamd64_12c_database_1of2.zip
[oracle@host ~]$ unzip linuxamd64_12c_database_2of2.zip
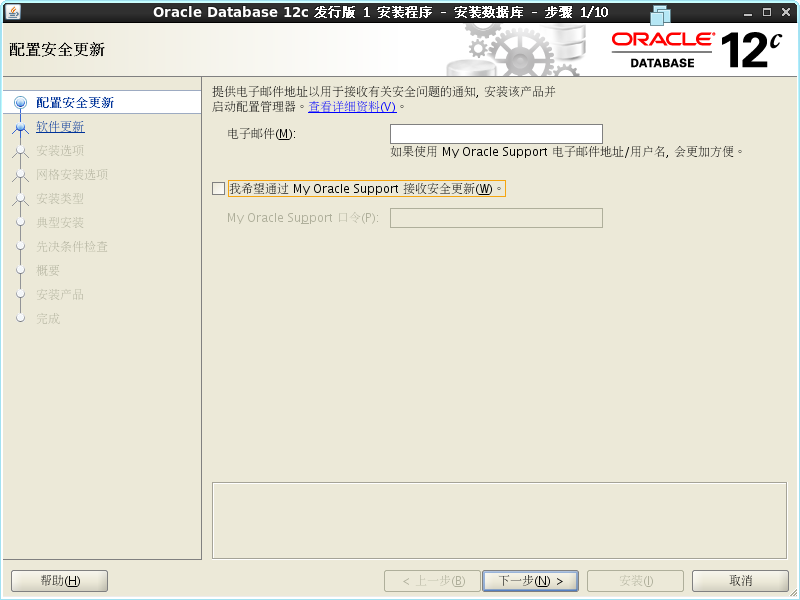
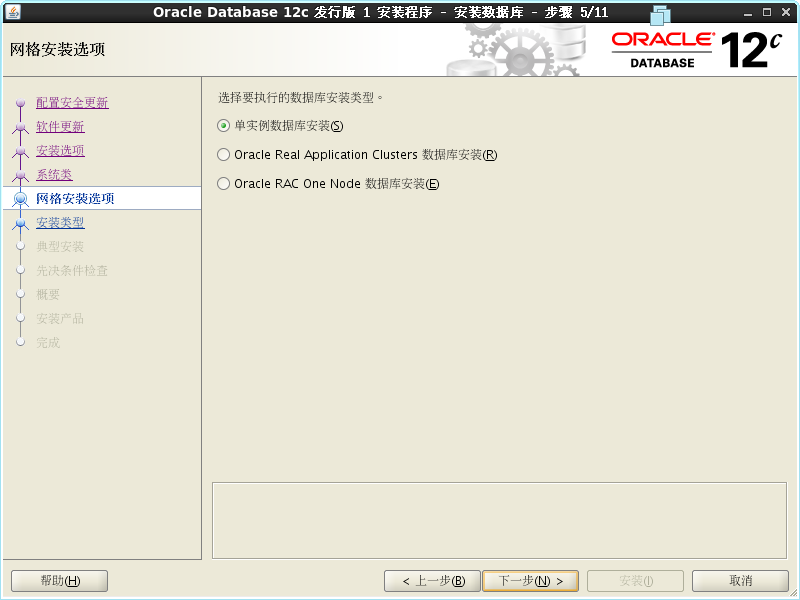
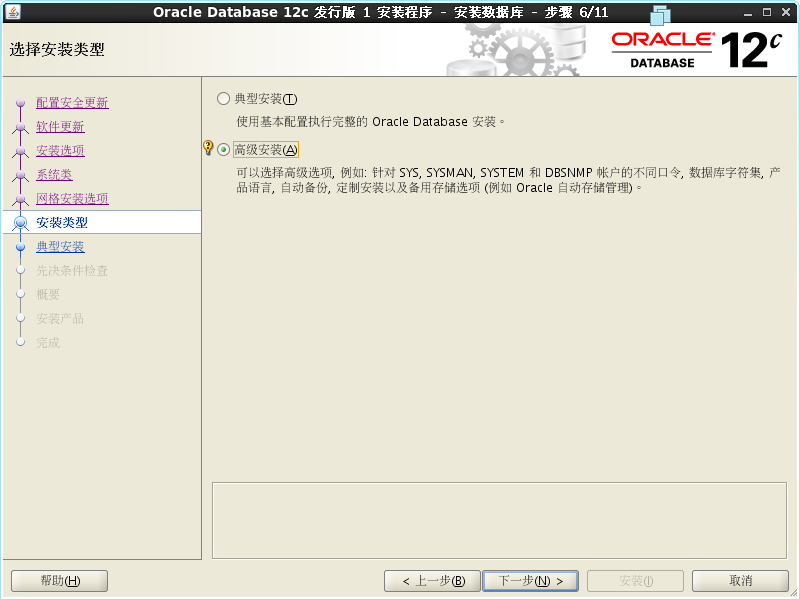
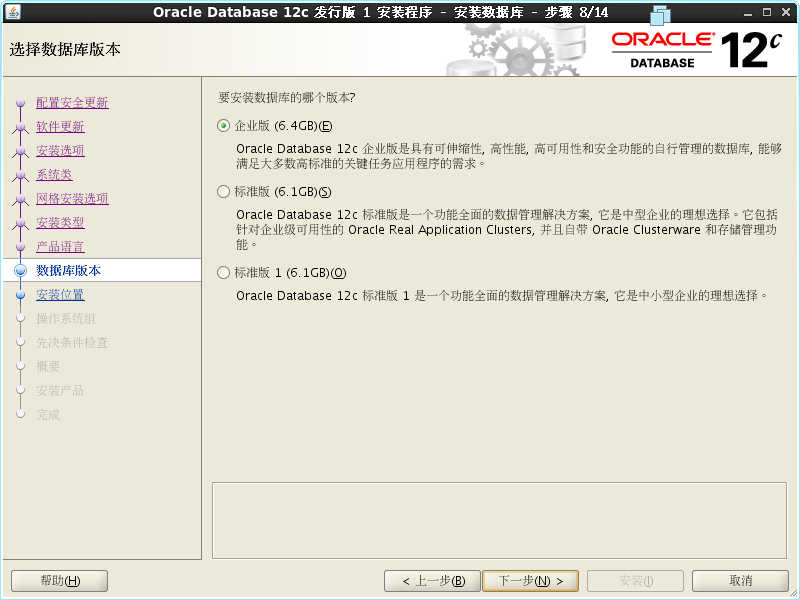
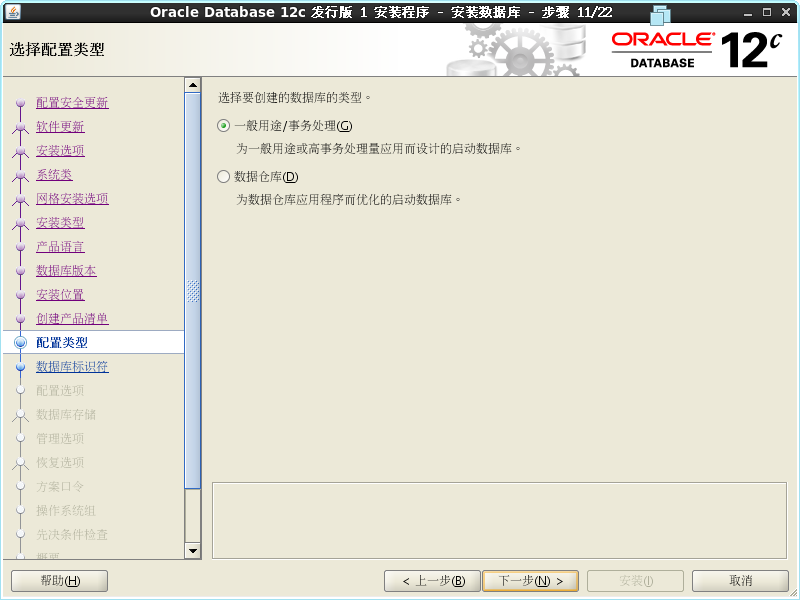
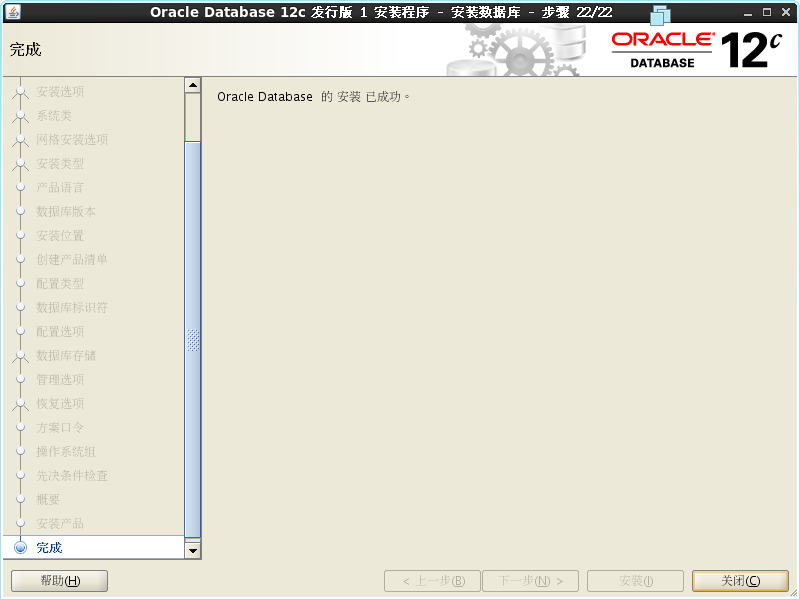
11、以oracle用户登录图形界面进行安装(此处需要从虚拟机执行,不能xshell执行)
[oracle@vn database]$ ./runInstaller
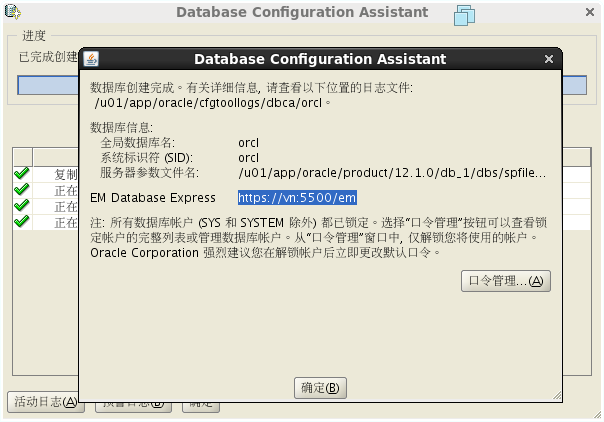
正在启动 Oracle Universal Installer...
检查临时空间: 必须大于 500 MB。 实际为 39610 MB 通过
检查交换空间: 必须大于 150 MB。 实际为 3999 MB 通过
检查监视器: 监视器配置至少必须显示 256 种颜色。 实际为 16777216 通过
准备从以下地址启动 Oracle Universal Installer /tmp/OraInstall2015-06-08_08-52-17PM. 请稍候...


/u01/app/oraInventory/orainstRoot.sh

/u01/app/oracle/product/12.1.0/db_1/root.sh

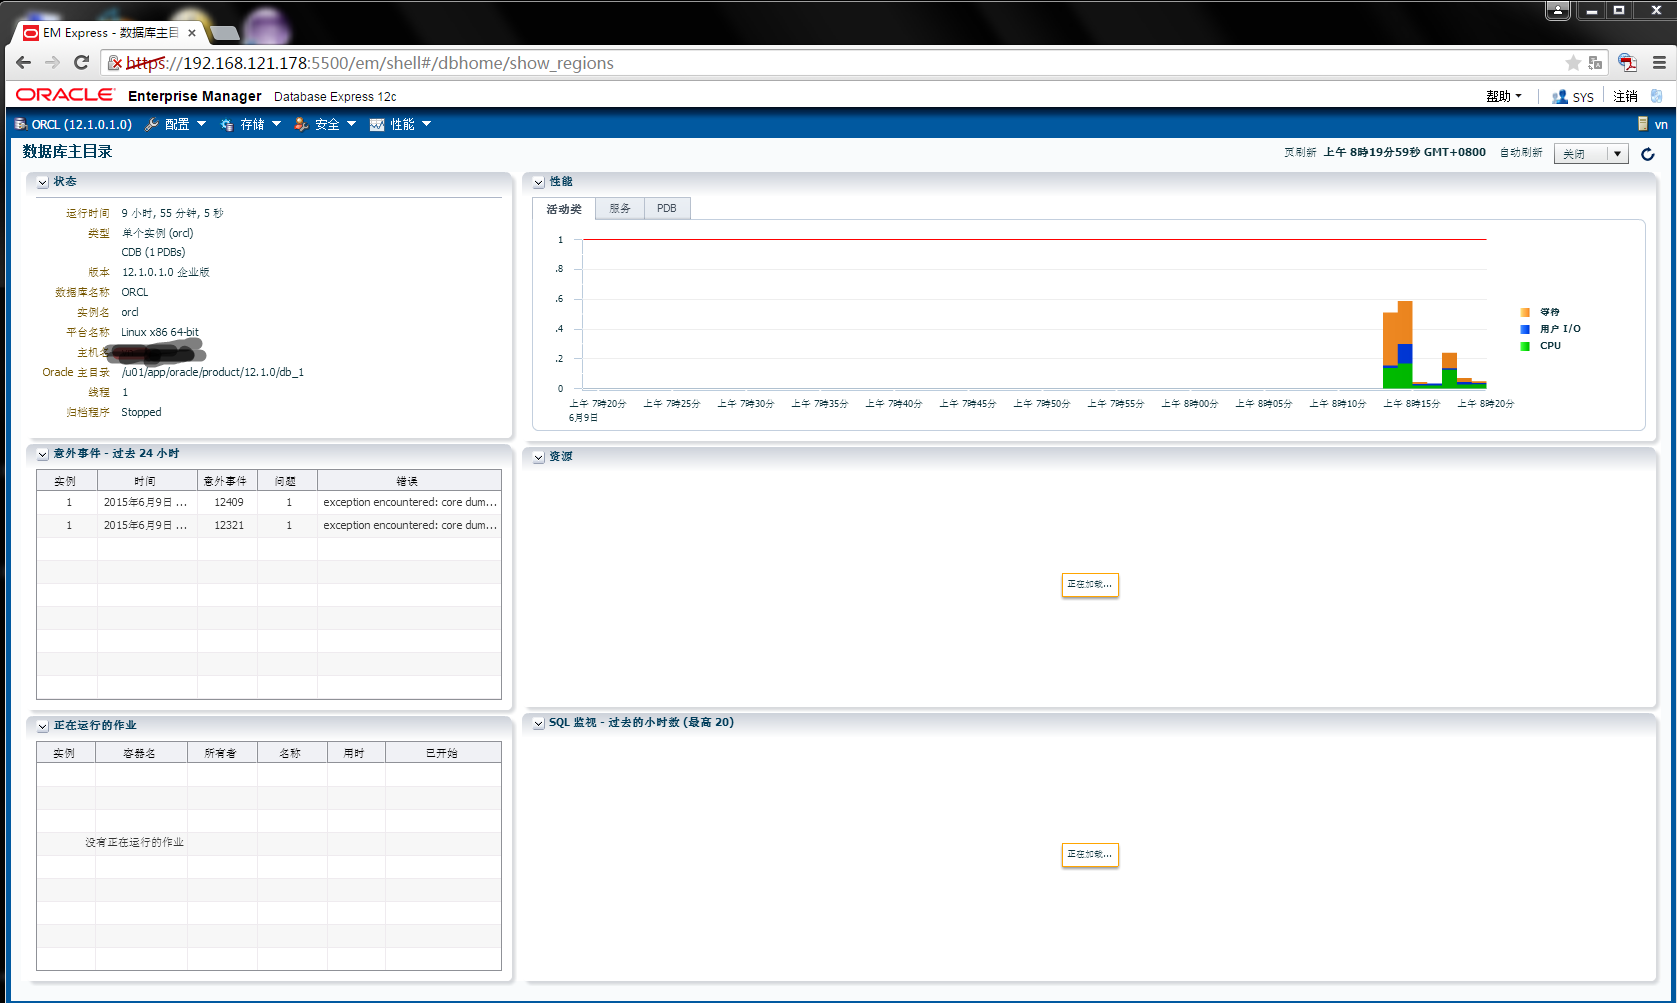
[oracle@host ~]$ sqlplus "sys /as sysdba"

SQL> startup

SQL> SELECT status from v$instance;
SQL> shutdown immediate;

Database closed.

Database dismounted.

ORACLE instance shut down.
Linux安装oracle 12C的更多相关文章
- (转)oracle linux 7 安装oracle 12c
原文:https://blog.csdn.net/jiuyun1986/article/details/53589446 https://blog.csdn.net/admin_root1/artic ...
- Linux下Oracle 12c的卸载
注:本文来源于:<Linux下Oracle 12c的卸载> 与Windows下Oracle的安装容易卸载麻烦相反,Linux下Oracle的安装麻烦下载简单. 1.关闭Oracle数据库 ...
- 安装oracle 12c RAC遇到的一些问题
(1) 安装grid软件,停止在38%很长时间不动,日志显示正常 解决方法: 由于是虚拟机安装,设置的内存为600M,关闭虚拟机,把内存调成1GB,问题解决~在38%Linking RMAN Ut ...
- linux 安装oracle 11g
安装环境 Linux服务器:SuSe10 sp2 64位 Oracle服务器:Oracle11gR2 64位 系统要求 Linux安装Oracle系统要求 系统要求 说明 内存 必须高于1G的物理内存 ...
- Linux安装Oracle 11G过程(测试未写完)
一.简介 Oracle数据库在系统运维中的重要性不言而喻,通过熟悉Oracle的安装来加深对操作系统和数据库知识的了解.Linux安装Oracle前期修改linux内核参数很重要,其实就是linux下 ...
- 在Fedora20上安装Oracle 12c
本文将引导大家在Fedora20的环境下成功安装Oracle12c. 安装前的准备 编辑/etc/hosts文件,添加本机名称 编辑/etc/selinux/config文件 编辑/etc/redha ...
- Windows 下安装 Oracle 12c 教程
原文 Windows 下安装 Oracle 12c 教程 申明:本文原作者:Jmq 本文给大家带来的是 Oracle 12C 的安装教程. 1.准备 1.1 下载 Oracle 12c 安装程序 ...
- linux安装oracle笔记
linux安装oracle .增大swap空间,内存大于8G后swap跟内存同等大小即可 mkdir /home/swap cd /home/swap mkswap swapfile swapon s ...
- Linux 安装 Oracle 11g R2
一.安装环境 Linux服务器:Centos 6.4 64位 Oracle服务器:Oracle11gR2 64位 二.系统要求 Linux安装Oracle系统要求 系统要求 说明 内存 必须高于1G的 ...
随机推荐
- YII事件EVENT示例
模型中/** * 在初始化时进行事件绑定 */ public function init() { $this->on(self::EVENT_HELLO,[$this,'sendMail']); ...
- js实现全屏弹框
<!DOCTYPE html> <html> <head lang="en"> <meta charset="UTF-8&quo ...
- Auto.js 调用系统短信、电话
本文所有教程及源码.软件仅为技术研究.不涉及计算机信息系统功能的删除.修改.增加.干扰,更不会影响计算机信息系统的正常运行.不得将代码用于非法用途,如侵立删! Auto.js 调用系统短信.电话 操作 ...
- 不止跑路,拯救误操作rm -rf /*的小伙儿
摘要:误执行了 rm -rf /* 之后,除了跑路还能怎么办? 本文分享自华为云社区<拯救被 rm -rf 伤到的小伙>,作者:Gauss 松鼠会. 灵魂画师再次上线 在开饭前我们先了 ...
- 054_末晨曦Vue技术_处理边界情况之组件之间的循环引用
组件之间的循环引用 点击打开视频讲解更详细 假设你需要构建一个文件目录树,像访达或资源管理器那样的.你可能有一个 <tree-folder> 组件,模板是这样的: <p> &l ...
- C#运用事件步骤(usual)
1.声明一个委托 委托跟Main函数在同一个NameSpace中.或者在class A中. delegate void delegateFuncA; 2.声明一个事件 在class A中 public ...
- ansible 002 连接被控端 inventory ansible.cfg ansible-adhoc ansible原理
ssh用普通用户连接被控端 配置主机清单 (/etc/hosts域名解析为前提) [root@workstation ansible]# cat hosts servera serverb [root ...
- Spire.Cloud 私有化部署教程(三) - Windows 系统
本教程主要介绍如何在 Windows 系统上实现 Spire.Cloud 私有化部署. 详细步骤如下: 一.安装依赖 我们的私有部署的依赖有 Nodejs.MySQL.Redis 和 RabbitMQ ...
- openstack中Neutron组件简解
一.Neutron概述 Neutron 的设计目标是实现"网络即服务(Networking as a Service)".为了达到这一目标,在设计上遵循了基于 SDN 实现网络虚拟 ...
- vacuum和vacuum full的处理过程
对于数据库系统的并发控制,KingbaseES采用MVCC(多版本并发控制)进行处理. 这种机制有一个缺点,就是随着时间的推移,数据文件中积累的dead tuples会越来越多. 怎么去清理这些dea ...