android底部菜单栏的编写
开发工具android stdio,组件Radio Button
1.新建空项目DDDD
2.将事先准备好的图标复制到对应的文件夹中(如图),这五个文件夹都要拷进去,图标文件http://pan.baidu.com/s/1slVnev7

3.在values/colors.xml中加入几种会用到的颜色资源
<?xml version="1.0" encoding="utf-8"?>

<resources>

    <color name="colorPrimary">#3F51B5</color>

    <color name="colorPrimaryDark">#303F9F</color>

    <color name="colorAccent">#FF4081</color>

    <color name="main_menu_color">#f6f7f9</color>

    <color name="main_menu_color_normal">#6E7174</color>

    <color name="main_menu_color_check">#4169E1</color>

    <color name="divider_color">#E1E1E1</color>

</resources>
4.在values/styles.xml中为RadioButton编写统一样式
<resources>

    <!-- Base application theme. -->

    <style name="AppTheme" parent="Theme.AppCompat.Light.DarkActionBar">

        <!-- Customize your theme here. -->

        <item name="colorPrimary">@color/colorPrimary</item>

        <item name="colorPrimaryDark">@color/colorPrimaryDark</item>

        <item name="colorAccent">@color/colorAccent</item>

    </style>

    <style name="RadioButtonButtomTab">

        <item name="android:layout_width">0dp</item>

        <item name="android:layout_height">match_parent</item>

        <item name="android:layout_weight">1</item>

        <item name="android:button">@null</item>

        <item name="android:gravity">center</item>

        <item name="android:textColor">@drawable/top_menu</item>

        <item name="android:paddingTop">6dp</item>

        <item name="android:background">@color/main_menu_color</item>

    </style>

</resources>
5.在res/drawable下新建几个RadioButton对应的xml文件,将图片导入

<?xml version="1.0" encoding="utf-8"?>

<selector xmlns:android="http://schemas.android.com/apk/res/android">

    <item android:drawable="@mipmap/friends_selected" android:state_checked="true"/>

    <item android:drawable="@mipmap/friends"/>

</selector>
<?xml version="1.0" encoding="utf-8"?>

<selector xmlns:android="http://schemas.android.com/apk/res/android">

    <item android:drawable="@mipmap/location_selected" android:state_checked="true"/>

    <item android:drawable="@mipmap/location"/>

</selector>
<?xml version="1.0" encoding="utf-8"?>

<selector xmlns:android="http://schemas.android.com/apk/res/android">

    <item android:drawable="@mipmap/step_selected" android:state_checked="true"/>

    <item android:drawable="@mipmap/step"/>

</selector>
<?xml version="1.0" encoding="utf-8"?>

<selector xmlns:android="http://schemas.android.com/apk/res/android">

    <item android:drawable="@mipmap/weather_selected" android:state_checked="true"/>

    <item android:drawable="@mipmap/weather"/>

</selector>
<?xml version="1.0" encoding="utf-8"?>

<selector xmlns:android="http://schemas.android.com/apk/res/android">

<item android:color="@color/main_menu_color_check" android:state_checked="true"/>

    <item android:color="@color/main_menu_color_normal"/>

</selector>
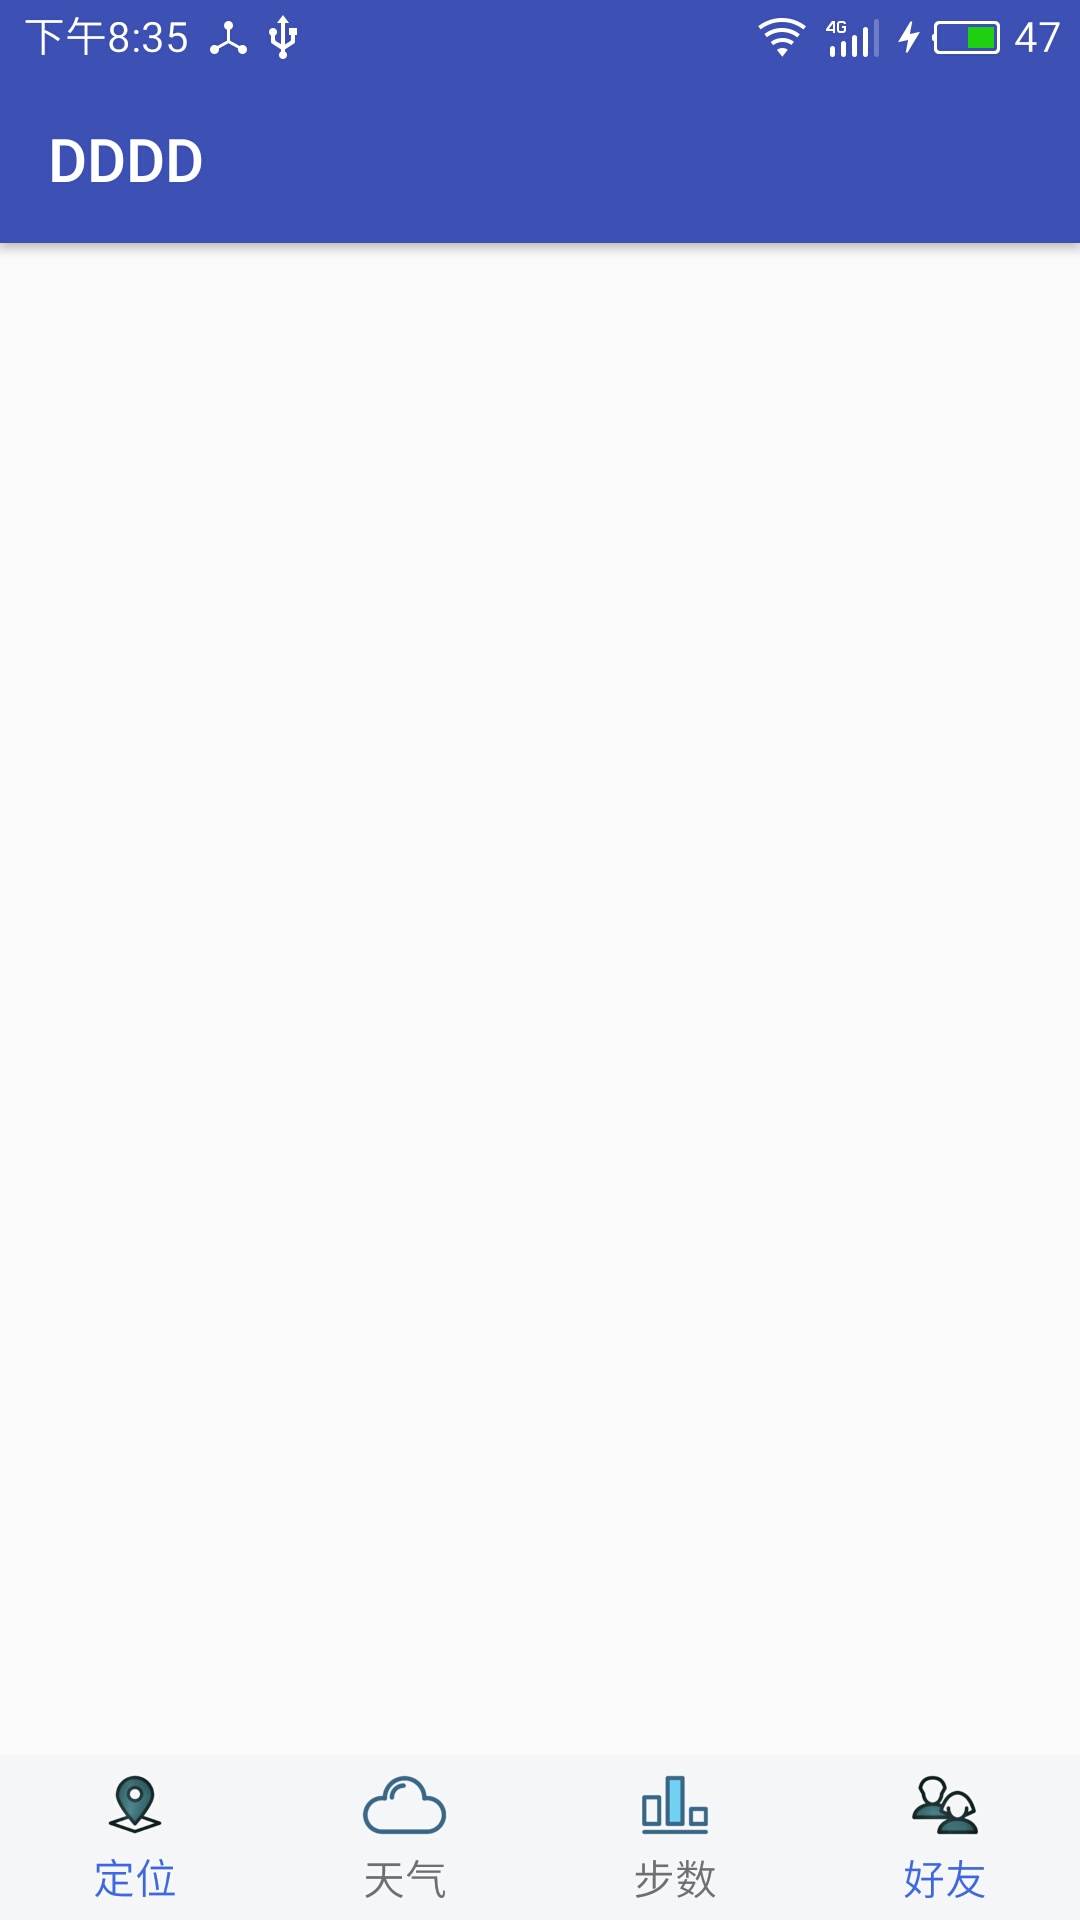
6. 编写activity_main.xml文件,并将之前写好的样式和图片资源导入RadioButton,界面部分就此完工,继续加功能的话,就要通过监听器实现活动间的跳转了。
<?xml version="1.0" encoding="utf-8"?>

<RelativeLayout xmlns:android="http://schemas.android.com/apk/res/android"

    xmlns:tools="http://schemas.android.com/tools"

    android:id="@+id/activity_main"

    android:layout_width="match_parent"

    android:layout_height="match_parent"

    tools:context="test.example.com.dddd.MainActivity">

    <LinearLayout

        android:gravity="bottom"

        android:orientation="vertical"

        android:layout_width="match_parent"

        android:layout_height="match_parent">

        <RadioGroup

            android:orientation="horizontal"

            android:layout_width="match_parent"

            android:layout_height="55dp">

            <RadioButton

                style="@style/RadioButtonButtomTab"

                android:drawableTop="@drawable/main_menu_location"

                android:checked="true"

                android:text="定位"

                />

            <RadioButton

                style="@style/RadioButtonButtomTab"

                android:drawableTop="@drawable/main_menu_weather"

                android:text="天气" />

            <RadioButton

                style="@style/RadioButtonButtomTab"

                android:drawableTop="@drawable/main_menu_step"

                android:text="步数"

                />

            <RadioButton

                android:text="好友"

                android:drawableTop="@drawable/main_menu_friends"

                style="@style/RadioButtonButtomTab"/>

        </RadioGroup>

    </LinearLayout>

</RelativeLayout>
最终效果如图
android底部菜单栏的编写的更多相关文章
- android 底部菜单栏实现(转)
1.Android学习之BottomNavigationBar实现Android特色底部导航栏 2.Android底部导航栏的四种实现 3.Android BottomNavigationBar底部导 ...
- Android底部菜单栏+顶部菜单
底部菜单栏+顶部菜单(wechat)demo http://blog.csdn.net/evankaka/article/details/44121457 底部菜单demo http://blog.c ...
- 【Android UI设计与开发】5.底部菜单栏(二)使用Fragment实现底部菜单栏
既然 Fragment 取代了TabActivity,当然 TabActivity 的能实现的菜单栏,Fragment 当然也能实现.主要其实就是通过菜单栏的点击事件切换 Fragment 的显示和隐 ...
- 我的Android之路——底部菜单栏的实现
底部菜单栏的实现 底部菜单栏两种实现方法:ViewPager:可滑动的界面:Fragment:固定的界面. 首先,页面布局,在除去顶部toolbar之后,将主界面分为两部分,一部分为界面显示区,另一部 ...
- 【Android开发笔记】底部菜单栏 FragmentTabHost
公司项目,需求本来是按照谷歌官方指南写的,菜单栏设计成在导航栏下方 结果呢,审评时,BOSS为了和iOS统一,改成了底部菜单栏(标准结局),我只能呵呵呵呵呵呵呵 查了查资料发现实现底部菜单栏用的是Fr ...
- 底部菜单栏(二) TabHost & RadioGroup 实现
需求:使用TabHost & RadioGroup实现底部菜单栏: 效果图: 实现分析: 1.目录结构: 代码实现: 1. activity_main.xml <?xml version ...
- 底部菜单栏(一) TabHost实现
需求:使用TabHost实现底部菜单栏: 效果图: 实现分析: 1.目录结构: 代码实现: 1.activity_main.xml <?xml version="1.0" e ...
- FragmentTabHost+FrameLayout实现底部菜单栏
现在一般的app都使用底部菜单栏,那具体怎么实现的呢!我们就来看看 首先给大家展示一下布局文件 1 <LinearLayout xmlns:android="http://schema ...
- Android Camera 相机程序编写
Android Camera 相机程序编写 要自己写一个相机应用直接使用相机硬件,首先应用需要一个权限设置,在AndroidManifest.xml中加上使用设备相机的权限: <uses-per ...
随机推荐
- 287. Find the Duplicate Number 找出数组中的重复数字
[抄题]: Given an array nums containing n + 1 integers where each integer is between 1 and n (inclusive ...
- 加NONCLUSTERED INDEX索引,在ON了之后还要INCLUDE
之前加了索引,但效果不大 SET STATISTICS TIME ON --执行时间 SET STATISTICS IO ON --IO读取 DBCC DROPCLEANBUFFERS --清除缓冲区 ...
- JAVAEE——SpringBoot配置篇:配置文件、YAML语法、文件值注入、加载位置与顺序、自动配置原理
转载 https://www.cnblogs.com/xieyupeng/p/9664104.html @Value获取值和@ConfigurationProperties获取值比较 @Confi ...
- logback log4j log4j2 性能实测
logback log4j log4j2 性能实测 转载: https://blog.souche.com/logback-log4j-log4j2shi-ce/ 日志已经成为系统开发中不可或缺的一部 ...
- 初识XMind基本操作
花了一些时间来学习了XMind,梳理了一下学习基础部分的内容,分为输入文字,添加分支,超级链接或附件,以及美化操作四个部分.
- SpringBoot集成redis,使用@Cachexxxx
一.引入相关依赖: <dependency> <groupId>org.springframework.boot</groupId> <artifactId& ...
- 【微信小程序开发】页面配置
app下的app.json文件是全局配置. app下的每一个page中,也可以配置.json文件. page中配置的内容是对应app中window配置项下的内容. page中的配置将覆盖window中 ...
- APP微信支付报错《商户号该产品权限未开通,请前往商户平台>产品中心检查后重试》
问题 最近项目使用MUI,HBuilder.开发打包H5的app 在开发H5 plus支付的时候,遇到以下问题: App微信支付调官方的统一下单接口返回错误信息 {return_msg=商户号该产品权 ...
- (PMP)第8章-----项目质量管理
过程质量管理,成果质量的管理 戴明理论:PDCA,戴明环 朱兰理论:质量规划,质量控制,质量改进,朱兰三部曲 克鲁斯比理论:零缺陷,质量免费 石川理论:质量圈,因果图,质量管理七大工具:核对表,帕累托 ...
- C++ MFC棋牌类小游戏day5
先整理一下之前的内容: 1.画了棋盘,把棋盘的每个点的状态都保存起来. 2.画棋子,分别用tiger类和people类画了棋子,并且保存了棋子的初始状态. 下面开始设计棋子的移动: 1.单机棋子,选中 ...