在CentOS6.4上安装GitLab
1.Install and configure the necessary dependencies
On CentOS 6 (and RedHat/Oracle/Scientific Linux 6), the commands below will also open HTTP and SSH access in the system firewall.
sudo yum install -y curl policycoreutils-python openssh-server cronie

sudo lokkit -s http -s ssh
注:如果出现“Another app is currently holding the yum lock; waiting for it to exit...”,执行“rm -f /var/run/yum.pid”把yum的进程杀掉就OK了
Next, install Postfix to send notification emails. If you want to use another solution to send emails please skip this step and configure an external SMTP server after GitLab has been installed.
sudo yum install postfix

sudo service postfix start

sudo chkconfig postfix on
During Postfix installation a configuration screen may appear. Select 'Internet Site' and press enter. Use your server's external DNS for 'mail name' and press enter.
If additional screens appear, continue to press enter to accept the defaults.
2. Add the GitLab package repository and install the package
Add the GitLab package repository.
curl https://packages.gitlab.com/install/repositories/gitlab/gitlab-ce/script.rpm.sh | sudo bash
Next, install the GitLab package. Change `http://gitlab.example.com` to the URL at which you want to access your GitLab instance.
Installation will automatically configure and start GitLab at that URL. HTTPS requires additional configuration after installation.
sudo EXTERNAL_URL="http://gitlab.example.com" yum -y install gitlab-ce
You can use GitLab instance URL like this:
sudo EXTERNAL_URL="https://mirrors.tuna.tsinghua.edu.cn/gitlab-ce/yum/el6" yum -y install gitlab-ce
有时会提示无法在线安装,出现error,让Trying other mirror...
只能选择自动下载rpm包,手动安装了:可以到 https://mirrors.tuna.tsinghua.edu.cn/gitlab-ce/yum/el6/ 下载

下载完成后,放到centos系统的某目录下,切换到该目录,执行:
rpm -ivh gitlab-ce-11.5.1-ce.0.el6.x86_64.rpm

出现以上信息,表示GitLab安装成功啦!
3. 安装成功后配置
首先就是端口占用问题,gitlab 启动会使用 80 端口,所以建议你在启动 gitlab 前先将不需要的服务都关掉,或者修改默认端口:
sudo vim /etc/gitlab/gitlab.rb
修改external_url
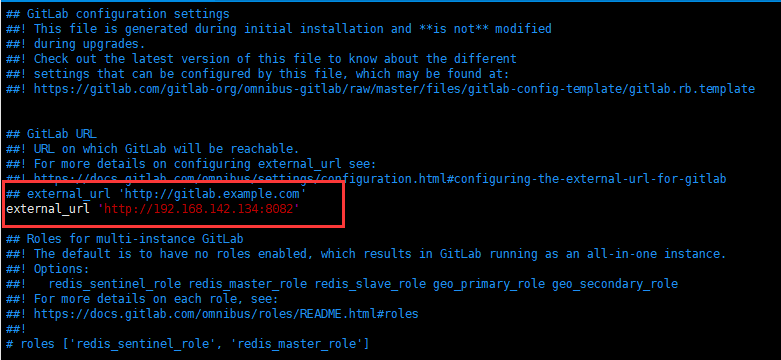
保存修改后,执行:
sudo gitlab-ctl reconfigure
过程可能比较长,请耐心等待...
4.启动gitlab服务
gitlab-ctl start
出现问题:
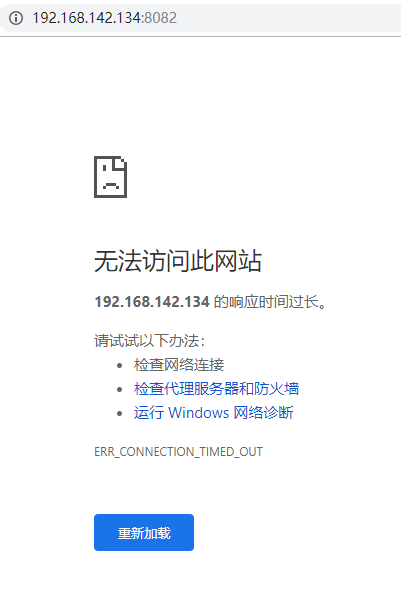
解决办法:查看防火墙状态,把防火墙关闭:

重启服务,再次访问:出现 502的错误...
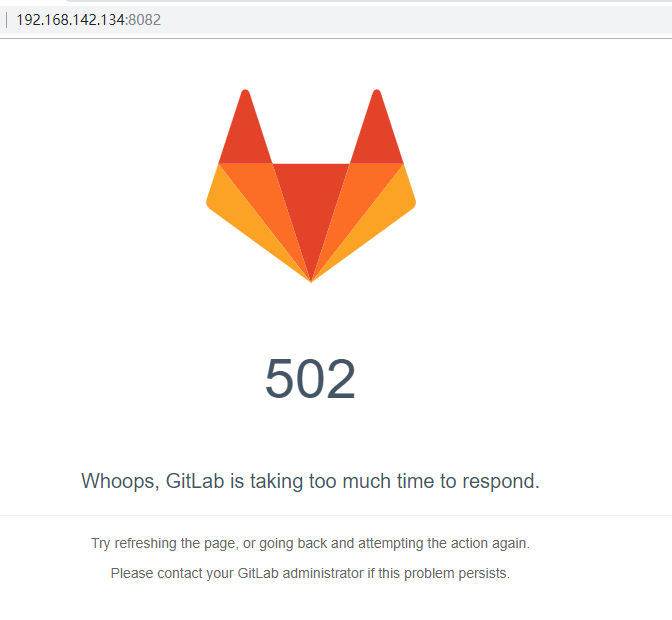
除了 80 这个端口外,还有一个unicorn用的端口,默认是8080,如果8080端口被其他程序占用。
那么unicorn就会无法启动,显示为502错误,”GitLab is not responding”。
解决办法:修改 /etc/gitlab/gitlab.rb,增加以下内容:
unicorn['port'] = 8883
保存修改后,执行gitlab-ctl reconfigure,再重启gitlab服务即可。
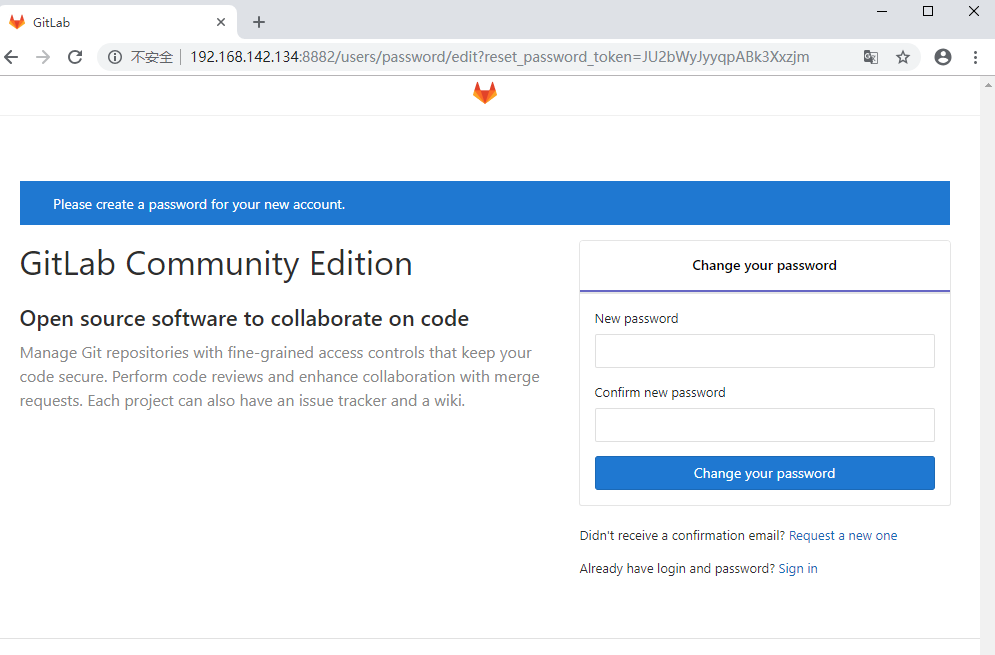
上面需要设置密码,对应的用户名是root
设置成功后,登录,进入登录成功页面:

在CentOS6.4上安装GitLab的更多相关文章
- 最新版CentOS6.5上安装部署ASP.NET MVC4和WebApi
最新版CentOS6.5上安装部署ASP.NET MVC4和WebApi 使用Jexus5.8.1独立版 http://www.linuxdot.net/ ps:该“独立版”支持64位的CentOS ...
- 在CentOS7.1上安装Gitlab碰到的问题及解决方法
一 前言 关于在CentOS7上安装Gitlab, 官方文档已经很详细了,步骤大家按照官方的安装文档一步一步安装即可, 这里就不在累述.官方安装文档地址: https://about.gitlab. ...
- 在CentOS6的上安装Windows2012R2的KVM虚拟机
在CentOS6的上安装Windows2012R2的KVM虚拟机 1:上传cn_windows_server_2012_r2_vl_with_update_x64_dvd_6052729.iso下载驱 ...
- CentOS6.7上安装Mysql5.7
CentOS6.7上安装Mysql5.7 2017年07月22日 18:27:05 阅读数:564 环境的配置总是令人作呕,所以这次表明版本条件: 首先,这是一台新机器 其次,CentOS版本如下: ...
- git学习------>在CenterOS系统上安装GitLab并自定义域名访问GitLab管理页面
目前就职的公司一直使用SVN作为版本管理,现在打算尝试从SVN迁移到Git.安排我来预言并搭建好相关的环境以及自己尝试使用Git.今天我就尝试在Center OS系统上安装GitLab,现在在此记录一 ...
- CentOS6.7上安装nginx1.8.0
主题: CentOS6.7上安装nginx1.8.0 环境准备: 1.gcc-c++ 示例:yum install gcc-c++ 安装:gcc-c++ gcc-c++编译工具 2.PCRE(Perl ...
- centos6.5上安装5.7版本的mysql
centos6.5上安装5.7版本的mysql https://www.cnblogs.com/lzj0218/p/5724446.html 设置root可以在本机以外的机器访问 mysql -uro ...
- 3.在 Kubernetes 上安装 Gitlab CI Runner
结合文章:1. 在 Kubernetes 上安装 Gitlab ,地址:https://www.cnblogs.com/sanduzxcvbnm/p/13852854.html 总结: 结合开头的文章 ...
- 在linux(CentOS-6.7_x86_64)上安装mysql成功记录
查看linux服务器的yum源设置: [root@hadoop03 yum.repos.d]# cd /etc/yum.repos.d [root@hadoop03 yum.repos.d]# ll ...
随机推荐
- 阿里DNS 223.5.5.5 223.6.6.6 (转载)
转自:http://it.oyksoft.com/post/6780/ 阿里DNS: 223.5.5.5 223.6.6.6 为何用它? 一.选择阿里DNS让你购物更爽,如果是淘宝狂人 ...
- 3 Java对象的内存布局以及对象的访问定位
先来看看Java对象在内存中的布局 一 Java对象的内存布局 在HotSpot虚拟机中,对象在内存中的布局分为3个区域 对象头(Header) Mark Word(在32bit和64bit虚拟机 ...
- PHP命名空间namespace使用小结
1.介绍一下php的命名空间 什么是命名空间?从广义上来说,命名空间是一种封装事物的方法.在很多地方都可以见到这种抽象概念.例如,在操作系统中目录用来将相关文件分组,对于目录中的文件来说,它就扮演了命 ...
- 转】[1.0.2] 详解基于maven管理-scala开发的spark项目开发环境的搭建与测试
场景 好的,假设项目数据调研与需求分析已接近尾声,马上进入Coding阶段了,辣么在Coding之前需要干马呢?是的,“统一开发工具.开发环境的搭建与本地测试.测试环境的搭建与测试” - 本文详细记录 ...
- ROS学习笔记六:xxx.launch文件详解
每当我们需要运行一个ROS节点或工具时,都需要打开一个新的终端运行一个命令.当系统中的节点数量不断增加时,每个节点一个终端的模式会变得非常麻烦.那么有没有一种方式可以一次性启动所有节点呢?答案当然是肯 ...
- Poj 2112 Optimal Milking (多重匹配+传递闭包+二分)
题目链接: Poj 2112 Optimal Milking 题目描述: 有k个挤奶机,c头牛,每台挤奶机每天最多可以给m头奶牛挤奶.挤奶机编号从1到k,奶牛编号从k+1到k+c,给出(k+c)*(k ...
- Retinex系列之Frankle-McCann Retinex 分类: Matlab 图像处理 2014-12-01 21:52 538人阅读 评论(2) 收藏
一.Frankle-McCann Retinex Frankle-McCann算法选择一条螺旋结构的路径用于像素间的比较.如下图,算法沿着螺旋路径选取用于比较 像素点,这种路径选择包含了整个图像的全局 ...
- Service官方教程(1)Started与Bound的区别、要实现的函数、声明service
Services 简介和分类 A Service is an application component that can perform long-running operations in the ...
- 如何用C#动态编译、执行代码[转]
原文链接 在开始之前,先熟悉几个类及部分属性.方法:CSharpCodeProvider.ICodeCompiler.CompilerParameters.CompilerResults.Assemb ...
- ORA-28002错误原因及解决办法
在oracle database 11g中,默认在default概要文件中设置了“PASSWORD_LIFE_TIME=180天”所导致.密码过期后,业务进程连接数据库异常,影响业务使用.数据库密码过 ...