CentOS6.5上Zabbix3.0的RPM安装【一】-安装并配置Server
一、Environment
OS:CentOS6.5 64bit 【桌面版安装】
Server端:192.168.201.109 ServerName
Clinet端:192.168.201.199 AgentName
iptables:关闭
selinux: disabled
Now let’s get started with the actual installation of Zabbix 3.0.4. First we will prepare database, then web server and once that is done
we will install Zabbix server, agent and web interface.
二、Prepare database
*升级MySQL非必选项
Before we even start with Zabbix we need to install a database for it. And here we will use the latest version of MySQL.
CentOS by default is supplied with a very old version of MySQL – 5.1. We can check that by running:
yum list installed | grep mysql
Expected output:
mysql-server.x86_64 5.1.71-1.el6
Although a basic installation of Zabbix can run on MySQL 5.1, it is highly recommended to use a more up-to-date version, which is 5.6 currently. Therefore we have to remove the old version first.
Please be aware of what you are doing. Never do this on a production system where existing MySQL instances might be running!
yum remove mysql*
Then we need to install the MySQL repository configuration package. We pick the right version for our CentOS 6 system from here: http://dev.mysql.com/downloads/repo/yum/
Install the repository.
rpm -ivh http://dev.mysql.com/get/mysql-community-release-el6-5.noarch.rpm
Retrieving http://dev.mysql.com/get/mysql-community-release-el6-5.noarch.rpm
Preparing... ########################################### [100%]
1:mysql-community-release
########################################### [100%]
Install the MySQL server itself.
yum install mysql-server
If everything is correct then one of the outputs should install mysql-community-server along with 10 other dependencies. Double check that you are going to install MySQL version 5.6.x.
Installing:
mysql-community-server x86_64 5.6.26-2.el6 mysql56-community 53 M
Read all questions you might be asked during the install but most likely you need to answer “yes” by pressing “y” key.
Before starting up the database we have to edit the MySQL configuration file but to open a file we need some text editor. Here you can use whichever you want, but in the tutorial we will be using vim, so here is how to install it.
yum install vim -y
*Configuration MySQL【必选项】
Open the MySQL configuration file with “vim” file editor. If you are new to vim then here is a quick tutorial on that.
vim /etc/my.cnf
This file consists of multiple sections. At this point we will not do much tuning and only add one setting under the [mysqld] section, which is important prior to creation of any database.
[mysqld]
innodb_file_per_table
Save and close the file.
Start the MySQL service.
service mysqld start
Starting mysqld: [ OK ]
It is highly recommended to secure your database and specify a password for the “root” account, remove anonymous logins etc. It is done by following all instructions after the MySQL secure installation.
mysql_secure_installation
Enter current password for root (enter for none):
Set root password? [Y/n]
Remove anonymous users? [Y/n]
Disallow root login remotely? [Y/n]
Remove test database and access to it? [Y/n]
Reload privilege tables now? [Y/n]
Normally you should answer “Yes” to all these questions.
Log in to your MySQL instance with the password set in the previous step.
mysql -u root -p
Create a new database for Zabbix. It is very important to also specify the character set and collation otherwise the database will be case insensitive.
CREATE DATABASE zabbix CHARACTER SET utf8 COLLATE utf8_bin;
Create a database user, set password and grant privileges.
GRANT ALL PRIVILEGES ON zabbix.* TO zabbix@localhost IDENTIFIED BY 'your_password';
Just to be sure check that the database is created.
mysql> show databases;
+--------------------+
| Database |
+--------------------+
| information_schema |
| mysql |
| performance_schema |
| zabbix |
+--------------------+
4 rows in set (0.00 sec)
If everything is fine then exit the database for now.
exit
三、Prepare web server
Beside a database we also need a web server therefore we will install Apache and PHP.
Zabbix 3.0 requires PHP to be at least version 5.4 or higher. Our CentOS 6.5 repositories come with PHP 5.3.3 therefore we need to install a newer one.
To do this we need a repository that contains all our required packages. Webtatic could be a good choice therefore we will install it.
*升级PHP为必选项
*配置webtatic源
[root@allserver ~]# rpm -ivh http://repo.webtatic.com/yum/el6/latest.rpm
*卸载旧版本php
[root@allserver ~]# yum erase php php-mysql php-gd php-imap php-ldap php-odbc php-pear php-xml php-xmlrpc php-mcrypt php-mbstring php-devel php-pecl-memcached php-pecl-memcache php-common php-pdo php-cli php-fpm libmemcached
*安装新版本php
[root@allserver ~]# yum install httpd php56w php56w-mysql php56w-gd php56w-imap php56w-ldap php56w-odbc php56w-pear php56w-xml php56w-xmlrpc php56w-mcrypt php56w-mbstring php56w-devel php56w-pecl-memcached php56w-common php56w-pdo php56w-cli php56w-pecl-memcache php56w-bcmath php56w-fpm
如果出现如下错误:
Error: Package: php56w-mcrypt-5.6.24-1.w6.x86_64 (remote_repo)
Requires: libmcrypt.so.4()(64bit)
You could try using --skip-broken to work around the problem
You could try running: rpm -Va --nofiles –nodigest
则缺少libmcrypt-2.5.8-9.el6.x86_64.rpm,安装该rpm再执行安装php命令。
*配置/etc/php.ini
post_max_size=16M
max_execution_time=300
max_input_time=300
date.timezone=Europe/Riga
always_populate_raw_post_data=-1
*启动web server
service httpd start
*CentOS6.5 curl默认版本为curl 7.19.7,【是否升级为可选项】
CURL升级为了SMTP Authentication,如果不升级则zabbix服务启动时:/var/log/zabbix/zabbix-server.log则显示:
39715:20160729:144131.510 SMTP authentication: NO
*升级CURL
git clone https://github.com/zabbixcn/curl-rpm
cd curl-rpm/RPMS
yum install curl-7.29.0-25.el6.x86_64.rpm libcurl-7.29.0-25.el6.x86_64.rpm libcurl-devel-7.29.0-25.el6.x86_64.rpm
curl –V
curl 7.29.0
四、Download and install Zabbix 3.0.4
Now we are getting closer to Zabbix itself.
Step 1 – Add Account
Before installing Zabbix we need to ensure we have a user group and user account for it because Zabbix is not meant to be run under the “root” account.
groupadd zabbix
useradd -g zabbix zabbix
Step 2 – Add Required Repository
rpm –ivh http://repo.zabbix.com/zabbix/3.0/rhel/6/x86_64/zabbix-release-3.0-1.el6.noarch.rpm
Step 3 – Install Dependency Package
dejavu-sans-fonts为依赖包,dejavu-fonts-common为dejavu-sans-fonts的依赖包
rpm -ivh dejavu-fonts-common-2.33-1.el6.noarch.rpm
rpm -ivh dejavu-sans-fonts-2.33-1.el6.noarch.rpm
Step 3 – Install Zabbix Server
yum install zabbix-server-mysql
yum install zabbix-web-mysql
Step 4 – Initial Database
Import the database schema. Provide the password you set when creating the Zabbix user for database.
cd /usr/share/doc/zabbix-server-mysql-3.0.4/
[root@allserver zabbix-server-mysql-3.0.4]# zcat create.sql.gz | mysql -uroot -p123456 zabbix
Step 5 – Configure zabbix_server.conf
配置/etc/zabbix/zabbix_server.conf
LogFile=/var/log/zabbix/zabbix_server.log
LogFileSize=0
PidFile=/var/run/zabbix/zabbix_server.pid
DBHost=localhost
DBName=zabbix
DBUser=zabbix
DBPassword=123456
StartTrappers=5
StartPingers=1
StartDiscoverers=1
SNMPTrapperFile=/var/log/snmptrap/snmptrap.log
HousekeepingFrequency=1
Timeout=4
AlertScriptsPath=/usr/lib/zabbix/alertscripts
ExternalScripts=/usr/lib/zabbix/externalscripts
LogSlowQueries=3000
Step 6 – Configure Web Sources
Create a new directory for web frontend files.
mkdir /var/www/html/zabbix
Move web interface sources.
cd /usr/share/zabbix/
cp -a . /var/www/html/zabbix/
Set Apache user as owner of the web interface files.
chown -R apache:apache /var/www/html/zabbix
Step 7 – Start Services
Enable Zabbix server, Zabbix agent, Apache and MySQL services on boot.
chkconfig httpd on
chkconfig mysqld on
chkconfig zabbix-server on
chkconfig zabbix-agentd on
Start Zabbix server.
service zabbix-server start
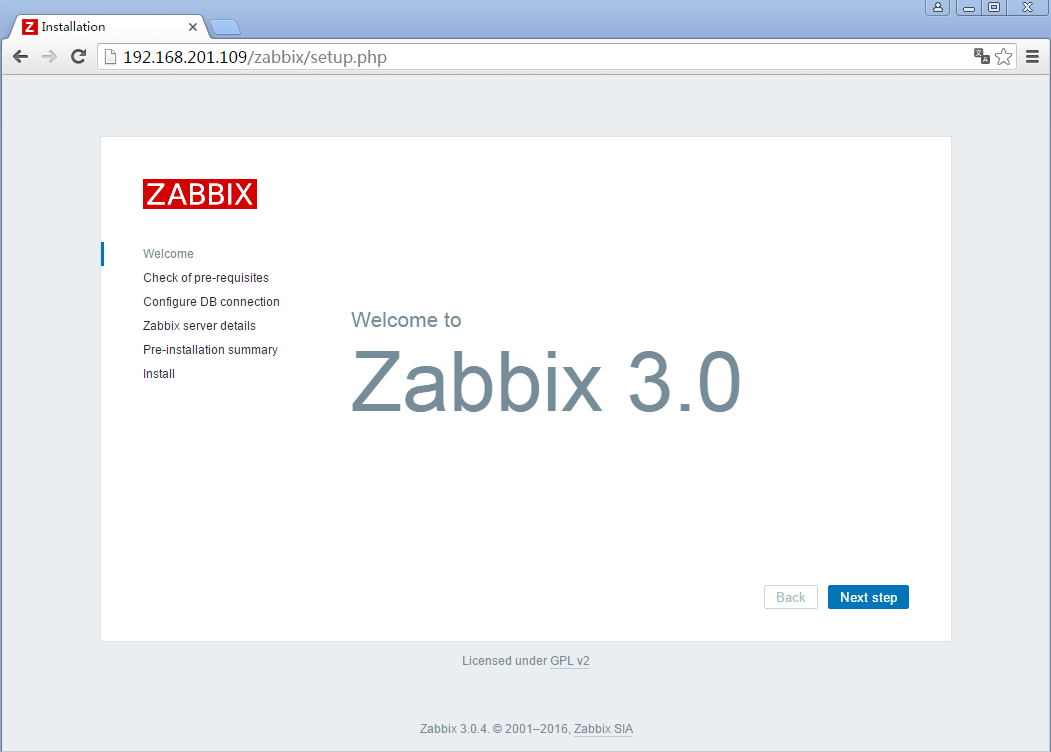
五、Configure Zabbix With Browser
it is time to proceed to the frontend installation in your web browser.
Use the same address you have for your server now and add /zabbix to the URL
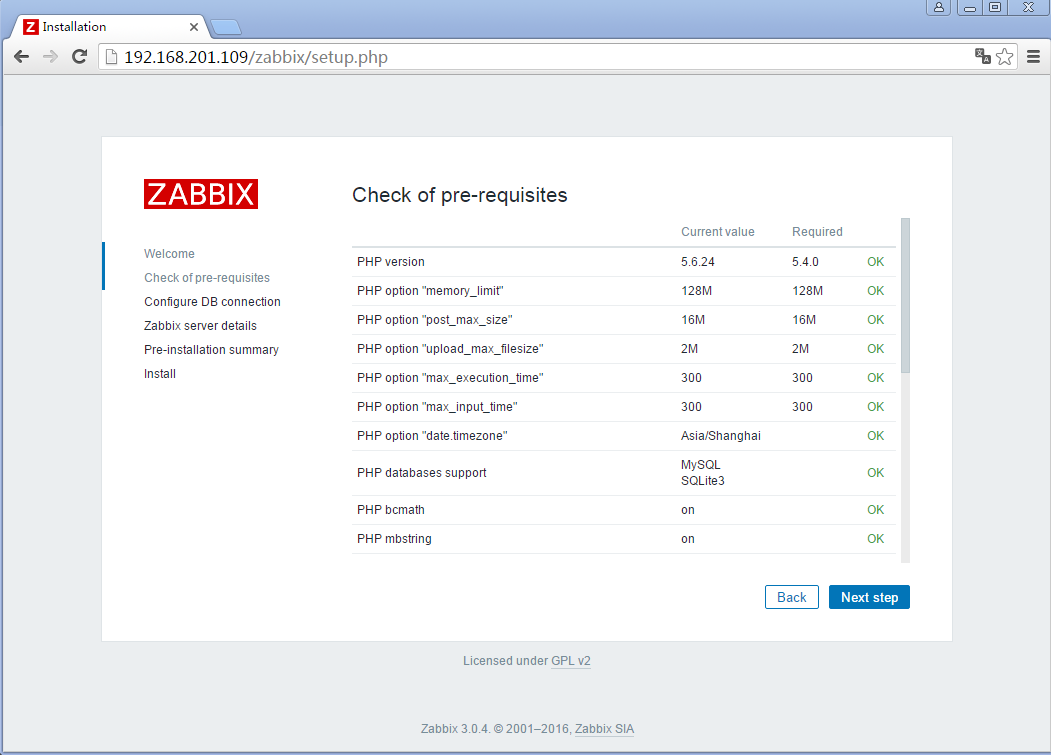
Check for pre-requisites and fix errors if you have any.
Enter settings to connect to database.

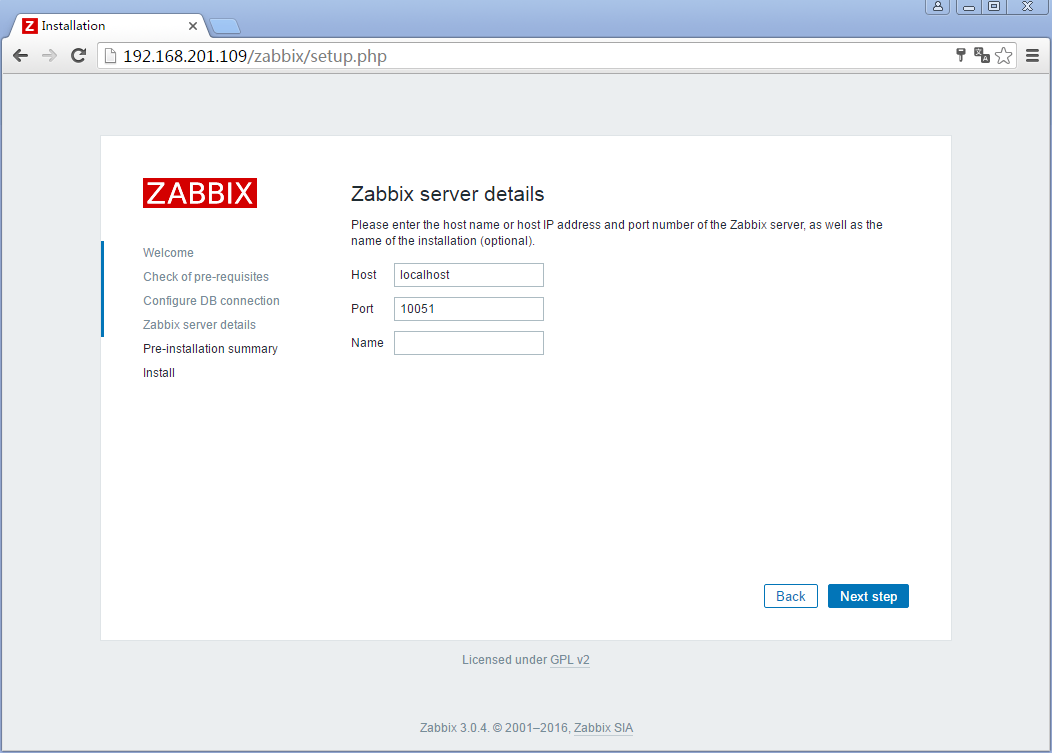
Enter details to connect to web interface.
The “Name” field can be left blank or you can enter a name that will appear on each page.
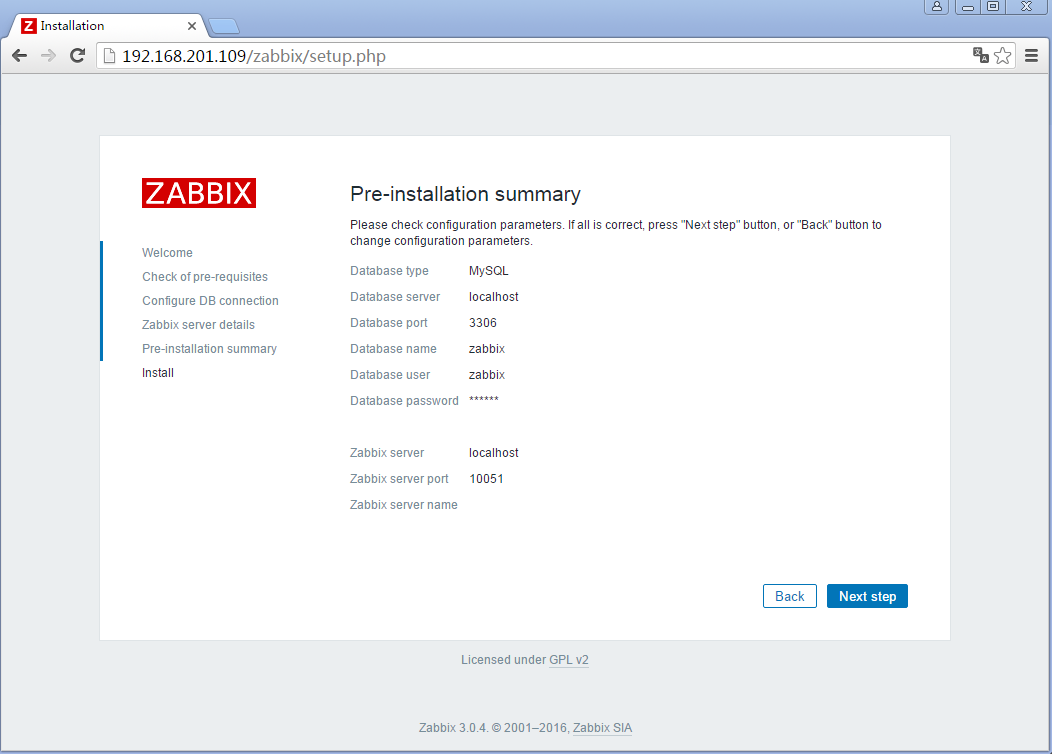
Review the last settings in the next page and if all is good your Zabbix should be able to automatically create configuration files.
Finish configuration

Connect to the Zabbix web interface with default credentials.
Username: Admin
Password: zabbix

And this is the new web interface.
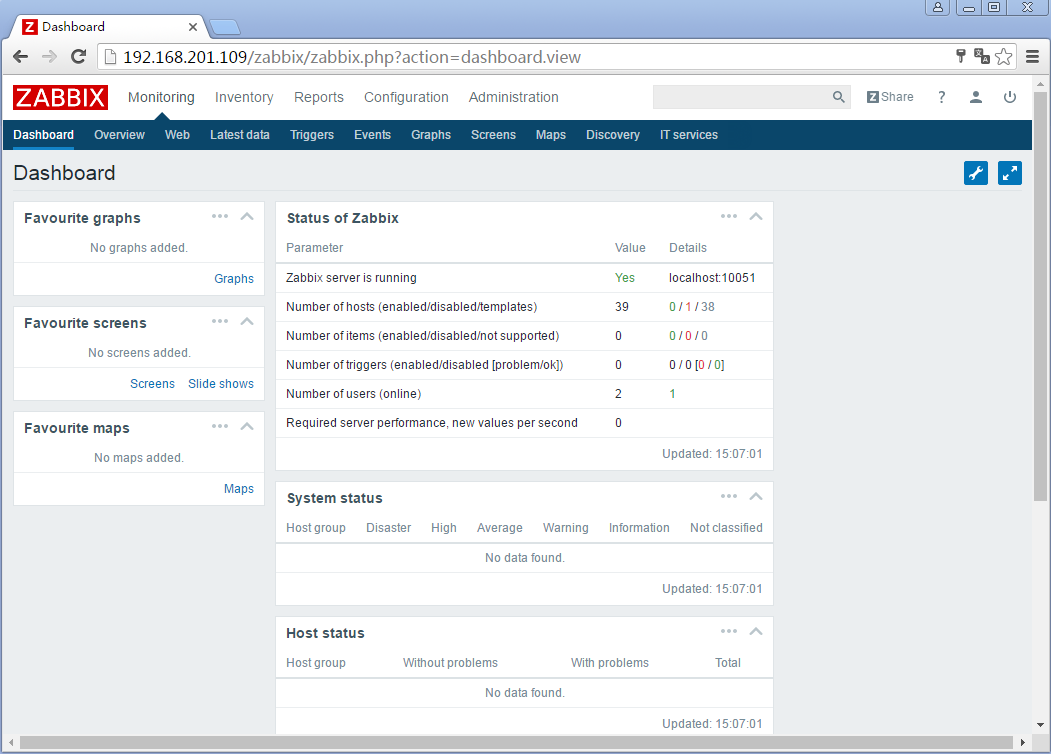
Congratulations! You have installed the new Zabbix 3.0. Have fun! Don’t forget to check our documentation for 3.0. And stay tuned for next tutorials and articles where we will cover the main features of Zabbix 3.0 and do lots of useful configuration.
CentOS6.5上Zabbix3.0的RPM安装【一】-安装并配置Server的更多相关文章
- CentOS6.5上Zabbix3.0的RPM安装【三】-安装并添加Agent
七.Download and install Zabbix Agent Zabbix Agent is required to install on all remote systems needs ...
- CentOS6.5上Zabbix3.0的RPM安装【四】-乱码
当Agent添加完成后,部分显示(如cpu负载)出现乱码情况: 解决步骤如下: 1, 在windows7中找一个自己喜欢的字体或者去网上下载一个字体.[以“楷体 常规”为例] 2, 右击”楷体 常规” ...
- CentOS6.5上Zabbix3.0的RPM安装【二】-汉化
六.汉化 zabbix实际是有中文语言的,我们可以通过修改web端源文件来开启中文语言.首先点击zabbix监控页面右上角管理员头像进入“用户基本资料设置页面“. 选择中文语言. 点击“Update” ...
- centos6.5 搭建zabbix3.0
一.搭建LAMP平台 注意zabbix3.0需要php5.4以上的版本 (1)安装依赖包 httpd和mysql安装过程省略 rpm -e httpd --nodeps yum -y install ...
- Win2008上.NET4.0部署出错HTTP 错误 500.21 - Internal Server Error的解决方法
原因:在安装Framework v4.0之后,再启用IIS,导致Framework没有完全安装 解决:开始->所有程序->附件->鼠标右键点击“命令提示符”->以管理员身份运行 ...
- zabbix3.0安装部署文档
zabbix v3.0安装部署 摘要: 本文的安装过程摘自http://www.ttlsa.com/以及http://b.lifec-inc.com ,和站长凉白开的<ZABBIX从入门到精通v ...
- PHP 5.5.38 + mysql 5.0.11 + zabbix3.0 + nginx 安装
PHP 5.5.38 + mysql 5.0.11 + zabbix3.0 + nginx 1.首先在安装好环境下安装 zabbix3.0情况下 2. yum install mysql-devel ...
- Zabbix3.0学习笔记
第1章 zabbix监控 1.1 为什么要监控 在需要的时刻,提前提醒我们服务器出问题了 当出问题之后,可以找到问题的根源 网站/服务器 的可用性 1.1.1 网站可用性 在软件系统的高可靠性(也 ...
- centos6.8上yum安装zabbix3.2
centos6.8上yum安装zabbix3.2 zabbix3.2安装文档:https://www.zabbix.com/documentation/3.2/manual/installation/ ...
随机推荐
- 解决ListView 缓存机制带来的显示不正常问题
ListView加载数据原理:系统绘制ListView时,首先会用getCount()函数得到要绘制的这个列表的长度,然后开始逐行绘制.然后调用getView()函数,在这个函数里面首先获得一个Vie ...
- TCP之半关闭与CLOSE_WAIT
终止一个连接要经过4次握手.这由TCP的半关闭(half-close)造成的.既然一个TCP连接是全双工(即数据在两个方向上能同时传递,可理解为两个方向相反的独立通道),因此每个方向必须单独地进行关闭 ...
- 全球知名的HTTPS网站检测工具-Qualys SSL Labs
推荐一个在线版全球知名的HTTPS网站检测工具-Qualys SSL Labs.Qualys SSL Labs同时也是很具有影响力的SSL安全和性能研究机构. SSL Labs会对HTTPS网站的证书 ...
- Windows SID理解
Windows安全性要依赖于几个基本元素.:访问令牌.SID.安全描述符.访问控制列表.密码. 访问令牌:访问令牌在本质上定义了两 上“P”:Permissions(权限)和Privilege(特权) ...
- QString 乱谈(1)
一个月前尝试写了一篇关于QStringLiteral,存盘时MoinMoin罢工了.吸取一点经验,还是写成短篇吧 可是,可是,QString不就是简简单单一个字符串么?能有什么可谈的.真的么... ( ...
- SpringBoot之二:部署Spring Boot应用程序方式
衡量多种部署方式 Spring Boot应用程序有多种构建和运行方式,其中一些你已经使用过了. 在IDE中运行应用程序(涉及Spring ToolSuite或IntelliJ IDEA). 使用Mav ...
- [转]eclipse 设置默认编码为Utf-8
参考:http://www.cnblogs.com/yimu/archive/2011/06/30/SXLYLOVE.html 需要设置的几处地方为: Window->Preferences-& ...
- 开发环境入门 linux基础 (部分)网络 SSH 更名 DNS解析 元字符
nginx---> web ifconfig 查看网络配置信息 id add show 查看当前网卡信息(最小安装下) mtu 是指网卡传输的最大单元 单位:字节 网卡配置 临时配置 ifcon ...
- Windows Backdoor Tips
名称:在用户登录时,运行这些程序 位置: Computer Configuration\\Policies\\Administrative Templates\\System\\Logon\\ 中 d ...
- Python多进程-进程锁
多进程虽然不允许多个进程同时修改同一份数据,但是多进程也有锁,为了在屏幕上打印的时候不出现两个进程同时执行的显示错误 # -*- coding:utf-8 -*- __author__ = " ...