8、Spring Boot任务
1.异步任务
在Java应用中,绝大多数情况下都是通过同步的方式来实现交互处理的;但是在处理与第三方系统交互的时候,容易造成响应迟缓的情况,之前大部分都是使用多线程来完成此类任务,其实,在Spring 3.x之后,就已经内置了@Async来完美解决这个问题。
主要使用两个注解完成,@EnableAysnc、@Aysnc
(1).Springboot04TaskApplication.java
|
@EnableAsync //开启异步注解功能 @SpringBootApplication public class Springboot04TaskApplication { public static void main(String[] args) { SpringApplication.run(Springboot04TaskApplication.class, args); } } |
(2).AsyncController.java
|
package com.hosystem.task.controller; import com.hosystem.task.service.AsyncService; import org.springframework.beans.factory.annotation.Autowired; import org.springframework.web.bind.annotation.GetMapping; import org.springframework.web.bind.annotation.RestController; @RestController public class AsyncController { @Autowired AsyncService asyncService; @GetMapping("/hello") public String hello(){ asyncService.hello(); return "success"; } } |
(3).AsyncService.java
|
package com.hosystem.task.service; import org.springframework.scheduling.annotation.Async; import org.springframework.stereotype.Service; @Service public class AsyncService { //通知spring这是一个异步方法 @Async public void hello(){ try { Thread.sleep(3000); } catch (InterruptedException e) { e.printStackTrace(); } System.out.println("处理数据...."); } } |

2.定时任务
开发中经常需要执行一些定时任务,比如需要在每天凌晨时候,分析一次前一天的日志信息。Spring为我们提供了异步执行任务调度的方式,提供TaskExecutor 、TaskScheduler 接口。
使用到的注解有两个,@EnableScheduling、@Scheduled
Cron表达式:

(1).ScheduledService.java
|
package com.hosystem.task.service; import org.springframework.scheduling.annotation.Scheduled; import org.springframework.stereotype.Service; @Service public class ScheduledService { /** * second(秒), minute(分), hour(时), day of month(日), month(月), day of week(周几). * 0 * * * * MON-FRI * [0 0/5 14,18 * * ?]:每天14点整,和18点整,每隔5分钟执行一次 * [0 15 10 ? * 1-6]:每个月的周一至周六10:15分执行一次 * [0 0 2 ? * 6L]:每个月的最后一个周六凌晨2点执行一次 * [0 0 2 LW * ?]:每个月的最后一个工作日凌晨2点执行一次 * [0 0 2-4 ? * 1#1]:每个月的第一个周一凌晨2点到4点期间,每个整点都执行一次; */ // @Scheduled(cron = "0 * * * * MON-SAT") //@Scheduled(cron = "0,1,2,3,4 * * * * MON-SAT") // @Scheduled(cron = "0-4 * * * * MON-SAT") @Scheduled(cron = "0/4 * * * * 0-7") //每4秒执行一次 public void hello() { System.out.println("hello ..."); } } |
(2).Springboot04TaskApplication.java
|
package com.hosystem.task; import org.springframework.boot.SpringApplication; import org.springframework.boot.autoconfigure.SpringBootApplication; import org.springframework.scheduling.annotation.EnableAsync; import org.springframework.scheduling.annotation.EnableScheduling; import org.springframework.scheduling.annotation.Scheduled; @EnableScheduling //开启基于注解定时任务 @SpringBootApplication public class Springboot04TaskApplication { public static void main(String[] args) { SpringApplication.run(Springboot04TaskApplication.class, args); } } |
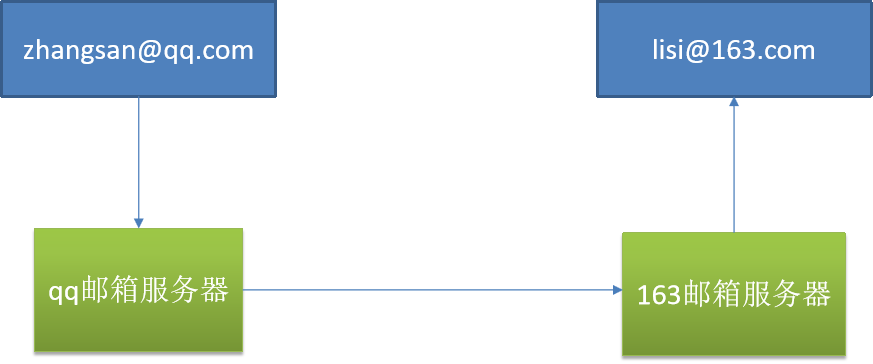
3.邮件任务
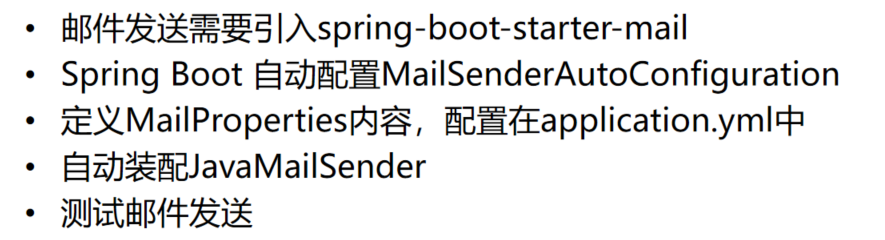
(1).导入pom.xml
|
<!--mail--> <dependency> <groupId>org.springframework.boot</groupId> <artifactId>spring-boot-starter-mail</artifactId> </dependency> |
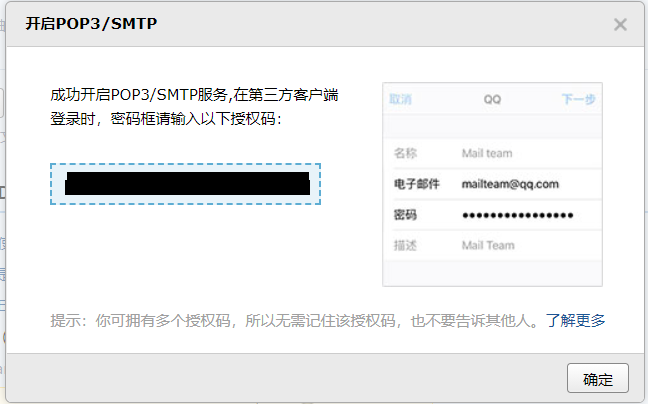
(2).开启POP3/SMTP
(3).开启IMAP/SMTP
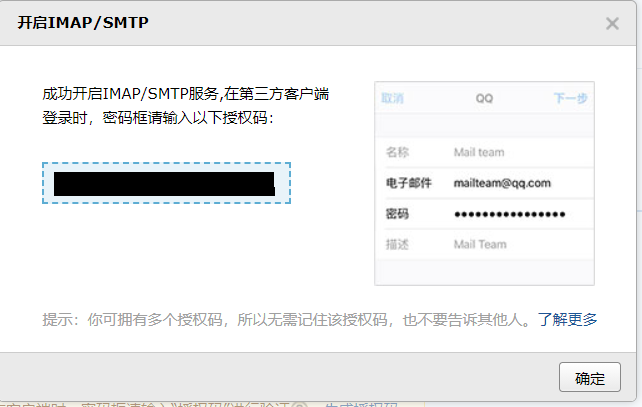
(4).生成授权码
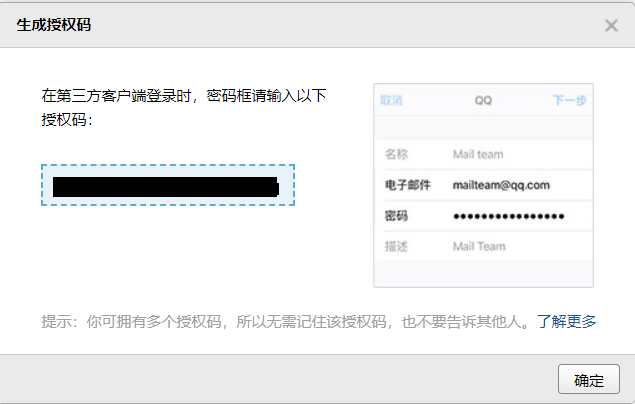
(5).applicaiton.properties
|
server.port=80 #配置邮箱信息 spring.mail.username=username@qq.com #授权码 spring.mail.password=password #smtp地址 spring.mail.host=smtp.qq.com spring.mail.protocol=smtp spring.mail.properties.mail.smtp.ssl.enable=true |
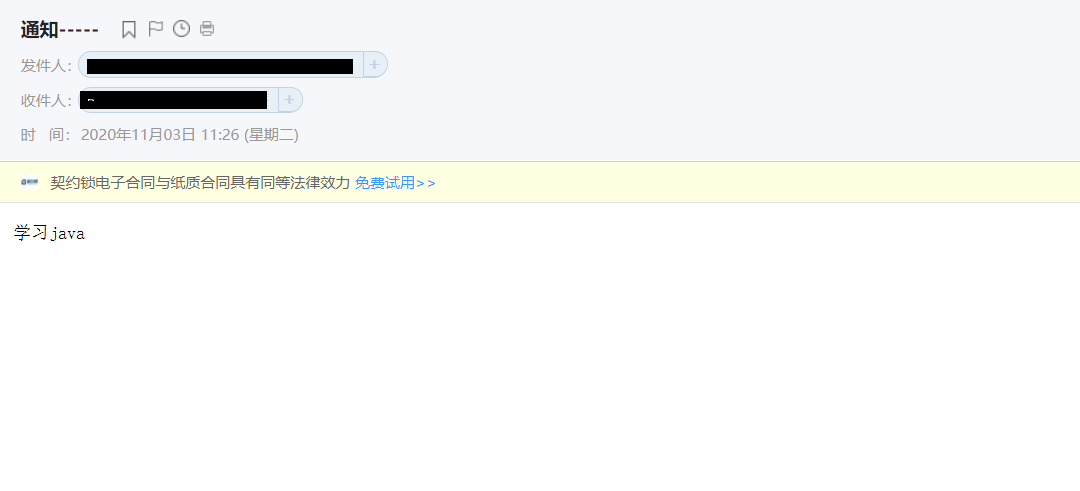
(6).Springboot04TaskApplicationTests.java
SendMailTest测试邮箱发送,一定要在mail中开启SMTP
|
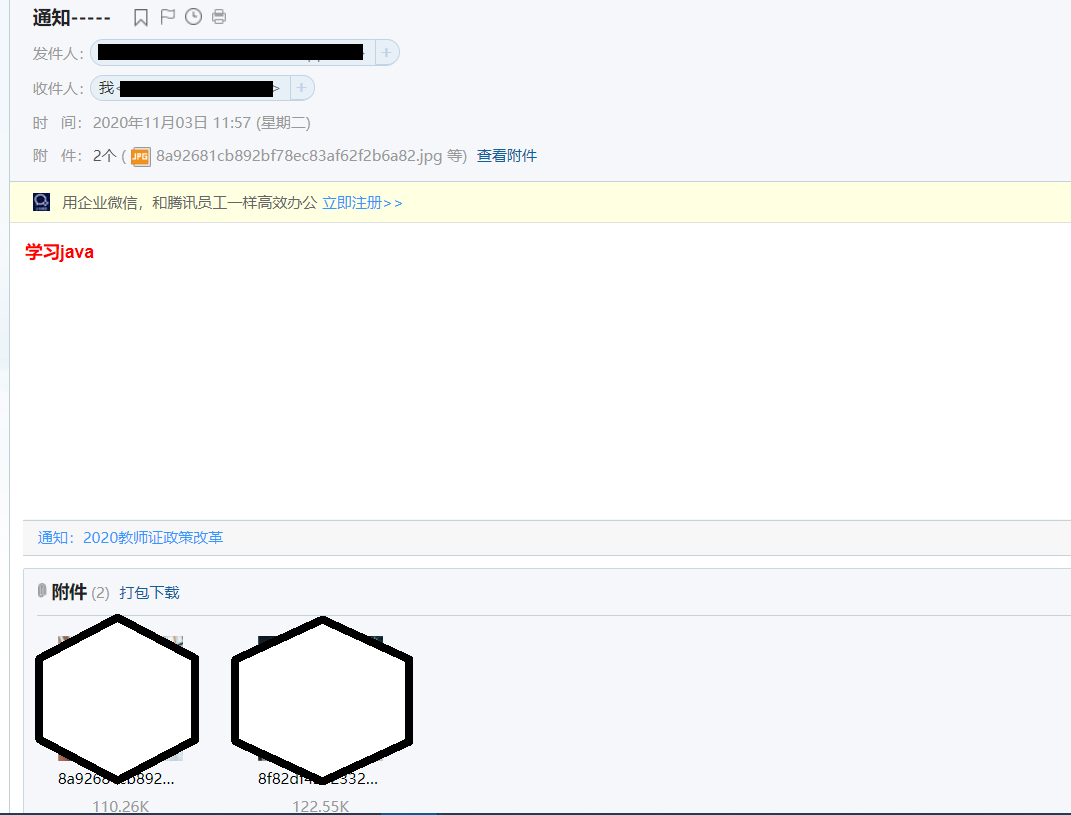
package com.hosystem.task; import org.junit.jupiter.api.Test; import org.springframework.beans.factory.annotation.Autowired; import org.springframework.boot.test.context.SpringBootTest; import org.springframework.mail.SimpleMailMessage; import org.springframework.mail.javamail.JavaMailSenderImpl; import org.springframework.mail.javamail.MimeMessageHelper; import javax.mail.internet.MimeMessage; import java.io.File; @SpringBootTest class Springboot04TaskApplicationTests { @Autowired JavaMailSenderImpl mailSender; @Test public void contextLoads() { SimpleMailMessage simpleMailMessage = new SimpleMailMessage(); //邮件设置 simpleMailMessage.setSubject("通知-----"); simpleMailMessage.setText("学习java"); //setTo:目的邮件地址 setFrom:发送邮件地址 simpleMailMessage.setTo("username@163.com"); simpleMailMessage.setFrom("username@qq.com"); mailSender.send(simpleMailMessage); } @Test public void test01() throws Exception{ //1.创建一个复杂的消息邮件 MimeMessage mimeMessage = mailSender.createMimeMessage(); MimeMessageHelper helper = new MimeMessageHelper(mimeMessage, true); //邮件设置 helper.setSubject("通知-----"); /** * public void setText(String text) throws MessagingException {this.setText(text, false); } */ helper.setText("<b style='color:red'>学习java</b>",true); //setTo:目的邮件地址 setFrom:发送邮件地址 helper.setTo("username@163.com"); helper.setFrom("username@qq.com"); //上传文件 helper.addAttachment("8a92681cb892bf78ec83af62f2b6a82.jpg",new File("E:\\Users\\Asuna\\Desktop\\html\\8a92681cb892bf78ec83af62f2b6a82.jpg")); helper.addAttachment("8f82df421233241732db6ec6baed07e.jpg",new File("E:\\Users\\Asuna\\Desktop\\html\\8f82df421233241732db6ec6baed07e.jpg")); mailSender.send(mimeMessage); } } |
参考文档:
8、Spring Boot任务的更多相关文章
- 玩转spring boot——快速开始
开发环境: IED环境:Eclipse JDK版本:1.8 maven版本:3.3.9 一.创建一个spring boot的mcv web应用程序 打开Eclipse,新建Maven项目 选择quic ...
- 【微框架】之一:从零开始,轻松搞定SpringCloud微框架系列--开山篇(spring boot 小demo)
Spring顶级框架有众多,那么接下的篇幅,我将重点讲解SpringCloud微框架的实现 Spring 顶级项目,包含众多,我们重点学习一下,SpringCloud项目以及SpringBoot项目 ...
- 玩转spring boot——开篇
很久没写博客了,而这一转眼就是7年.这段时间并不是我没学习东西,而是园友们的技术提高的非常快,这反而让我不知道该写些什么.我做程序已经有十几年之久了,可以说是彻彻底底的“程序老炮”,至于技术怎么样?我 ...
- 玩转spring boot——结合redis
一.准备工作 下载redis的windows版zip包:https://github.com/MSOpenTech/redis/releases 运行redis-server.exe程序 出现黑色窗口 ...
- 玩转spring boot——AOP与表单验证
AOP在大多数的情况下的应用场景是:日志和验证.至于AOP的理论知识我就不做赘述.而AOP的通知类型有好几种,今天的例子我只选一个有代表意义的“环绕通知”来演示. 一.AOP入门 修改“pom.xml ...
- 玩转spring boot——结合JPA入门
参考官方例子:https://spring.io/guides/gs/accessing-data-jpa/ 接着上篇内容 一.小试牛刀 创建maven项目后,修改pom.xml文件 <proj ...
- 玩转spring boot——结合JPA事务
接着上篇 一.准备工作 修改pom.xml文件 <project xmlns="http://maven.apache.org/POM/4.0.0" xmlns:xsi=&q ...
- 玩转spring boot——结合AngularJs和JDBC
参考官方例子:http://spring.io/guides/gs/relational-data-access/ 一.项目准备 在建立mysql数据库后新建表“t_order” ; -- ----- ...
- 玩转spring boot——结合jQuery和AngularJs
在上篇的基础上 准备工作: 修改pom.xml <project xmlns="http://maven.apache.org/POM/4.0.0" xmlns:xsi=&q ...
- 玩转spring boot——MVC应用
如何快速搭建一个MCV程序? 参照spring官方例子:https://spring.io/guides/gs/serving-web-content/ 一.spring mvc结合thymeleaf ...
随机推荐
- JS实现将二维数组生成到页面上
前言 之前没说过数组,现在来写一下数组 CSS span { border:2px solid skyblue; width:30px; height: 30px; display: inline-b ...
- 如何使用性能分析工具定位SQL执行慢的原因?
但实际上 SQL 执行起来可能还是很慢,那么到底从哪里定位 SQL 查询慢的问题呢?是索引设计的问题?服务器参数配置的问题?还是需要增加缓存的问题呢?性能分析来入手分析,定位导致 SQL 执行慢的原因 ...
- puk1251 最小生成树
Description The Head Elder of the tropical island of Lagrishan has a problem. A burst of foreign aid ...
- 专题二:redis的数据类型之string
一.redis的数据存储格式 redis本身是一个Map,其中所有的数据都是采用 "key:value"的方式进行存储的. 我们说的数据类型是数据存储的类型,也就是对应下图的val ...
- Python爬虫之多线程
详情点我跳转 关注公众号"轻松学编程"了解更多. 多线程 在介绍Python中的线程之前,先明确一个问题,Python中的多线程是假的多线程! 为什么这么说,我们先明确一个概念,全 ...
- AWS SDK 使用说明
AWS 的Python SDK包名为 boto3, 可以使用命令pip install boto3安装使用 BOTO3中的基本概念 boto3提供了两个级别的接口来访问AWS服务:High Level ...
- .NetCore简单封装基于IHttpClientFactory的HttpClient请求
IHttpClientFactory是什么?为什么出现了IHttpClientFactory 一.IHttpClientFactory是什么? IHttpClientFactory是.netcore2 ...
- 【Android Studio】安卓开发初体验1——安装与试用
安装 (安装预留硬盘(C盘)空余空间16G以上,8G以上内存) Intel用户: 安装Android Studio和AVD(安卓虚拟机 Android Virtual Device) 安装过程需要注意 ...
- Java中的有关日期的对象
目录 Date SimpleDateFormat Calendar 常用方法 Java8中用于计算时差的类 1. Period(以年月日来表示日期差) 2. Duration(以秒与毫秒来表示时间差) ...
- 数据结构 - 二叉树的遍历(递归VS非递归)
import java.util.LinkedList; public class BinaryTree { public static void main(String[] args) { int ...