使用kubekey安装kubesphere
下载 KubeKey
KubeKey 是新一代 Kubernetes 和 KubeSphere 安装器,可帮助您以简单、快速、灵活的方式安装 Kubernetes 和 KubeSphere。
export KKZONE=cn

curl -sfL https://get-kk.kubesphere.io | VERSION=v1.0.1 sh -
准备镜像
如果您想让安装加快或者您的机房没有外网,可以使用公司内部的私有仓库,预先把镜像推送到私有仓库中,我这里的仓库使用harbor
下载离线安装工具,我这里只是用这个脚本来下载和推送镜像
curl -L -O https://github.com/kubesphere/ks-installer/releases/download/v3.0.0/offline-installation-tool.sh

curl -L -O https://github.com/kubesphere/ks-installer/releases/download/v3.0.0/images-list.txt
拉取镜像
./offline-installation-tool.sh -s -l images-list.txt -d ./kubesphere-images

在./kubesphere-images目录下能看到以下压缩包

# ll

total 8606088

-rw-r--r-- 1 root root  454465957 Feb  2 15:37 csi-images.tar.gz

-rw-r--r-- 1 root root 1231853258 Feb  2 15:33 example-images.tar.gz

-rw-r--r-- 1 root root  445244294 Feb  2 14:50 istio-images.tar.gz

-rw-r--r-- 1 root root  762326634 Feb  2 14:27 k8s-images.tar.gz

-rw-r--r-- 1 root root 1297767607 Feb  2 14:40 ks-core-images.tar.gz

-rw-r--r-- 1 root root 3439146357 Feb  2 15:19 ks-devops-images.tar.gz

-rw-r--r-- 1 root root  733165078 Feb  2 14:46 ks-logging-images.tar.gz

-rw-r--r-- 1 root root  448651153 Feb  2 15:23 openpitrix-images.tar.gz
推送镜像到私有仓库,待脚本完成即可
./offline-installation-tool.sh -l images-list.txt -d ./kubesphere-images -r hub.evbj.easou.com
创建多节点集群
您可用使用 KubeKey 同时安装 Kubernetes 和 KubeSphere,通过自定义配置文件中的参数创建多节点集群。
创建安装有 KubeSphere 的 Kubernetes 集群(例如 --with-kubesphere v3.0.0)
./kk create config --with-kubernetes v1.17.9 --with-kubesphere v3.0.0
系统将创建默认的 config-sample.yaml 文件。您可以根据您的环境修改此文件。
apiVersion: kubekey.kubesphere.io/v1alpha1

kind: Cluster

metadata:

  name: ESCloud

spec:

  hosts:

  - {name: kubesphere001, address: 10.26.31.34, internalAddress: 10.26.31.34, privateKeyPath: "~/.ssh/id_dsa", port: 20755}

  - {name: kubesphere002, address: 10.26.31.36, internalAddress: 10.26.31.36, privateKeyPath: "~/.ssh/id_dsa", port: 20755}

  - {name: kubesphere003, address: 10.26.31.42, internalAddress: 10.26.31.42, privateKeyPath: "~/.ssh/id_dsa", port: 20755}

  - {name: kubesphere004, address: 10.26.31.46, internalAddress: 10.26.31.46, privateKeyPath: "~/.ssh/id_dsa", port: 20755}

  - {name: kubesphere005, address: 10.26.31.118, internalAddress: 10.26.31.118, privateKeyPath: "~/.ssh/id_dsa", port: 20755}

  - {name: kubesphere006, address: 10.26.31.119, internalAddress: 10.26.31.119, privateKeyPath: "~/.ssh/id_dsa", port: 20755}

  - {name: kubesphere007, address: 10.26.31.120, internalAddress: 10.26.31.120, privateKeyPath: "~/.ssh/id_dsa", port: 20755}

  - {name: kubesphere008, address: 10.26.31.121, internalAddress: 10.26.31.121, privateKeyPath: "~/.ssh/id_dsa", port: 20755}

  roleGroups:

    etcd:

    - kubesphere001

    - kubesphere002

    - kubesphere003

    master:

    - kubesphere001

    - kubesphere002

    - kubesphere003

    worker:

    - kubesphere004

    - kubesphere005

    - kubesphere006

    - kubesphere007

    - kubesphere008

  controlPlaneEndpoint:

    domain: lb.kubesphere.local

    address: ""

    port: "6443"

  kubernetes:

    version: v1.17.9

    imageRepo: kubesphere

    clusterName: cluster.local

  network:

    plugin: calico

    kubePodsCIDR: 10.233.64.0/18

    kubeServiceCIDR: 10.233.0.0/18

  registry:

    registryMirrors: []

    insecureRegistries: ["hub.kubeops.net"]

    privateRegistry: "hub.kubeops.net"

  addons: []

---

apiVersion: installer.kubesphere.io/v1alpha1

kind: ClusterConfiguration

metadata:

  name: ks-installer

  namespace: kubesphere-system

  labels:

    version: v3.0.0

spec:

  local_registry: "hub.kubeops.net"

  persistence:

    storageClass: ""

  authentication:

    jwtSecret: ""

  etcd:

    monitoring: true

    endpointIps: localhost

    port: 2379

    tlsEnable: true

  common:

    es:

      elasticsearchDataVolumeSize: 20Gi

      elasticsearchMasterVolumeSize: 4Gi

      elkPrefix: logstash

      logMaxAge: 7

    mysqlVolumeSize: 20Gi

    minioVolumeSize: 20Gi

    etcdVolumeSize: 20Gi

    openldapVolumeSize: 2Gi

    redisVolumSize: 2Gi

  console:

    enableMultiLogin: true  # enable/disable multi login

    port: 30880

  alerting:

    enabled: false

  auditing:

    enabled: false

  devops:

    enabled: false

    jenkinsMemoryLim: 2Gi

    jenkinsMemoryReq: 1500Mi

    jenkinsVolumeSize: 8Gi

    jenkinsJavaOpts_Xms: 512m

    jenkinsJavaOpts_Xmx: 512m

    jenkinsJavaOpts_MaxRAM: 2g

  events:

    enabled: false

    ruler:

      enabled: true

      replicas: 2

  logging:

    enabled: false

    logsidecarReplicas: 2

  metrics_server:

    enabled: true

  monitoring:

    prometheusMemoryRequest: 400Mi

    prometheusVolumeSize: 20Gi

  multicluster:

    clusterRole: none  # host | member | none

  networkpolicy:

    enabled: false

  notification:

    enabled: false

  openpitrix:

    enabled: false

  servicemesh:

    enabled: false
环境初始化
./kk init os -f config-sample.yaml

INFO[14:04:19 CST] Init operating system

INFO[14:04:20 CST] Start initializing kubesphere008 [10.26.31.121]  node=10.26.31.121

INFO[14:04:20 CST] Start initializing kubesphere001 [10.26.31.34]  node=10.26.31.34

INFO[14:04:20 CST] Start initializing kubesphere003 [10.26.31.42]  node=10.26.31.42

INFO[14:04:20 CST] Start initializing kubesphere005 [10.26.31.118]  node=10.26.31.118

INFO[14:04:20 CST] Start initializing kubesphere006 [10.26.31.119]  node=10.26.31.119

INFO[14:04:20 CST] Start initializing kubesphere004 [10.26.31.46]  node=10.26.31.46

INFO[14:04:20 CST] Start initializing kubesphere007 [10.26.31.120]  node=10.26.31.120

INFO[14:04:20 CST] Start initializing kubesphere002 [10.26.31.36]  node=10.26.31.36

INFO[14:06:34 CST] Complete initialization kubesphere005 [10.26.31.118]  node=10.26.31.118

INFO[14:06:56 CST] Complete initialization kubesphere002 [10.26.31.36]  node=10.26.31.36

INFO[14:07:04 CST] Complete initialization kubesphere006 [10.26.31.119]  node=10.26.31.119

INFO[14:07:04 CST] Complete initialization kubesphere007 [10.26.31.120]  node=10.26.31.120

INFO[14:07:07 CST] Complete initialization kubesphere003 [10.26.31.42]  node=10.26.31.42

INFO[14:07:11 CST] Complete initialization kubesphere004 [10.26.31.46]  node=10.26.31.46

INFO[14:08:23 CST] Complete initialization kubesphere001 [10.26.31.34]  node=10.26.31.34

INFO[14:10:57 CST] Complete initialization kubesphere008 [10.26.31.121]  node=10.26.31.121

INFO[14:10:57 CST] Init operating system successful.
部署
以上准备工作完成且再次检查配置文件无误后,执行安装。
./kk create cluster -f config-sample.yaml

+-------------------------+------+------+---------+----------+-------+-------+-----------+--------+------------+-------------+------------------+--------------+

| name                    | sudo | curl | openssl | ebtables | socat | ipset | conntrack | docker | nfs client | ceph client | glusterfs client | time         |

+-------------------------+------+------+---------+----------+-------+-------+-----------+--------+------------+-------------+------------------+--------------+

| kubesphere005 | y    | y    | y       | y        | y     | y     | y         | y      | y          | y           | y                | CST 14:16:55 |

| kubesphere006 | y    | y    | y       | y        | y     | y     | y         | y      | y          | y           | y                | CST 14:16:55 |

| kubesphere007 | y    | y    | y       | y        | y     | y     | y         | y      | y          | y           | y                | CST 14:16:55 |

| kubesphere004 | y    | y    | y       | y        | y     | y     | y         | y      | y          | y           | y                | CST 14:16:55 |

| kubesphere001 | y    | y    | y       | y        | y     | y     | y         | y      | y          | y           | y                | CST 14:16:55 |

| kubesphere003 | y    | y    | y       | y        | y     | y     | y         | y      | y          | y           | y                | CST 14:16:55 |

| kubesphere002 | y    | y    | y       | y        | y     | y     | y         | y      | y          | y           | y                | CST 14:16:55 |

| kubesphere008 | y    | y    | y       | y        | y     | y     | y         | y      | y          | y           | y                | CST 14:16:55 |

+-------------------------+------+------+---------+----------+-------+-------+-----------+--------+------------+-------------+------------------+--------------+

This is a simple check of your environment.

Before installation, you should ensure that your machines meet all requirements specified at

https://github.com/kubesphere/kubekey#requirements-and-recommendations

Continue this installation? [yes/no]: yes

INFO[14:17:25 CST] Downloading Installation Files

INFO[14:17:25 CST] Downloading kubeadm ...

**************************************************

#####################################################

###              Welcome to KubeSphere!           ###

#####################################################

Console: http://10.26.31.34:30880

Account: admin

Password: P@88w0rd

NOTES:

  1. After logging into the console, please check the

     monitoring status of service components in

     the "Cluster Management". If any service is not

     ready, please wait patiently until all components

     are ready.

  2. Please modify the default password after login.

#####################################################

https://kubesphere.io             2021-02-05 15:47:21

#####################################################
至此kubesphere安装成功,可以通过浏览器访问http://10.26.31.34:30880 验证
验证
您可以使用默认的帐户和密码 admin/P@88w0rd 登录 KubeSphere 控制台并开始使用 KubeSphere。请在登录后修改默认密码。
登录后如下图
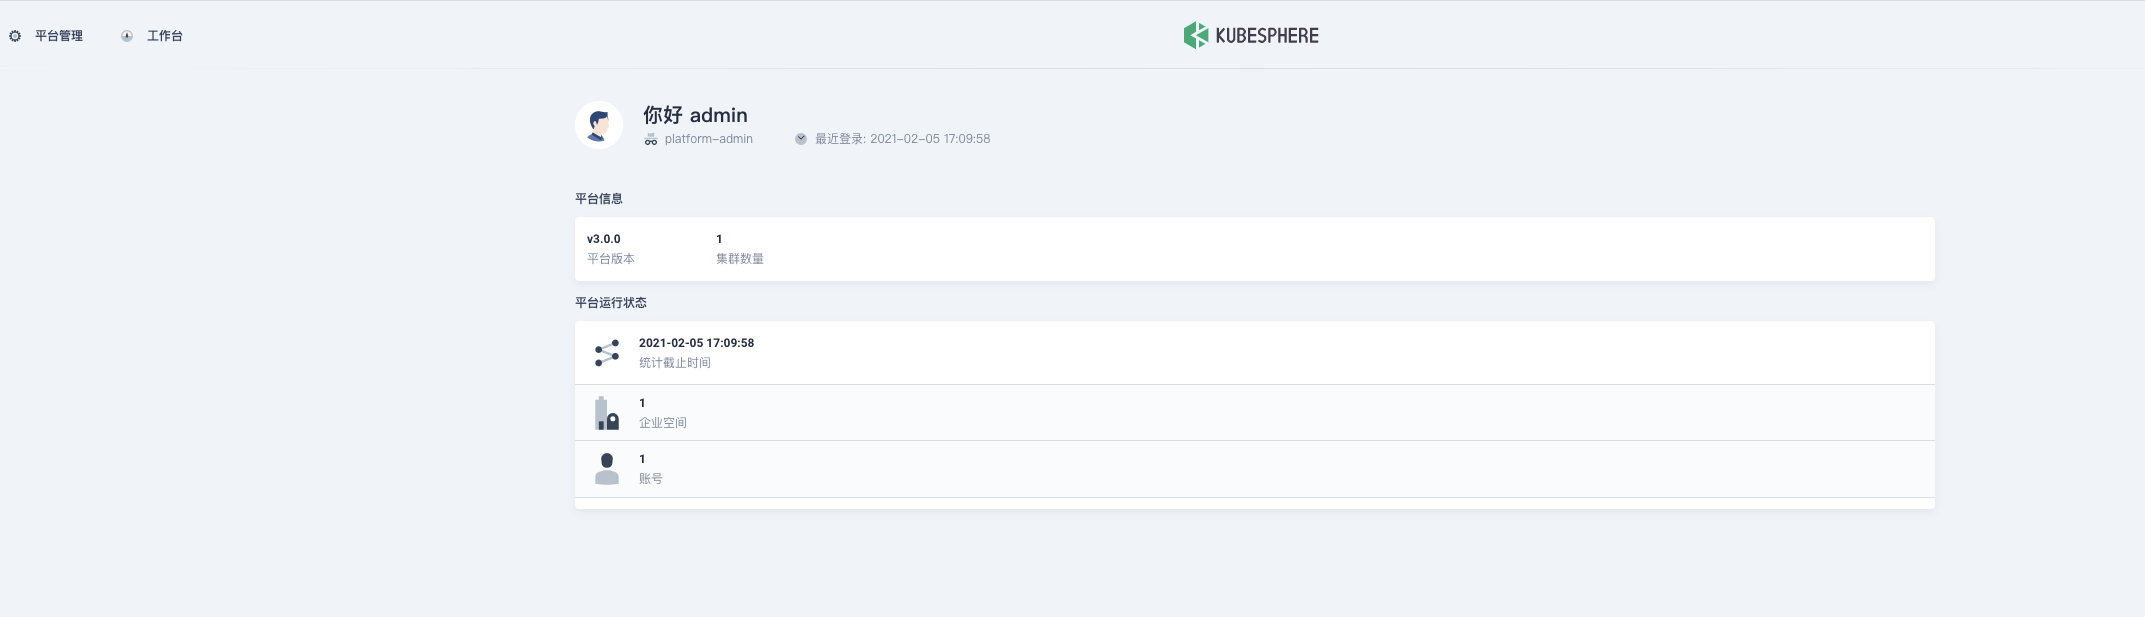
现在就可以开始您的kubesphere之旅了,更多详情请参见官网
使用kubekey安装kubesphere的更多相关文章
- Centos 7.6 使用 kubekey 部署 kubesphere v3.1.0
文章目录 主要功能 硬件要求 Kubernetes版本要求 配置主机之间的免密 安装所需依赖 下载KubeKey 创建Kubernetes集群以及KubeSphere kk命令使用方式 修改配置文件 ...
- 安装KubeSphere
1. KubeSphere 是什么 1.1. 官方解释 KubeSphere是一个分布式操作系统,提供以Kubernetes为核心的云原生堆栈,旨在成为第三方应用程序的即插即用架构,以促进其生态系统的 ...
- 安装 KubeSphere DevOps 系统
1. 安装KubeSphere 安装了一夜,终于看到了期待已久的画面 第一步.硬件配置(PS:VirtualBox虚拟机): 操作系统:Ubuntu 18.04 CPU:4核 内存:8G 磁盘:60 ...
- K8S安装Kubesphere
准备工作 安装Helm curl -L https://git.io/get_helm.sh | bash 创建账户 cat > heml-rbac.yaml << EOF apiV ...
- 【葵花宝典】All-in-One模式安装KubeSphere
1.准备 Linux 机器 2.google api受限下载 KubeKey export KKZONE=cn curl -sfL https://get-kk.kubesphere.io | VER ...
- 从零搭建云原生技术kubernetes(K8S)环境-通过kubesPhere的AllInOne方式
前言 k8s云原生搭建,步骤有点多,但通过kubesphere,可以快速搭建k8s环境,同时有一个以 Kubernetes 为内核的云原生分布式操作系统-kubesphere,本文将从零开始进行kub ...
- [转帖]Kubesphere all-in-one 安装方式.
All-in-One 模式 对于首次接触 KubeSphere 高级版的用户,想寻找一个最快安装和体验 KubeSphere 高级版核心功能的方式,all-in-one 模式支持一键安装 KubeSp ...
- KubeSphere单节点(all-in-one)平台搭建记录
KubeSphere单节点(all-in-one)平台搭建记录 目录 KubeSphere单节点(all-in-one)平台搭建记录 一.主机准备 1.1 主机配置 1.2 环境准备 二.下载kube ...
- Kubernetes Dashboard 终结者:KubeSphere
原文链接:Kubernetes Dashboard 终结者:KubeSphere 2018 年 7 月份,青云在 Cloud Insight 云计算峰会上推出了一款全新的容器平台--KubeSpher ...
随机推荐
- 测试如何区分前后端bug
当我们测试到前后端分离的项目时,可能就会想这个bug我到底应该指给谁,是前端的问题还是后端的呢,为了让自己更专业,分清前后端问题还是很重要的. 1.如图商品详情中显示[件装:1,中包装:2 ]但是在后 ...
- netty启动流程
本文通过对netty服务端.客户端的启动流程分析, 让大家对netty是如何启动运行的. 废话不多说,上源码!!! 建议读者学习netty下的jar类型为 netty-example,里面有很多exa ...
- ethernet
OSI参考模型 简化相关网络操作:提供不同厂商之间的互联 应用层 为应用程序提供服务 HTTP Telnet 表示层 数据格式化,加密.解密 ASCII EBCDIC JPEG 会话层 建立.维护.管 ...
- python基础学习总结
python管理cisco设备:http://www.linuxeye.com/program/1680.html 学习:https://www.liaoxuefeng.com/wiki/001431 ...
- Java并发包源码学习系列:ReentrantReadWriteLock读写锁解析
目录 ReadWriteLock读写锁概述 读写锁案例 ReentrantReadWriteLock架构总览 Sync重要字段及内部类表示 写锁的获取 void lock() boolean writ ...
- 【Java】集合综合案例 - 播放器管理
集合综合案例 文章目录 集合综合案例 需求分析 项目演示 详细设计 代码实现 歌曲类 播放器类 播放列表类 测试 参考资料 播放器管理 需求分析 项目演示 详细设计 代码实现 重新搞一波 复习巩固 简 ...
- 【ORA】ORA-00030: User session ID does not exist.
今天巡检,查询锁相关的情况的时候,确认业务后,准备将锁干掉,但是干掉的时候报了一个错误,ORA-00030 发现回话不存在,我以为pmon进程已经将锁进程kill掉了,就再次查看,发现,还是存在 这个 ...
- 爬虫+django,打造个性化API接口
简述 今天也是同事在做微信小程序的开发,需要音乐接口的测试,可是用网易云的开放接口比较麻烦,也不能进行测试,这里也是和我说了一下,所以就用爬虫写了个简单网易云歌曲URL的爬虫,把数据存入mysql数据 ...
- 【转】自定义ALV控件的工具条按钮
1 CLASS lcl_event_receiver DEFINITION DEFERRED. 2 3 DATA: itab TYPE TABLE OF spfli, 4 wa TYPE spfli. ...
- django url别名和反向解析 命名空间
url别名和反向解析 我们平时写的url名字都是死的,如果项目过大,需要项目中某个文件名改动一下,那么改动起来就不是一般的麻烦了,所以我们就在定义的时候给url起一个别名,以后不管哪个文件中运用都是用 ...