babylon.js 学习笔记(4)
按上回继续,上节知道了如何用 『方块+三棱柱+贴图』结合起来,画一个简单的小房子,实际应用中可以把这3个打包在一起,组成1个house对象,这样更方便一些
const buildHouse = () => {

    const box1 = buildBox();

    const roof1 = buildRoof();

    const house1 = BABYLON.Mesh.MergeMeshes([box1, roof1]);

    house1.position.x = -0.4;

    const box2 = buildBox();

    const roof2 = buildRoof();

    const house2 = BABYLON.Mesh.MergeMeshes([roof2, box2]);

    house2.position.x = 0.4;

    return [house1, house2];

}
关键在于BABYLON.Mesh.MergeMeshes 这个方法,可以把几个mesh对象组合成1个新mesh对象,来看看效果:
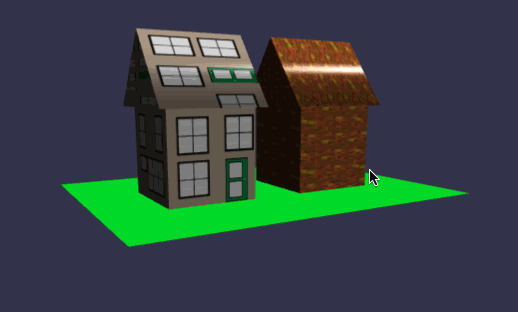
在线地址:https://yjmyzz.github.io/babylon_js_study/day04/01.html
贴图效果并不符合预期,[obj1, obj2...] 最终排在第1个位置的对象,其贴图应用到了整个对象上。好在MergeMeshes方法,还有其它扩展参数,其完整方法签名如下:
改成这样就可以了:
const buildHouse = () => {

    const box = buildBox();

    const roof = buildRoof();

    //将box与roof组合

    // MergeMeshes(meshes: Mesh[], disposeSource?: boolean, allow32BitsIndices?: boolean, meshSubclass?: Mesh, subdivideWithSubMeshes?: boolean, multiMultiMaterials?: boolean): Nullable<Mesh>

    return BABYLON.Mesh.MergeMeshes([box, roof], true, false, null, true, true);

}
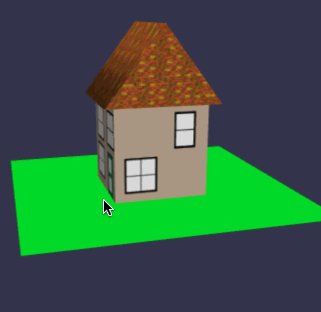
在线地址:https://yjmyzz.github.io/babylon_js_study/day04/02.html
在进入下面的内容前,先把代码再整理下:
//创建屋顶

const buildRoof = (width) => {

    const roofMat = new BABYLON.StandardMaterial("roofMat");

    roofMat.diffuseTexture = new BABYLON.Texture("../assets/img/roof.jpg");

    const roof = BABYLON.MeshBuilder.CreateCylinder("roof", { diameter: 0.7, height: 0.6, tessellation: 3 });

    roof.scaling.x = 0.75;

    roof.scaling.y = width;

    roof.rotation.z = Math.PI / 2;

    roof.position.y = 0.63;

    roof.material = roofMat;

    return roof;

}

//创建屋身

const buildBox = (width) => {

    const boxMat = new BABYLON.StandardMaterial("boxMat");

    const faceUV = [];

    if (width == 1) {

        boxMat.diffuseTexture = new BABYLON.Texture("../assets/img/cubehouse.png")

        faceUV[0] = new BABYLON.Vector4(0.5, 0.0, 0.75, 1.0); //后面

        faceUV[1] = new BABYLON.Vector4(0.0, 0.0, 0.25, 1.0); //前面

        faceUV[2] = new BABYLON.Vector4(0.25, 0, 0.5, 1.0); //右面

        faceUV[3] = new BABYLON.Vector4(0.75, 0, 1.0, 1.0); //左面

    }

    else {

        boxMat.diffuseTexture = new BABYLON.Texture("../assets/img/semihouse.png")

        faceUV[0] = new BABYLON.Vector4(0.6, 0.0, 1.0, 1.0); //后面

        faceUV[1] = new BABYLON.Vector4(0.0, 0.0, 0.4, 1.0); //前面

        faceUV[2] = new BABYLON.Vector4(0.4, 0, 0.6, 1.0); //右面

        faceUV[3] = new BABYLON.Vector4(0.4, 0, 0.6, 1.0); //左面

    }

    const box = BABYLON.MeshBuilder.CreateBox("box", { size: 0.5, width: 0.5 * width, faceUV: faceUV, wrap: true });

    box.material = boxMat;

    box.position.y = 0.25;

    return box;

}

//根据传入的参数width,生成2种不同风格的房屋

const buildHouse = (width) => {

    const box = buildBox(width);

    const roof = buildRoof(width);

    return BABYLON.Mesh.MergeMeshes([box, roof], true, false, null, true, true);

}

//在这里添加自己的核心代码

const createScene = function () {

    const scene = new BABYLON.Scene(engine);

    const camera = new BABYLON.ArcRotateCamera("camera", -Math.PI / 2, Math.PI / 2.5, 3, new BABYLON.Vector3(0, 0, 0));

    camera.attachControl(canvas, true);

    const light = new BABYLON.HemisphericLight("light", new BABYLON.Vector3(0.5, 0.5, 0));

    const ground = buildGround();

    //创建房子

    const house1 = buildHouse(1);

    const house2 = buildHouse(2);

    house1.position.x = -0.5

    house2.position.x = 0.5

    return scene;

};
这样buildHouse(width)方法,根据width值的不同,可以生成2种不同风格的房屋
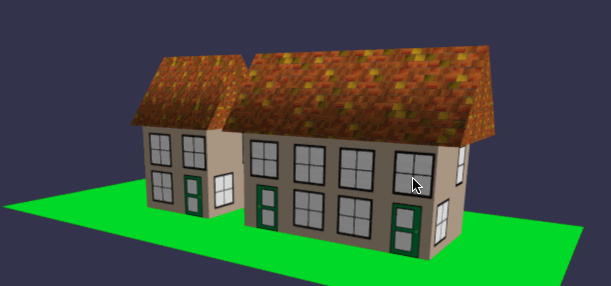
在线地址:https://yjmyzz.github.io/babylon_js_study/day04/03.html
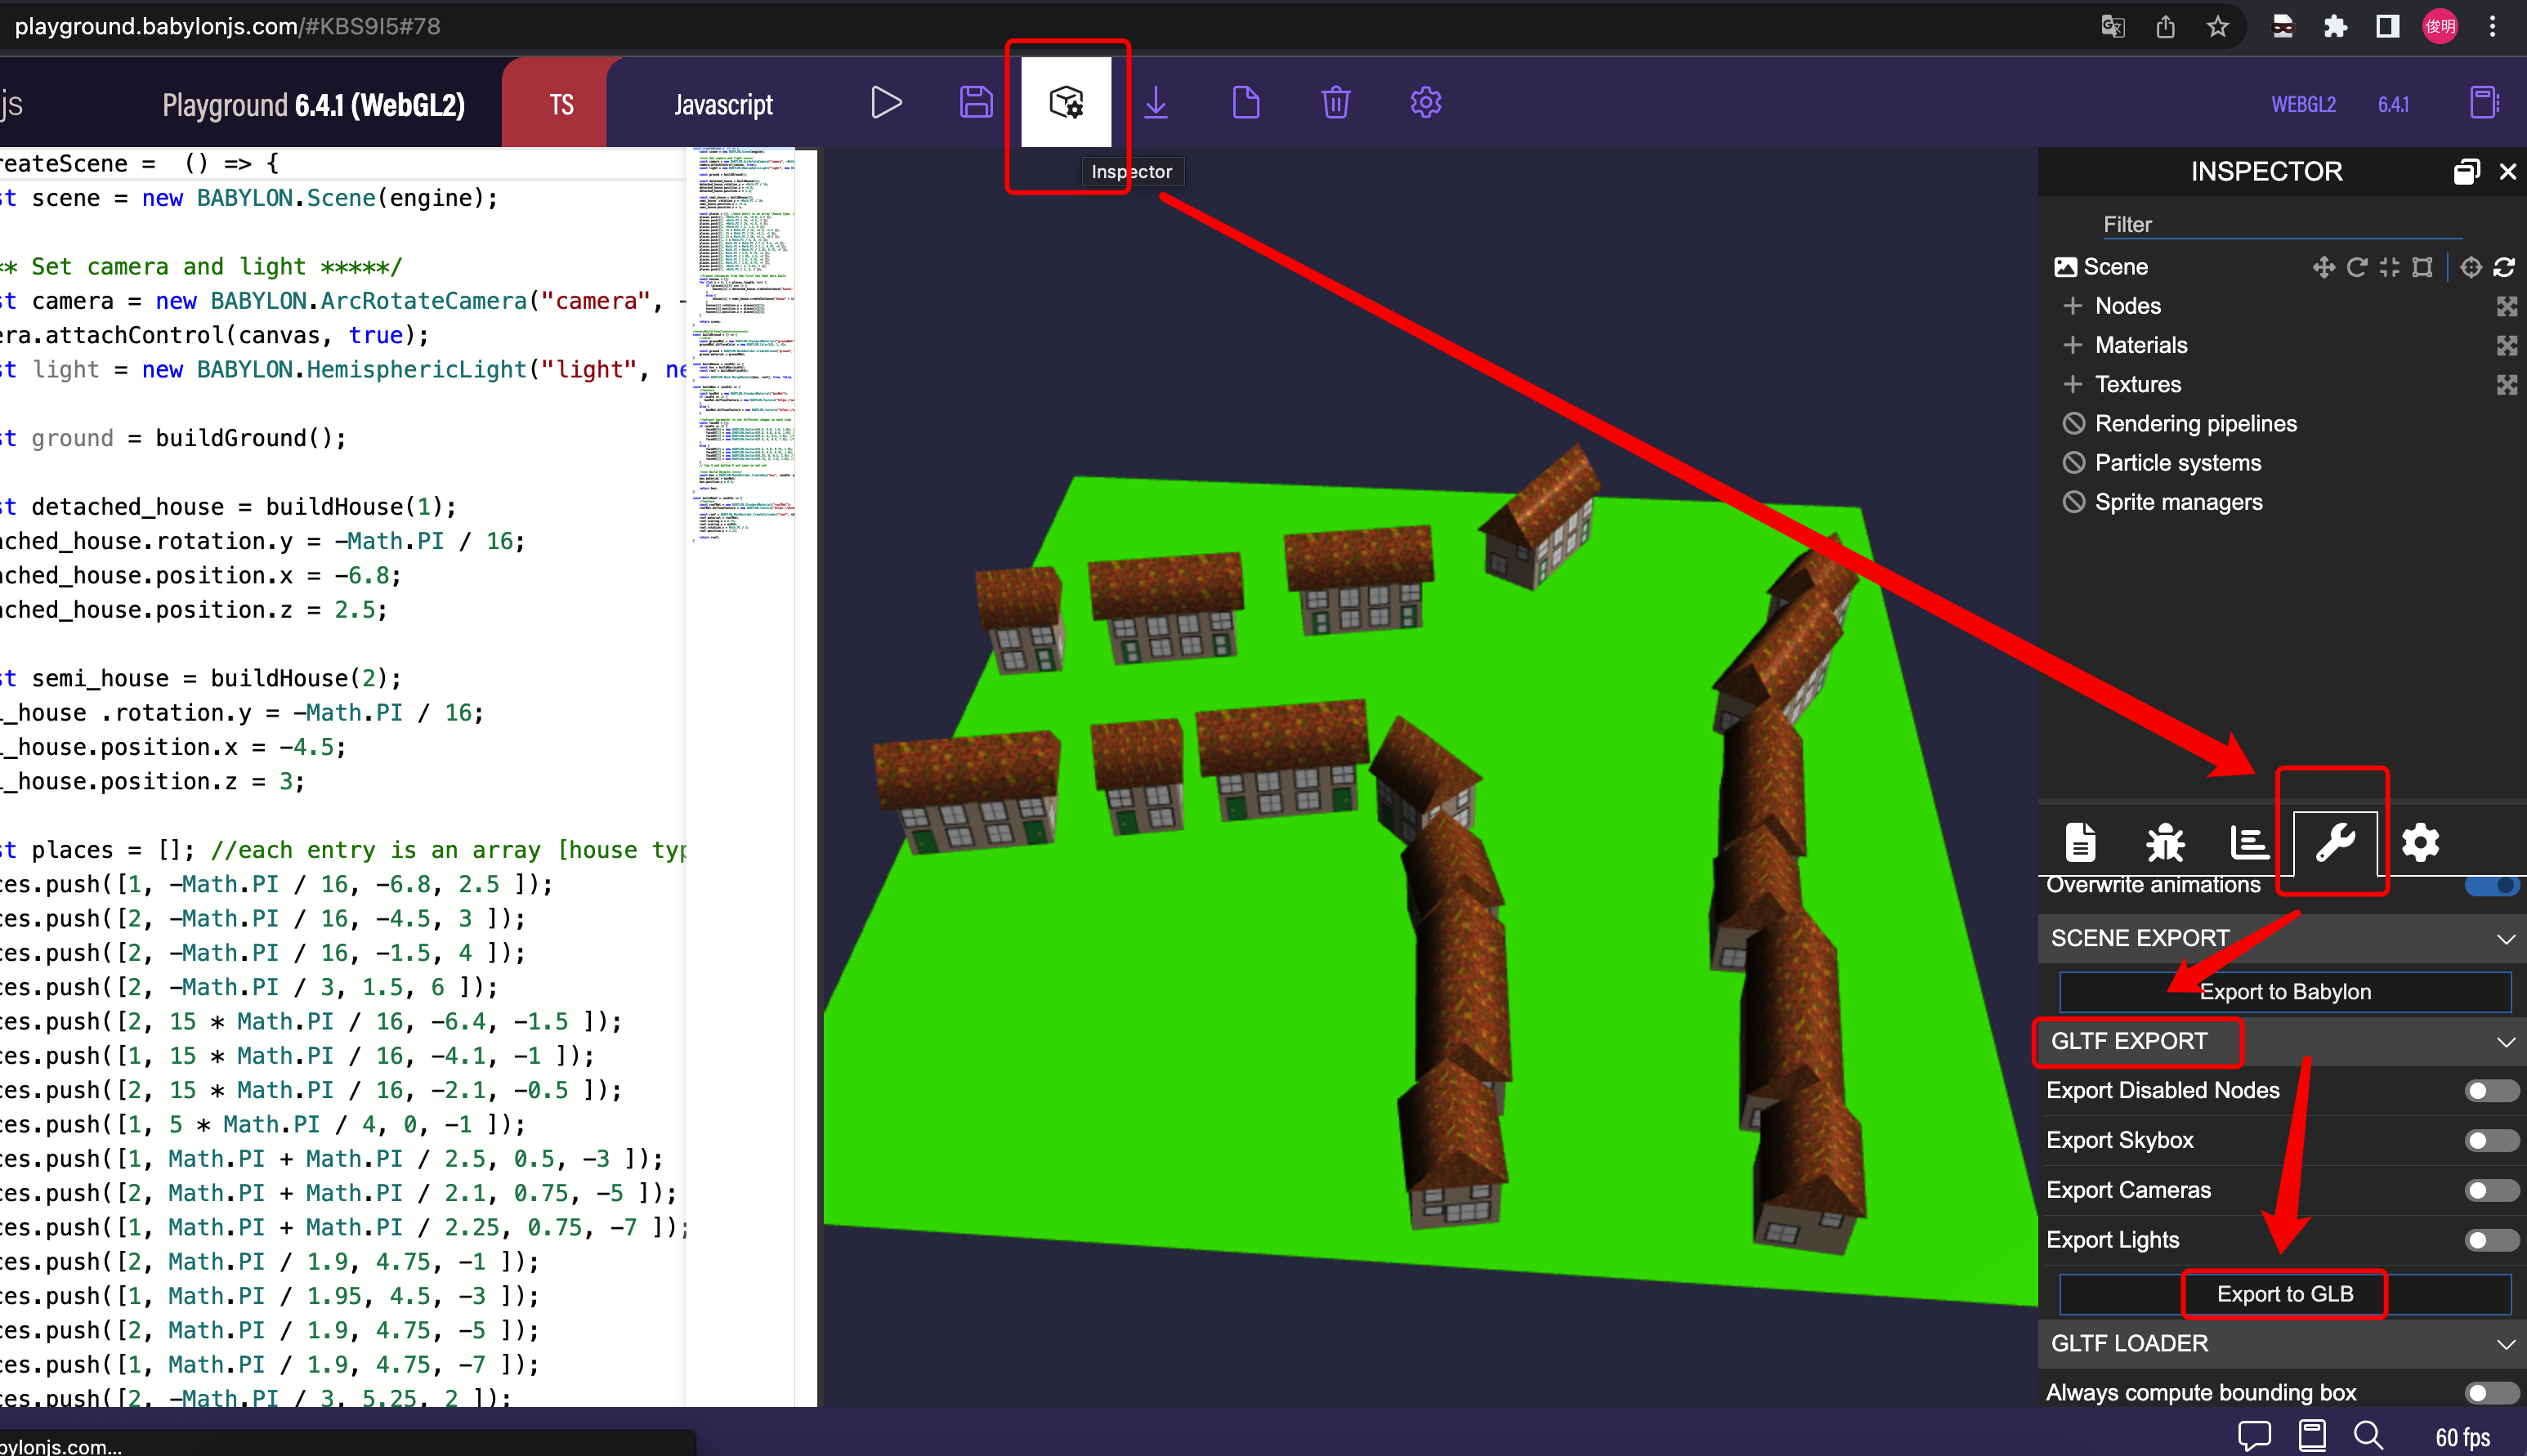
接下来,我们画1片住宅区(也就是要有一堆房屋),这里就要用到createInstance 这个方法:
//创建一片住宅区

const buildDwellings = () => {

    const ground = buildGround();

    const detached_house = buildHouse(1);

    detached_house.rotation.y = -Math.PI / 16;

    detached_house.position.x = -6.8;

    detached_house.position.z = 2.5;

    const semi_house = buildHouse(2);

    semi_house.rotation.y = -Math.PI / 16;

    semi_house.position.x = -4.5;

    semi_house.position.z = 3;

    //定义房子的[风格/位置]列表 [house type, rotation, x, z]

    const places = [];

    places.push([1, -Math.PI / 16, -6.8, 2.5]);

    places.push([2, -Math.PI / 16, -4.5, 3]);

    places.push([2, -Math.PI / 16, -1.5, 4]);

    places.push([2, -Math.PI / 3, 1.5, 6]);

    places.push([2, 15 * Math.PI / 16, -6.4, -1.5]);

    places.push([1, 15 * Math.PI / 16, -4.1, -1]);

    places.push([2, 15 * Math.PI / 16, -2.1, -0.5]);

    places.push([1, 5 * Math.PI / 4, 0, -1]);

    places.push([1, Math.PI + Math.PI / 2.5, 0.5, -3]);

    places.push([2, Math.PI + Math.PI / 2.1, 0.75, -5]);

    places.push([1, Math.PI + Math.PI / 2.25, 0.75, -7]);

    places.push([2, Math.PI / 1.9, 4.75, -1]);

    places.push([1, Math.PI / 1.95, 4.5, -3]);

    places.push([2, Math.PI / 1.9, 4.75, -5]);

    places.push([1, Math.PI / 1.9, 4.75, -7]);

    places.push([2, -Math.PI / 3, 5.25, 2]);

    places.push([1, -Math.PI / 3, 6, 4]);

    //根据places建一堆房子

    const houses = [];

    for (let i = 0; i < places.length; i++) {

        if (places[i][0] === 1) {

            houses[i] = detached_house.createInstance("house" + i);

        }

        else {

            houses[i] = semi_house.createInstance("house" + i);

        }

        houses[i].rotation.y = places[i][1];

        houses[i].position.x = places[i][2];

        houses[i].position.z = places[i][3];

    }

}

在线地址:https://yjmyzz.github.io/babylon_js_study/day04/04.html
可以借助playground把这片住宅区的所有对象都导出,方便后续复用,也能简化代码,参考下图:
代码可以简化为:
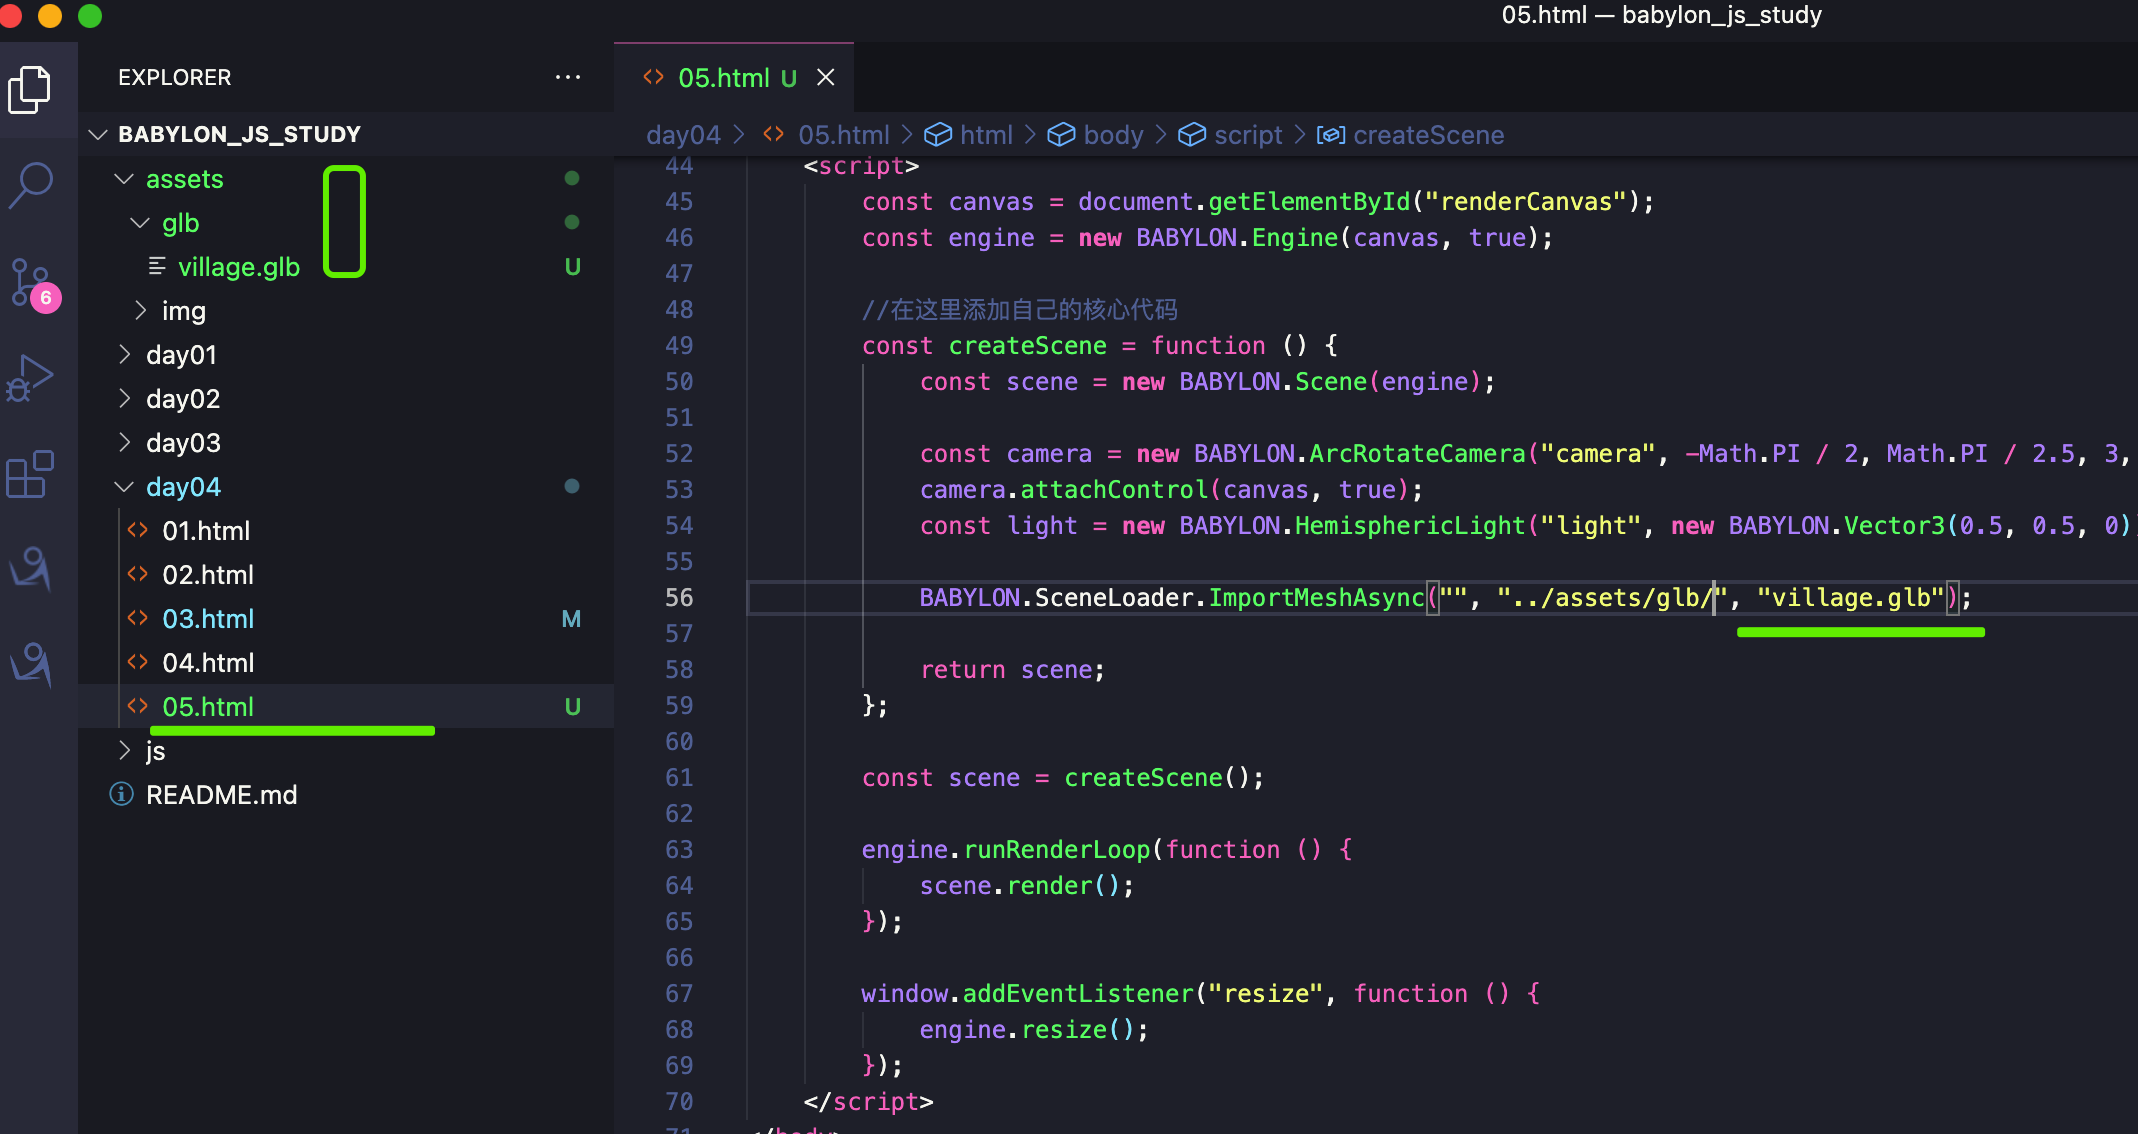
BABYLON.SceneLoader.ImportMeshAsync("", "../assets/glb/", "village.glb");
注意glb的目录位置,参考下图:
前面我们还学习过,可以直接用<babylon />将model嵌入网页:
<div id="renderCanvas">

    <h1>Village(import glb to page)</h1>

    <babylon model="../assets/glb/village.glb"></babylon>

</div>
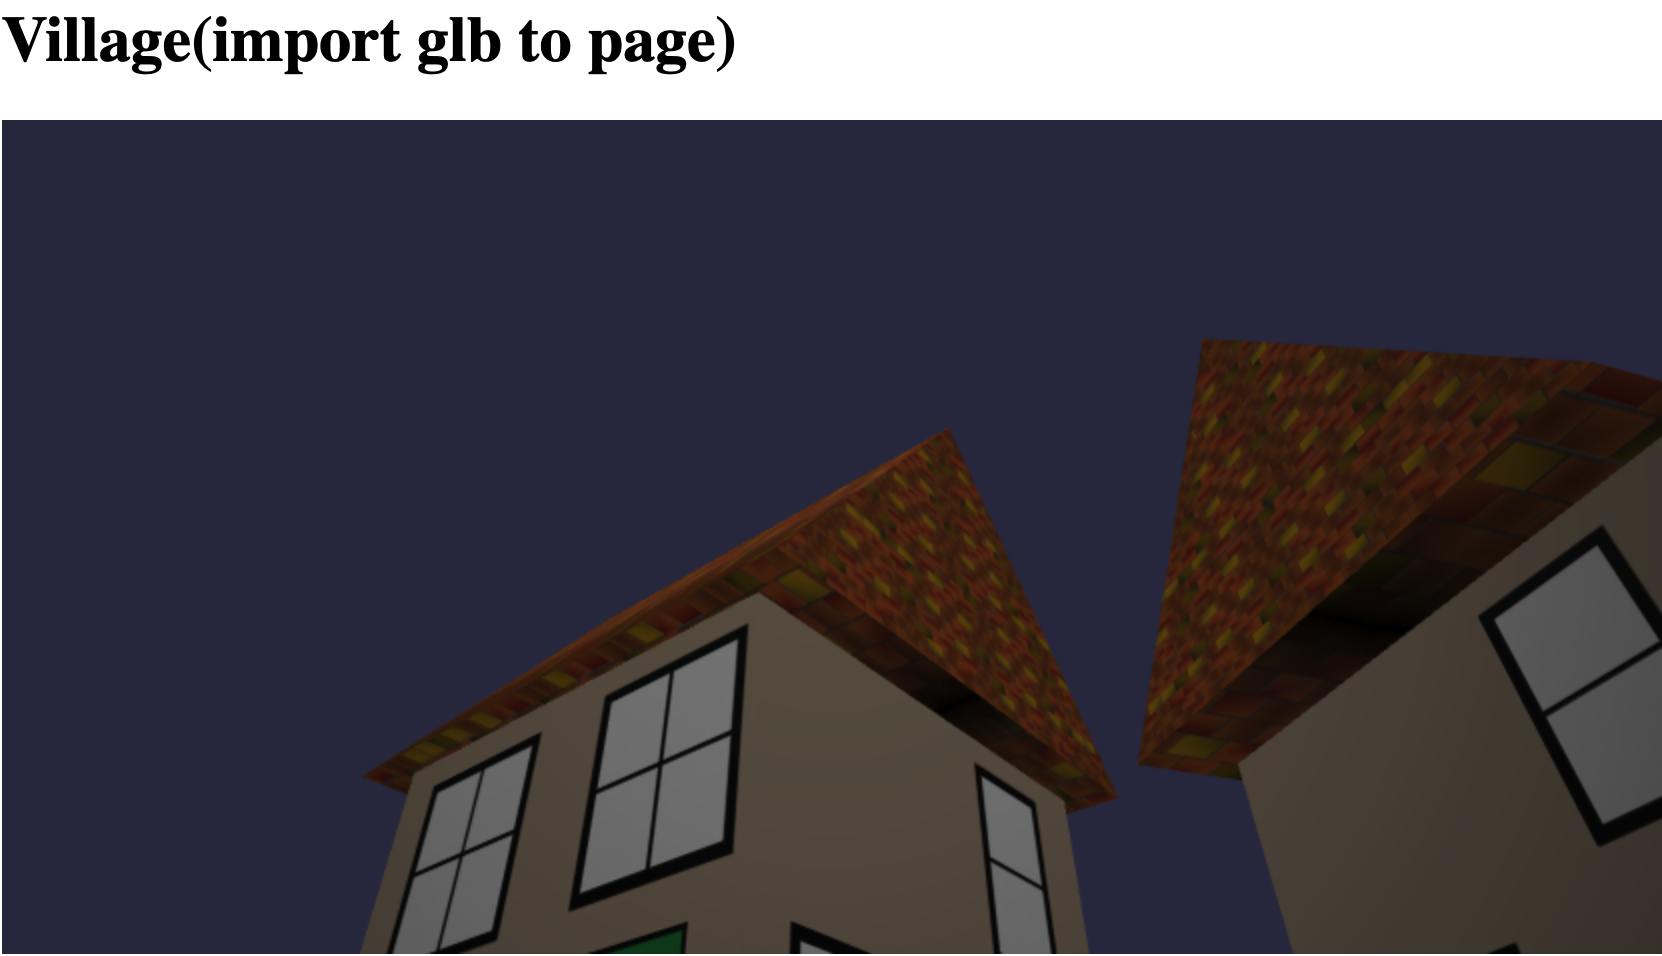
在线地址:https://yjmyzz.github.io/babylon_js_study/day04/06.html
发现1个问题:绿色的ground一直在不停闪烁。要解决这个问题,可以加上extends="minimal"
<babylon model="../assets/glb/village.glb" extends="minimal"></babylon>
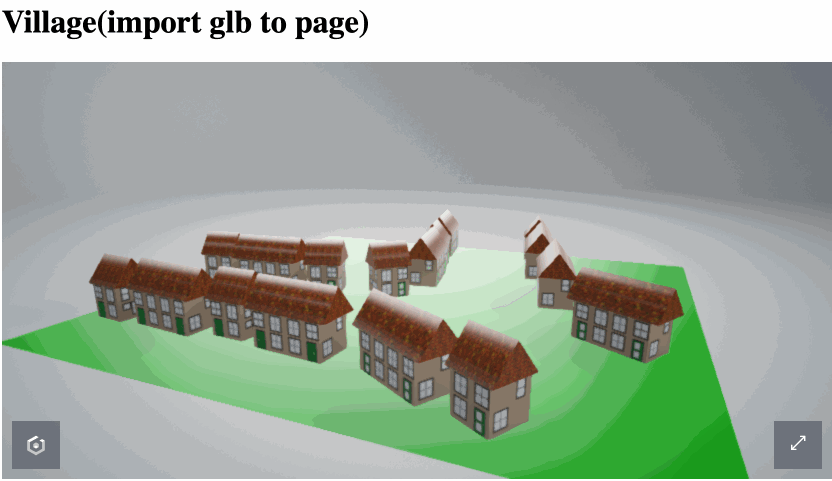
这回到是不闪了,但是页面刚打开时,摄像机的视角比较奇怪,参考下图:
在线地址:https://yjmyzz.github.io/babylon_js_study/day04/07.html
可以再加一段脚本校正:
<div id="renderCanvas">

    <h1>Village(import glb to page)</h1>

    <babylon extends="minimal" id="myViewer"></babylon>

</div>

<script>

    BabylonViewer.viewerManager.getViewerPromiseById('myViewer').then((viewer) => {

        viewer.onSceneInitObservable.add(() => {

            viewer.sceneManager.camera.radius = 15;

            viewer.sceneManager.camera.beta = Math.PI / 2.2;

        });

        viewer.onEngineInitObservable.add((scene) => {

            viewer.loadModel({

                url: "../assets/glb/village.glb"

            });

        });

    });

</script>
效果如下:
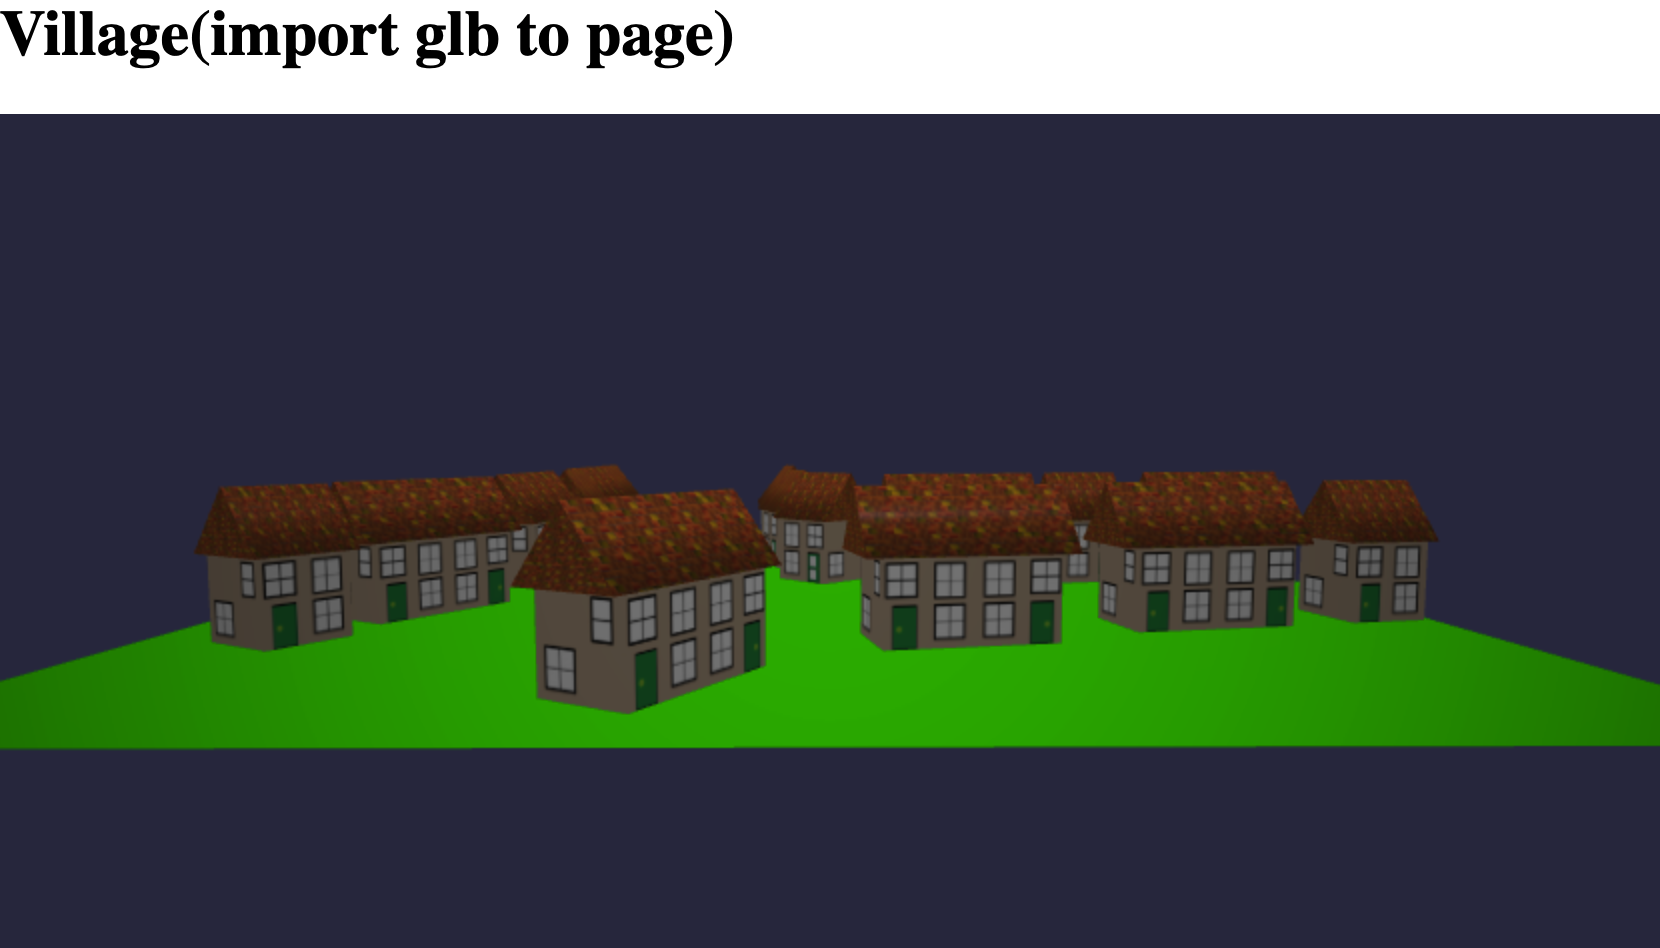
在线地址:https://yjmyzz.github.io/babylon_js_study/day04/08.html
参考文档:
https://doc.babylonjs.com/features/introductionToFeatures/chap2/copies
https://doc.babylonjs.com/features/introductionToFeatures/chap2/viewer2
babylon.js 学习笔记(4)的更多相关文章
- js学习笔记:webpack基础入门(一)
之前听说过webpack,今天想正式的接触一下,先跟着webpack的官方用户指南走: 在这里有: 如何安装webpack 如何使用webpack 如何使用loader 如何使用webpack的开发者 ...
- Vue.js学习笔记(2)vue-router
vue中vue-router的使用:
- JS 学习笔记--9---变量-作用域-内存相关
JS 中变量和其它语言中变量最大的区别就是,JS 是松散型语言,决定了它只是在某一个特定时间保存某一特定的值的一个名字而已.由于在定义变量的时候不需要显示规定必须保存某种类型的值,故变量的值以及保存的 ...
- WebGL three.js学习笔记 使用粒子系统模拟时空隧道(虫洞)
WebGL three.js学习笔记 使用粒子系统模拟时空隧道 本例的运行结果如图: 时空隧道demo演示 Demo地址:https://nsytsqdtn.github.io/demo/sprite ...
- WebGL three.js学习笔记 法向量网格材质MeshNormalMaterial的介绍和创建360度全景天空盒的方法
WebGL学习----Three.js学习笔记(5) 点击查看demo演示 Demo地址:https://nsytsqdtn.github.io/demo/360/360 简单网格材质 MeshNor ...
- WebGL three.js学习笔记 创建three.js代码的基本框架
WebGL学习----Three.js学习笔记(1) webgl介绍 WebGL是一种3D绘图协议,它把JavaScript和OpenGL ES 2.0结合在一起,通过增加OpenGL ES 2.0的 ...
- vue.js 学习笔记3——TypeScript
目录 vue.js 学习笔记3--TypeScript 工具 基础类型 数组 元组 枚举 字面量 接口 类类型 类类型要素 函数 函数参数 this对象和类型 重载 迭代器 Symbol.iterat ...
- 2019-4-29 js学习笔记
js学习笔记一:js数据类型 1:基本数据类型 number类型(整数,小数) String类型 boolean类型 NaN类型其实是一个nu ...
- 一点感悟:《Node.js学习笔记》star数突破1000+
写作背景 笔者前年开始撰写的<Node.js学习笔记> github star 数突破了1000,算是个里程碑吧. 从第一次提交(2016.11.03)到现在,1年半过去了.突然有些感慨, ...
- JS学习笔记5_DOM
1.DOM节点的常用属性(所有节点都支持) nodeType:元素1,属性2,文本3 nodeName:元素标签名的大写形式 nodeValue:元素节点为null,文本节点为文本内容,属性节点为属性 ...
随机推荐
- Ubuntu堡垒机搭建与设备管理指南
以下是基于Ubuntu系统搭建堡垒机并集成设备管理的详细步骤和注意事项: 一.堡垒机搭建步骤 系统准备 sudo apt update && sudo apt upgrade -y s ...
- K8s新手系列之namespace
概述 官方文档地址:https://kubernetes.io/zh-cn/docs/tasks/administer-cluster/namespaces/ namespace是K8s系统中的一种非 ...
- 【笔记】Python3|(一)Python 申请并调用国内百度、阿里、腾讯、有道的翻译 API 的教程和测试情况(第三方库 translate 和 腾讯 API 篇)
var code = "dccf4c95-7458-4b38-b8ae-d45b3e59c218" 价格和 API 申请参考: 免费翻译接口最新最全汇总(百度翻译,腾讯翻译,谷歌翻 ...
- 【MOOC】华中科技大学计算机组成原理慕课答案-第二章-数据表示
单选 1 计算机中表示地址时使用 √A. 无符号数 B. 反码 C. 原码 D. 补码 2 浮点数的表示范围和表示精确度分别取决于 A. 阶码的编码和尾数的编码 √B. 阶码的位数和尾数的位数 C. ...
- ASP.NET Core 之路由相关
ASP.NET Core中路由的过程:routing middleware把传入的url与一系列模板进行比对,选择相应的endpoint handler,并将其记录在HttpContext上的requ ...
- Spring注解之@Autowired:按类型自动装配Bean到数组、集合和Map
在Spring Boot项目中,如何把某些接口的多个实现类的Bean注入到Arrays, java.util.Collection 和 java.util.Map类型的变量中,方便应用的时候直接读取? ...
- Mac Catalina关闭系统更新提示
catalina每隔一段时间就会提示更新,系统更新图标上会显示红色的更新提示,有没有觉得很烦? 如果有那就如下操作: 1.打开系统设置->软件更新 2.点击右下角高级 3.取消所有的勾选(这一步 ...
- C# NativeAOT生成.so 库供Linux下C++调用
html { overflow-x: initial !important } :root { --bg-color: #ffffff; --text-color: #333333; --select ...
- 1. LangChain4j 初识,想使用Java开发AI应用?
1. 简介 LangChain4j 是一个基于 Java 的开源框架,用于开发 人工智能驱动的应用程序,尤其是涉及 大语言模型(LLM)交互 的场景.它的设计目标是简化开发者与大语言模型的集成过程,提 ...
- 关于java中动态加载字节码的多种方法
关于java中动态加载字节码的多种方法 在反序列化漏洞中:经常会遇到TemplatesImpl或BCEL相关的代码,它们就是用来动态加载恶意字节码执行任意命令的; 以及理解这些机制也是理解内存马工作原 ...