istio1.2.2 安装及使用示例
前言
本文介绍istio的安装及使用
dashboard,grafana,prometheus,kiali,jaeger的配置示例.演示通过istio的ingressgateway统一访问入口
Istio简介
下载istio
https://github.com/istio/istio/releases

wget https://github.com/istio/istio/releases/download/1.2.2/istio-1.2.2-linux.tar.gz

tar xf  istio-1.2.2-linux.tar.gz

cd /root/istio-1.2.2

cp bin/istioctl /usr/local/bin/
Chart Details
This chart can install multiple Istio components as subcharts:

ingressgateway

egressgateway

sidecarInjectorWebhook

galley

mixer

pilot

security(citadel)

grafana

prometheus

tracing(jaeger)

kiali

To enable or disable each component, change the corresponding enabled flag.
Istio安装
使用helm部署istio服务
安装包内的 Helm 目录中包含了 Istio 的 Chart,官方提供了两种方法:
- 用 Helm 生成
istio.yaml,然后自行安装。 - 用
Tiller直接安装
这里采用第一种方法,通过helm template生成模板文件安装
注意:最新版本有2部分配置分开的,和之前版本有区别,所有要分别生成配置文件

生成Istio的CRDs

helm template --name istio-init --namespace istio-system ./install/kubernetes/istio-init > istio-init-1.2.2.yaml

生成istio配置文件

helm template --name istio --namespace istio-system ./install/kubernetes/helm/istio > istio-1.2.2.yaml
以上使用默认配置,有些组件默认是不开启的
vim install/kubernetes/helm/istio/values.yaml
可以手动修改配置文件 修改helm chart默认参数,在生成模板
也可以在命令行添加 --set key=value 覆盖默认值
查看默认参数配置:https://istio.io/docs/reference/config/installation-options/#kiali-options
如下:在命令行直接覆盖默认值:
helm template install/kubernetes/helm/istio --name istio --namespace istio-system --set sidecarInjectorWebhook.enabled=true --set ingress.service.type=NodePort --set gateways.istio-ingressgateway.type=NodePort --set gateways.istio-egressgateway.type=NodePort --set tracing.enabled=true --set servicegraph.enabled=true --set prometheus.enabled=true --set tracing.jaeger.enabled=true --set grafana.enabled=true > istio.yaml
[root@k8s-master istio-1.2.2]# kubectl apply -f istio-init-1.2.2.yaml

configmap/istio-crd-10 created

configmap/istio-crd-11 created

configmap/istio-crd-12 created

serviceaccount/istio-init-service-account created

clusterrole.rbac.authorization.k8s.io/istio-init-istio-system unchanged

clusterrolebinding.rbac.authorization.k8s.io/istio-init-admin-role-binding-istio-system unchanged

job.batch/istio-init-crd-10 created

job.batch/istio-init-crd-11 created

job.batch/istio-init-crd-12 created

[root@k8s-master istio-1.2.2]# kubectl apply -f istio-1.2.2.yaml

###

[root@k8s-master istio-1.2.2]# kubectl get pods -n istio-system

NAME                                      READY   STATUS      RESTARTS   AGE

grafana-6575997f54-2lppn                  1/1     Running     0          55m

istio-citadel-894d98c85-644wd             1/1     Running     0          55m

istio-cleanup-secrets-1.2.2-g8568         0/1     Completed   0          55m

istio-galley-5b984f89b-l5prq              1/1     Running     2          55m

istio-grafana-post-install-1.2.2-xcgtb    0/1     Completed   0          55m

istio-ingressgateway-6599d6749-5v9xx      0/1     Running     0          55m

istio-init-crd-10-dfjr2                   0/1     Completed   0          59m

istio-init-crd-11-z28bv                   0/1     Completed   0          59m

istio-init-crd-12-b9hmw                   0/1     Completed   0          59m

istio-pilot-7ccff5dbdc-lhvhm              0/2     Pending     0          55m

istio-policy-77bbfdbd6-rfgsz              2/2     Running     8          55m

istio-security-post-install-1.2.2-tlv6m   0/1     Completed   0          55m

istio-sidecar-injector-7b98dd6bcc-kn7z9   1/1     Running     0          55m

istio-telemetry-7f8d5c5b74-glft4          2/2     Running     8          55m

istio-tracing-555cf644d-g7hsn             1/1     Running     0          55m

kiali-6cd6f9dfb5-trzqx                    1/1     Running     0          55m

prometheus-7d7b9f7844-m7ffd               1/1     Running     0          55m

[root@k8s-master istio-1.2.2]#

#使用下面命令验证是否有23个istio crds

[root@k8s-master istio-1.2.2]# kubectl get crds | grep 'istio.io\|certmanager.k8s.io' | wc -l

23

[root@k8s-master istio-1.2.2]#
Istio使用
gateway和virtualserive配置
[root@k8s-master ~]# cat gateway-istio.yaml

apiVersion: networking.istio.io/v1alpha3

kind: Gateway

metadata:

  name: gateway-istio

  namespace: istio-system

spec:

  selector:

    istio: ingressgateway # use istio default controller

  servers:

  - port:

      number: 80

      name: http-istio

      protocol: HTTP

    hosts:

    - "prometheus.test.com"

    - "kiali.test.com"

    - "jaeger.test.com"

    - "dashboard.test.com"

    - "grafana.test.com"

---

apiVersion: networking.istio.io/v1alpha3

kind: VirtualService

metadata:

  name: jaeger

  namespace: istio-system

spec:

  hosts:

  - "jaeger.test.com"

  gateways:

  - gateway-istio

  http:

  - retries:

      attempts: 3

      perTryTimeout: 2s

    route:

    - destination:

        host: tracing

        port:

          number: 80

---

apiVersion: networking.istio.io/v1alpha3

kind: VirtualService

metadata:

  name: prometheus

  namespace: istio-system

spec:

  hosts:

  - "prometheus.test.com"

  gateways:

  - gateway-istio

  http:

  - retries:

      attempts: 3

      perTryTimeout: 2s

    route:

    - destination:

        host: prometheus

        port:

          number: 9090

---

apiVersion: networking.istio.io/v1alpha3

kind: VirtualService

metadata:

  name: grafana

  namespace: istio-system

spec:

  hosts:

  - "grafana.test.com"

  gateways:

  - gateway-istio

  http:

  - retries:

      attempts: 3

      perTryTimeout: 2s

    route:

    - destination:

        host: grafana

        port:

          number: 3000

---

apiVersion: networking.istio.io/v1alpha3

kind: VirtualService

metadata:

  name: kiali

  namespace: istio-system

spec:

  hosts:

  - "kiali.test.com"

  gateways:

  - gateway-istio

  http:

  - retries:

      attempts: 3

      perTryTimeout: 2s

    route:

    - destination:

        host: kiali

        port:

          number: 20001

[root@k8s-master ~]#
使用haproxy代理本机80,443端口到k8s集群istio ingressgateway的31380(http)和31390(https)
haproxy配置请看:https://www.cnblogs.com/xuliang666/p/11136829.html
配置域名如下
(base) xuliang@xuliang-PC:~$ cat /etc/hosts

127.0.0.1	localhost

127.0.1.1   xuliang-PC

# The following lines are desirable for IPv6 capable hosts

::1     ip6-localhost ip6-loopback

fe00::0 ip6-localnet

ff00::0 ip6-mcastprefix

ff02::1 ip6-allnodes

ff02::2 ip6-allrouters

10.0.2.51 red.aijiatui.com

192.168.100.29 myapp.test.com

192.168.100.29 prometheus.test.com

192.168.100.29 grafana.test.com

192.168.100.29 kiali.test.com

192.168.100.29 jaeger.test.com

(base) xuliang@xuliang-PC:~$
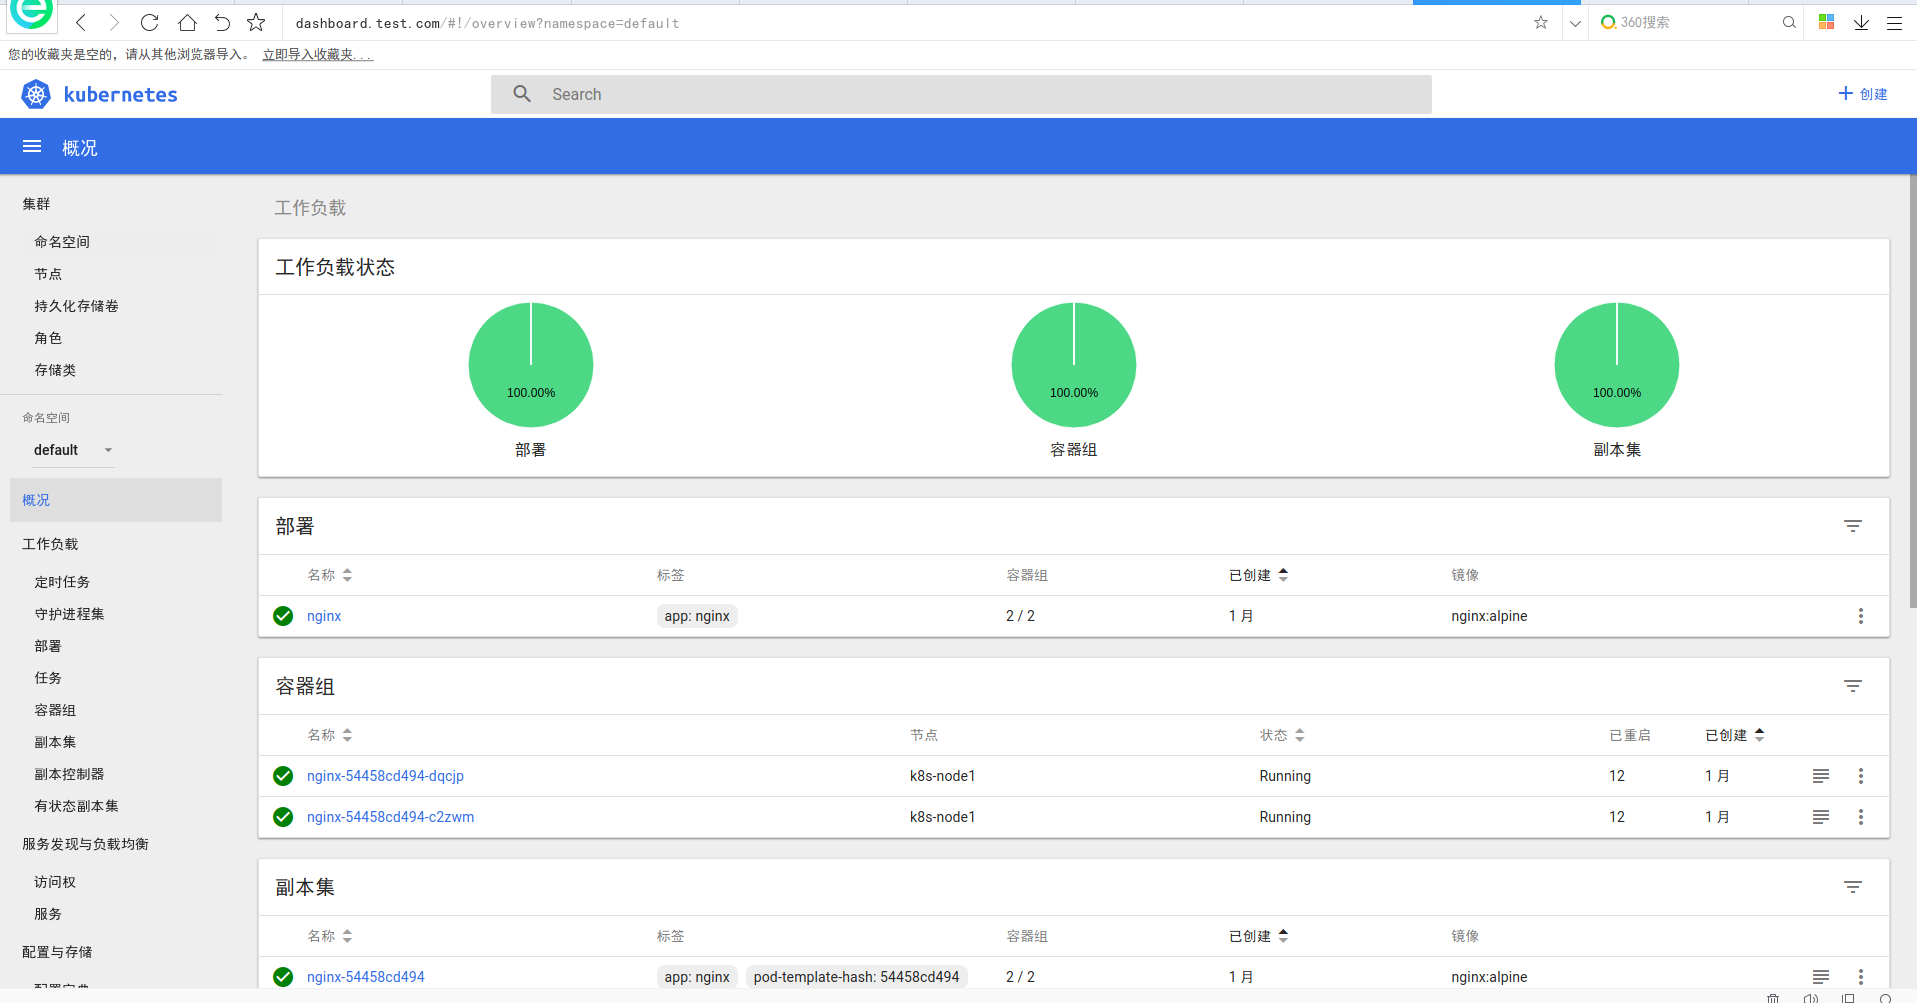
dashboard配置
查看dashboard svc
[root@k8s-master ~]# kubectl get svc -n kube-system|grep dashboard

kubernetes-dashboard   ClusterIP   10.106.65.78   <none>        9090/TCP                 27d

[root@k8s-master ~]#
创建gateway和virtualservice
#gateway网关配置:

apiVersion: networking.istio.io/v1alpha3

kind: Gateway

metadata:

  name: gateway-dashboard

  namespace: kube-system

spec:

  selector:

    istio: ingressgateway # use istio default controller

  servers:

  - port:

      number: 80

      name: http-dashboard

      protocol: HTTP

    hosts:

    - "dashboard.test.com"

---

apiVersion: networking.istio.io/v1alpha3

kind: VirtualService

metadata:

  name: dashboard

  namespace: kube-system

spec:

  hosts:

  - "dashboard.test.com"

  gateways:

  - gateway-dashboard

  http:

  - retries:

      attempts: 3

      perTryTimeout: 2s

    route:

    - destination:

        host: kubernetes-dashboard

        port:

          number: 9090
在浏览器中输入dashboard.test.com即可访问
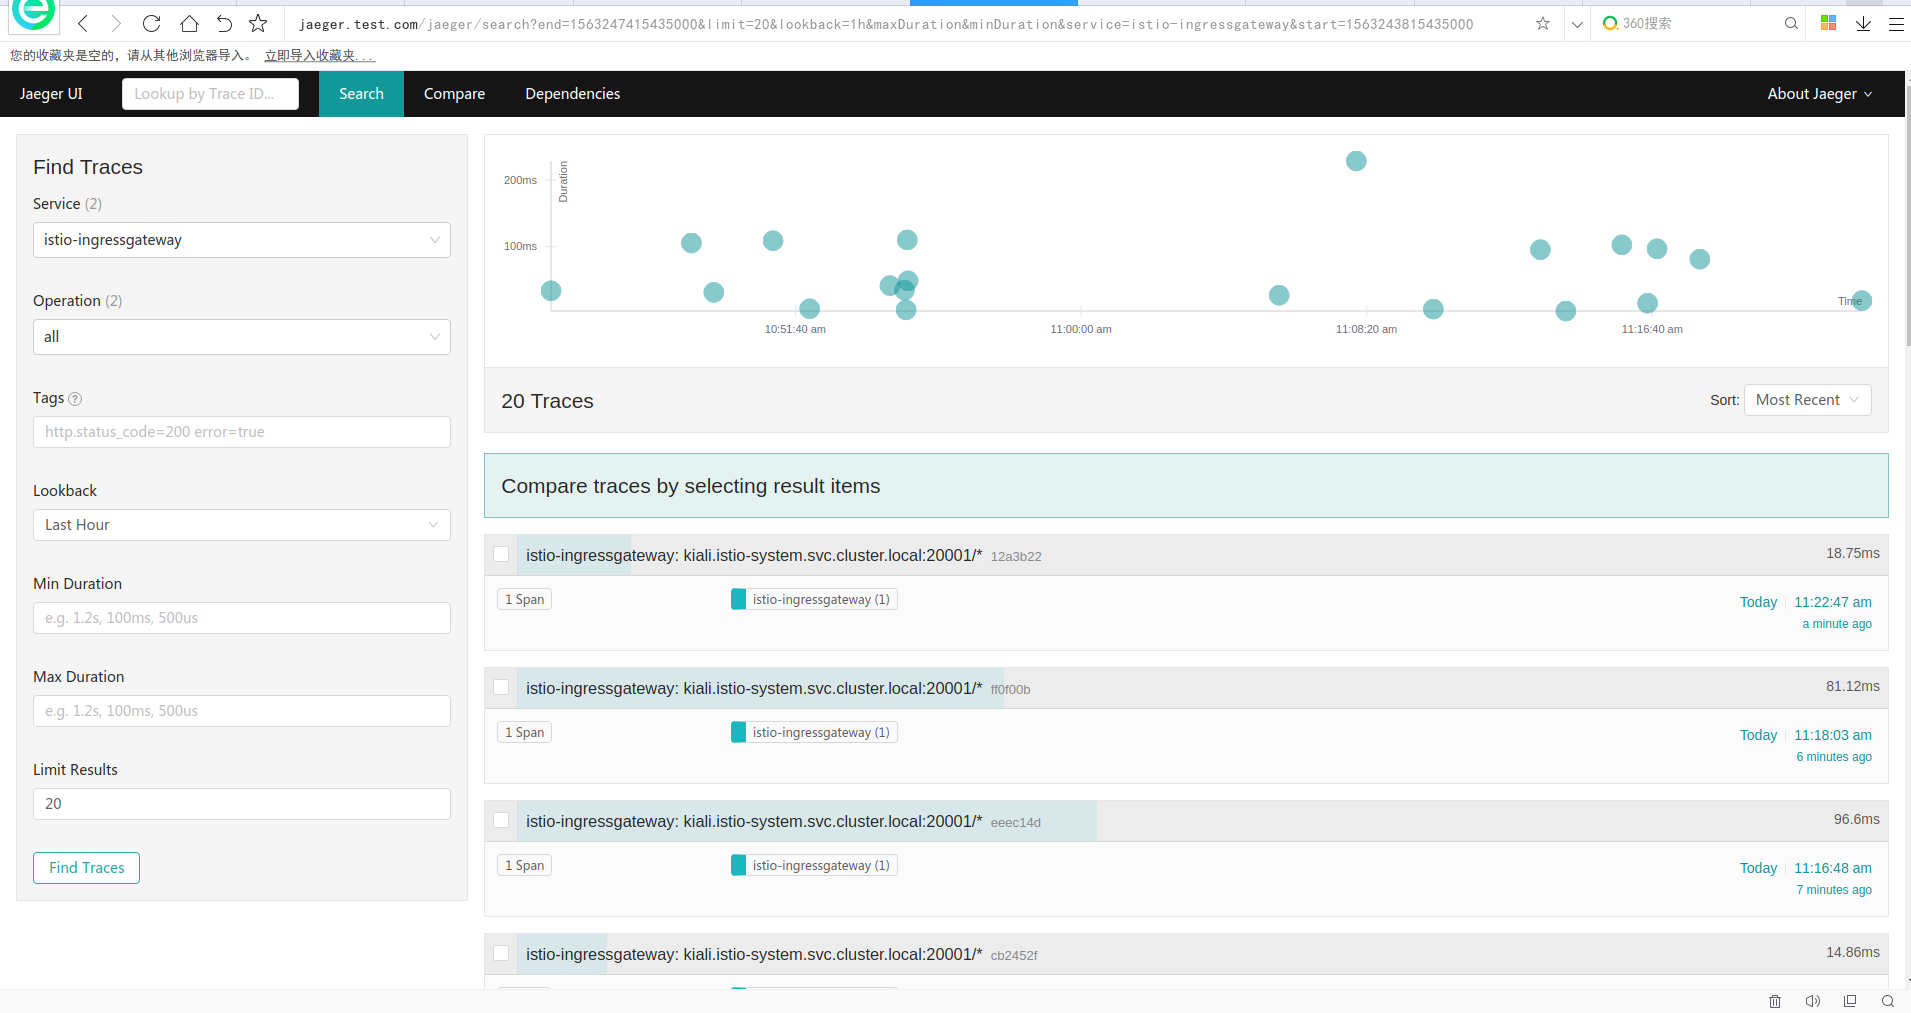
jaeger介绍
官网地址:https://www.jaegertracing.io/
Jaeger受Dapper和OpenZipkin的启发,是Uber Technologies公开发布的分布式跟踪系统。它用于监视和排除基于微服务的分布式系统,包括:
- 分布式上下文传播
- 分布式事务监控
- 根本原因分析
- 服务依赖性分析
- 性能/延迟优化
访问地址如下:
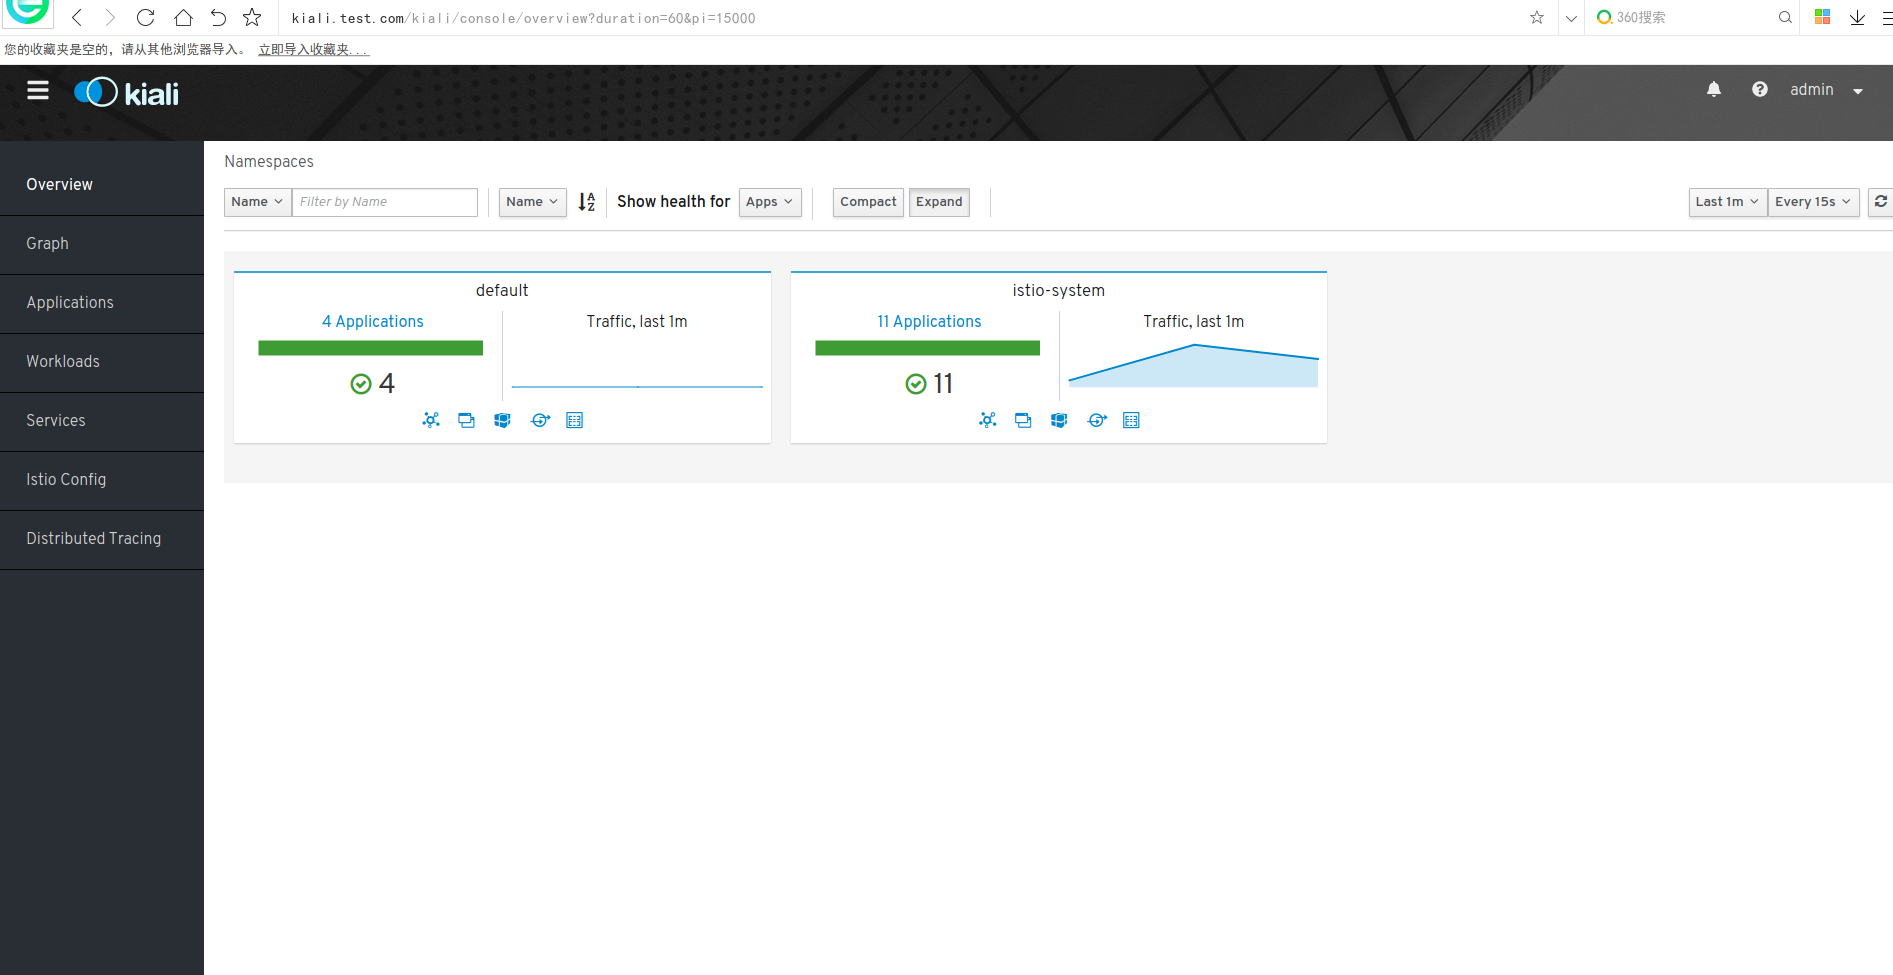
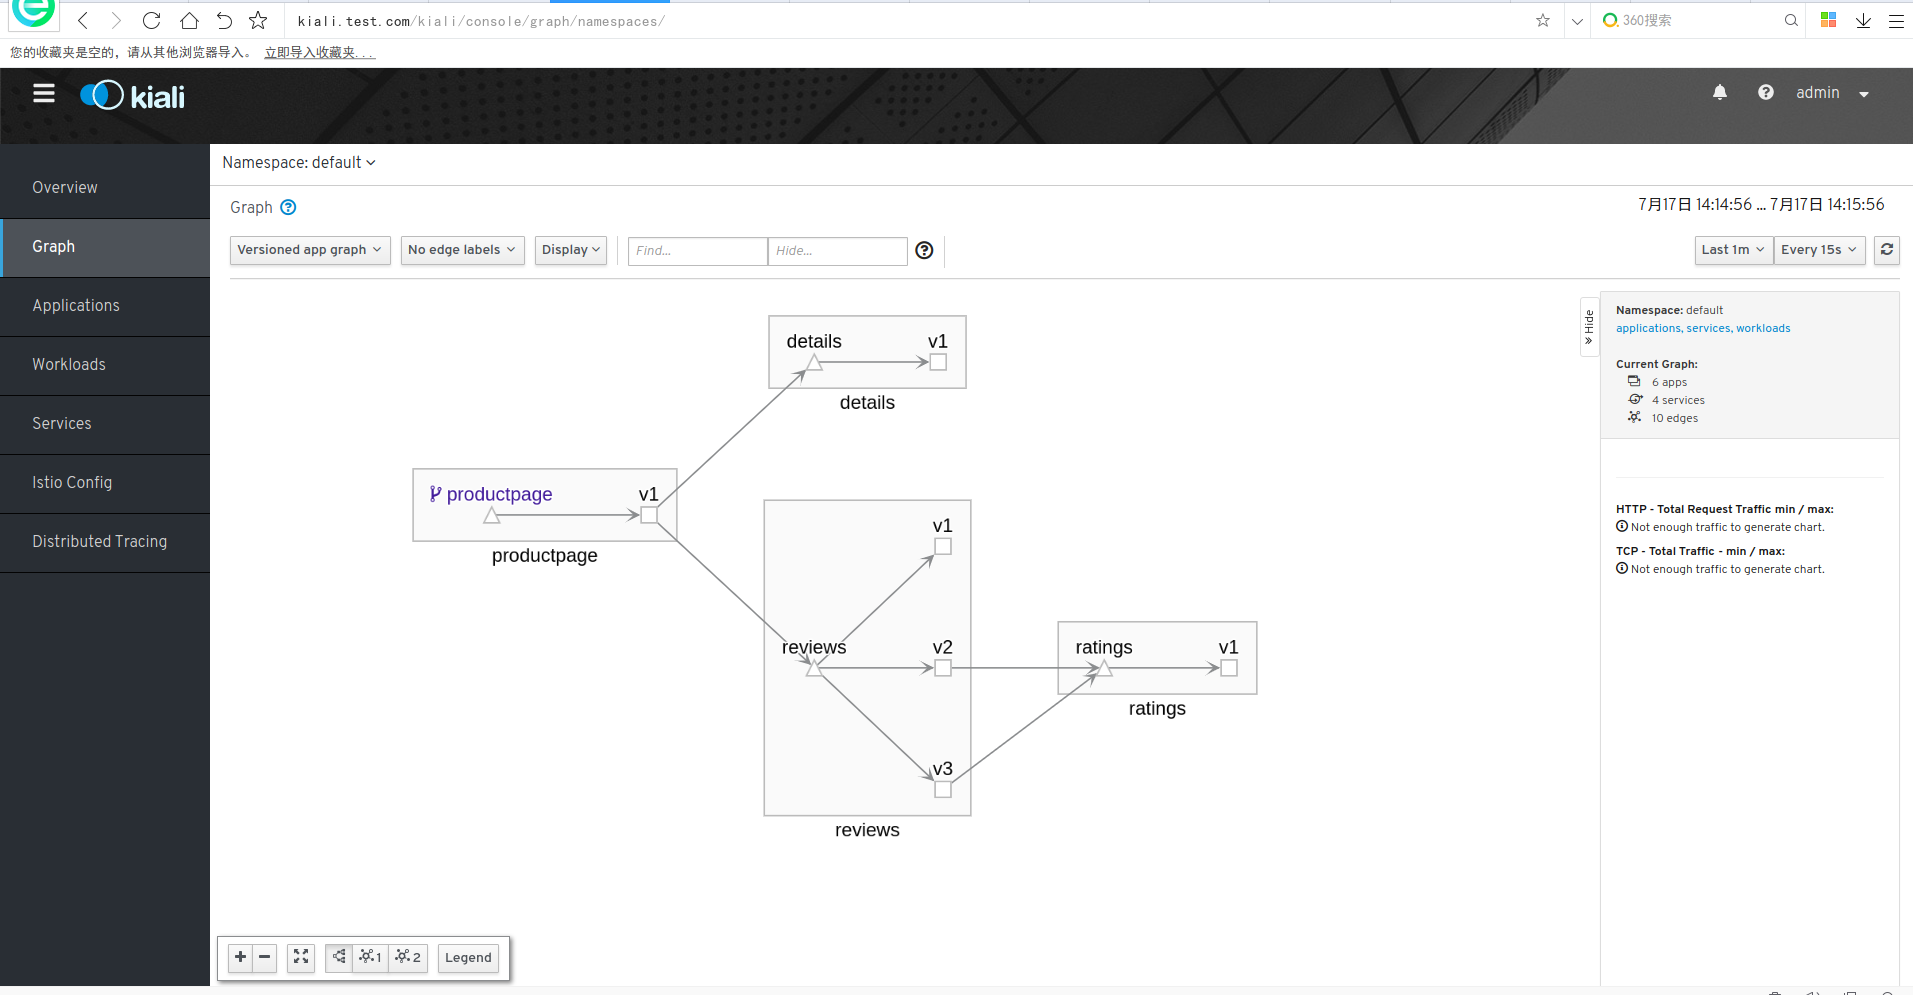
kiali介绍
服务网格可观察性和配置
通过helm模板安装完,是没有账户密码的
helm template \

--set kiali.enabled=true \

--set "kiali.dashboard.jaegerURL=http://$(kubectl get svc tracing --namespace istio-system -o jsonpath='{.spec.clusterIP}'):80" \

--set "kiali.dashboard.grafanaURL=http://$(kubectl get svc grafana --namespace istio-system -o jsonpath='{.spec.clusterIP}'):3000" \

install/kubernetes/helm/istio \

--name istio --namespace istio-system > istio.yaml
[root@k8s-master ~]# echo -n 'admin' | base64

YWRtaW4=

[root@k8s-master ~]# echo -n 'admin' | base64

YWRtaW4=

[root@k8s-master ~]#

[root@k8s-master ~]# cat kiali.yaml

apiVersion: v1

kind: Secret

metadata:

  name: kiali

  namespace: istio-system

  labels:

    app: kiali

type: Opaque

data:

  username: YWRtaW4K=

  passphrase: YWRtaW4K

[root@k8s-master ~]#
或者
USERNAME=$(echo -n 'admin' | base64)

PASSPHRASE=$(echo -n 'admin' | base64)

cat <<EOF | kubectl apply -f -

apiVersion: v1

kind: Secret

metadata:

  name: kiali

  namespace: $NAMESPACE

  labels:

    app: kiali

type: Opaque

data:

  username: $USERNAME

  passphrase: $PASSPHRASE

EOF
查看或修改kiali的配置文件
[root@k8s-master istio-1.2.2]# kubectl get configmap kiali -n istio-system -o yaml

apiVersion: v1

data:

  config.yaml: |

    istio_namespace: istio-system

    auth:

      strategy: "login"

    server:

      port: 20001

      web_root: /kiali

    external_services:

      tracing:

        url: http://jaeger.test.com/jaeger

      grafana:

        url: http://10.100.148.230:3000

      prometheus:

        url: http://10.109.28.54:9090

kind: ConfigMap

metadata:

  annotations:

    kubectl.kubernetes.io/last-applied-configuration: |

      {"apiVersion":"v1","data":{"config.yaml":"istio_namespace: istio-system\nauth:\n  strategy: \"login\"\nserver:\n  port: 20001\n  web_root: /kiali\nexternal_services:\n  tracing:\n    url: http://10.100.190.53\n  grafana:\n    url: http://10.100.148.230:3000\n  prometheus:\n    url: http://10.109.28.54:9090\n"},"kind":"ConfigMap","metadata":{"annotations":{},"labels":{"app":"kiali","chart":"kiali","heritage":"Tiller","release":"istio"},"name":"kiali","namespace":"istio-system"}}

  creationTimestamp: "2019-07-12T06:40:16Z"

  labels:

    app: kiali

    chart: kiali

    heritage: Tiller

    release: istio

  name: kiali

  namespace: istio-system

  resourceVersion: "1386411"

  selfLink: /api/v1/namespaces/istio-system/configmaps/kiali

  uid: f2100d5c-05b4-48ca-92c7-73ebea15401e

[root@k8s-master istio-1.2.2]#
注意:
 external_services:

      tracing:

        url: http://10.100.190.53:80

      grafana:

        url: http://10.100.148.230:3000

      prometheus:

        url: http://10.109.28.54:9090
这里的三个地址可以写svc ip也可以写成域名
账户:admin 密码:admin
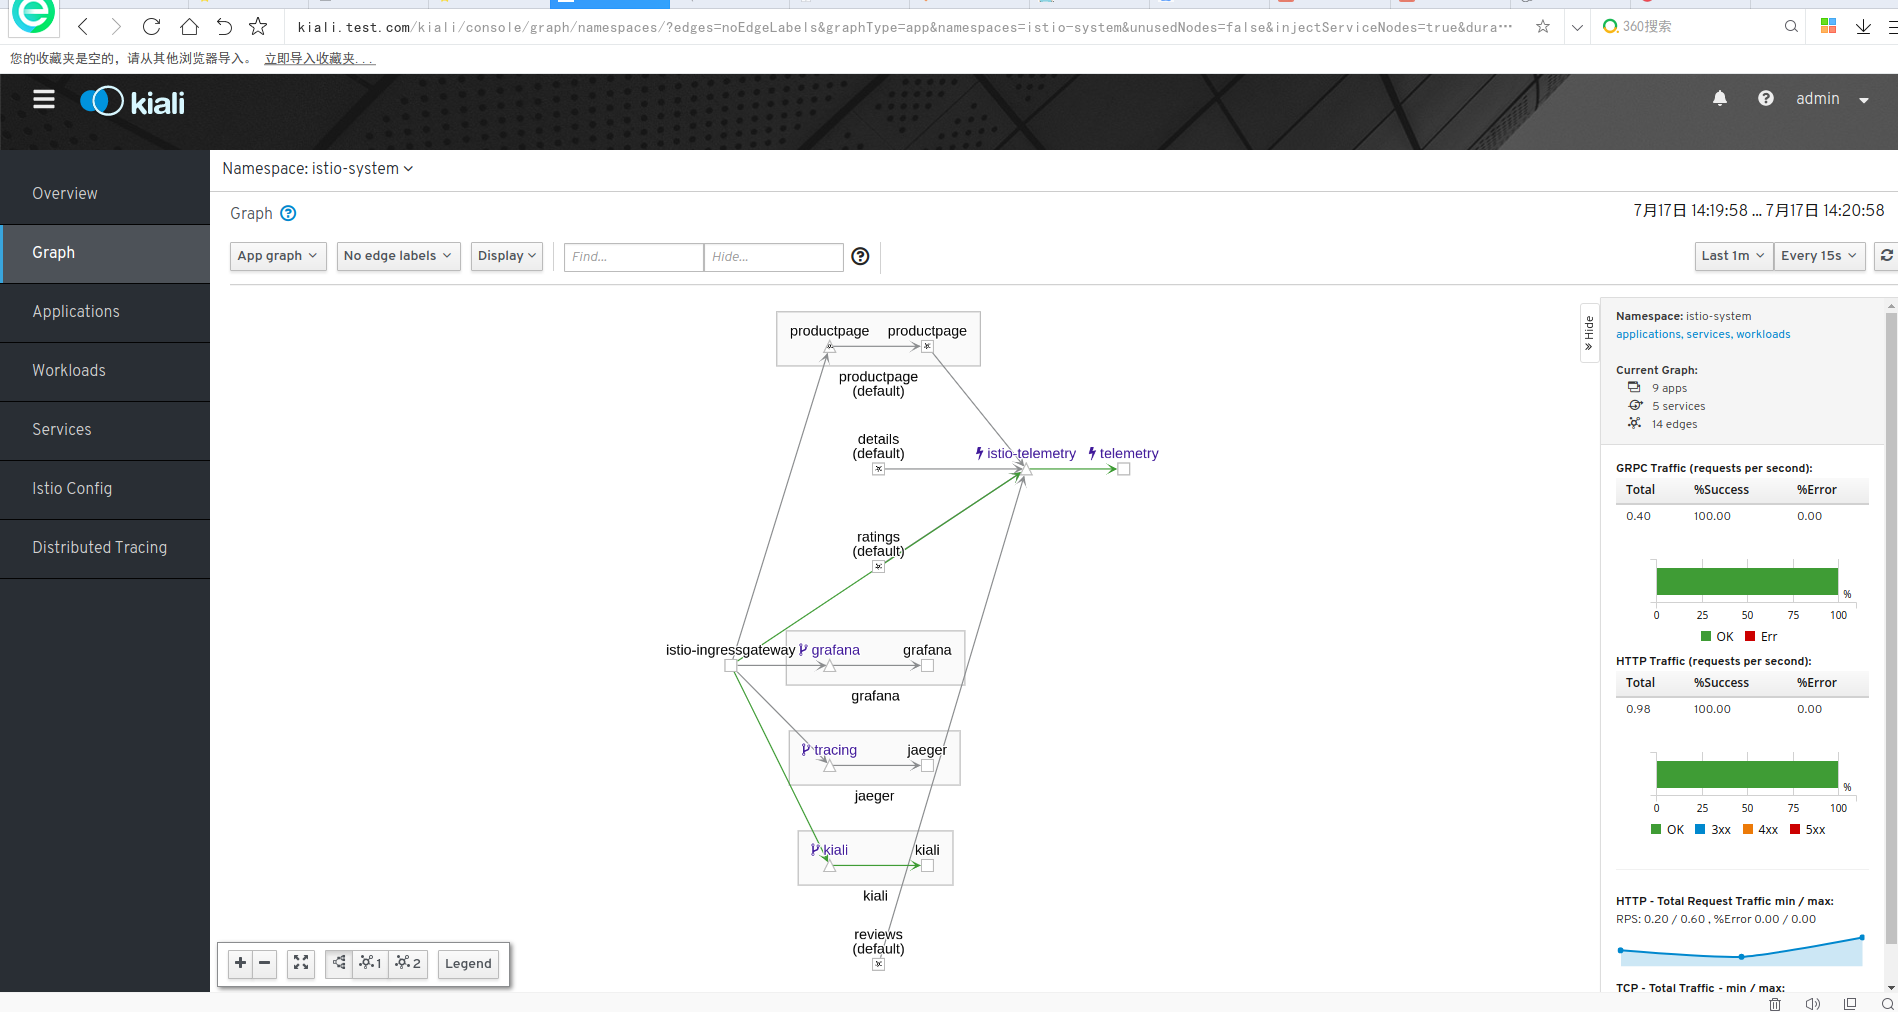
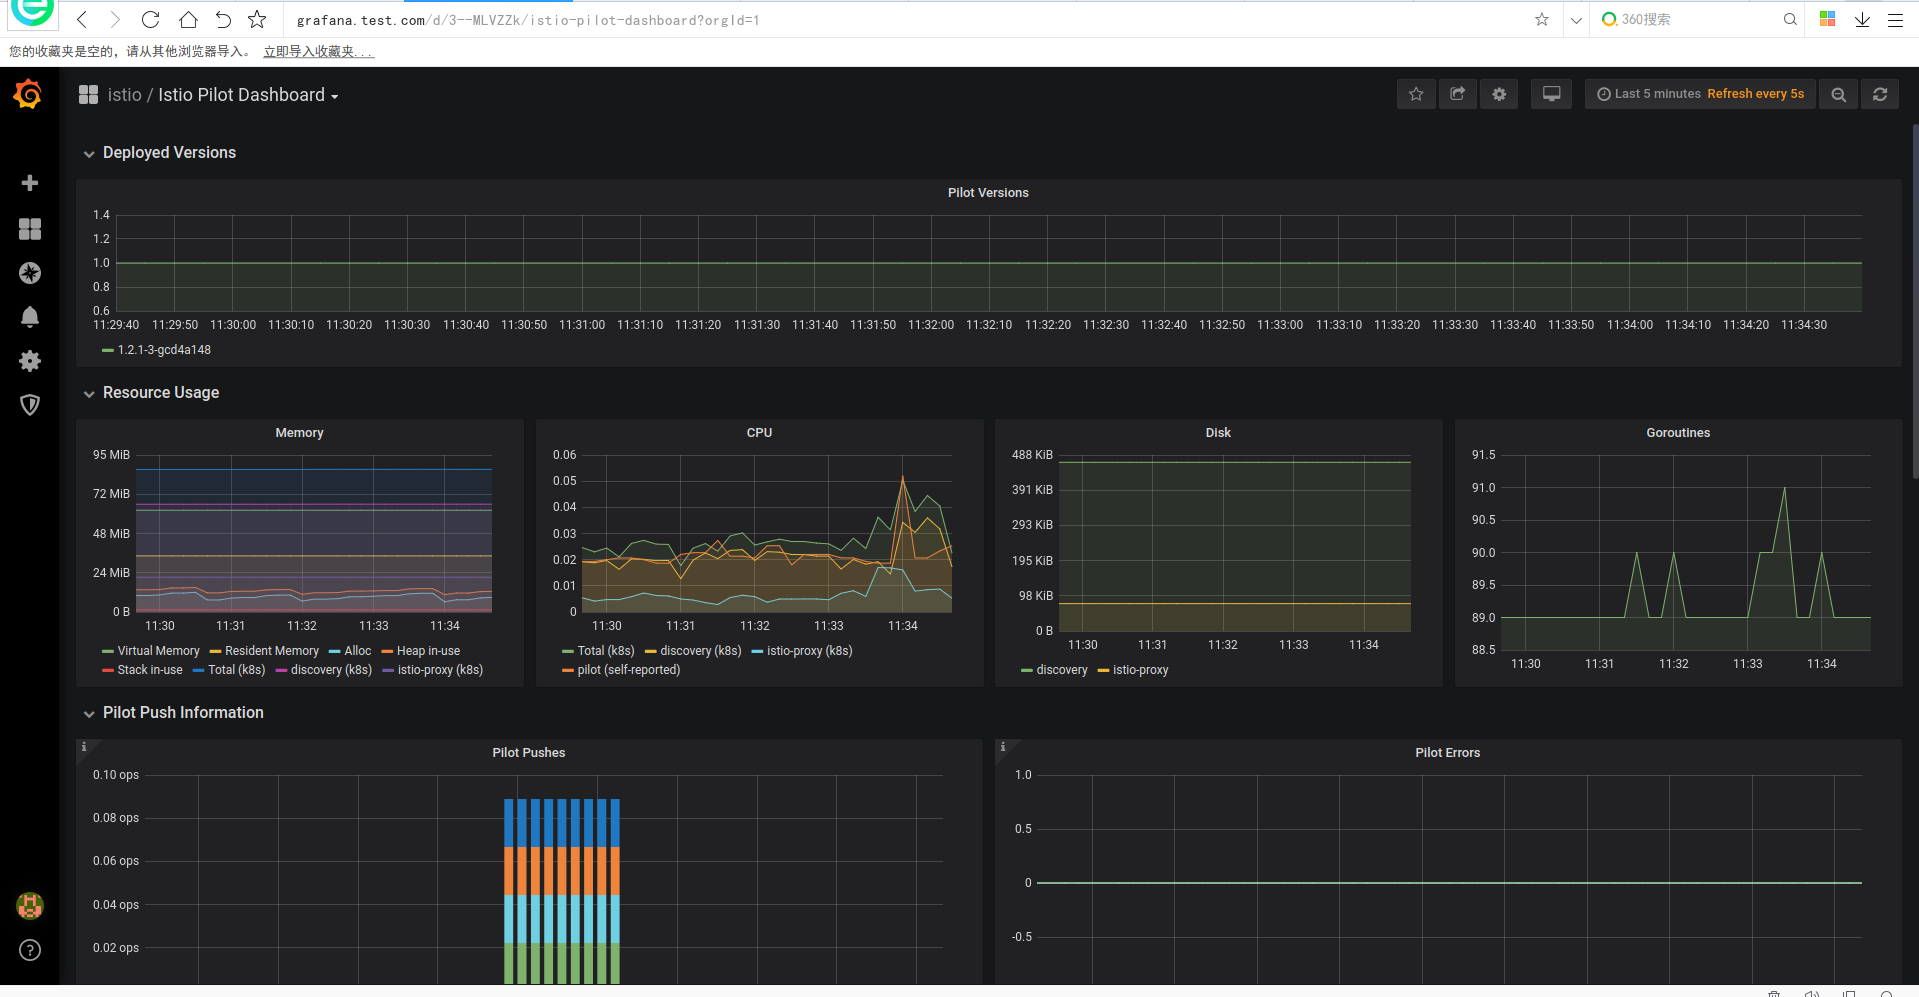
grafana
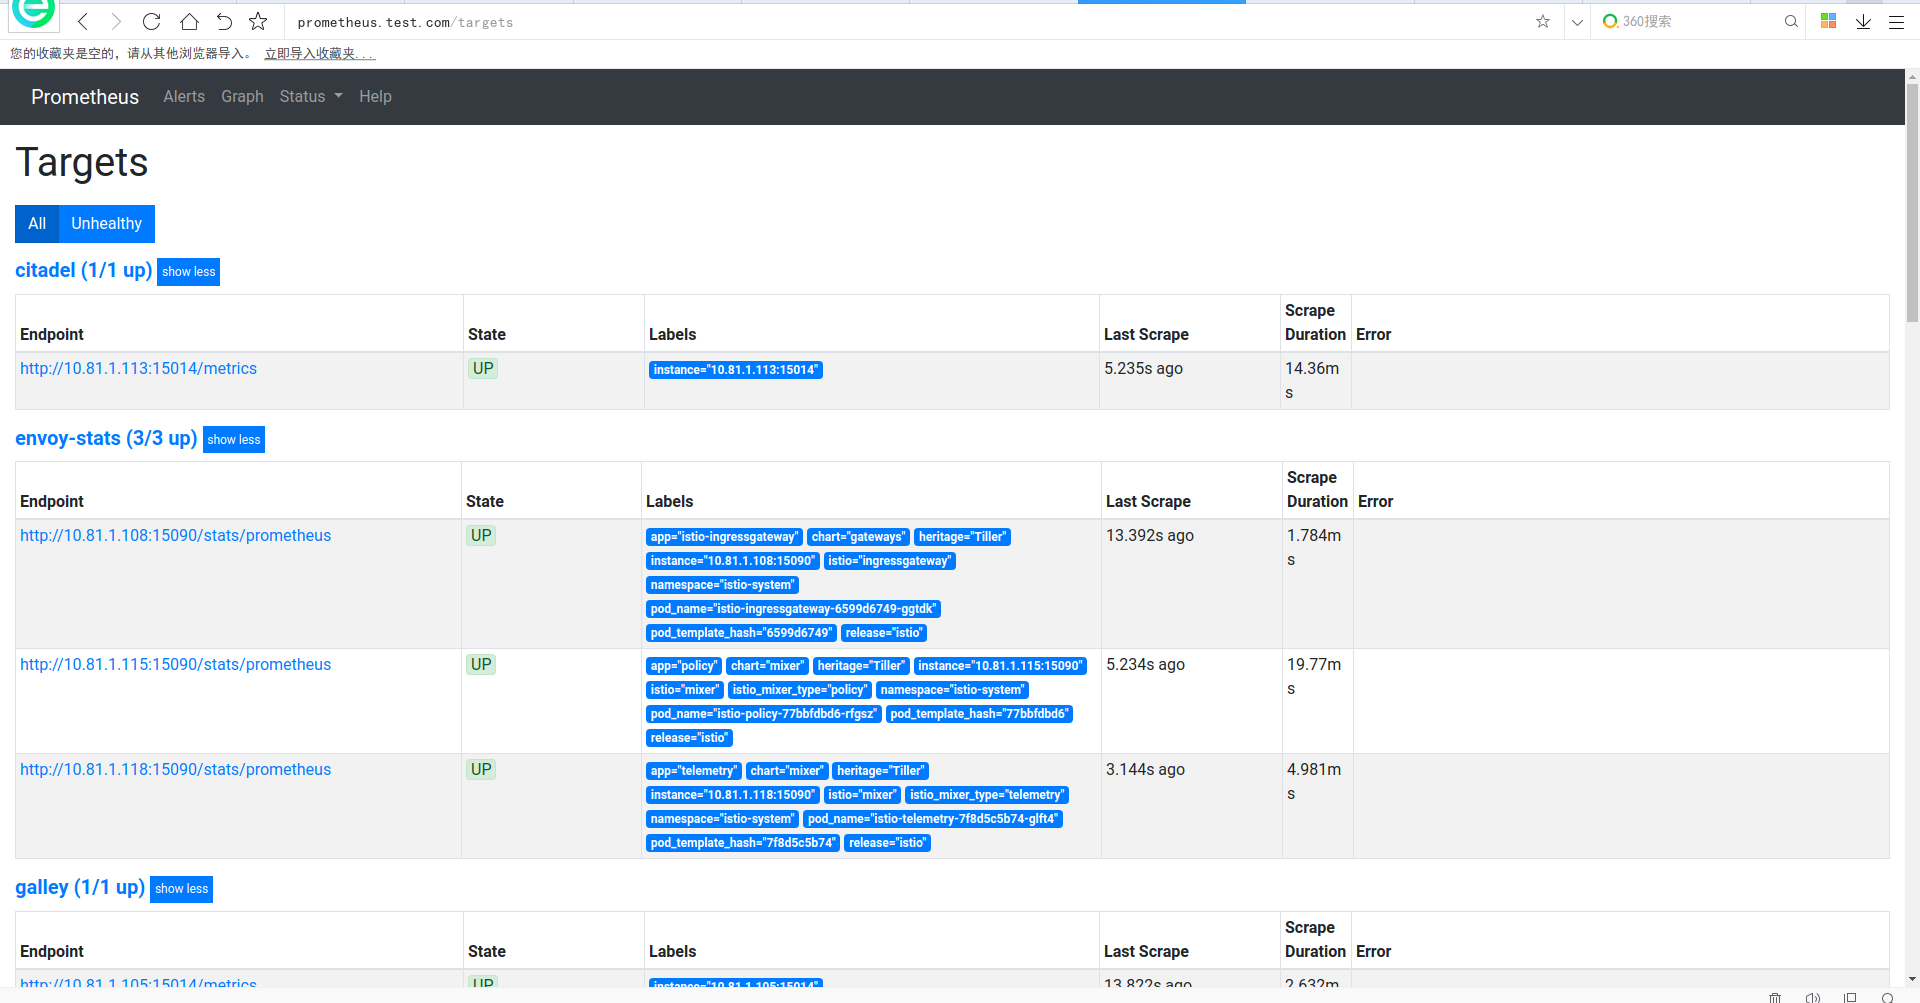
prometheus
istio1.2.2 安装及使用示例的更多相关文章
- Thrift在Windows及Linux平台下的安装和使用示例
本文章也同时发表在个人博客Thrift在Windows及Linux平台下的安装和使用示例上. thrift介绍 Apache Thrift 是 Facebook 实现的一种高效的.支持多种编程语言的R ...
- Redis 安装与简单示例
Redis 安装与简单示例 一.Redis的安装 Redis下载地址如下:https://github.com/dmajkic/redis/downloads 解压后根据自己机器的实际情况选择32位或 ...
- TensorFlow入门,基本介绍,基本概念,计算图,pip安装,helloworld示例,实现简单的神经网络
TensorFlow入门,基本介绍,基本概念,计算图,pip安装,helloworld示例,实现简单的神经网络
- Linux下安装GB2312的示例
Linux下安装GB2312的示例 Step 1: 到Linux字符集的安装包目录下 [cd /usr/share/i18n/charmaps] Step 2: 解压该目录下的GB2312.gz ...
- cesium安装及第一个示例
cesium安装及第一个示例 一.环境要求 二.浏览器要求 三.安装node.js 四.下载cesium包(地址为https://cesiumjs.org) 包括了 五.在你的项目里引入相关js与cs ...
- istio 安装与bookinfo示例运行
目的 本文旨在帮助想了解istio安装和运行bookinfo示例的同学快速入门 前置准备 安装k8s和helm 1.k8s安装 修改主机名 hostnamectl set-hostname k8s-m ...
- Hadoop:pig 安装及入门示例
pig是hadoop的一个子项目,用于简化MapReduce的开发工作,可以用更人性化的脚本方式分析数据. 一.安装 a) 下载 从官网http://pig.apache.org下载最新版本(目前是0 ...
- Redis 安装与简单示例 01_转
一.Redis的安装 Redis下载地址如下:https://github.com/dmajkic/redis/downloads 解压后根据自己机器的实际情况选择32位或者64位.下载解压后图片如下 ...
- Redis 安装与简单示例 <第一篇>
一.Redis的安装 Redis下载地址如下:https://github.com/dmajkic/redis/downloads 解压后根据自己机器的实际情况选择32位或者64位.下载解压后图片如下 ...
随机推荐
- 用 Hugo 快速搭建博客
用 Hugo 搭建博客 Hugo 是一个用 Go 编写的静态站点生成器,生成速度很快 下面是具体操作: 1.安装 Hugo Windows 用户 使用 Chocolatey 或者 Scoop 快速安装 ...
- PAT-1146(Topological Order)拓扑排序+判断一个序列是否满足拓扑序列
Topological Order PAT-1146 #include<iostream> #include<cstring> #include<string> # ...
- MySQL使用入门--初识数据库
MySQL使用入门 数据库概述 数据库是存放数据的仓库.在应用的开发中总是离不开数据的查询.处理.存储,例如图书管理系统就需要操纵和存储大量的数据.没有数据库之前我们使用文件存储数据,但是文件存储有很 ...
- linux安装uwsgi,报错问题解决
uwsgi安装 uwsgi启动后出 -- unavailable modifier requested: 0 出现问题的的原因是找不到python的解释器(其他语言同理) 你使用的yum instal ...
- 比较String 字符串的字节大小
package com.ittx.edi.erp;import java.io.File;import java.io.FileWriter;import java.io.IOException;pu ...
- 目标检测入门论文YOLOV1精读以及pytorch源码复现(yolov1)
结果展示 其中绿线是我绘制的图像划分网格. 这里的loss是我训练的 0.77 ,由于损失函数是我自己写的,所以可能跟大家的不太一样,这个不重要,重要的是学习思路. 重点提示 yolov1是一个目标检 ...
- fianl关键词
一.final关键字概述 final关键字具有最终或不可改变的含义,可用于修饰类.变量.方法.因此被final修饰的类.变量.方法具有以下特征: --final修饰的类不能被继承: --final修饰 ...
- Python中if __name__ = "__main__"的理解
通俗的理解__name__ ="__main__"的意思就是:当.py文件被直接运行时,if __name__ = "__main__"之下的代码快将被运行:当 ...
- 【linux】驱动-4-LED芯片手册分析
目录 前言 4. LED芯片手册分析 4.1 内存管理单元MMU 4.1.1 MMU的功能 4.1.2 TLB的作用 4.2 地址转换函数 4.2.1 ioremap函数 4.2.2 iounmap函 ...
- 爬虫入门到放弃系列07:js混淆、eval加密、字体加密三大反爬技术
前言 如果再说IP请求次数检测.验证码这种最常见的反爬虫技术,可能大家听得耳朵都出茧子了.当然,也有的同学写了了几天的爬虫,觉得爬虫太简单.没有啥挑战性.所以特地找了三个有一定难度的网站,希望可以有兴 ...