
5.Android消息推送机制简单例子
1.首先布局文件xml代码:
 <?xml version="1.0" encoding="utf-8"?>

 <RelativeLayout xmlns:android="http://schemas.android.com/apk/res/android"

     xmlns:tools="http://schemas.android.com/tools"

     android:layout_width="match_parent"

     android:layout_height="match_parent"

     android:paddingBottom="@dimen/activity_vertical_margin"

     android:paddingLeft="@dimen/activity_horizontal_margin"

     android:paddingRight="@dimen/activity_horizontal_margin"

     android:paddingTop="@dimen/activity_vertical_margin"

     tools:context="com.example.riger.notificationdemo.MainActivity">

     <LinearLayout

         android:orientation="vertical"

         android:layout_width="match_parent"

         android:layout_height="match_parent"

         android:layout_alignParentTop="true"

         android:layout_alignParentLeft="true"

         android:layout_alignParentStart="true">

         <TextView

             android:layout_width="wrap_content"

             android:layout_height="wrap_content"

             android:text="hello"

             android:id="@+id/textView" />

         <Button

             android:layout_width="match_parent"

             android:layout_height="wrap_content"

             android:text="通知"

             android:id="@+id/btnStart" />

         <Button

             android:layout_width="match_parent"

             android:layout_height="wrap_content"

             android:text="清除"

             android:id="@+id/btnStop" />

     </LinearLayout>

 </RelativeLayout>
2.主界面代码MainActivity:
 public class MainActivity extends Activity implements View.OnClickListener{

     private Button btnStart;

     private Button btnStop;

     @Override

     protected void onCreate(Bundle savedInstanceState) {

         super.onCreate(savedInstanceState);

         setContentView(R.layout.activity_main);

         initView();

     }

     public void initView(){

         btnStart = (Button)findViewById(R.id.btnStart);

         btnStop = (Button)findViewById(R.id.btnStop);

         btnStart.setOnClickListener(this);

         btnStop.setOnClickListener(this);

     }

     @Override

     public void onClick(View view) {

         int id = view.getId();

         switch(id){

             case R.id.btnStart:

                 //启动服务

                 Intent intent = new Intent();

                 intent.setAction("ymw.MY_SERVICE");

                 intent.setPackage("com.example.riger.notificationdemo");

                 startService(intent);

                 break;

             case R.id.btnStop:

                 Intent i = new Intent();

                 i.setAction("ymw.MY_SERVICE");

                 i.setPackage("com.example.riger.notificationdemo");

                 stopService(i);

                 break;

             default:

                 break;

         }

     }

 }
3.消息推送服务文件NotificationService
 public class NotificationService extends Service{

     private static final String TAG = NotificationService.class.getSimpleName();

     //获取消息线程

     private MessageThread messageThread = null;

     //点击查看

     private Intent messageIntent = null;

     private PendingIntent messagePendingIntent = null;

     //通知栏消息

     private NotificationManager messageNotificationManage = null;

     @Nullable

     @Override

     public IBinder onBind(Intent intent) {

         return null;

     }

     @Override

     public int onStartCommand(Intent intent, int flags, int startId) {

         // 初始化

         messageNotificationManage = (NotificationManager) getSystemService(Context.NOTIFICATION_SERVICE);

         messageIntent = new Intent(this,MainActivity.class);

         messagePendingIntent = PendingIntent.getActivity(this,0,messageIntent,0);

         // 开启线程

         messageThread = new MessageThread();

         messageThread.isRunning = true;

         messageThread.start();

         return super.onStartCommand(intent,flags,startId);

     }

     /**

      * 从服务器获取信息

      */

     class MessageThread extends Thread{

         public boolean isRunning = false;

         public void run() {

             try{

                 Log.v(TAG,"111111111");

                 // 间隔时间

                 Thread.sleep(1000);

                 // 获取服务器消息

                 String serverMessage = getServerMessage();

                 if (serverMessage != null && !"".equals(serverMessage)) {

                     Log.v(TAG,"22222222");

                     // 更新通知栏

                     Notification.Builder builder = new Notification.Builder(NotificationService.this);

                     builder.setSmallIcon(R.mipmap.ic_launcher);

                     builder.setTicker("显示第一个通知");

                     builder.setContentTitle("第一个通知");

                     builder.setContentText("Hello World!");

                     builder.setWhen(System.currentTimeMillis()); //发送时间

                     builder.setDefaults(Notification.DEFAULT_ALL);

                     Notification notification = builder.build();

                     messageNotificationManage.notify(123, notification);

                     Log.v(TAG,"33333333");

                 }

             }catch (InterruptedException e) {

                 e.printStackTrace();

             }

         }

     }

     @Override

     public void onDestroy(){

         messageThread.isRunning = false;

         super.onDestroy();

     }

     /**

      * 模拟发送信息

      */

     public String getServerMessage() {

         return "HELLO WORLD!";

     }

 }
最后记得配置下Service:
 <service android:name=".NotificationService">

             <intent-filter>

                 <action android:name="ymw.MY_SERVICE"/>

             </intent-filter>

         </service>
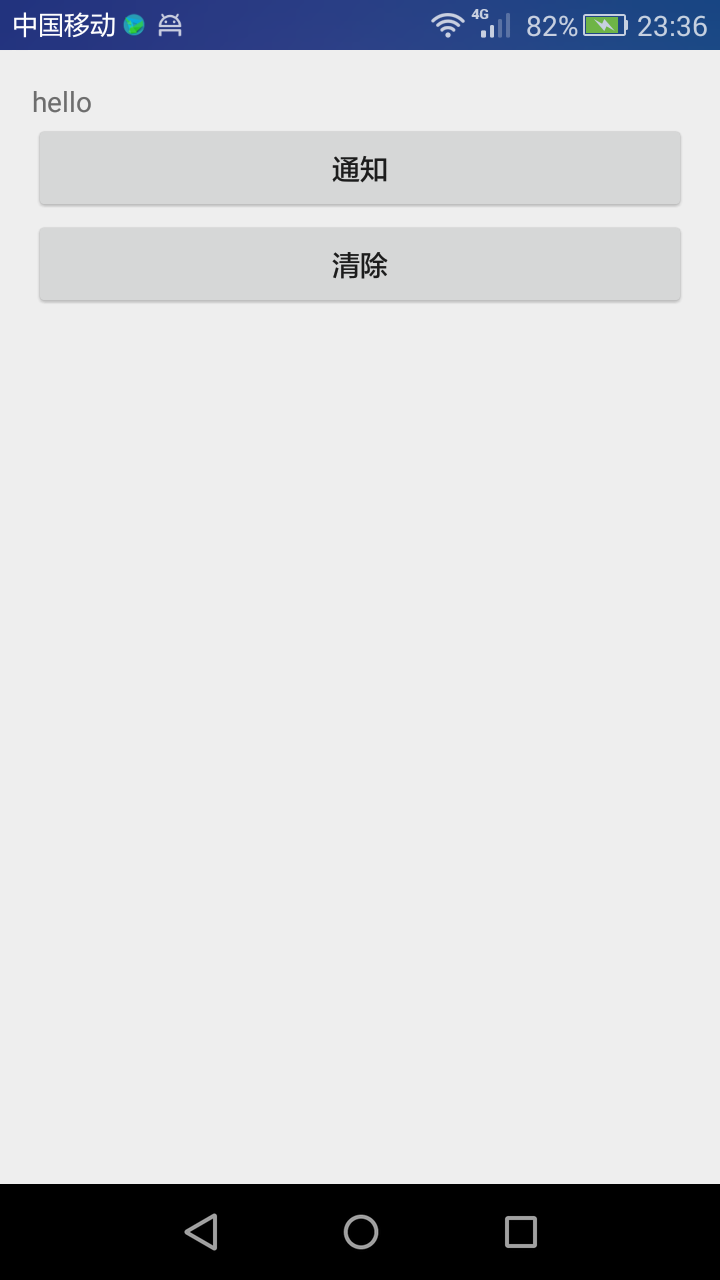
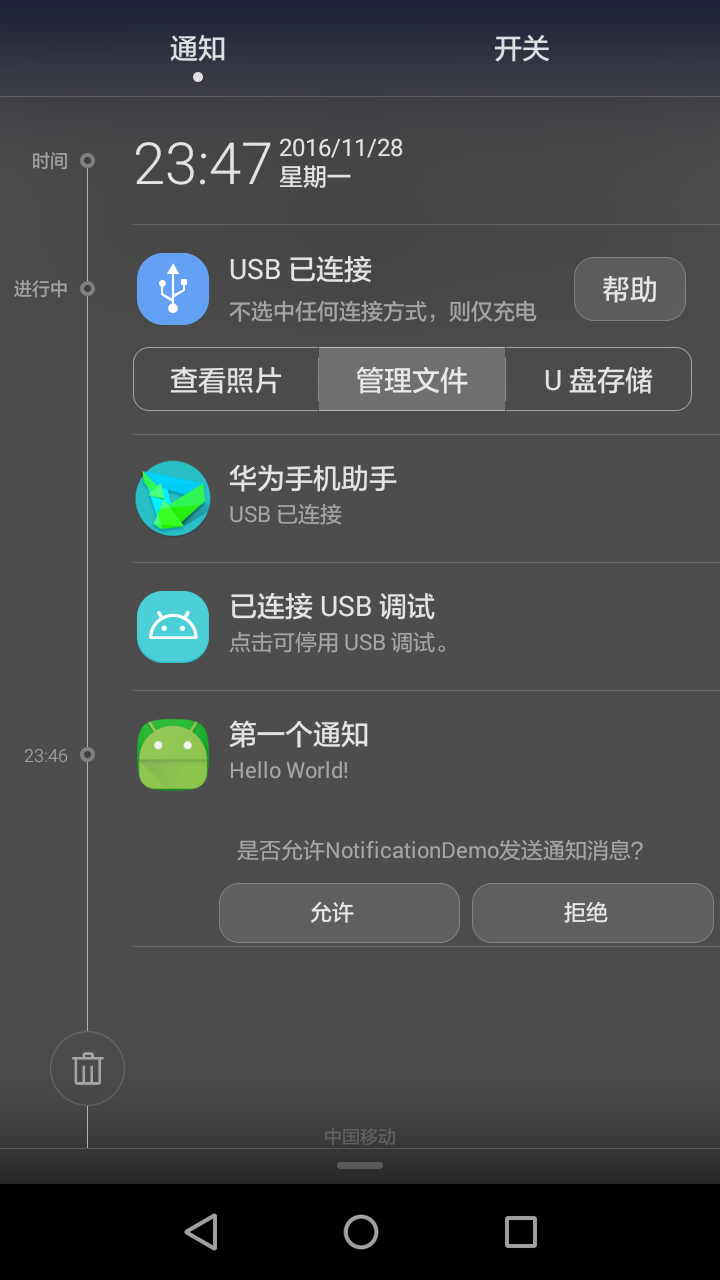
运行效果:

5.Android消息推送机制简单例子的更多相关文章
- Android (Notification)消息推送机制
从网上查询资料学习Android消息推送机制,效果图如下: 1.首先是布局文件代码 activity_main.xml <?xml version="1.0" encodin ...
- Android消息推送完美解决方案全析
推送功能在手机应用开发中越来越重要,已经成为手机开发的必须.在Android应用开发中,由于众所周知的原因,Android消息推送我们不得不大费周折.本文就是用来和大家共同探讨一种Android消息推 ...
- Android消息推送完美方案[转]
转自 Android消息推送完美方案 推送功能在手机应用开发中越来越重要,已经成为手机开发的必须.在Android应用开发中,由于众所周知的原因,Android消息推送我们不得不大费周折.本文就是用来 ...
- Android消息推送完美方案
转自:http://bbs.hiapk.com/thread-4652657-1-1.html 推送功能在手机应用开发中越来越重要,已经成为手机开发的必须.在Android应用开发中,由于众所周知的原 ...
- Android消息推送的服务端
2.Android消息推送 MQTT服务器采用mosquito http://mosquitto.org/ PHP管理包采用phpmqttclient:https://github.com/toku ...
- (转)iOS消息推送机制的实现
原:http://www.cnblogs.com/qq78292959/archive/2012/07/16/2593651.html iOS消息推送机制的实现 iOS消息推送的工作机制可以简单的用下 ...
- APP消息推送机制的实现(PUSH)
出于好奇,想了解一下消息推送机制,在网上搜索到了几篇文章,感觉还不错,粘贴下来,等真正用到的时候再仔细研究 以下两篇是关于ios的 1.http://blog.csdn.net/xyxjn/artic ...
- ios消息推送机制原理与实现
本文转载至 http://hi.baidu.com/yang_qi168/item/480304c542fd246489ad9e91 Push的原理: Push 的工作机制可以简单的概括为下图 图中, ...
- 采用MQTT协议实现android消息推送(2)MQTT服务端与客户端软件对比、android客户端示列表
1.服务端软件对比 https://github.com/mqtt/mqtt.github.io/wiki/servers 名称(点名进官网) 特性 简介 收费 支持的客户端语言 IBM MQ 完整的 ...
随机推荐
- 使用Objective-C 计算代码运行时间
第一种:(最简单的NSDate) NSDate* tmpStartData = [NSDate date]; //You code here... double deltaTime = [[NSDat ...
- 基于物理渲染的渲染器Tiberius计划
既然决定实现一个光栅化软件渲染器,我又萌生了一个念头:实现一个基于物理渲染的渲染器.
- Windows 8.1 低功耗蓝牙开发
1. 概述 在蓝牙4.0发布以前,给大家的直观印象就是蓝牙耳机,它就是用来满足短距离内中等带宽的音频通信需求.然而蓝牙4.0发布之后,用途就大不一样了,特别是现在物联网和可穿戴之风盛行的年代,很多小玩 ...
- C# CompareTo 和 String.Compare
using System; using System.Collections.Generic; using System.Linq; using System.Text; using System.T ...
- AutoMySQLBackup 3.0 Bug:"du: WARNING: use --si, not -H"
案例环境: 操作系统版本: Red Hat Enterprise Linux Server release 5.7 64bit 数据库版本 : 5.6.19 MySQL Community Serve ...
- SQL SERVER 临时表的排序问题
在SQL SERVER 2005/2008中,如果将有序的记录插入临时表,则从临时表查询出来的记录是有序的(不依赖ORDER BY也是有序状态),但是从SQL SERVER 2012开始,即使插入的记 ...
- Centos 安装jdk1.8
我是根据右边链接进行安装的 ,但是第一步不同噢.http://www.cnblogs.com/spiders/archive/2016/09/06/5845727.html 1.下载rpm安装文件. ...
- Android之android:launchMode
(本文转自:http://www.eoeandroid.com/blog-531377-3446.html) (详细查看:http://blog.csdn.net/liuhe688/article/d ...
- ipv4理论知识1-ipv4介绍,ipv4记法,地址段个数算法
定义 在TCP/IP协议中,用于在IP层识别连接到因特网设备的标识符称为因特网地址或IP地址.IPv4地址是一个32位的地址. 地址空间 像IPv4这种定义了地址的协议都有一个地址空间.地址空间就是协 ...
- ANSYS17.0详细安装图文教程
ANSYS 17.0是ANSYS的最新版.下面以图文方式详细描述该软件的安装过程. 1 安装前的准备 安装之前需要做的准备工作: 在硬盘上腾出30G的空间来.(视安装模块的多少,完全安装可能需要二十多 ...