【Java Spring Cloud 实战之路】- 使用Nacos和网关中心的创建
0. 前言
在上一节中,我们创建了一个项目架构,后续的项目都会在那个架构上做补充。
1. Nacos
1.1 简介
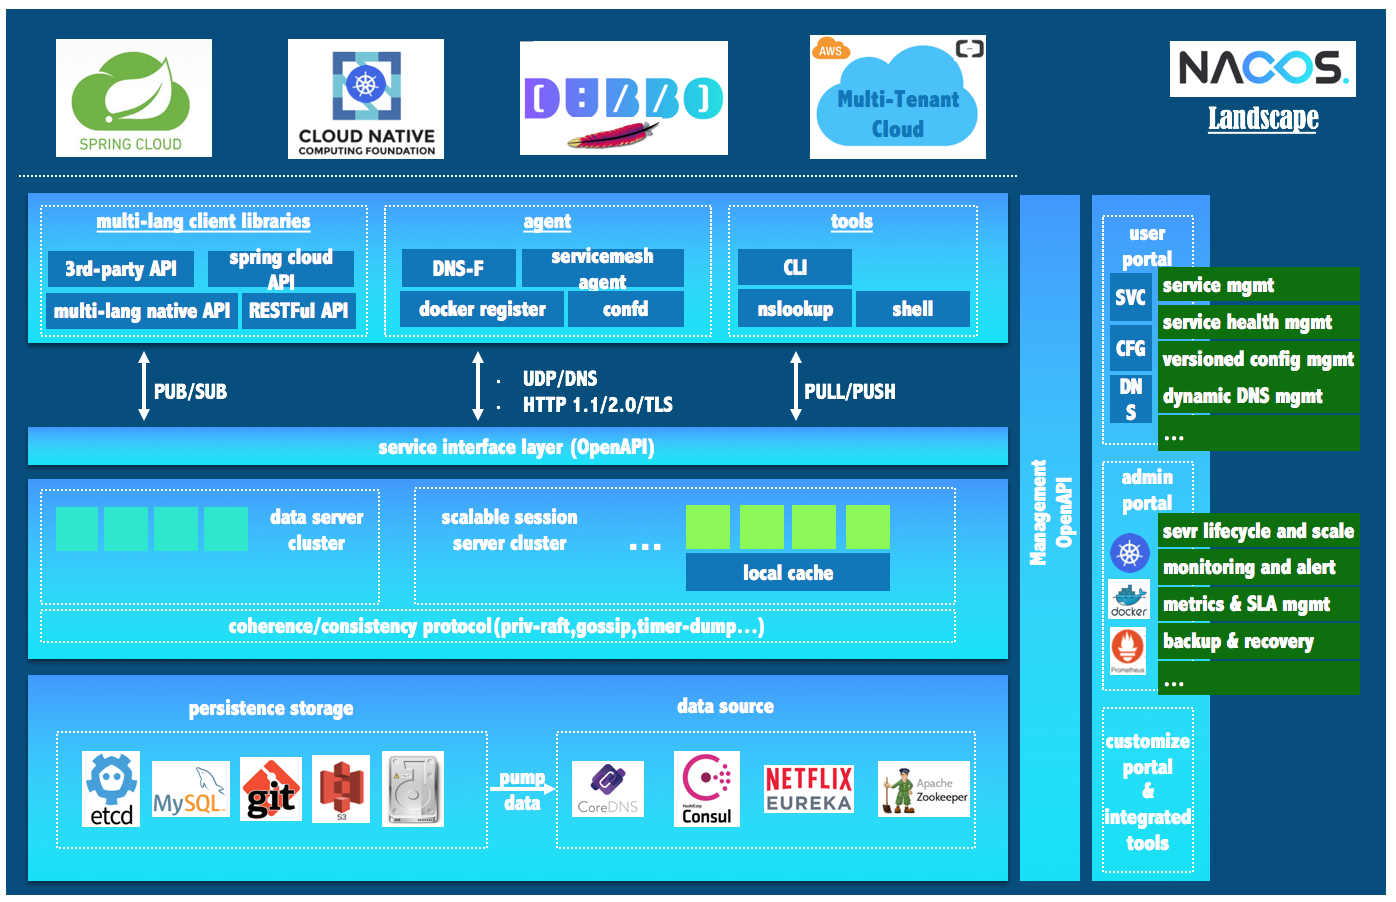
Nacos可以用来发现、配置和管理微服务。提供了一组简单易用的特性集,可以快速实现动态服务发现、服务配置、服务元数据及流量管理。
Nacos用来更敏捷和容易地构建、交付和管理微服务平台。Nacos是构建以”服务“为中心的现代应用构架(例如微服务范式、云原生范式)的服务基础设置。
也就是通常我们所说的配置中心和服务发现中心。
1.2 搭建和启动
Nacos目前版本不支持以Spring boot的形式创建服务,必须以一个Java包的形式单独运行或者以Docker服务的形式运行,我们大概讲解一下本地运行。
下载安装包:
curl https://github.com/alibaba/nacos/releases/download/1.2.1/nacos-server-1.2.1.zip

unzip nacos-server-$version.zip 或者 tar -xvf nacos-server-$version.tar.gz

cd nacos/bin
使用源码安装:
git clone https://github.com/alibaba/nacos.git

cd nacos/

mvn -Prelease-nacos -Dmaven.test.skip=true clean install -U

ls -al distribution/target/

// change the $version to your actual path

cd distribution/target/nacos-server-$version/nacos/bin
启动:
Linux/Unix/Mac
启动命令(standalone代表着单机模式运行,非集群模式):
sh startup.sh -m standalone
如果您使用的是ubuntu系统,或者运行脚本报错提示[[符号找不到,可尝试如下运行:
bash startup.sh -m standalone
Windows
启动命令:
cmd startup.cmd
或者双击startup.cmd运行文件。
2. Spring Cloud Gateway
整个的网关服务,我们采用的Spring Cloud Gateway。在Spring Cloud微服务里,整个系统只对外公开了网关,其他的服务是对外不可见的。所以需要设置一个让我们可以用的网关服务。
在 nature/manager下创建一个gateway目录,并添加pom.xml:
<?xml version="1.0" encoding="UTF-8"?>

<project xmlns="http://maven.apache.org/POM/4.0.0"

         xmlns:xsi="http://www.w3.org/2001/XMLSchema-instance"

         xsi:schemaLocation="http://maven.apache.org/POM/4.0.0 http://maven.apache.org/xsd/maven-4.0.0.xsd">

    <parent>

        <groupId>club.attachie</groupId>

        <artifactId>manager</artifactId>

        <version>${revision}</version>

    </parent>

    <modelVersion>4.0.0</modelVersion>

    <groupId>club.attachie</groupId>

    <artifactId>gateway</artifactId>

    <packaging>jar</packaging>

    <version>${revision}</version>

</project>
在manager下注册该模块:
<modules>

    <module>gateway</module>

</modules>
2.1 添加 Gateway
创建完成项目后,需要添加依赖包:
<!-- https://mvnrepository.com/artifact/org.springframework.cloud/spring-cloud-starter-gateway -->

<dependency>

    <groupId>org.springframework.cloud</groupId>

    <artifactId>spring-cloud-starter-gateway</artifactId>

</dependency>
在gateway项目中,创建如下目录:
├── pom.xml

└── src

    └── main

        ├── java

        │   └── club

        │       └── attachie

        │           └── gateway

        │               └── SpringGatewayApplication.java

        └── resources

            └── bootstrap.yml
创建 SpringGateAppliction.java文件,代码如下:
package club.attachie.gateway;

import org.springframework.boot.SpringApplication;

import org.springframework.boot.autoconfigure.SpringBootApplication;

import org.springframework.cloud.client.discovery.EnableDiscoveryClient;

import org.springframework.cloud.context.config.annotation.RefreshScope;

/**

 * @author attaching

 */

@SpringBootApplication

@EnableDiscoveryClient

@RefreshScope

public class SpringGatewayApplication {

    public static void main(String[] args) {

        SpringApplication.run(SpringGatewayApplication.class, args);

    }

}
在resource目录下创建 bootstrap.yml:
spring:

  application:

    name: gateway
yml 是Spring 的一种配置文件格式,其中名称有application和bootstrap,bootstrap比application先加载。
2.2 添加 nacos
先在 nature/pom.xml 添加 nacos 版本号:
<nacos.version>2.2.1.RELEASE</nacos.version>
然后在dependencyManagement > dependencies 下添加 nacos相关依赖管理:
<dependency>

    <groupId>com.alibaba.cloud</groupId>

    <artifactId>spring-cloud-starter-alibaba-nacos-discovery</artifactId>

    <version>${nacos.version}</version>

</dependency>

<dependency>

    <groupId>com.alibaba.cloud</groupId>

    <artifactId>spring-cloud-alibaba-starters</artifactId>

    <version>${nacos.version}</version>

</dependency>
在Gateway项目中pom.xml 添加:
<dependency>

    <groupId>com.alibaba.cloud</groupId>

    <artifactId>spring-cloud-starter-alibaba-nacos-discovery</artifactId>

</dependency>

<dependency>

    <groupId>com.alibaba.cloud</groupId>

    <artifactId>spring-cloud-starter-alibaba-nacos-discovery</artifactId>

</dependency>
然后回过头来,在bootstrap里设置:
spring:

  application:

    name: gateway

  cloud:

    nacos:

      config:

        server-addr: 127.0.0.1:8848
3 总结
nacos的配置和Gateway应用的介绍就到这里为止了,因为个人并未对相关技术进行过多深入的研究,所以目前只能做到这些。后续研究深入了,会在这个系列中补齐的。
更多内容烦请关注我的博客《高先生小屋》

【Java Spring Cloud 实战之路】- 使用Nacos和网关中心的创建的更多相关文章
- 【Java Spring Cloud 实战之路】添加一个SpringBootAdmin监控
0. 前言 在之前的几章中,我们先搭建了一个项目骨架,又搭建了一个使用nacos的gateway网关项目,网关项目中并没有配置太多的东西.现在我们就接着搭建在Spring Cloud 微服务中另一个重 ...
- Java Spring Cloud 实战之路 - 1 创建项目
0. 前言 该项目使用Maven进行管理和构建,所以需要预先配置好Maven.嗯,在这个系列里就不做过多的介绍了. 1. 创建项目 先创建一个pom.xml 文件,添加以下内容: <?xml v ...
- Spring Cloud实战 | 最终篇:Spring Cloud Gateway+Spring Security OAuth2集成统一认证授权平台下实现注销使JWT失效方案
一. 前言 在上一篇文章介绍 youlai-mall 项目中,通过整合Spring Cloud Gateway.Spring Security OAuth2.JWT等技术实现了微服务下统一认证授权平台 ...
- [Spring Cloud实战 | 第六篇:Spring Cloud Gateway+Spring Security OAuth2+JWT实现微服务统一认证授权
一. 前言 本篇实战案例基于 youlai-mall 项目.项目使用的是当前主流和最新版本的技术和解决方案,自己不会太多华丽的言辞去描述,只希望能勾起大家对编程的一点喜欢.所以有兴趣的朋友可以进入 g ...
- 5w 字 | 172 图 | 超级赛亚级 Spring Cloud 实战
一.PassJava 项目简介 PassJava-Learning 项目是 PassJava(佳必过)项目的学习教程.对架构.业务.技术要点进行讲解. PassJava 是一款 Java 面试刷题 的 ...
- Spring Cloud实战: 基于Spring Cloud Gateway + vue-element-admin 实现的RBAC权限管理系统,实现网关对RESTful接口方法权限和自定义Vue指令对按钮权限的细粒度控制
一. 前言 信我的哈,明天过年. 这应该是农历年前的关于开源项目 的最后一篇文章了. 有来商城 是基于 Spring Cloud OAuth2 + Spring Cloud Gateway + JWT ...
- Spring Cloud实战 | 第十一篇:Spring Cloud Gateway 网关实现对RESTful接口权限控制和按钮权限控制
一. 前言 hi,大家好,这应该是农历年前的关于开源项目 的最后一篇文章了. 有来商城 是基于 Spring Cloud OAuth2 + Spring Cloud Gateway + JWT实现的统 ...
- Spring Cloud Alibaba基础教程:Nacos的集群部署
继续说说生产环境的Nacos搭建,通过上一篇<Spring Cloud Alibaba基础教程:Nacos的数据持久化>的介绍,我们已经知道Nacos对配置信息的存储原理,在集群搭建的时候 ...
- Spring Cloud Alibaba基础教程:Nacos配置的多文件加载与共享配置
前情回顾: <Spring Cloud Alibaba基础教程:使用Nacos实现服务注册与发现> <Spring Cloud Alibaba基础教程:支持的几种服务消费方式> ...
随机推荐
- 新书《OpenShift云原生架构:原理与实践》第一章第三节:企业级PaaS平台OpenShift
近十年来,信息技术领域在经历一场技术大变革,这场变革正将我们由传统IT架构及其所支撑的臃肿应用系统时代,迁移至云原生架构及其所支撑的敏捷应用系统时代.在这场变革中,新技术的出现.更新和淘汰之迅速,以及 ...
- css3的 calc属性无效问题解决
css3的 calc:计算属性. 运算符两边需要加空格,才有效. 错误示例:.mystyle{width:calc(100%-25px)}这样是不生效的 运算符"+ - * /"左 ...
- 设计者模式之GOF23命令模式
命令模式Command 将一个请求封装为一个对象,从而使我们可用不同的请求对客户参数化:对请求排队或者记录请求日志,以及支持可撤销的操作.也称之为:动作Action模式,事务transaction模式 ...
- 在一段字符串中的指定位置插入html标签,实现内容修改留痕
客户需求:实现内容修改留痕,并且鼠标移动到元素时,显示修改人和修改时间. (其实呢本人觉得这个如果是静态的页面,或者是后端拼接好的html,都很好实现,如果让前端动态实现就......) 前端实现的方 ...
- Python 简明教程 --- 2,第一个Python 程序
微信公众号:码农充电站pro 个人主页:https://codeshellme.github.io 如果你发现特殊情况太多,那你肯定是用错方法了. -- Carig Zerouni 当你在自己的电脑上 ...
- springData表关系:一对一
一.编写两个实体类 1.一对一关系实现:a:使用外键关联 b:使用主键关联,两个表的主键相同 2.外键方案:配置关联关系:两个实体类互相关联,并且在关联的属性上添加一个@OneToOne代表一个对一个 ...
- 读懂操作系统(x86)之堆栈帧(过程调用)
前言 为进行基础回炉,接下来一段时间我将持续更新汇编和操作系统相关知识,希望通过屏蔽底层细节能让大家明白每节所阐述内容.当我们写下如下C代码时背后究竟发生了什么呢? #include <stdi ...
- 「雕爷学编程」Arduino动手做(28)——RGB全彩LED模块
37款传感器与模块的提法,在网络上广泛流传,其实Arduino能够兼容的传感器模块肯定是不止37种的.鉴于本人手头积累了一些传感器和模块,依照实践出真知(一定要动手做)的理念,以学习和交流为目的,这里 ...
- css3弹性布局
二.弹性布局(重点******************************************) 1.什么是弹性布局 弹性布局,是一种布局方式. 主要解决的是某个元素中子元素的布局方式 让页面 ...
- Educational Codeforces Round 56 (Rated for Div. 2) F. Vasya and Array
题意:长度为n的数组,数组中的每个元素的取值在1-k的范围内或者是-1,-1代表这个元素要自己选择一个1-k的数字去填写,然后要求填完的数组中不能出现连续长度大于len的情况,询问填空的方案数. 题解 ...