python3迷宫,多线程版
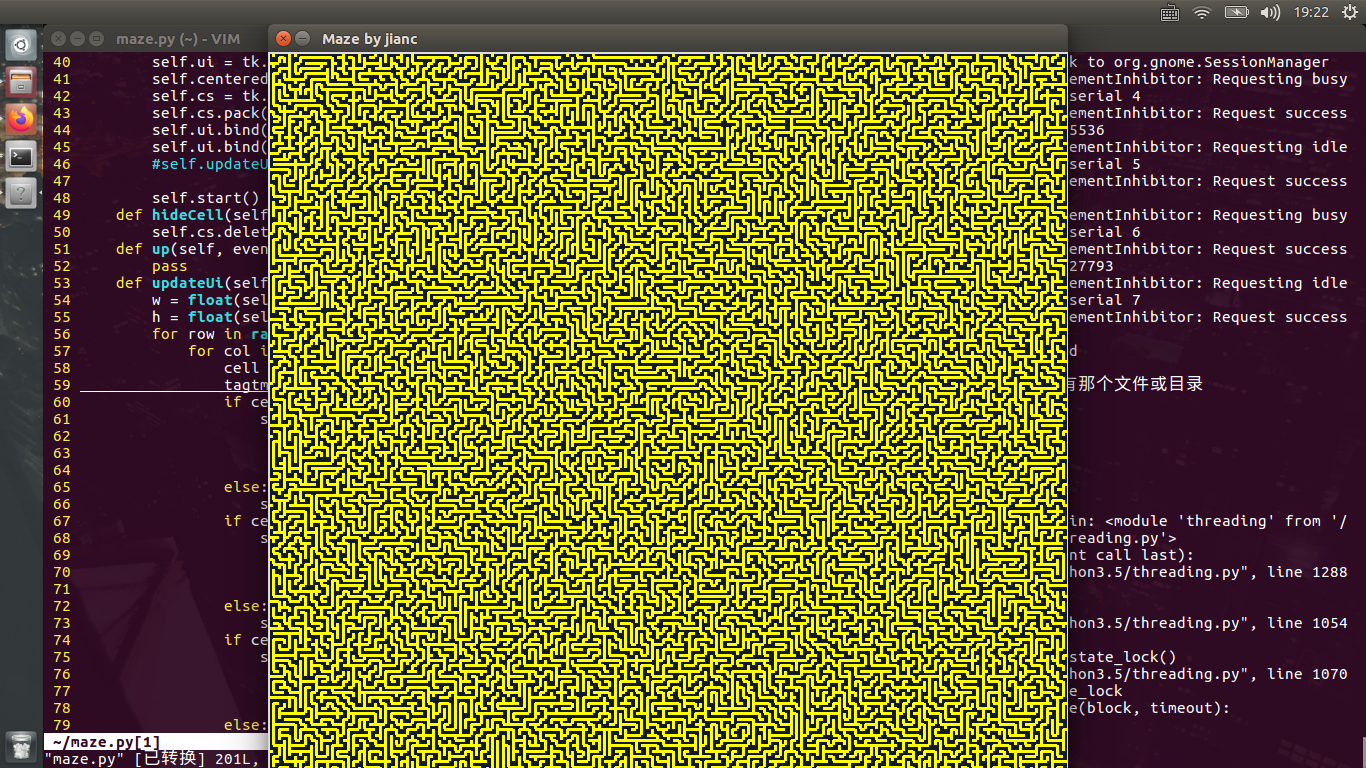
上图:
直接上代码
 #!/usr/bin/python3

 #coding=GB2312

 import tkinter as tk

 import threading

 import time

 import random

 import sys

 class Cell():

     def __init__(self, row, col):

         self.row, self.col = row, col

         self.top, self.right, self.bottom, self.left = True, True, True, True

         self.visited = False

     def __str__(self):

         return 'row:{} col:{}--{} {} {} {}'.format( \

                 self.row, self.col, self.top, self.right, \

                 self.bottom, self.left)

     def setVisited(self):

         self.visited = True

     def isVisited(self):

         return self.visited

 class Maze(threading.Thread):

     colCount = 50

     rowCount = 50

     winWidth = 700

     winHeight = 700

     beginOf = (0, 0)

     endOf = (colCount - 1, rowCount - 1)

     def __init__(self):

         threading.Thread.__init__(self)

         self.initData()

         self.initUi()

     """

         以下是ui界面方法

     """

     def initUi(self):

         self.ui = tk.Tk()

         self.centeredDisplay()

         self.cs = tk.Canvas(self.ui, bg = '#121a2a')

         self.cs.pack(fill = tk.BOTH, expand = 1)

         self.ui.bind('<Key-h>', self.hideCell)

         self.ui.bind('<Key-Up>', self.up)

         #self.updateUi()

         self.start()

     def hideCell(self, event):

         self.cs.delete('currend')

     def up(self, event):

         pass

     def updateUi(self):

         w = float(self.winWidth / self.colCount)

         h = float(self.winHeight / self.rowCount)

         for row in range(self.rowCount):

             for col in range(self.colCount):

                 cell = self.cells[row][col]

                 tagtmp = 'wall%02d%02d' % (row, col)

                 if cell.top:

                     self.cs.create_line(\

                             (w * col, h * row), \

                             (w * (col + 1), h * row), \

                             width = 3, fill = 'yellow', tag = 'top' + tagtmp)

                 else:

                     self.cs.delete('top' + tagtmp)

                 if cell.right:

                     self.cs.create_line(\

                             (w * (col + 1), h * row), \

                             (w * (col + 1), h * (row + 1)), \

                             width = 3, fill = 'yellow', tag = 'right' + tagtmp)

                 else:

                     self.cs.delete('right' + tagtmp)

                 if cell.bottom:

                     self.cs.create_line(\

                             (w * (col + 1), h * (row + 1)), \

                             (w * col, h * (row + 1)), \

                             width = 3, fill = 'yellow', tag = 'bottom' + tagtmp)

                 else:

                     self.cs.delete('bottom' + tagtmp)

                 if cell.left:

                     self.cs.create_line(\

                             (w * col, h * (row + 1), \

                             (w * col, h * row)), \

                             width = 3, fill = 'yellow', tag = 'left' + tagtmp)

                 else:

                     self.cs.delete('left' + tagtmp)

         self.cs.create_rectangle((self.beginOf[0] * w + 3, self.beginOf[1] * h + 3), \

                 (self.beginOf[0] + 1) * w - 3, (self.beginOf[1] + 1) * h - 3, \

                 fill = '#b4532a', tag = 'begin')

         self.cs.create_rectangle((self.endOf[0] * w + 3, self.endOf[1] * h + 3), \

                 (self.endOf[0] + 1) * w - 3, (self.endOf[1] + 1) * h - 3, \

                 fill = '#ff0000', tag = 'end')

         self.cs.delete('currend')

         self.cs.create_rectangle((self.currentCell.col * w + 10, self.currentCell.row * h + 10), \

                 (self.currentCell.col + 1) * w - 10, (self.currentCell.row + 1) * h - 10, \

                 fill = '#00ff00', tag = 'currend')

         self.cs.update()

     def centeredDisplay(self):

         w = self.ui.winfo_screenwidth()

         h = self.ui.winfo_screenheight()

         self.ui.geometry('{}x{}+{}+{}'.format(\

                 self.winWidth, self.winHeight, \

                 int((w - self.winWidth)/2), \

                 int((h - self.winHeight)/2)))

         self.ui.resizable(False, False)

         self.ui.title('Maze by jianc')

     """

         以是ui界面方法

         以下是逻辑线程方法

     """

     def initData(self):

         self.cells = [[Cell(row, col) for col in range(self.colCount)] \

                 for row in range(self.rowCount)]

         self.cellStack = []

         self.currentCell = self.cells[self.beginOf[0]][self.beginOf[1]]

     def delWall(self, cell, cell2):

         if 1 == cell.row - cell2.row:

             cell.top, cell2.bottom = False, False

         elif -1 == cell.row - cell2.row:

             cell.bottom, cell2.top = False, False

         if 1 == cell.col - cell2.col:

             cell.left, cell2.right = False, False

         elif -1 == cell.col - cell2.col:

             cell.right, cell2.left = False, False

     def topCell(self, cell):

         if 0 == cell.row:

             return None

         ret = self.cells[cell.row - 1][cell.col]

         if ret.isVisited():

             return None

         return ret

     def rightCell(self, cell):

         if self.colCount - 1 == cell.col:

             return None

         ret = self.cells[cell.row][cell.col + 1]

         if ret.isVisited():

             return None

         return ret

     def bottomCell(self, cell):

         if self.rowCount - 1 == cell.row:

             return None

         ret = self.cells[cell.row + 1][cell.col]

         if ret.isVisited():

             return None

         return ret

     def leftCell(self, cell):

         if 0 == cell.col:

             return None

         ret = self.cells[cell.row][cell.col - 1]

         if ret.isVisited():

             return None

         return ret

     def checkNeighbor(self):

         curCell = self.currentCell

         curCell.setVisited()

         neighbor = [self.topCell(curCell), self.rightCell(curCell), \

                 self.bottomCell(curCell), self.leftCell(curCell)]

         while None in neighbor:

             neighbor.remove(None)

         n = len(neighbor)

         if 0 == n:

             try:

                 self.currentCell = self.cellStack.pop()

                 if None == curCell:

                     return

                 #self.updateUi()

                 self.checkNeighbor()

                 return

             except:

                 return

         self.cellStack.append(self.currentCell)

         self.currentCell = neighbor[random.randint(0, n - 1)]

         self.delWall(curCell, self.currentCell)

         #self.updateUi()

         self.checkNeighbor()

     def run(self):

         self.checkNeighbor()

         self.updateUi()

         print('thread finish')

     """

         以上是逻辑线程方法

     """

 sys.setrecursionlimit(100000)

 maze = Maze()

 tk.mainloop()
python3迷宫,多线程版的更多相关文章
- python网络聊天器多线程版
在之前的一篇文章(python网络编程-udp)中实现了一个简单的udp聊天器,只能在单线程下进行收发数据,在学习完多线程之后,实现一个能同时收发数据的udp聊天器. 说明: 编写一个有2个线程的程序 ...
- 【pyhon】nvshens按目录图片批量下载爬虫1.00(多线程版)
# nvshens按目录图片批量下载爬虫1.00(多线程版) from bs4 import BeautifulSoup import requests import datetime import ...
- Python3.11正式版,它来了!
转载请注明出处️ 作者:测试蔡坨坨 原文链接:caituotuo.top/b055fbf2.html 你好,我是测试蔡坨坨. 就在前几天,2022年10月24日,Python3.11正式版发布了! P ...
- Python3之多线程学习
这里做一个自己复习多线程的笔记 Python中使用线程有两种方式:函数或者用类来包装线程对象. 函数式:调用 _thread 模块中的start_new_thread()函数来产生新线程.语法如下: ...
- Python3.4 多线程
线程安全和全局解释器锁 Thread State and the Global Interpreter Lock 总结: 通过使用GIL后, Python多线程安全, 并且数据保持同步. Python ...
- 【Python3之多线程】
一.threading模块 multiprocess模块的完全模仿了threading模块的接口,二者在使用层面,有很大的相似性. 1.开启线程的两种方式(同Process) 方法一 from thr ...
- 【爬虫小程序:爬取斗鱼所有房间信息】Xpath(多线程版)
# 本程序亲测有效,用于理解爬虫相关的基础知识,不足之处希望大家批评指正 from queue import Queue import requests from lxml import etree ...
- Python3用多线程替代for循环提升程序运行速度
[本文出自天外归云的博客园] 优化前后新老代码如下: from git_tools.git_tool import get_collect_projects, QQNews_Git from thre ...
- python3.4多线程实现同步的四种方式
临界资源即那些一次只能被一个线程访问的资源,典型例子就是打印机,它一次只能被一个程序用来执行打印功能,因为不能多个线程同时操作,而访问这部分资源的代码通常称之为临界区. 1. 锁机制 threadin ...
随机推荐
- kaggle-制作评分卡
https://blog.csdn.net/zpxcod007/article/details/80118580 制作A卡,申请评分卡 数据集:15万个样本,特征 主要预处理手段:缺失值,异常值,样本 ...
- 用select实际非阻塞I/O
非阻塞read/write 函数返回0表示可读或可写, -1表示select失败或超时 select返回0表示超时,-1表示读取失败,1表示可读或可写 int read_timeout(int fd, ...
- urllib爬取实例
#汉字转码.多个参数拼接 from urllib import request base_url = "http://www.baidu.com/s?" content = inp ...
- MFC坐标问题
页面空间中的矩形被称为窗口,设备空间中的矩形被称为视口. 页面空间与设备空间的转换示意图: 页面空间到设备空间的转换需要两个矩形的宽高比(转换因子). 设备空间到物理空间转换的唯一作用是平移,并由Wi ...
- Cocos2d 之FlyBird开发---GamePlay类
| 版权声明:本文为博主原创文章,未经博主允许不得转载. 这个是游戏的核心部分:(FlyBird游戏重中之重) 创建一个物理世界(世界设置重力加速度) 在物理世界中添加一个动态的刚体(小鸟) 在物 ...
- [LeetCode] 181.超过经理收入的员工
Employee表包含所有员工,他们的经理也属于员工.每个员工都有一个 Id,此外还有一列对应员工的经理的 Id. +----+-------+--------+-----------+ | Id | ...
- python基础----以面向对象的思想编写游戏技能系统
1. 许多程序员对面向对象的思想都很了解,并且也能说得头头是道,但是在工作运用中却用的并不顺手. 当然,我也是其中之一. 不过最近我听了我们老师的讲课,对于面向对象的思想有了更深的理解,今天决定用一个 ...
- java虚拟机规范(se8)——class文件格式(二)
4.4 常量池 java虚拟机指令并不依赖类.接口.类实例或者数组的运行时布局.相反,指令依靠常量池中的符号信息. 所有的常量池条目都有如下的通用结构: cp_info { u1 tag; u1 in ...
- matploylib之热力图
刚学我也不熟,做个笔记吧 # coding:utf-8 import numpy as np import matplotlib.pyplot as plt dx = 0.01 dy = 0.01 # ...
- queue队列消费者生产者测试
from multiprocessing import JoinableQueue from threading import Thread def worker(q): while True: tr ...