Asp.Net MVC 5使用Identity之简单的注册和登陆
由于.Net MVC 5登陆和注册方式有很多种,但是Identity方式去实现或许会更简单更容易理解
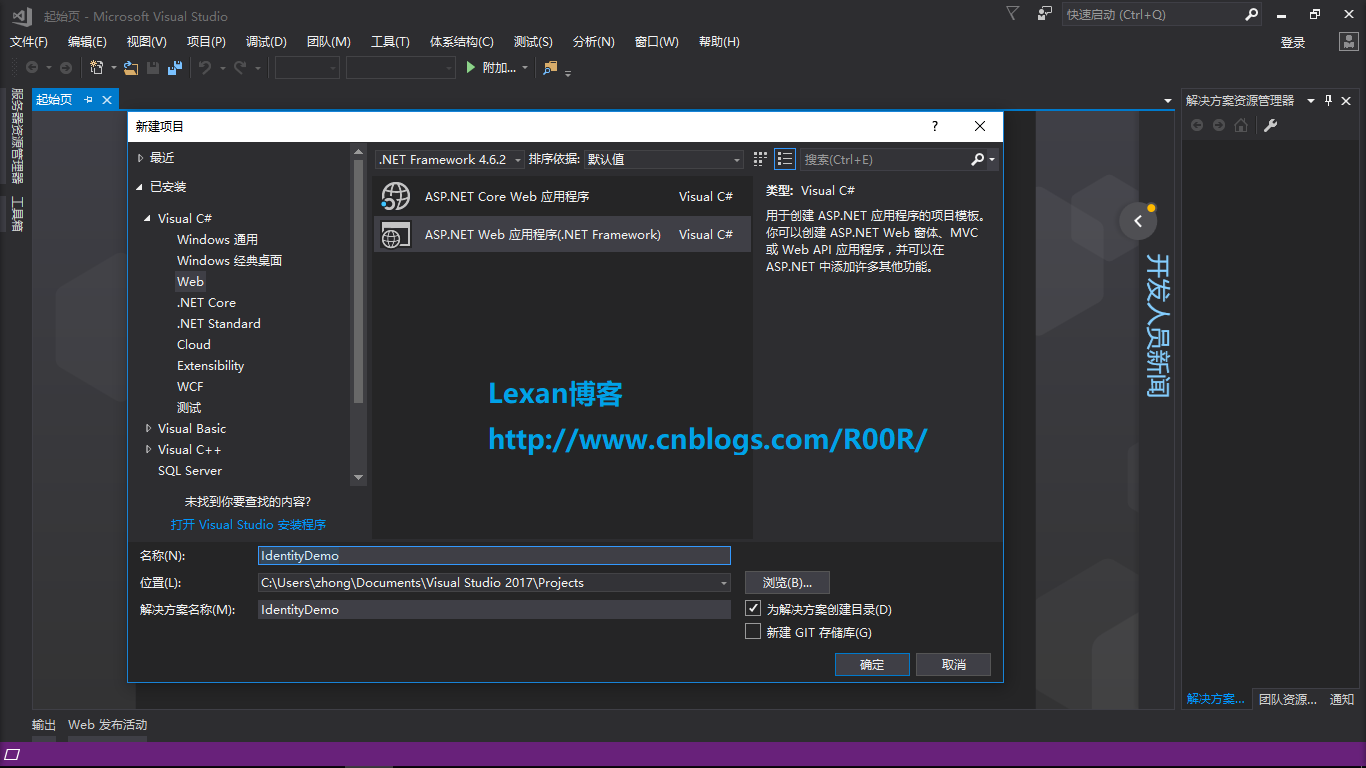
首先新建一个项目
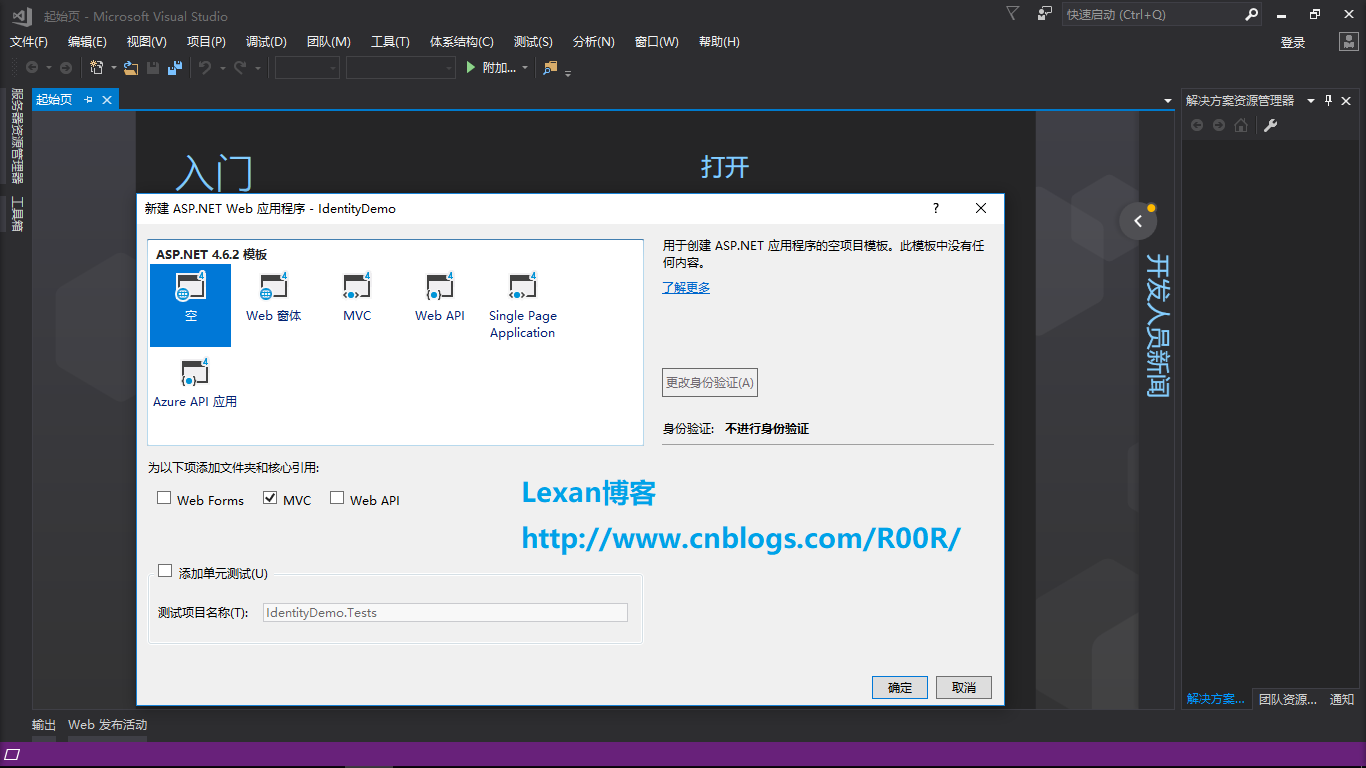
其次如下选择Empty和MVC的选项
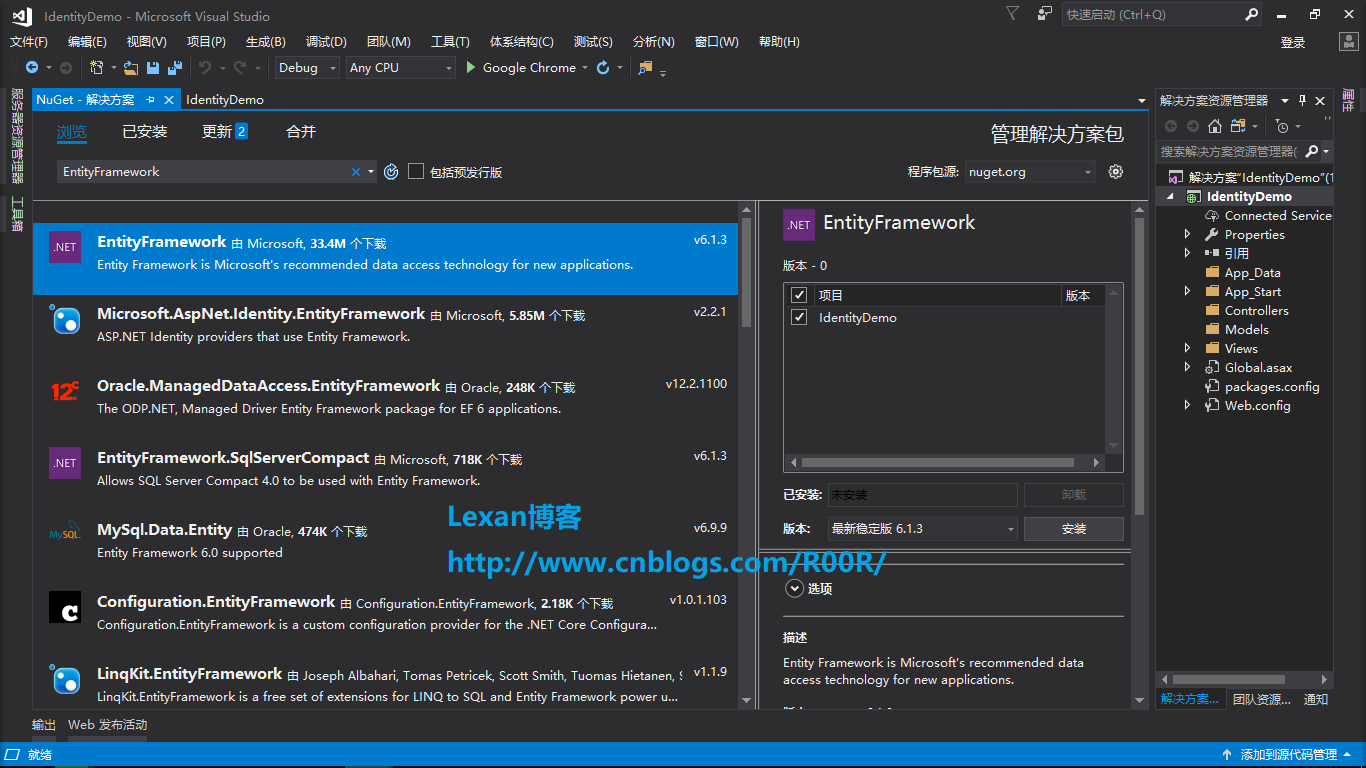
然后打开NuGet包管理器分别安装几个包
- EntityFramework
- Microsoft.AspNet.Identity.Core
- Microsoft.AspNet.Identity.EntityFramework
- Microsoft.AspNet.Identity.Owin
- Modernizr
- Microsoft.Owin.Host.SystemWeb
- Bootstrap
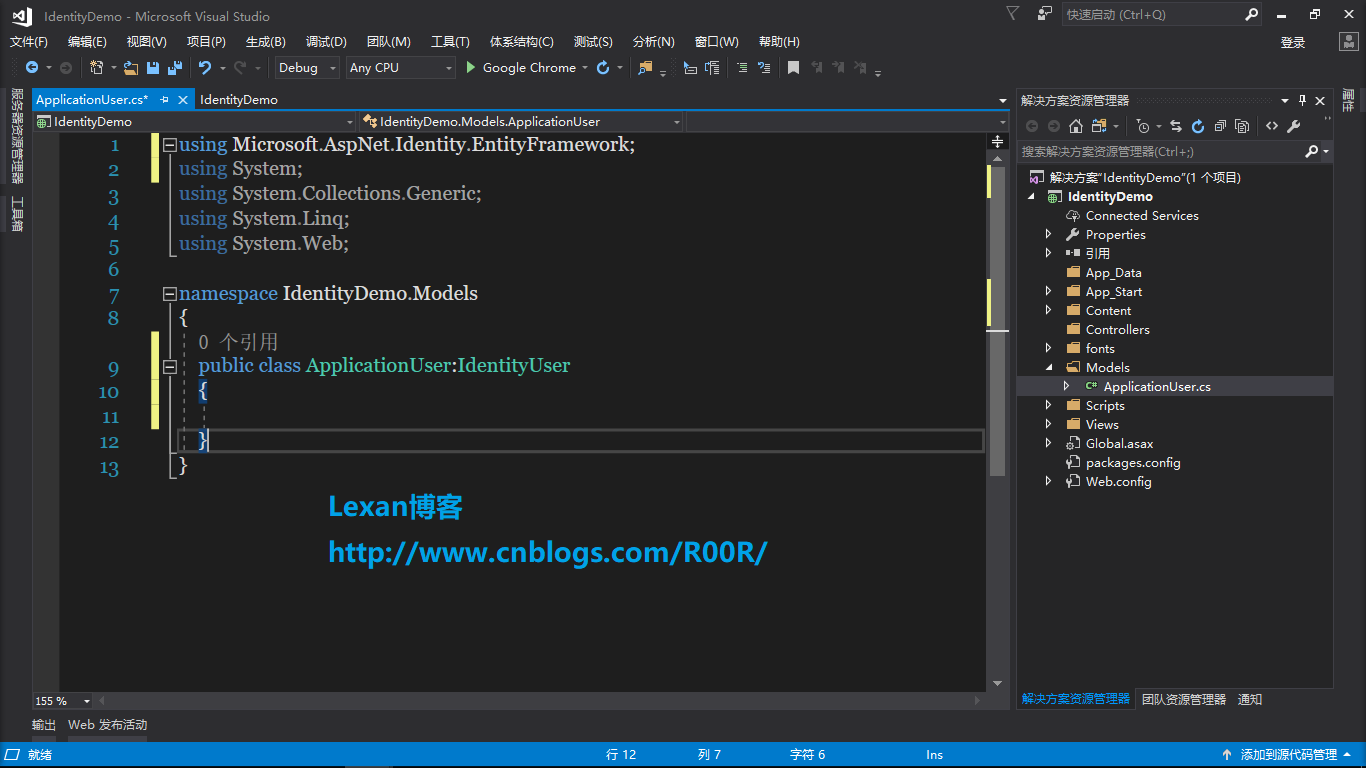
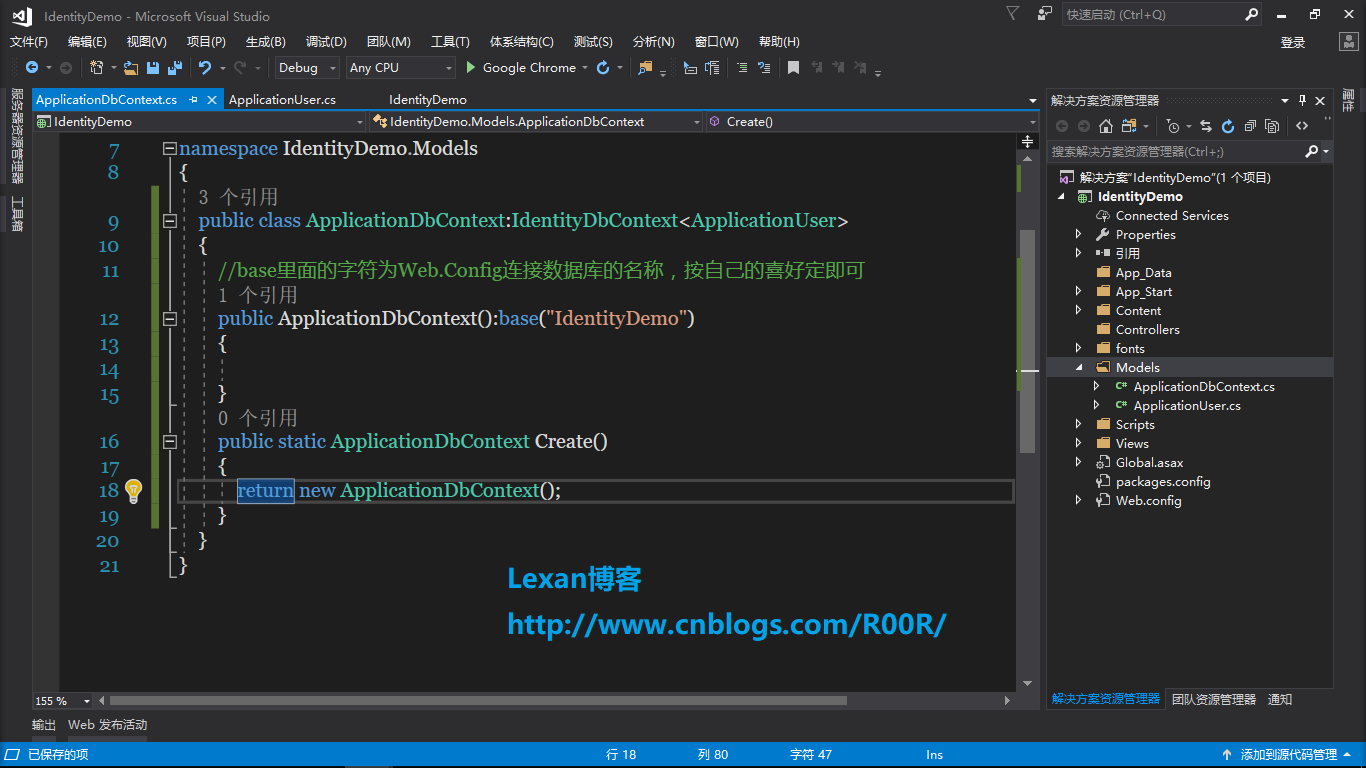
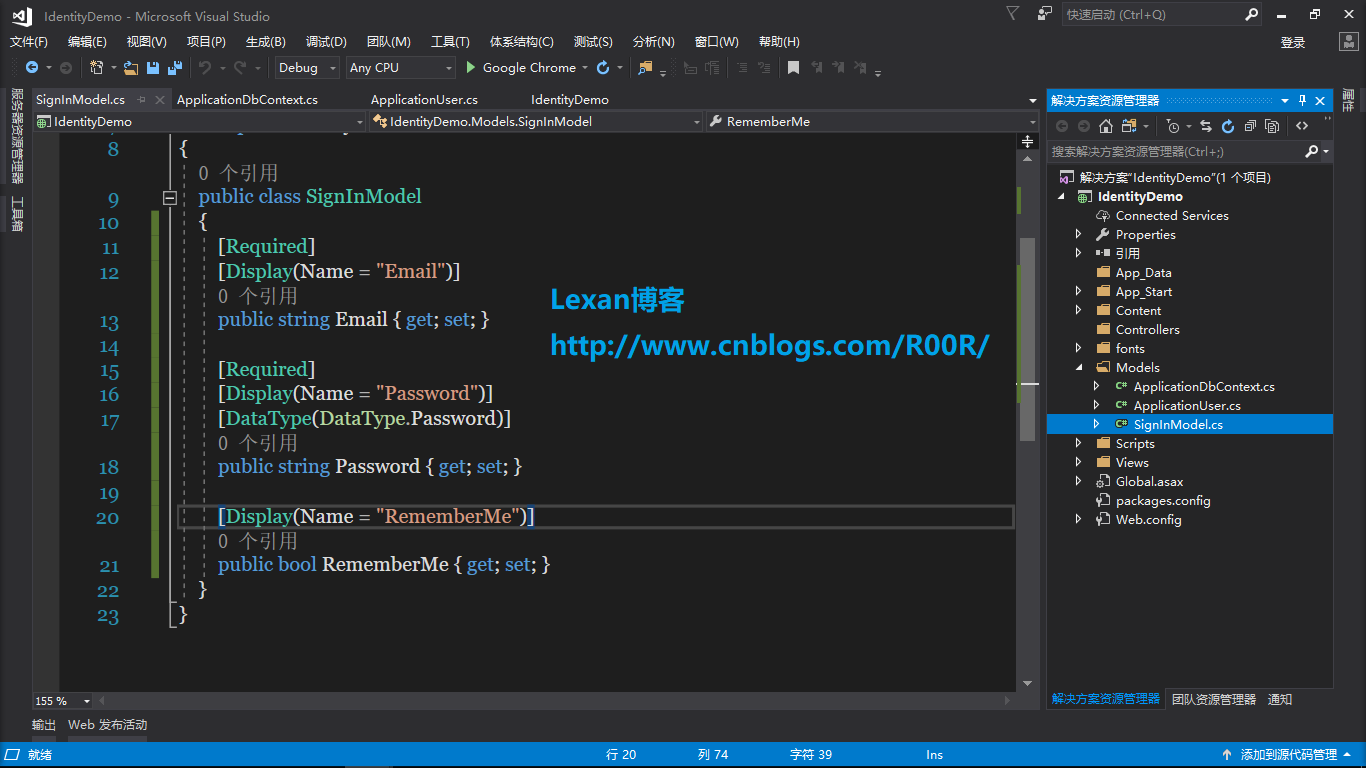
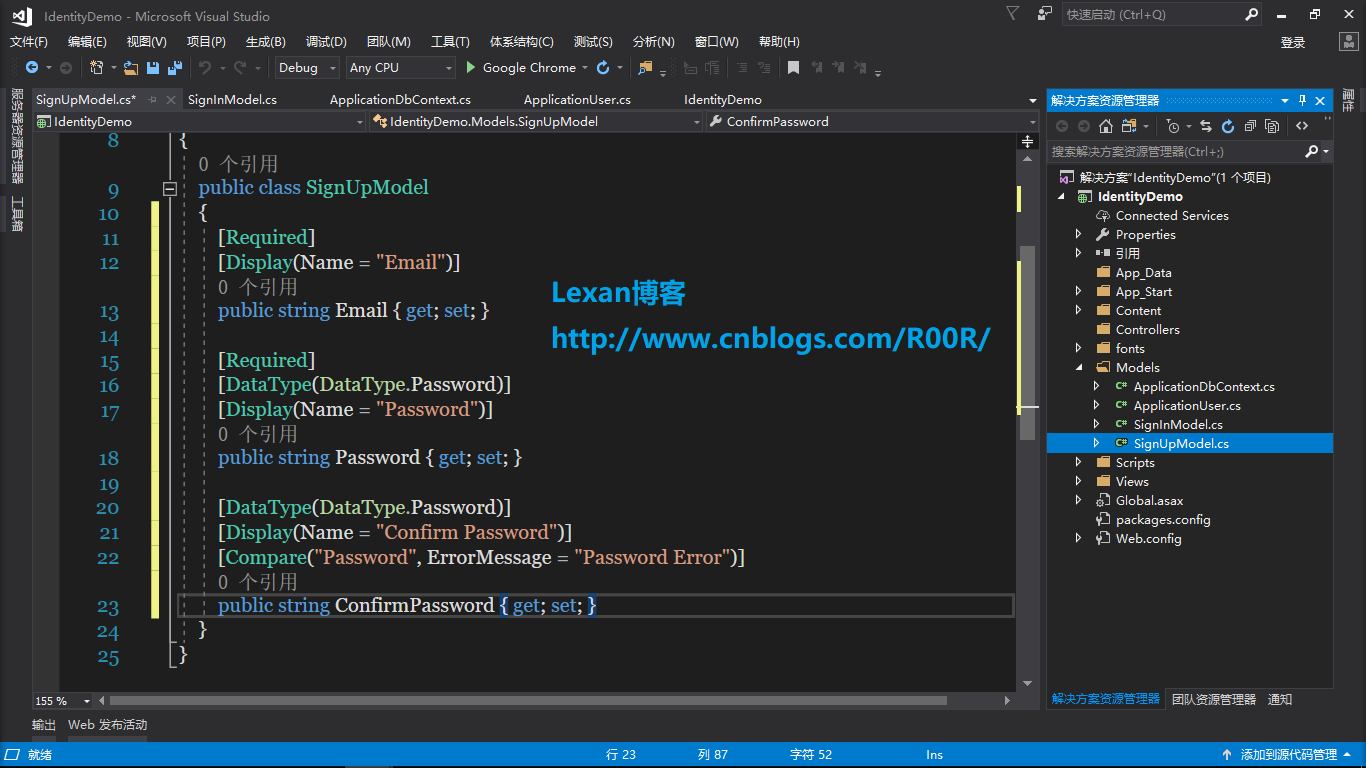
然后往Models文件夹里面添加ApplicationUser类,SignInModel类,SignUpModel类,ApplicationDbContext类,当然ApplicationDbContext类你也可以分到DbContext到另一个类库,我这是做演示用的,分层不用么这么明确
----------------------------------------------------------------------
ApplicationUser类
ApplicationDbContext类
SignInModel类
SignUpModel类
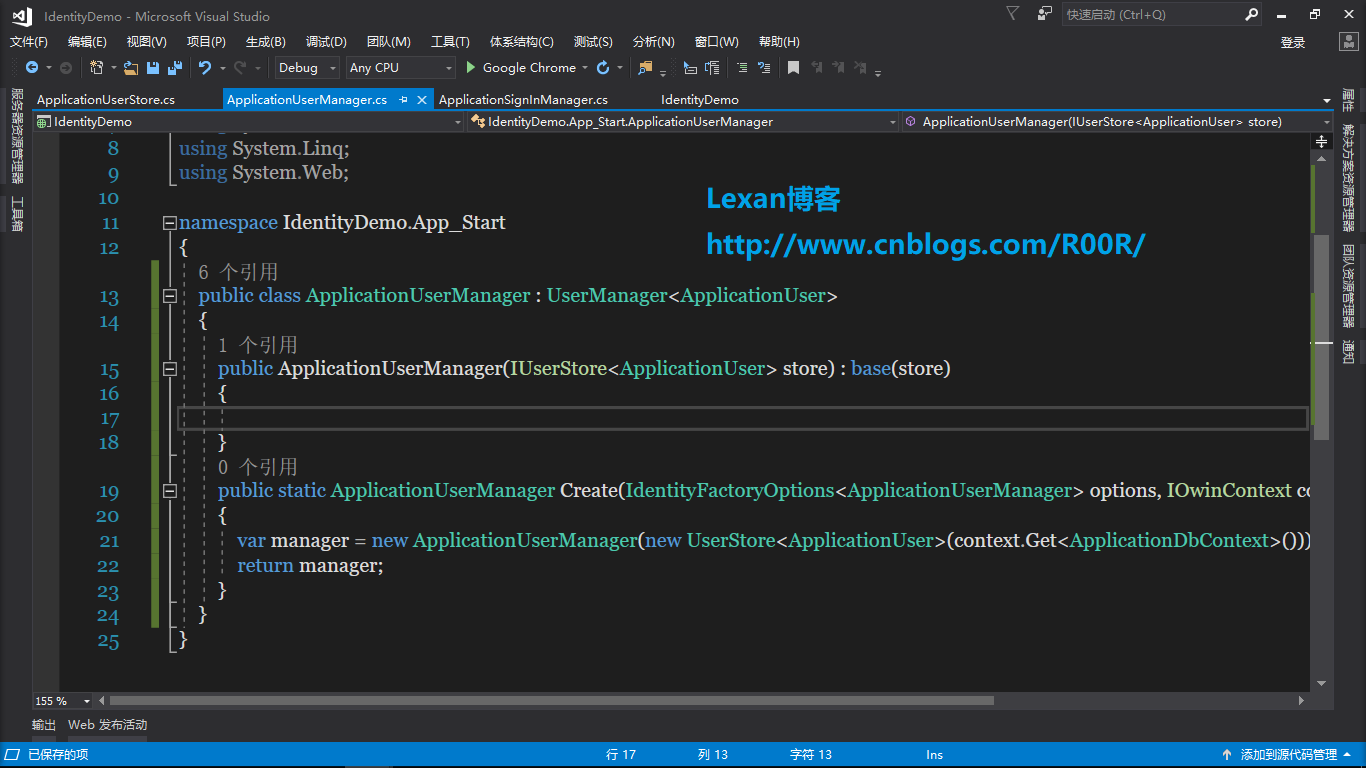
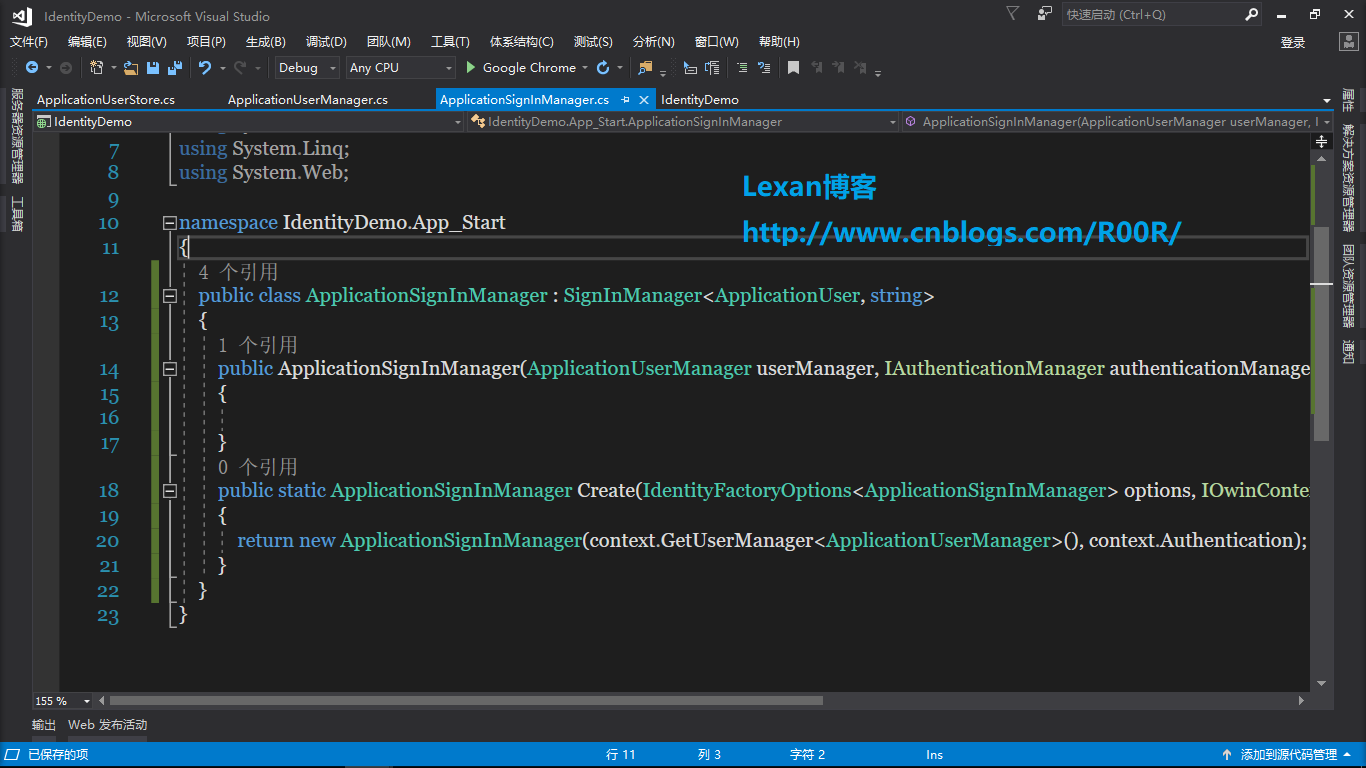
然后往App_Start文件夹里面添加ApplicationSignInManager类,ApplicationUserManager类,ApplicationUserStore类
---------------------------------------------------------------------
ApplicationUserManager类
ApplicationSignInManager类
ApplicationUserStore类

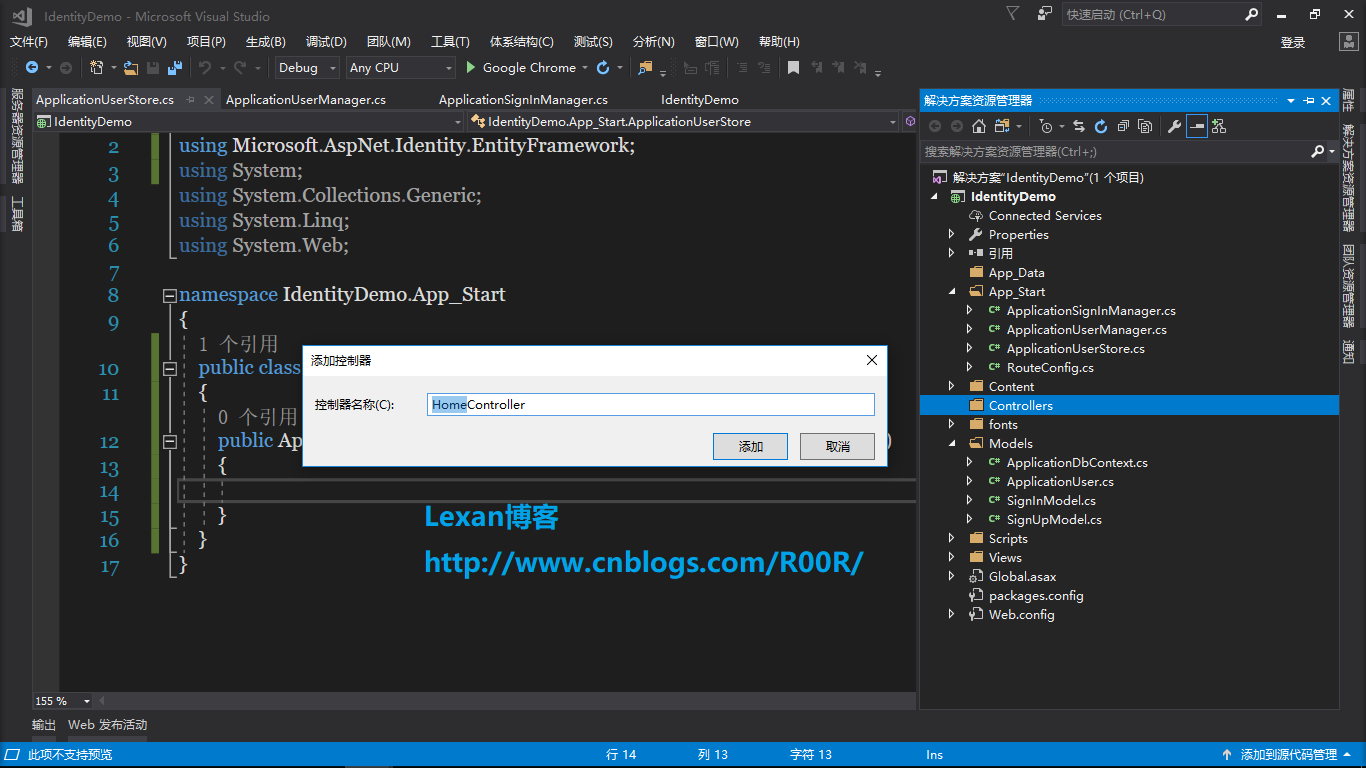
然后往Controller文件夹里面添加HomeController控制器,AccountController控制器
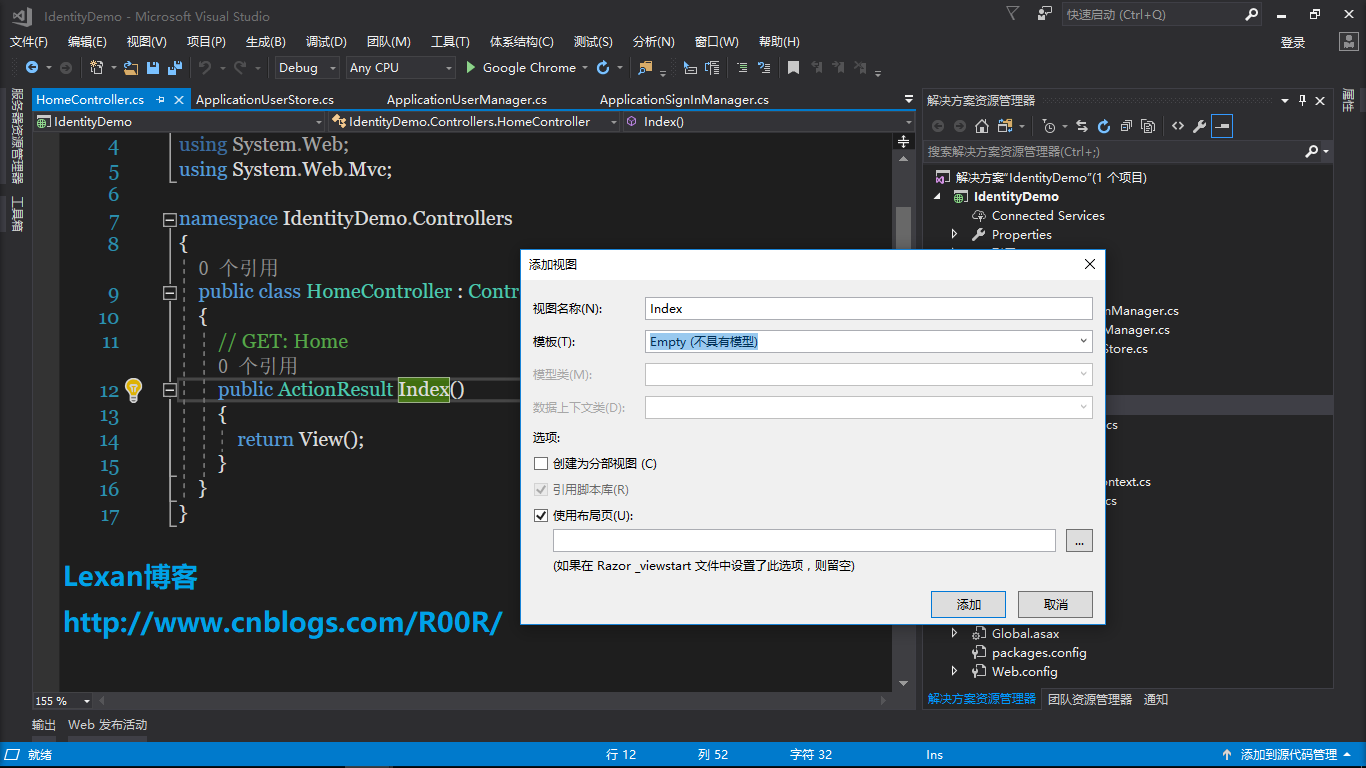
先往HomeController控制器里添加index视图
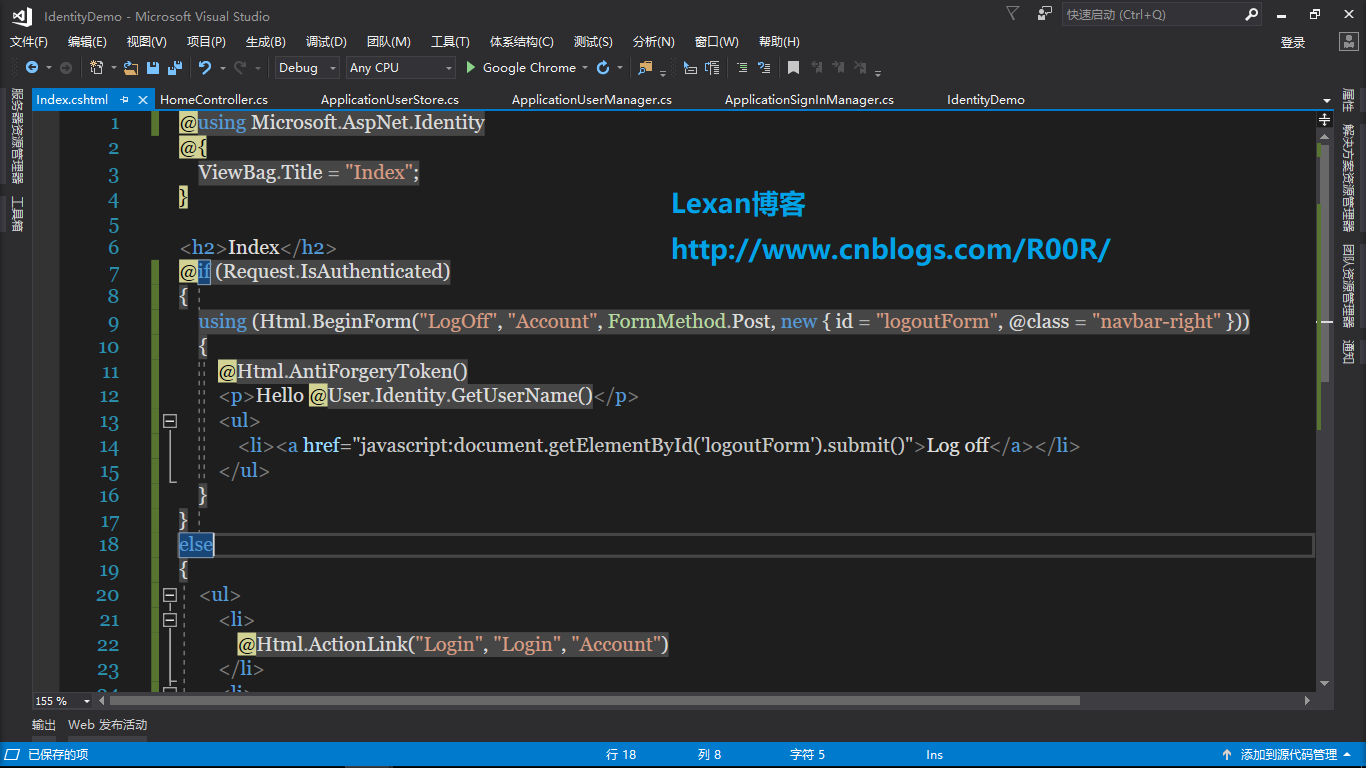
index视图代码
@using Microsoft.AspNet.Identity

@{

    ViewBag.Title = "Index";

}

<h2>Index</h2>

@if (Request.IsAuthenticated)

{

    using (Html.BeginForm("LogOff", "Account", FormMethod.Post, new { id = "logoutForm", @class = "navbar-right" }))

    {

        @Html.AntiForgeryToken()

        <p>Hello @User.Identity.GetUserName()</p>

        <ul>

            <li><a href="javascript:document.getElementById('logoutForm').submit()">Log off</a></li>

        </ul>

    }

}

else

{

    <ul>

        <li>

            @Html.ActionLink("Login", "Login", "Account")

        </li>

        <li>

            @Html.ActionLink("Register", "Register", "Account")

        </li>

    </ul>

}
然后AccountController控制器代码
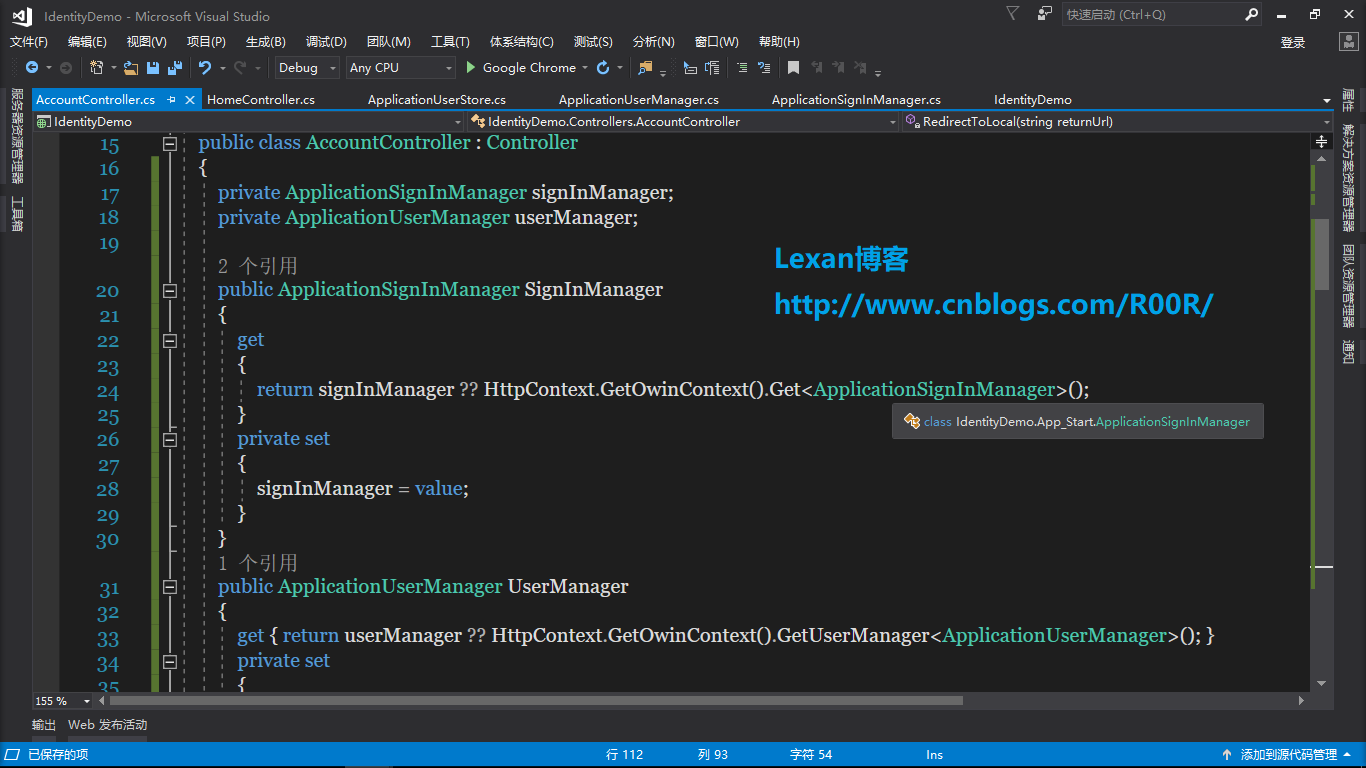
private ApplicationSignInManager signInManager;

        private ApplicationUserManager userManager;

        public ApplicationSignInManager SignInManager

        {

            get

            {

                return signInManager ?? HttpContext.GetOwinContext().Get<ApplicationSignInManager>();

            }

            private set

            {

                signInManager = value;

            }

        }

        public ApplicationUserManager UserManager

        {

            get { return userManager ?? HttpContext.GetOwinContext().GetUserManager<ApplicationUserManager>(); }

            private set

            {

                userManager = value;

            }

        }

        [AllowAnonymous]

        public ActionResult Login(string returnUrl)

        {

            ViewBag.ReturnUrl = returnUrl;

            return View();

        }

        [HttpPost]

        [AllowAnonymous]

        [ValidateAntiForgeryToken]

        public async Task<ActionResult> Login(SignInModel model, string returnUrl)

        {

            if (!ModelState.IsValid)

            {

                return View(model);

            }

            var result = await SignInManager.PasswordSignInAsync(model.Email, model.Password, model.RememberMe, shouldLockout: false);

            switch (result)

            {

                case SignInStatus.Success:

                    return RedirectToLocal(returnUrl);

                case SignInStatus.Failure:

                default:

                    ModelState.AddModelError("", "登陆无效");

                    return View(model);

            }

        }

        [AllowAnonymous]

        public ActionResult Register()

        {

            return View();

        }

        [HttpPost]

        [AllowAnonymous]

        [ValidateAntiForgeryToken]

        public async Task<ActionResult> Register(SignUpModel model)

        {

            if (ModelState.IsValid)

            {

                var user = new ApplicationUser { UserName = model.Email, Email = model.Email };

                var result = await UserManager.CreateAsync(user, model.Password);

                if (result.Succeeded)

                {

                    await SignInManager.SignInAsync(user, isPersistent: false, rememberBrowser: false);

                    return RedirectToAction("Index", "Home");

                }

                AddErrors(result);

            }

            return View(model);

        }

        [HttpPost]

        [ValidateAntiForgeryToken]

        public ActionResult LogOff()

        {

            AuthenticationManager.SignOut();

            return RedirectToAction("Index", "Home");

        }

        private void AddErrors(IdentityResult result)

        {

            foreach (var error in result.Errors)

            {

                ModelState.AddModelError("", error);

            }

        }

        private ActionResult RedirectToLocal(string returnUrl)

        {

            if (Url.IsLocalUrl(returnUrl))

            {

                return Redirect(returnUrl);

            }

            return RedirectToAction("Index", "Home");

        }

        private IAuthenticationManager AuthenticationManager

        {

            get { return HttpContext.GetOwinContext().Authentication; }

        }
然后分别添加生成Login和Register页面
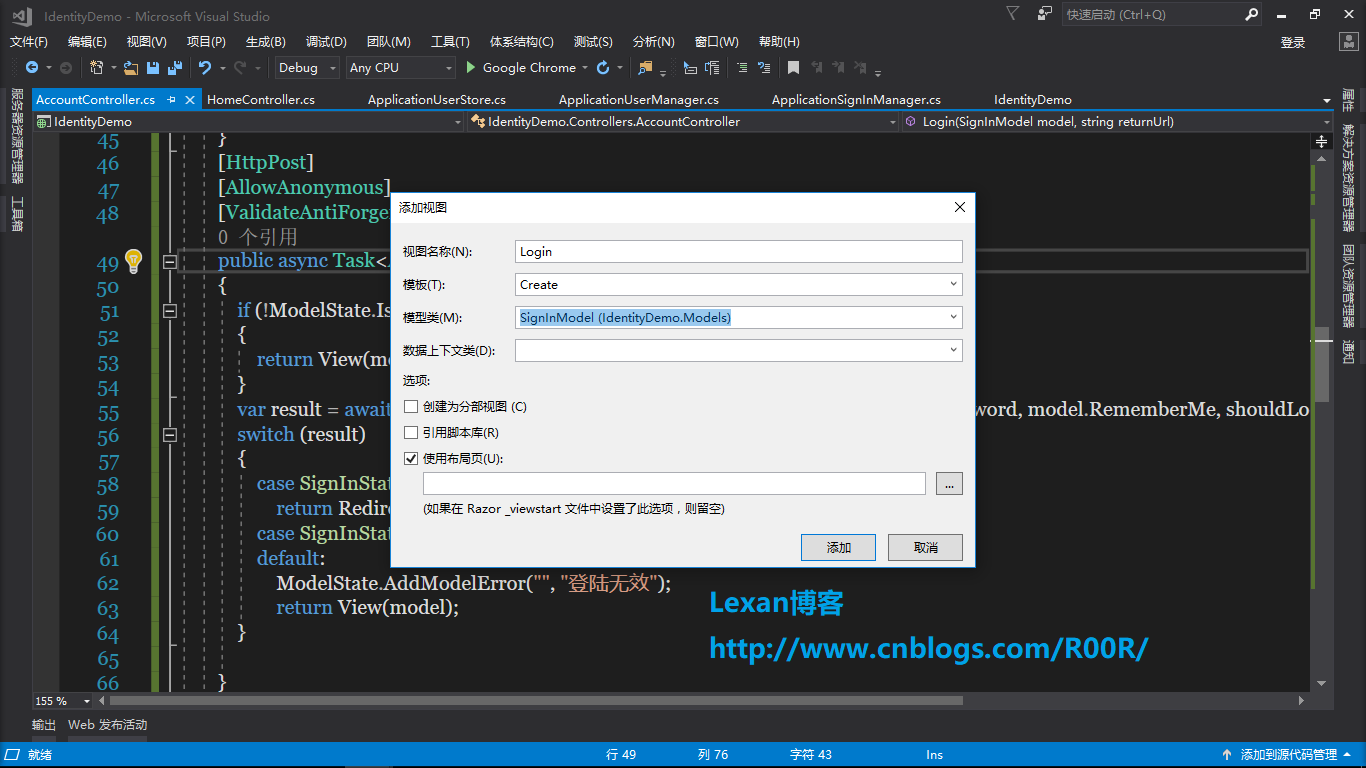

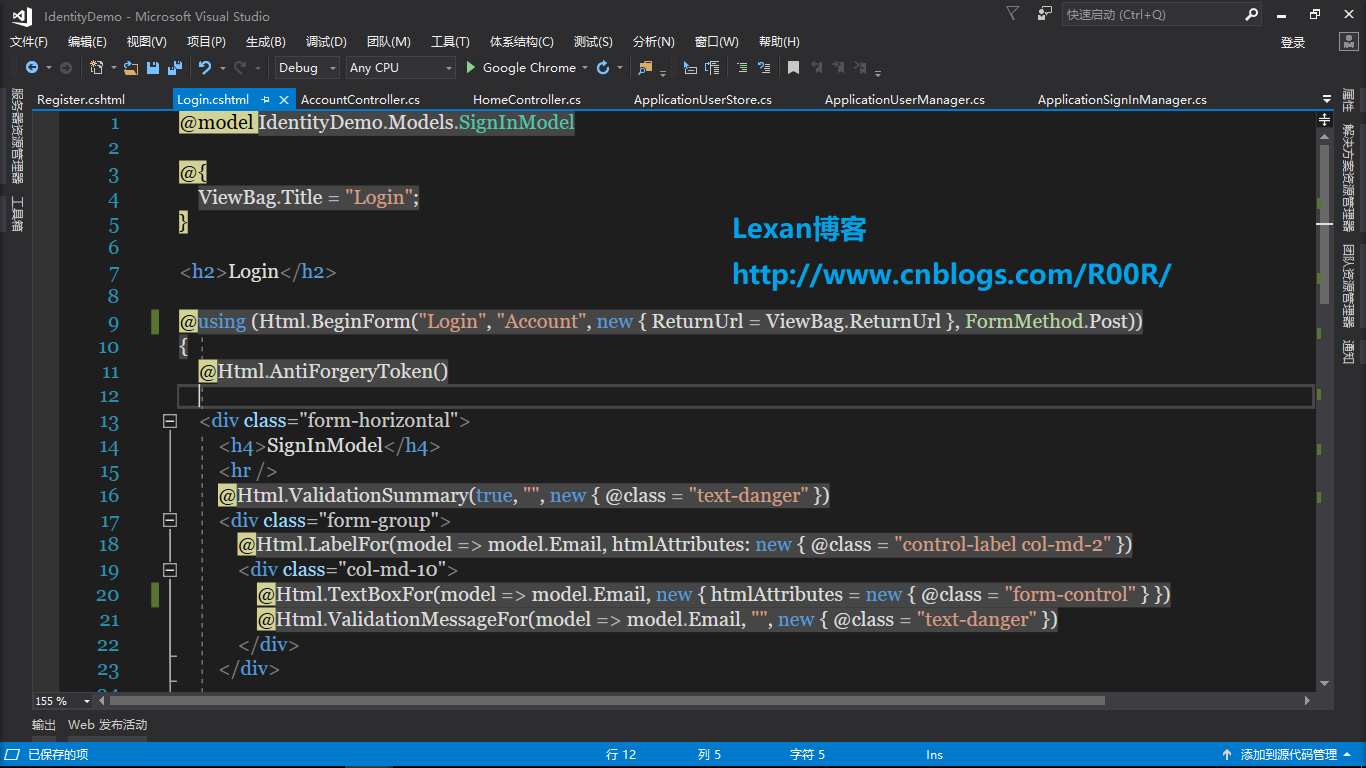
Login页面代码
@model IdentityDemo.Models.SignInModel

@{

    ViewBag.Title = "Login";

}

<h2>Login</h2>

@using (Html.BeginForm("Login", "Account", new { ReturnUrl = ViewBag.ReturnUrl }, FormMethod.Post))

{

    @Html.AntiForgeryToken()

    <div class="form-horizontal">

        <h4>SignInModel</h4>

        <hr />

        @Html.ValidationSummary(true, "", new { @class = "text-danger" })

        <div class="form-group">

            @Html.LabelFor(model => model.Email, htmlAttributes: new { @class = "control-label col-md-2" })

            <div class="col-md-10">

                @Html.TextBoxFor(model => model.Email, new { htmlAttributes = new { @class = "form-control" } })

                @Html.ValidationMessageFor(model => model.Email, "", new { @class = "text-danger" })

            </div>

        </div>

        <div class="form-group">

            @Html.LabelFor(model => model.Password, htmlAttributes: new { @class = "control-label col-md-2" })

            <div class="col-md-10">

                @Html.PasswordFor(model => model.Password, new { htmlAttributes = new { @class = "form-control" } })

                @Html.ValidationMessageFor(model => model.Password, "", new { @class = "text-danger" })

            </div>

        </div>

        <div class="form-group">

            @Html.LabelFor(model => model.RememberMe, htmlAttributes: new { @class = "control-label col-md-2" })

            <div class="col-md-10">

                <div class="checkbox">

                    @Html.CheckBoxFor(model => model.RememberMe)

                    @Html.ValidationMessageFor(model => model.RememberMe, "", new { @class = "text-danger" })

                </div>

            </div>

        </div>

        <div class="form-group">

            <div class="col-md-offset-2 col-md-10">

                <input type="submit" value="SignIn" class="btn btn-default" />

            </div>

        </div>

    </div>

}

<div>

    @Html.ActionLink("注册", "Register")

</div>
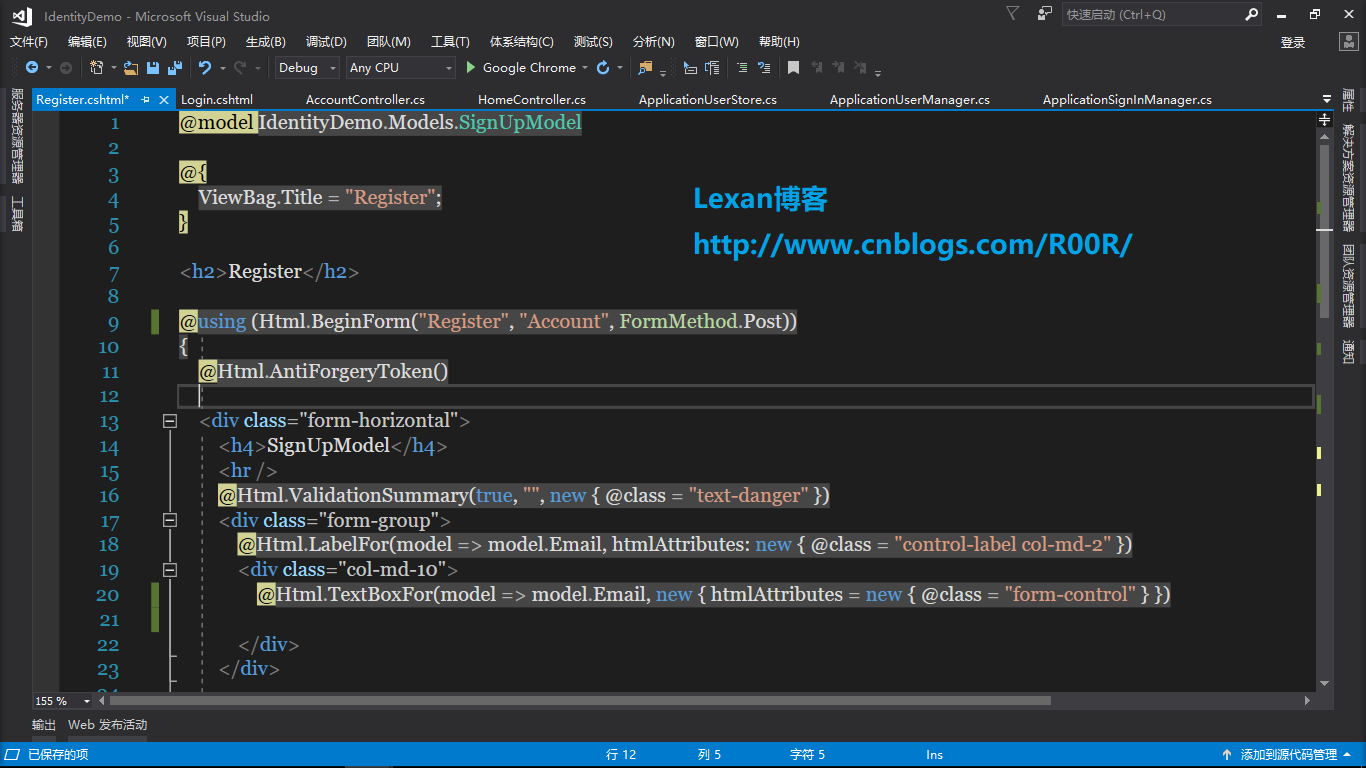
Register页面代码
@model IdentityDemo.Models.SignUpModel

@{

    ViewBag.Title = "Register";

}

<h2>Register</h2>

@using (Html.BeginForm("Register", "Account", FormMethod.Post))

{

    @Html.AntiForgeryToken()

    <div class="form-horizontal">

        <h4>SignUpModel</h4>

        <hr />

        @Html.ValidationSummary(true, "", new { @class = "text-danger" })

        <div class="form-group">

            @Html.LabelFor(model => model.Email, htmlAttributes: new { @class = "control-label col-md-2" })

            <div class="col-md-10">

                @Html.TextBoxFor(model => model.Email, new { htmlAttributes = new { @class = "form-control" } })

            </div>

        </div>

        <div class="form-group">

            @Html.LabelFor(model => model.Password, htmlAttributes: new { @class = "control-label col-md-2" })

            <div class="col-md-10">

                @Html.PasswordFor(model => model.Password, new { htmlAttributes = new { @class = "form-control" } })

            </div>

        </div>

        <div class="form-group">

            @Html.LabelFor(model => model.ConfirmPassword, htmlAttributes: new { @class = "control-label col-md-2" })

            <div class="col-md-10">

                @Html.PasswordFor(model => model.ConfirmPassword, new { htmlAttributes = new { @class = "form-control" } })

            </div>

        </div>

        <div class="form-group">

            <div class="col-md-offset-2 col-md-10">

                <input type="submit" value="SignUp" class="btn btn-default" />

            </div>

        </div>

    </div>

}
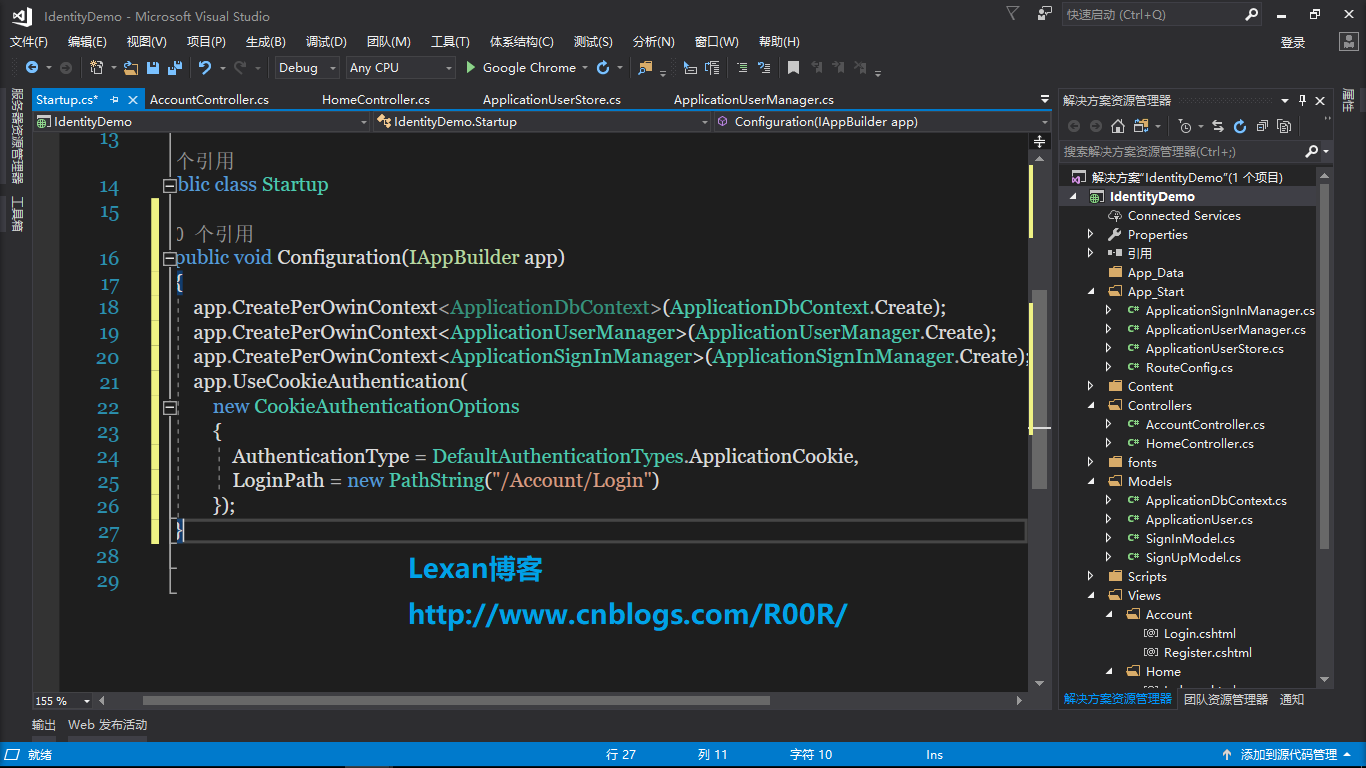
然后往项目的根目录添加Startup类

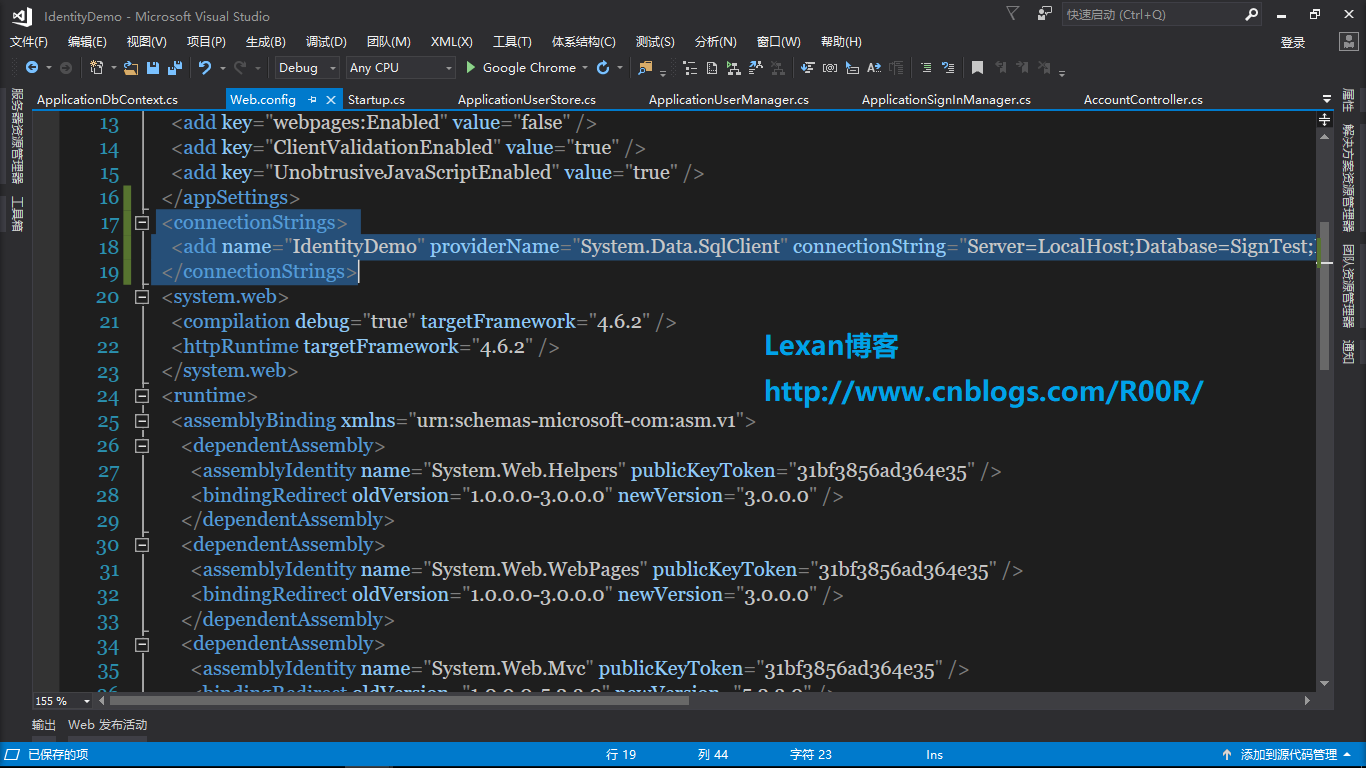
然后修改根目录的Web.Config文件
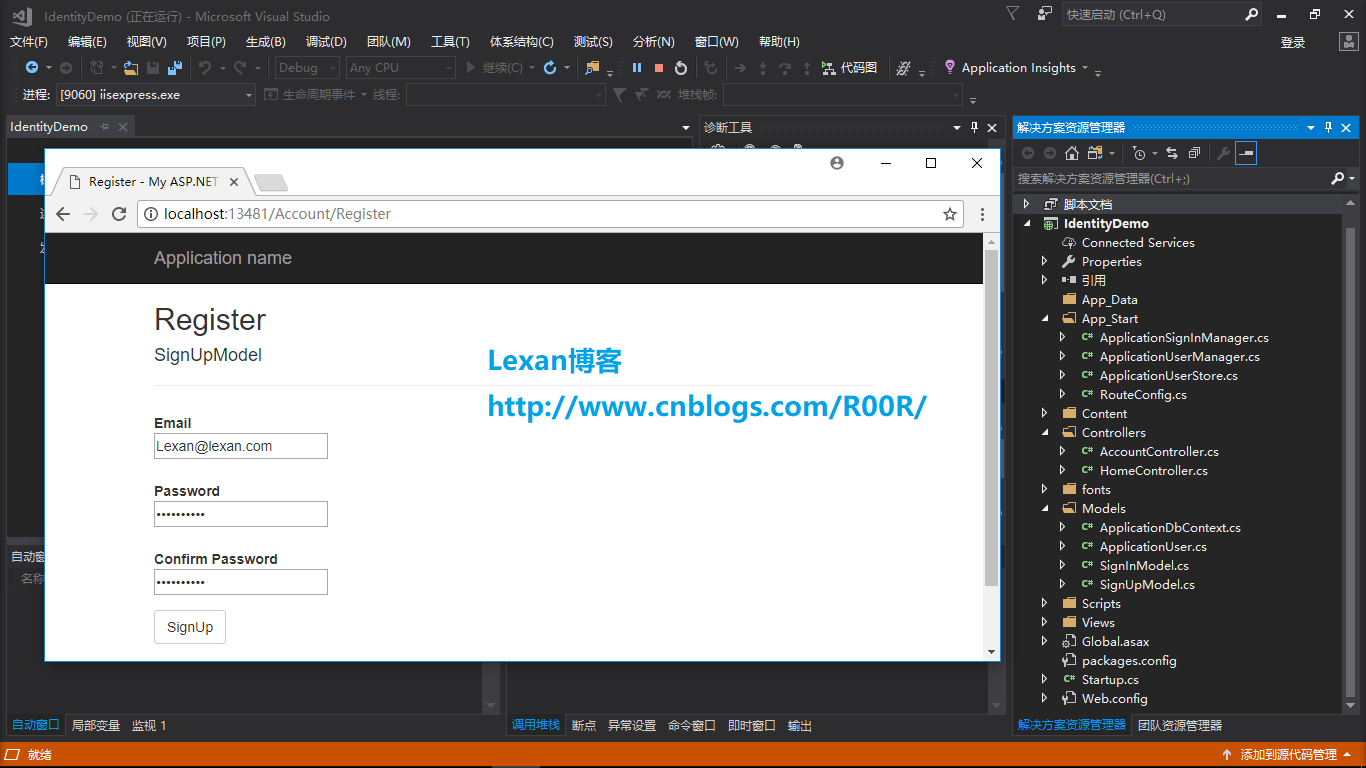
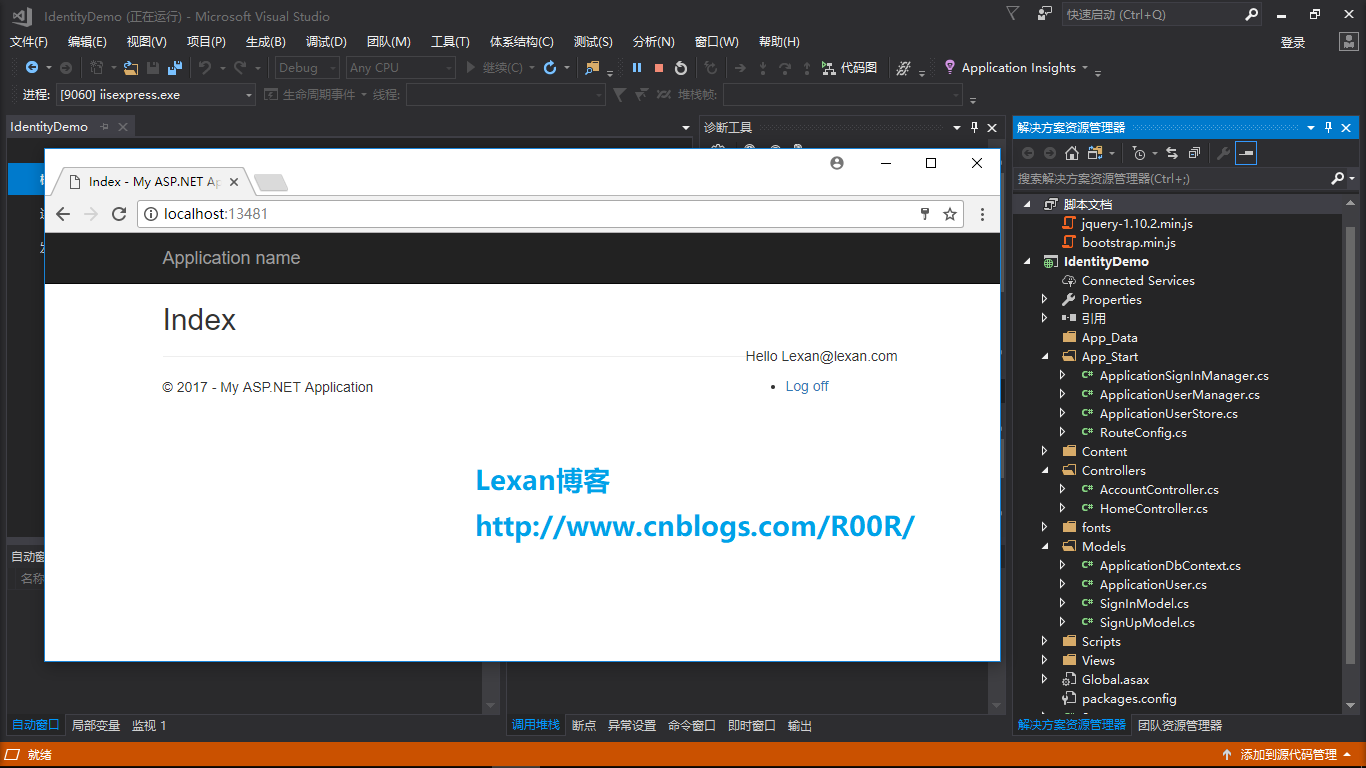
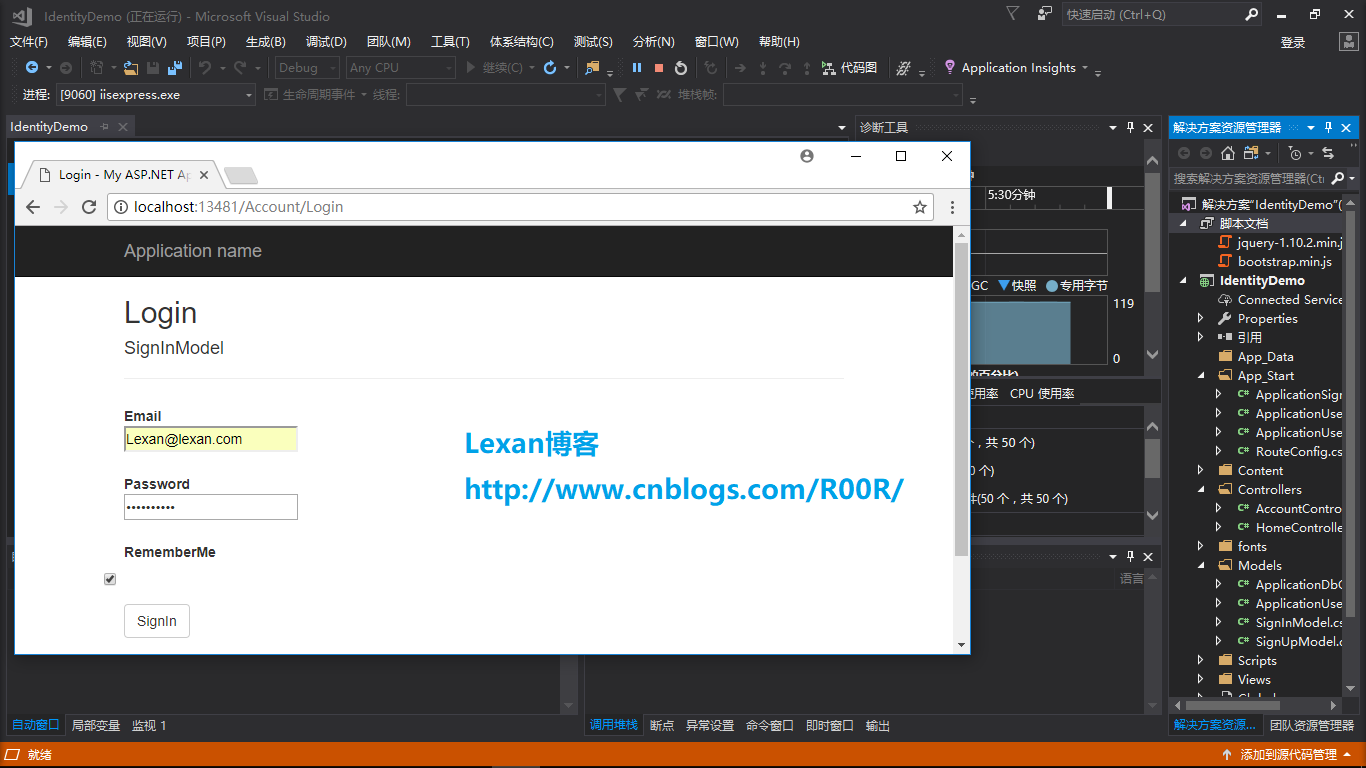
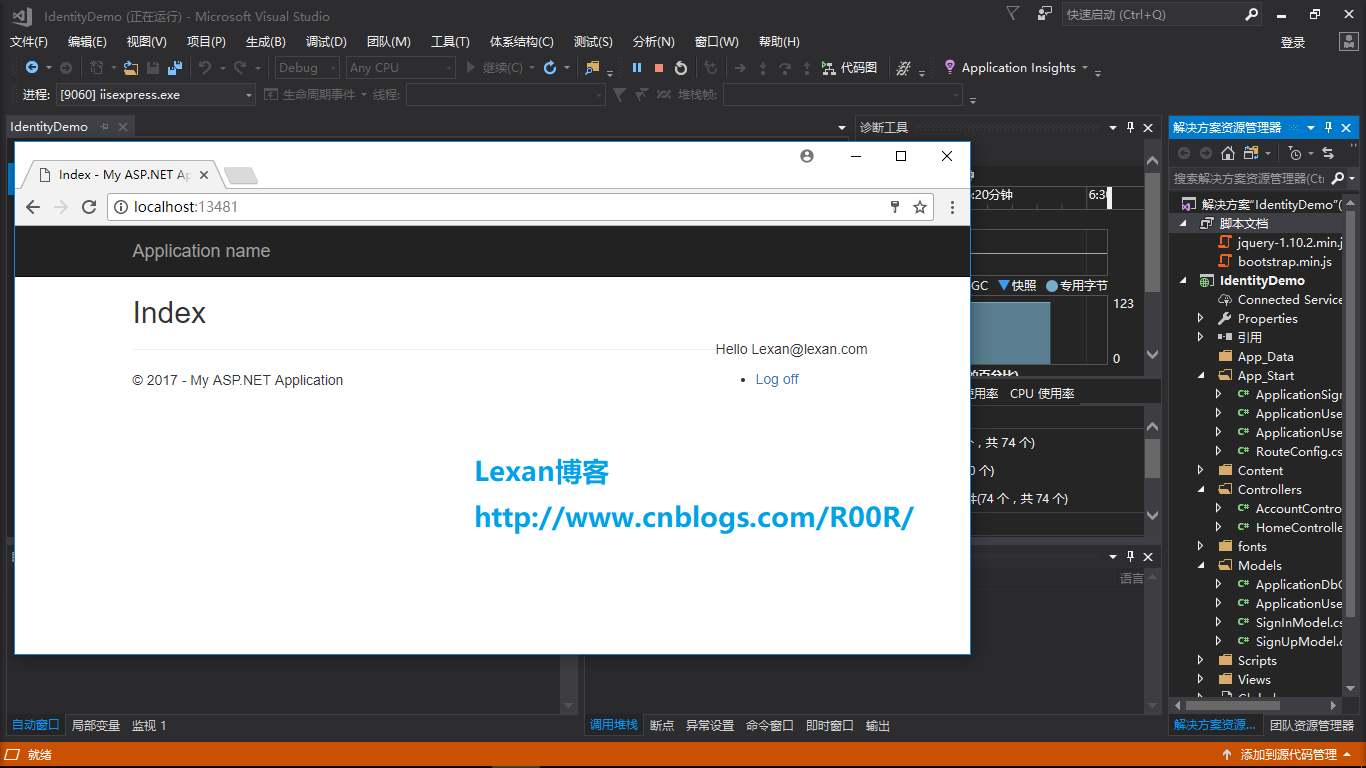
最后我们来测试一下看看效果怎么样,如下图
Asp.Net MVC 5使用Identity之简单的注册和登陆的更多相关文章
- Asp.Net MVC+BootStrap+EF6.0实现简单的用户角色权限管理
这是本人第一次写,写的不好的地方还忘包含.写这个的主要原因是想通过这个来学习下EF的CodeFirst模式,本来也想用AngularJs来玩玩的,但是自己只会普通的绑定,对指令这些不是很熟悉,所以就基 ...
- ASP.NET MVC 4 插件化架构简单实现-思路篇
用过和做过插件的都会了解插件的好处,园子里也有很多和讨论,但大都只些简单的加载程序集什么的,这里主要讨论的就是使用 ASP.NET MVC 4 来实现每个插件都可以完全从主站点剥离出来,即使只是一个插 ...
- ASP.NET MVC 4 插件化架构简单实现-实例篇
先回顾一下上篇决定的做法: 1.定义程序集搜索目录(临时目录). 2.将要使用的各种程序集(插件)复制到该目录. 3.加载临时目录中的程序集. 4.定义模板引擎的搜索路径. 5.在模板引擎的查找页面方 ...
- 使用asp.net mvc + entityframework + sqlServer 搭建一个简单的code first项目
步骤: 1. 创建一个asp.net mvc 项目 1.1 项目创建好结构如下 2 通过vs安装EntityFramework框架 install-package entityframework 3. ...
- Asp.Net MVC+BootStrap+EF6.0实现简单的用户角色权限管理6
接下来先做角色这一板块的(增删改查),首先要新建一个Role控制器,在添加一个RoleList的视图.表格打算采用的是bootstrap的表格. using System; using System. ...
- Asp.Net MVC+BootStrap+EF6.0实现简单的用户角色权限管理8
接下来做的是对页面的增删改查与页面与页面按钮之间的联系.先上代码和页面效果 using AuthorDesign.Web.App_Start.Common; using System; using S ...
- Asp.Net MVC+BootStrap+EF6.0实现简单的用户角色权限管理10
今天把用户的菜单显示和页面的按钮显示都做好了,下面先来个效果图 接下来说下我实现的方法: 首先我在每个方法前面都加了这个属性, /// <summary> /// 表示当前Action请求 ...
- Asp.Net MVC+BootStrap+EF6.0实现简单的用户角色权限管理1
首先给上项目的整体框架图:,这里我没有使用BLL,因为感觉太烦了就没有去使用. 那么接下来我们首先先去Model层中添加Model. 管理员类: using System; using System. ...
- Asp.Net MVC+BootStrap+EF6.0实现简单的用户角色权限管理4
首先先加个区域,名为Admin using System.Web.Mvc; namespace AuthorDesign.Web.Areas.Admin { public class AdminAre ...
随机推荐
- iOS---如何获取手机的本地照片和相册
__weak ViewController *weakSelf = self; dispatch_async(dispatch_get_global_queue(DISPATCH_QUEUE_PRIO ...
- C#删除文件夹的文件
using System.IO; //判断文件是不是存在if(File.Exists(@"文件路径")){//如果存在则删除File.Delete(@"文件路径" ...
- JSP上传整个文件夹
文件上传是最古老的互联网操作之一,20多年来几乎没有怎么变化,还是操作麻烦.缺乏交互.用户体验差. 一.前端代码 英国程序员Remy Sharp总结了这些新的接口 ,本文在他的基础之上,讨论在前端采用 ...
- android 启动默认的邮件客户端,多附件的问题
目前开发的app中需要发送邮件,所以需要调用android默认的邮件客户端,并需要添加多个邮件附件,我该通过哪个组件调用默认的客户端?用什么组件来支持多个附件的电子邮件? 是通过下面的哪一个?(Int ...
- 手把手教你搞定个推iOS推送SDK集成
以下是一位开发者在集成个推iOS推送SDK过程中的真实经历. 作者:Ezreallp 一次偶然的机会,公司的项目要用到推送,我自己本来就很懒,不愿意去弄整套APNS的流程,刚好之前跟朋友聊起过他们的产 ...
- 关于c++ error : passing " "as" " discards qualifiers
http://www.cppblog.com/cppblogs/archive/2012/09/06/189749.html 今天写了一段小代码,本以为正确,但运行后,就somehow ”discar ...
- Linux内核调试方法总结之ddebug
[用途] Linux内核动态调试特性,适用于驱动和内核各子系统调试.动态调试的主要功能就是允许你动态的打开或者关闭内核代码中的各种提示信息.适用于驱动和内核线程功能调试. [使用方法] 依赖于CONF ...
- 使用innobackupex基于从库搭建级联从库及一两从
使用innobackupex基于从库搭建mysql主从架构 现有的架构是一主一从,版本为Mysql5.6.37.实施要求是:利用从库,搭建第二个从库,版本为5.7.21 主库:192.168.1.21 ...
- tar命令: 解压到指定的目录, 解压并删除原tar文件
-f: 置顶文件名, 后面不能再跟其他选项字母了,必须是文件名, 但是再在这个后面又可以跟 -? 选项: -C: 指定解压到的目的目录 不是-c, 小写的-c是创建. -p保留原来文件的属性. tar ...
- 用Vue来实现音乐播放器(十八):右侧快速入口点击高亮
问题一:当我们点击右侧快速入口的时候 被点击的地方高亮 首先我们要知道右侧快速入口是为什么高亮??因为当watch()监控到scrollY的变化了的时候 将scrollY的值和listHeight ...