Stamus Networks的产品SELKS(Suricata IDPS、Elasticsearch 、Logstash 、Kibana 和 Scirius )的下载和安装(带桌面版和不带桌面版)(图文详解)
不多说,直接上干货!
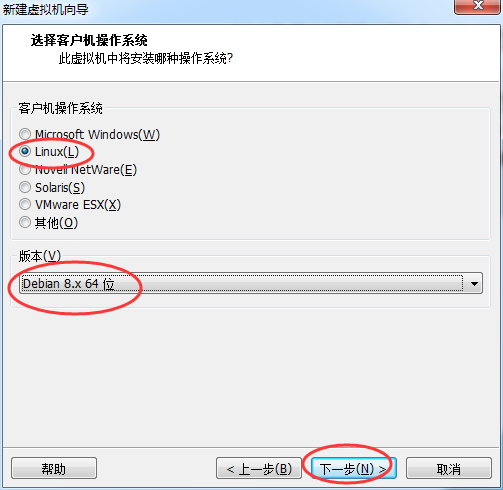
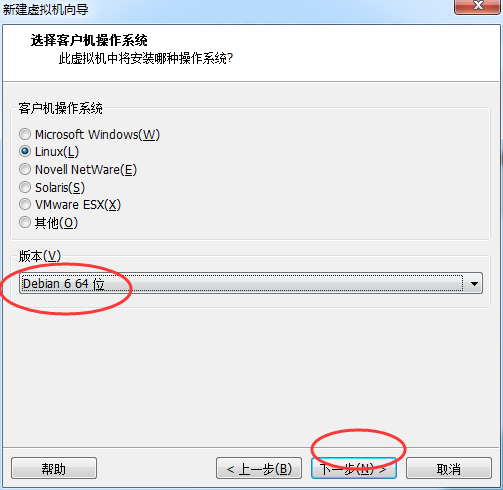
SELKS是什么?
SELKS 是Stamus Networks的产品,它是基于Debian的自启动运行发行,面向网络安全管理。它基于自己的图形规则管理器提供一套完整的、易于使用的 Suricata入侵检测/入侵防范生态系统。该系统还包含Kibana ID/NSM控制面板以图形化日志及其他带有时戳的数据,以及Suricata的规则管理界面Scirius。SELKS遵循GNU通用公共许可证第3版 而发布。
snort、suircata、bro,这三个都是非常优秀的IDS(入侵检测系统)。suricata的多线程和模块化,全面兼容snort规则。
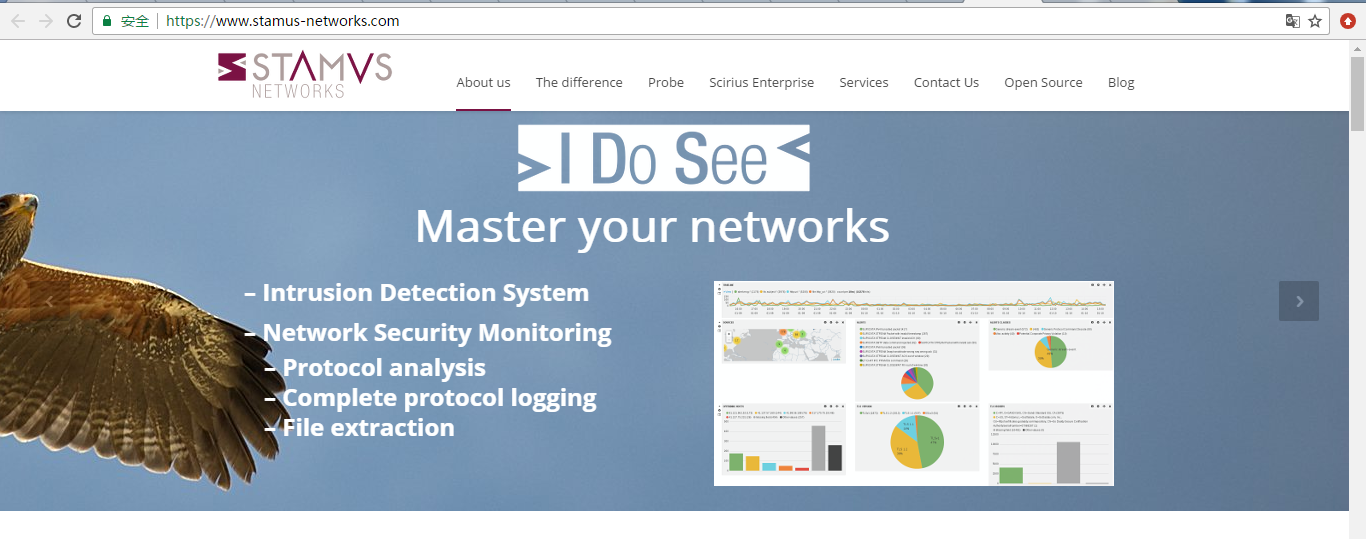
首先,我要介绍的是stamus-networks的官网
https://www.stamus-networks.com/
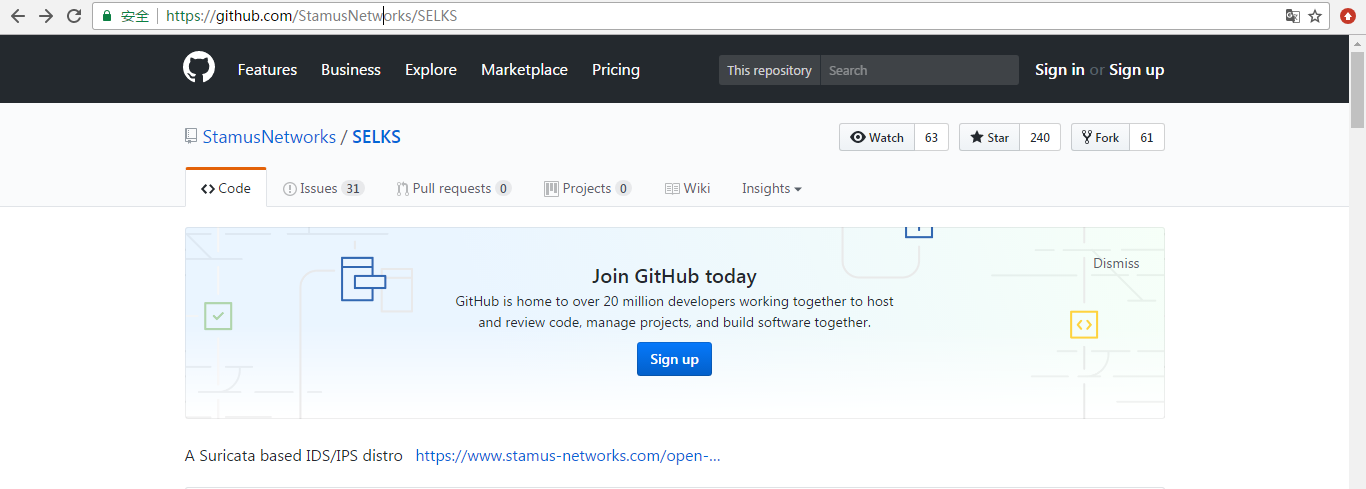
这是Stamus Networks的产品SELKS的github下载地址
https://github.com/StamusNetworks/SELKS
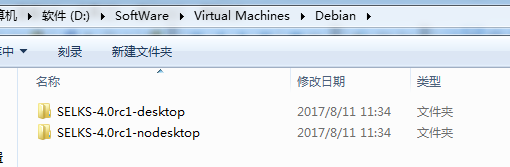
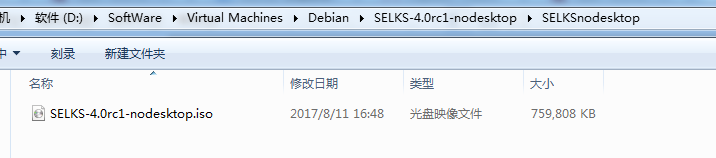
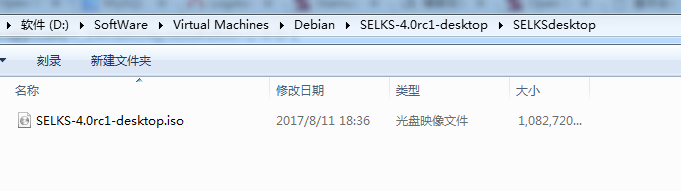
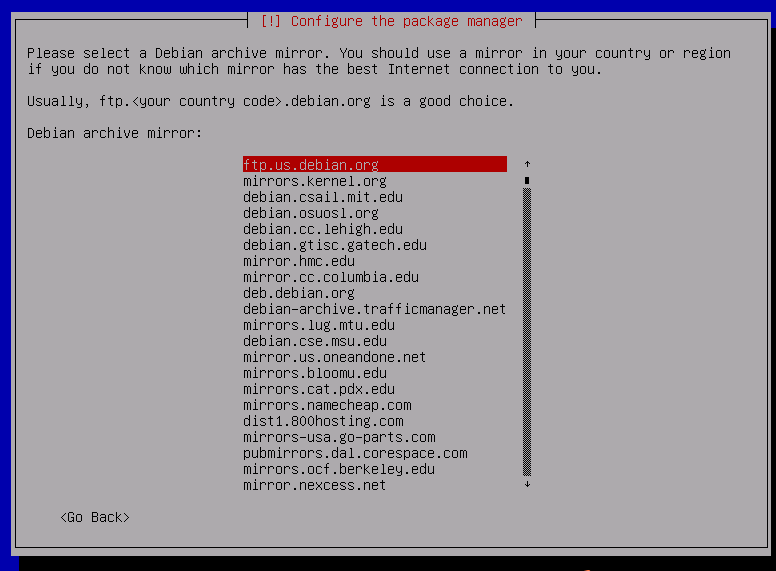
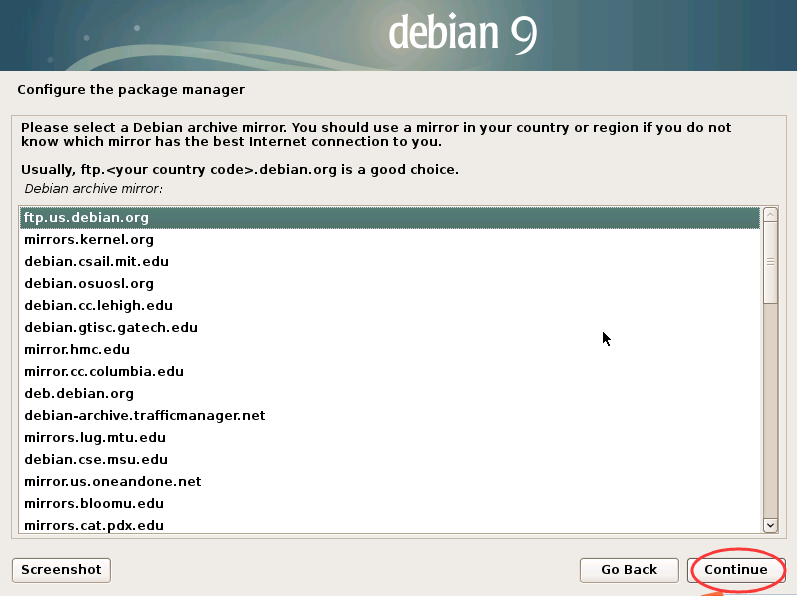
这是Stamus Networks的产品SELKS的镜像下载地址(带桌面版和不带桌面版)
https://www.stamus-networks.com/open-source/#selks
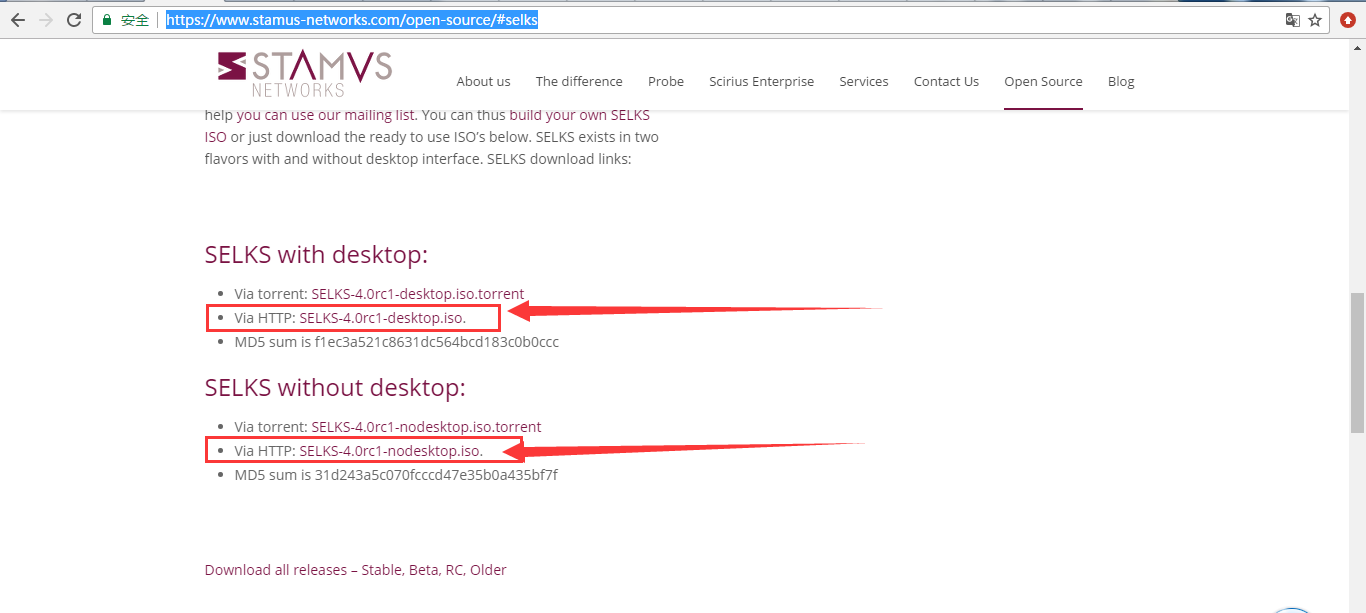
这里,大家自行去下载。我不多赘述。
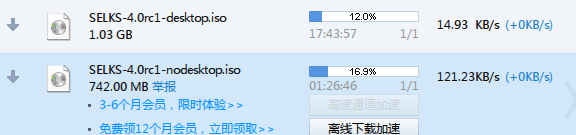
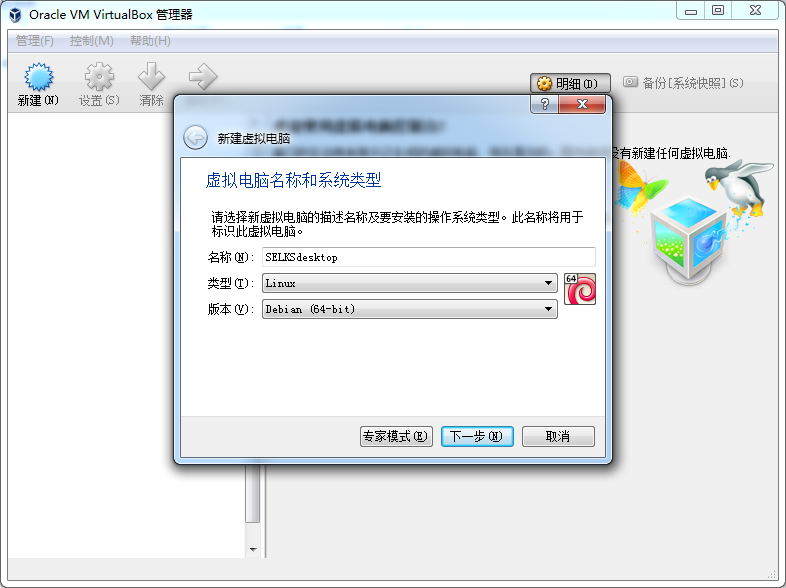
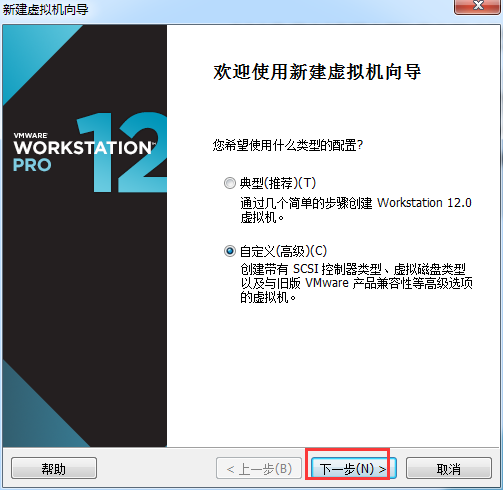
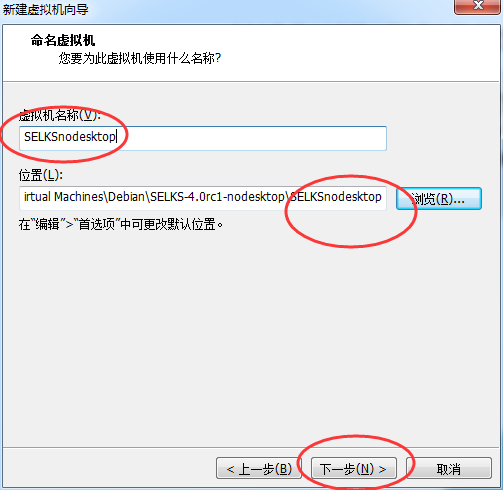
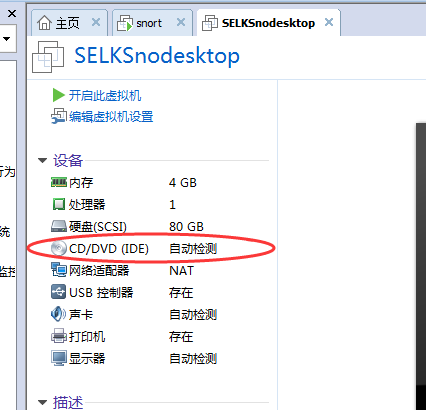
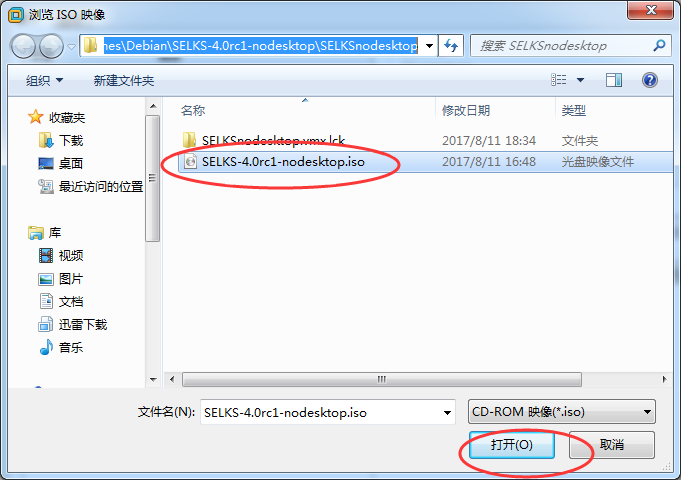
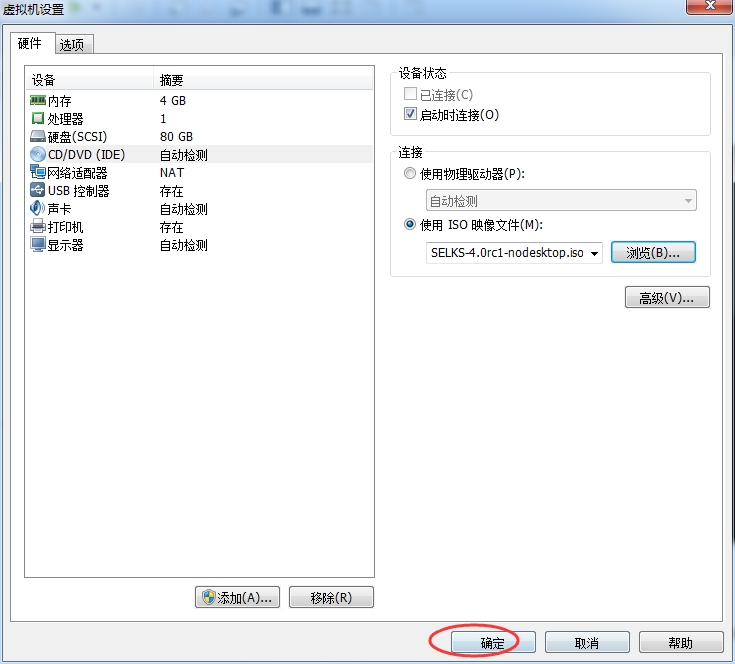
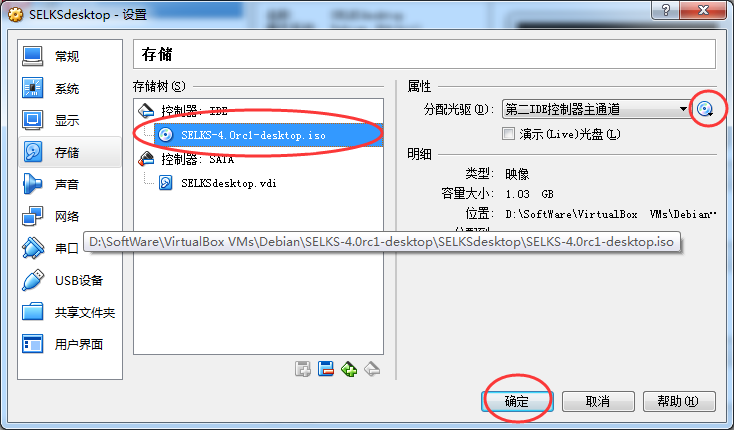
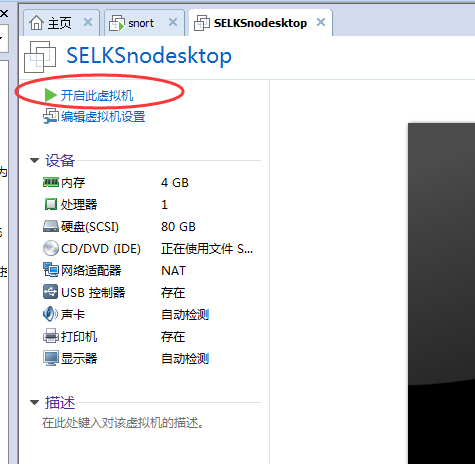
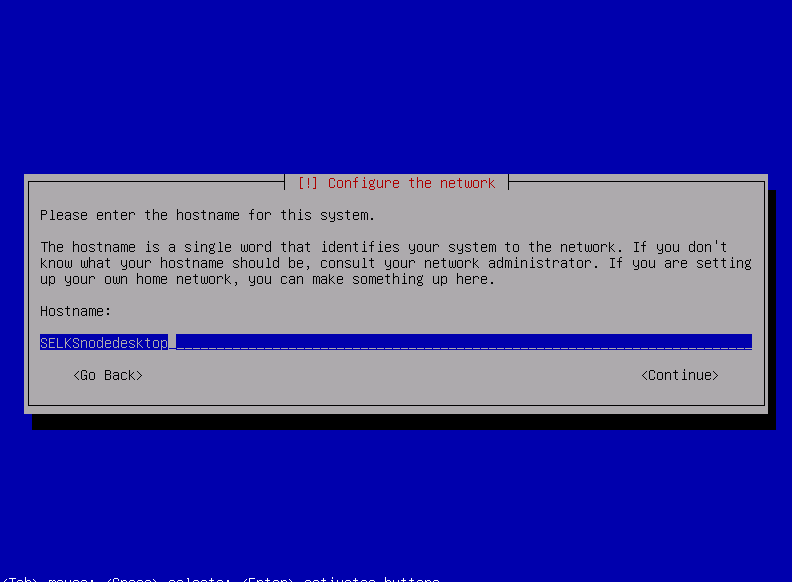
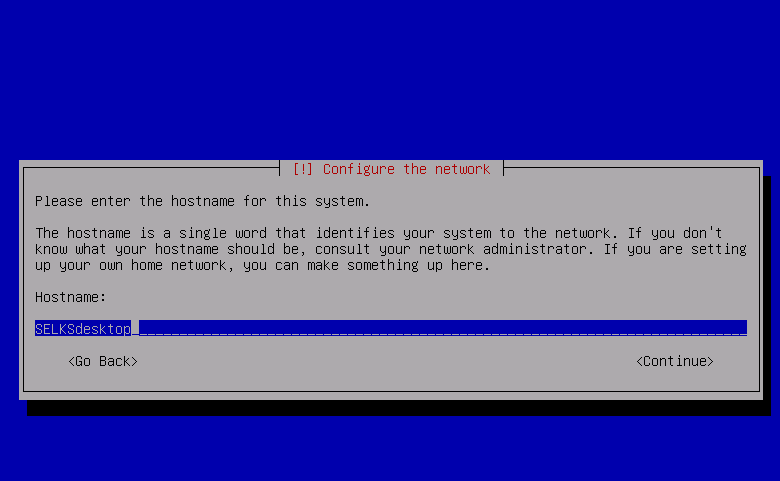
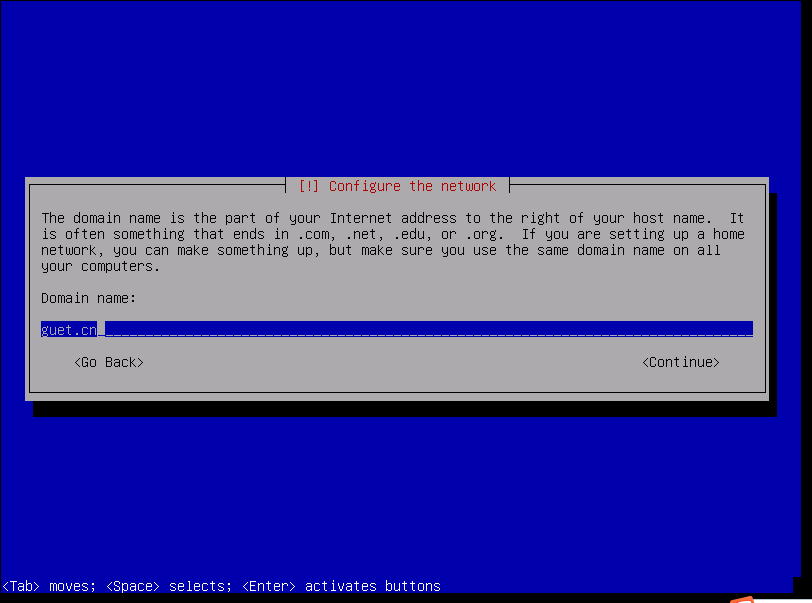
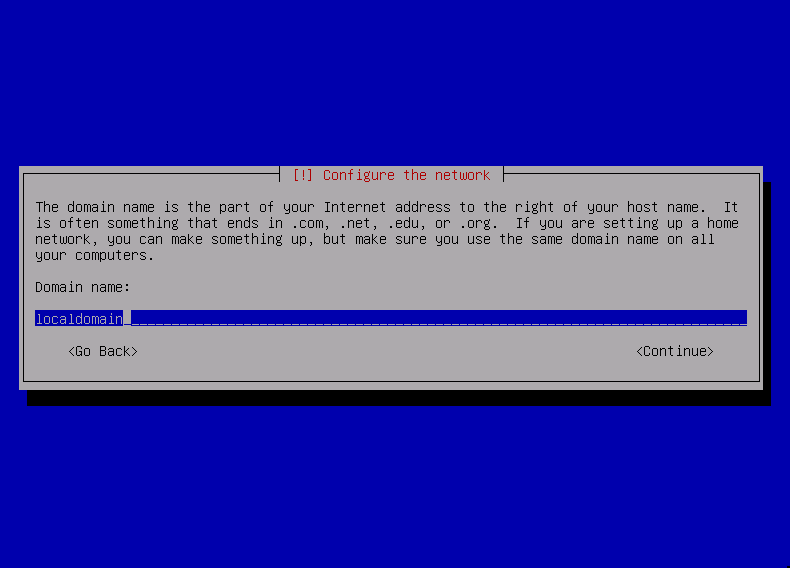
然后,下载好之后。
或者
或者
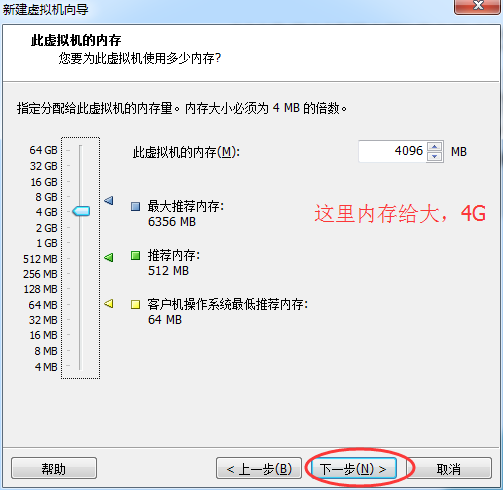
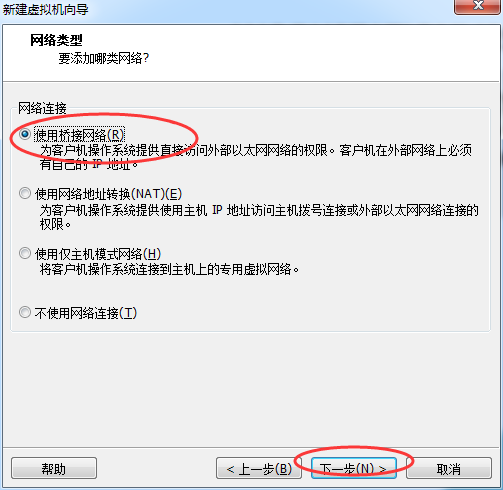
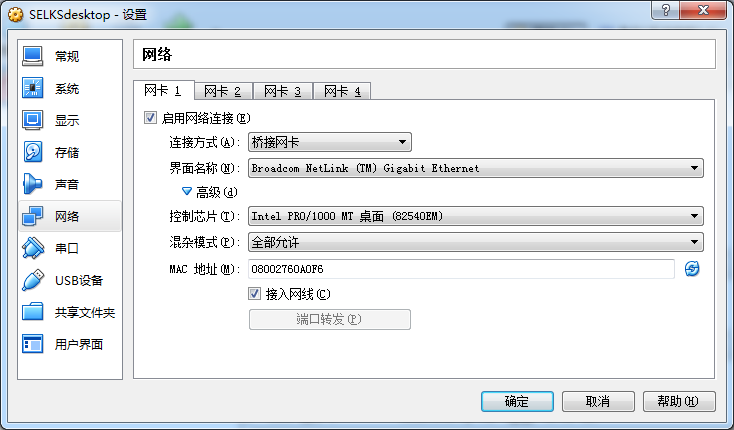
一般最好用桥接
或者

或者
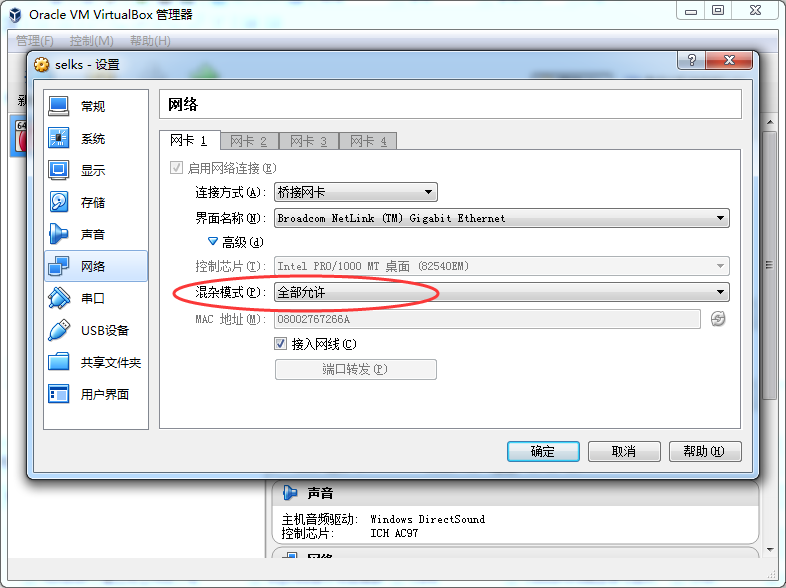
开启网络的混杂模式
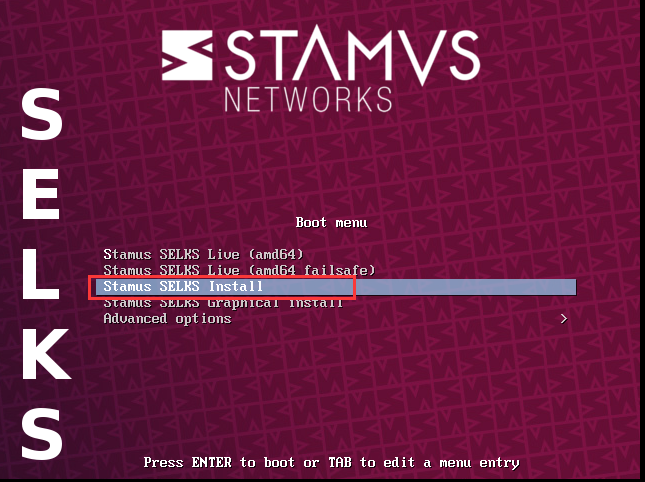
直接回车
或者
或者
回车,如果是桥接模式,则是如下,大家自己的外网
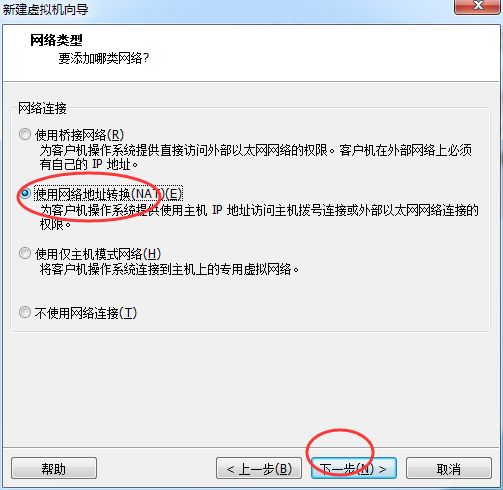
或者,如果是NAT模式,则如下
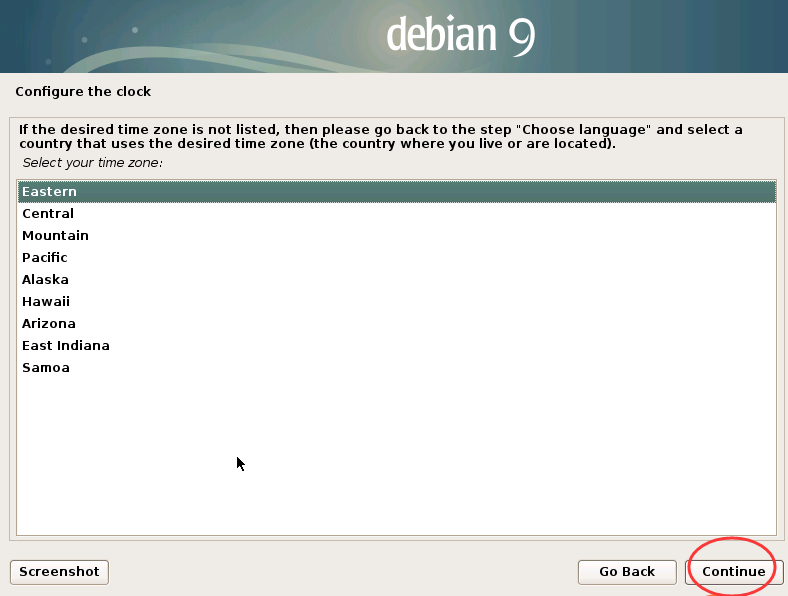
回车
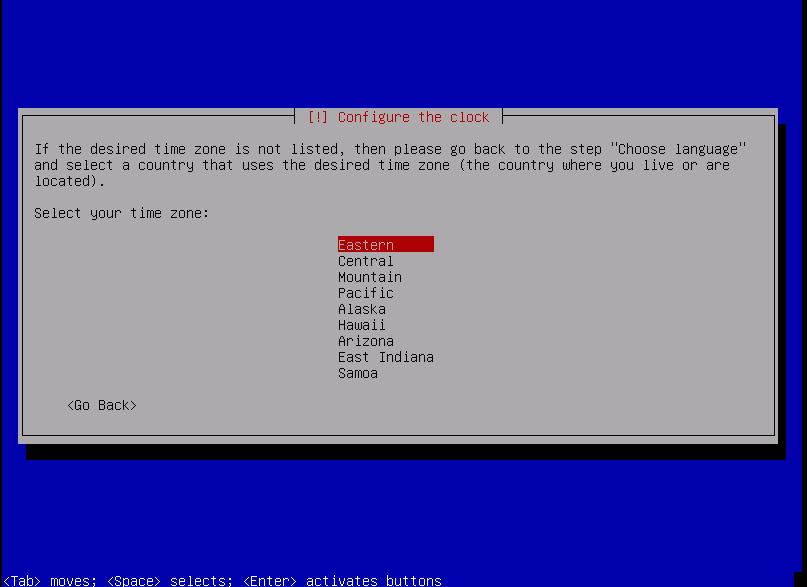
回车
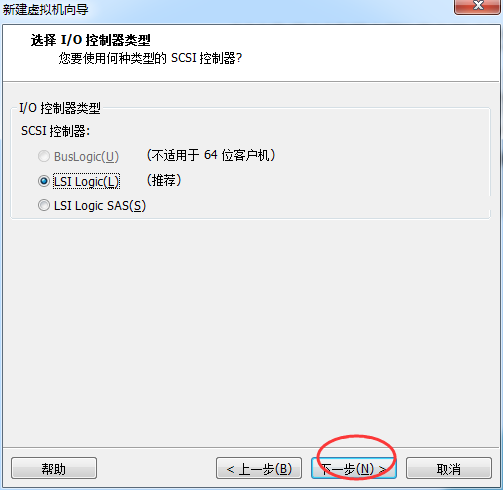
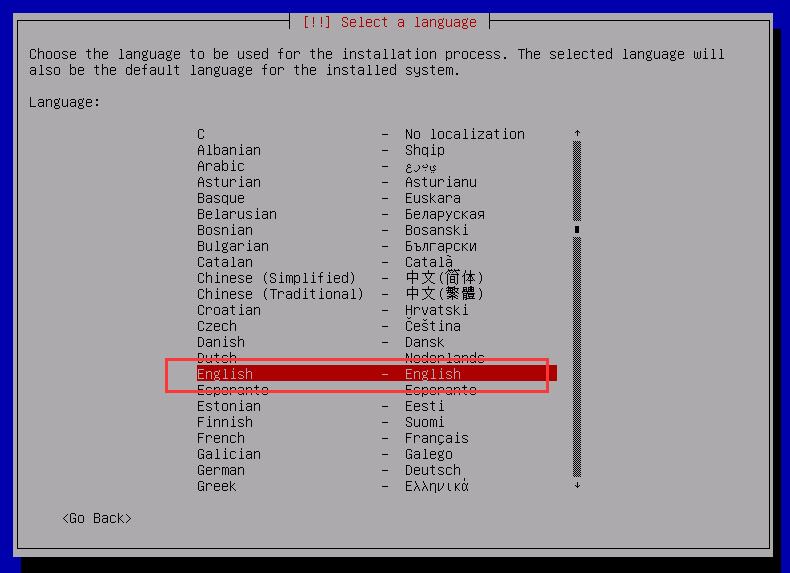
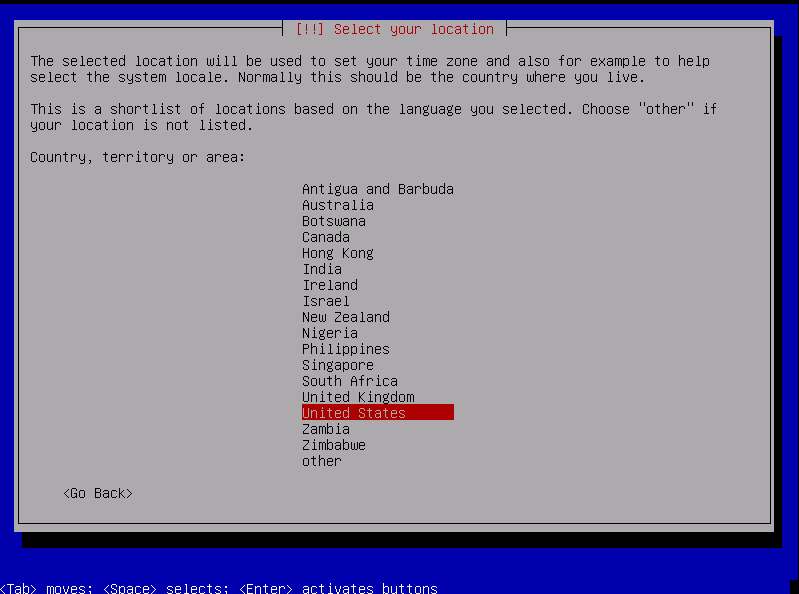
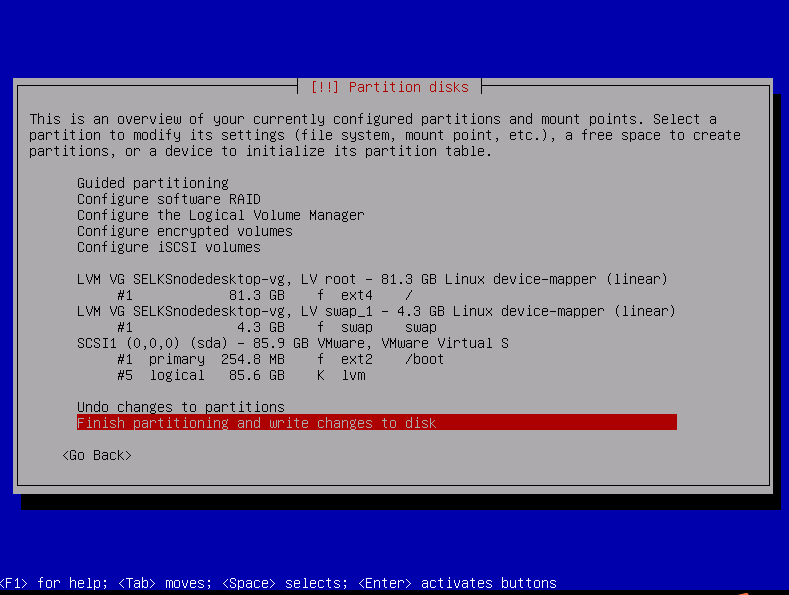
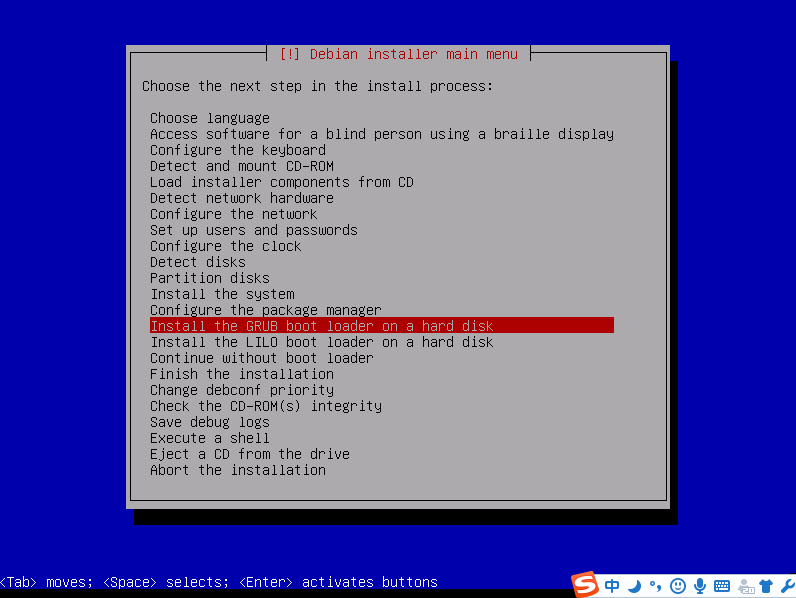
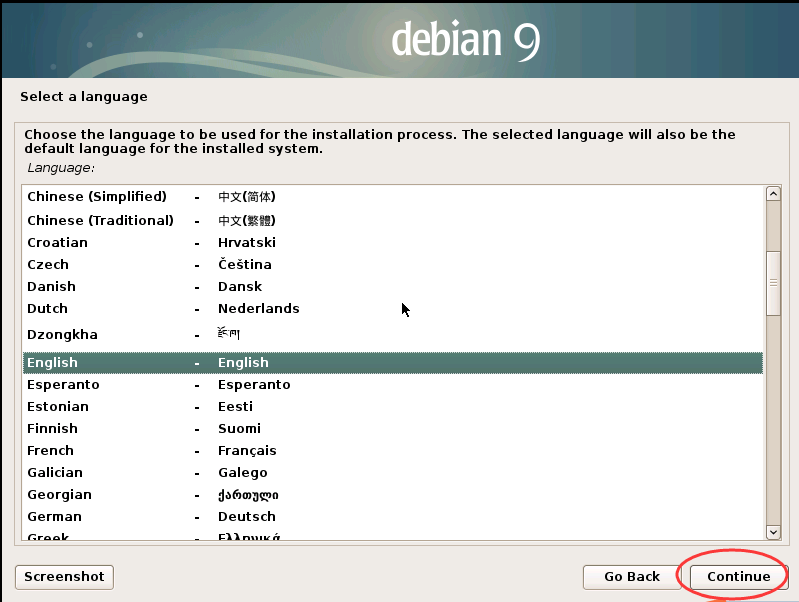
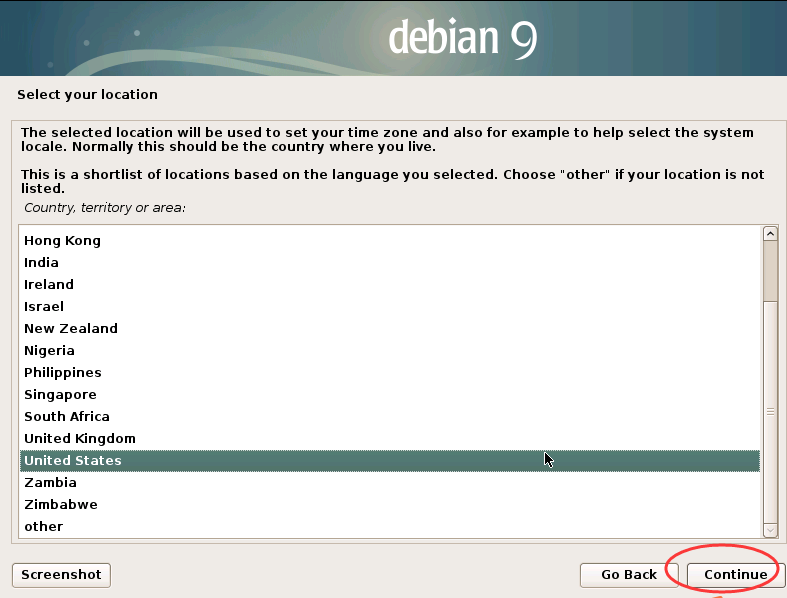
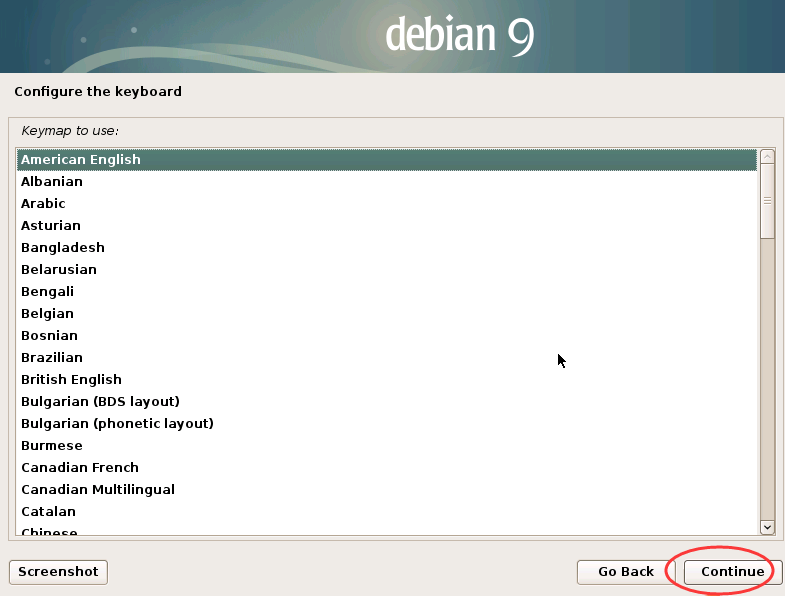
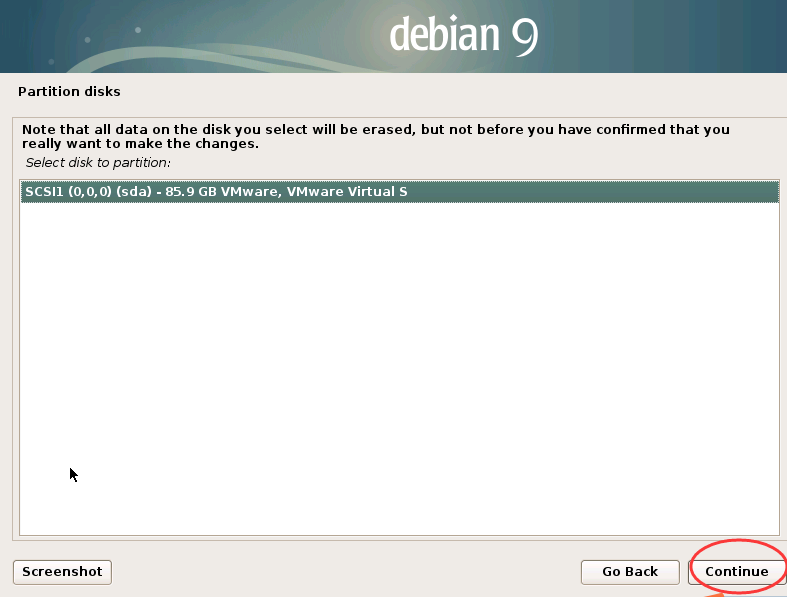
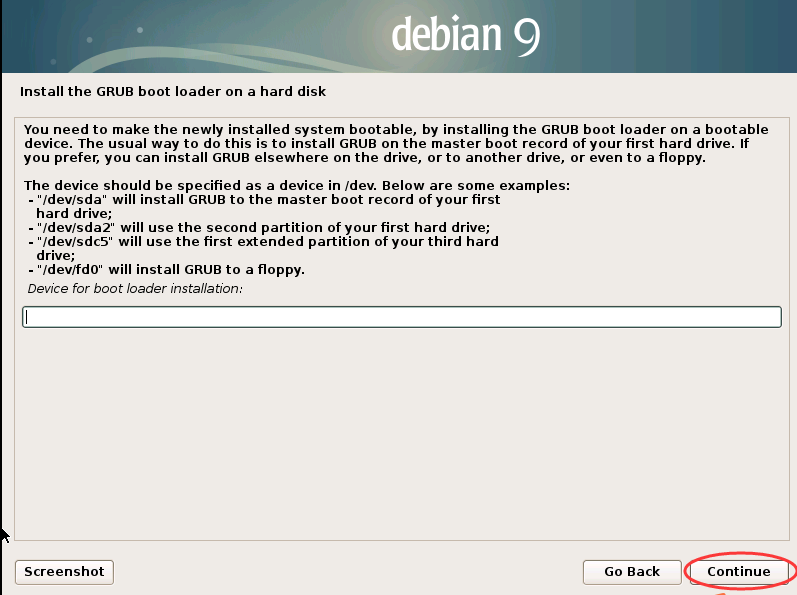
大家若是新手,则选择第一个方便些。
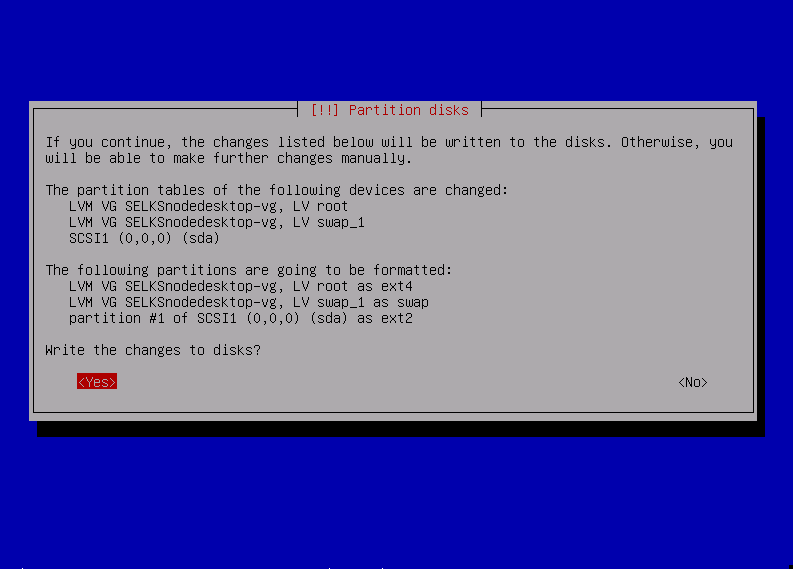
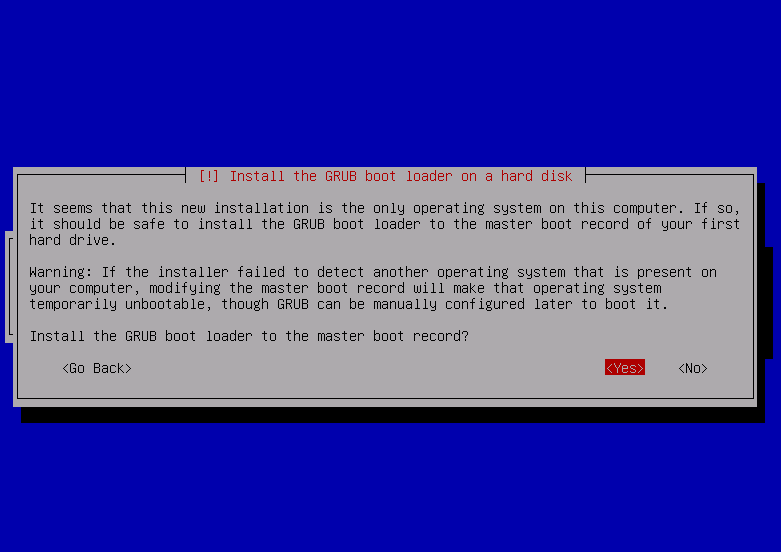
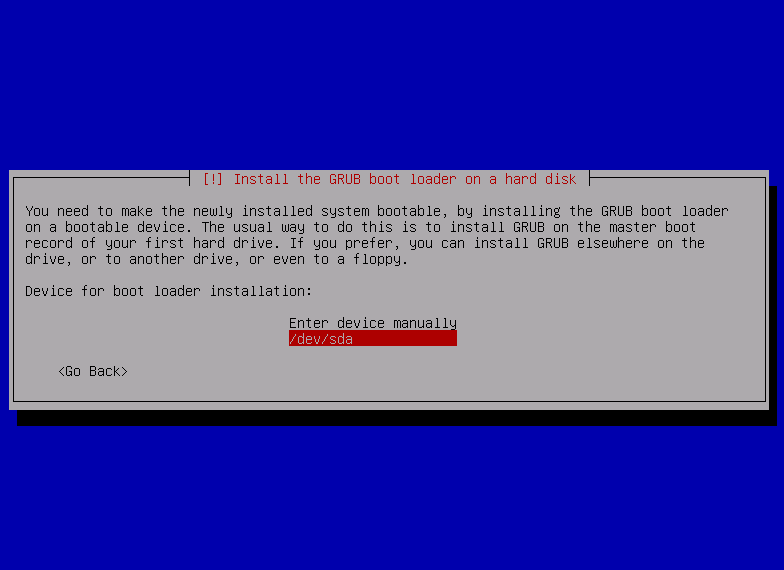
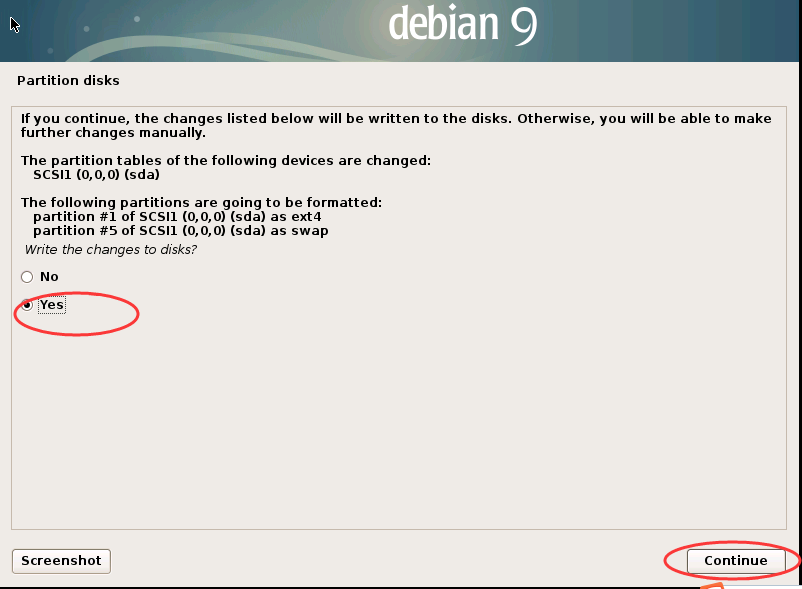
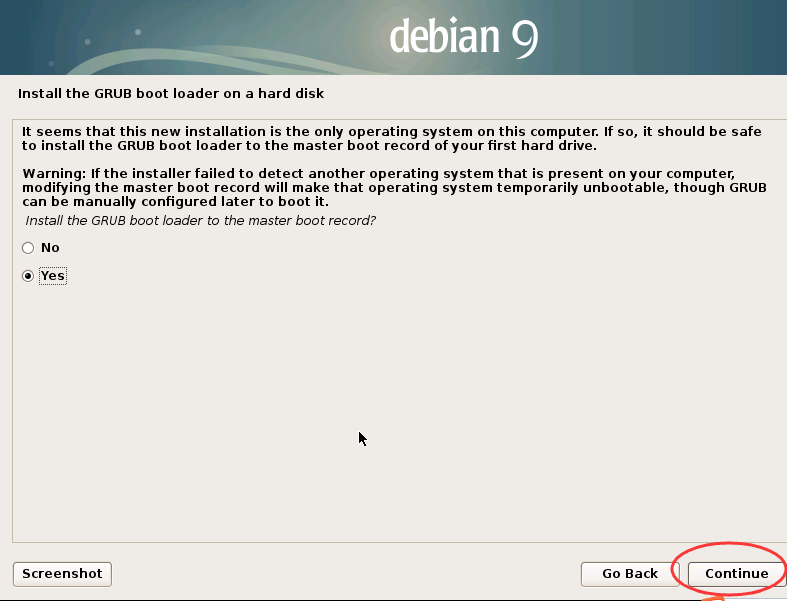
选择,yes.

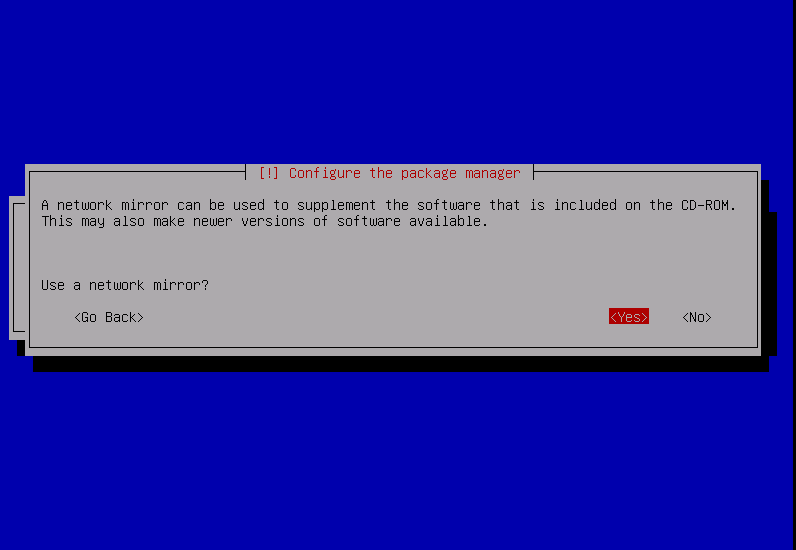
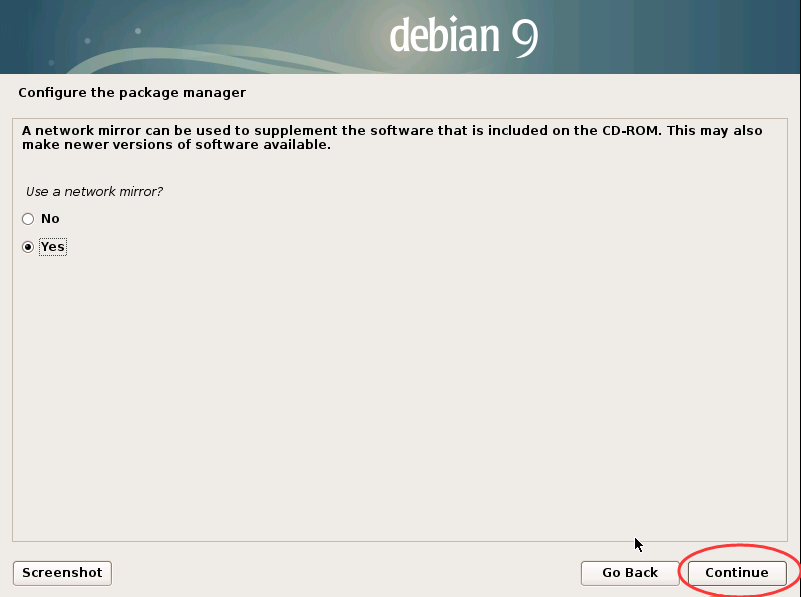
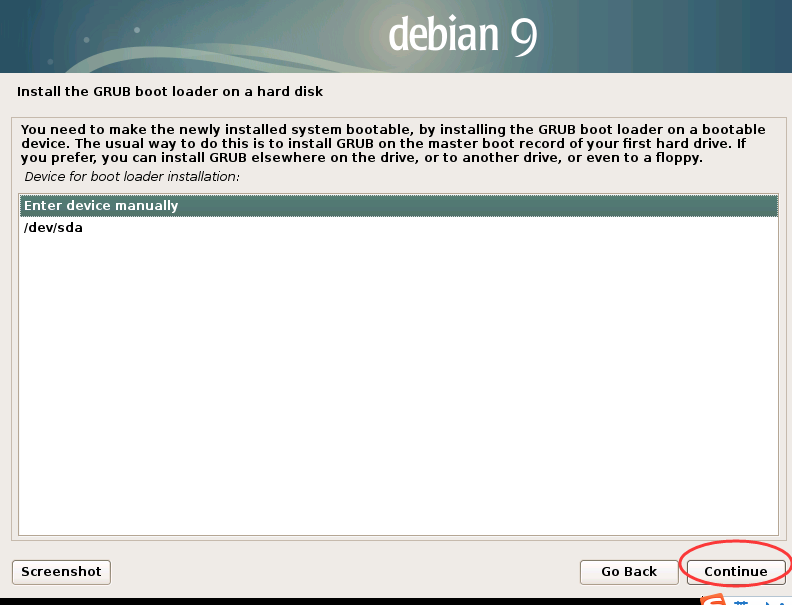
选择yes
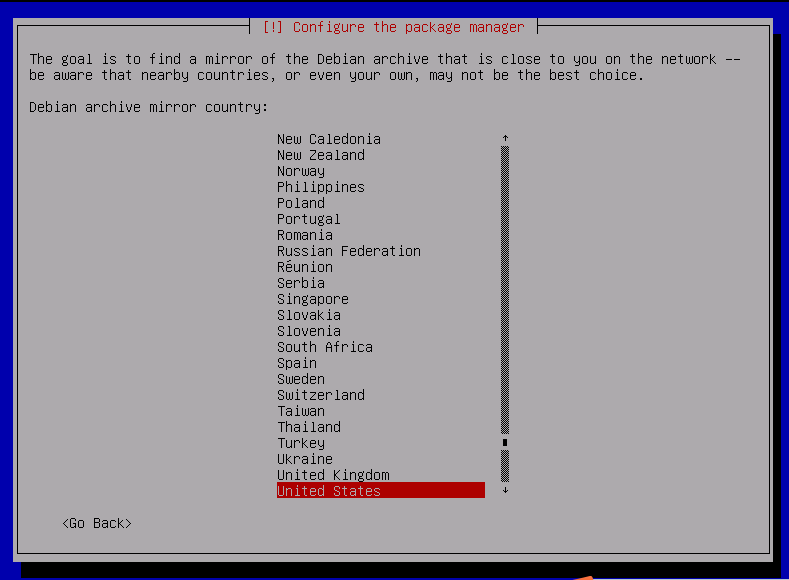
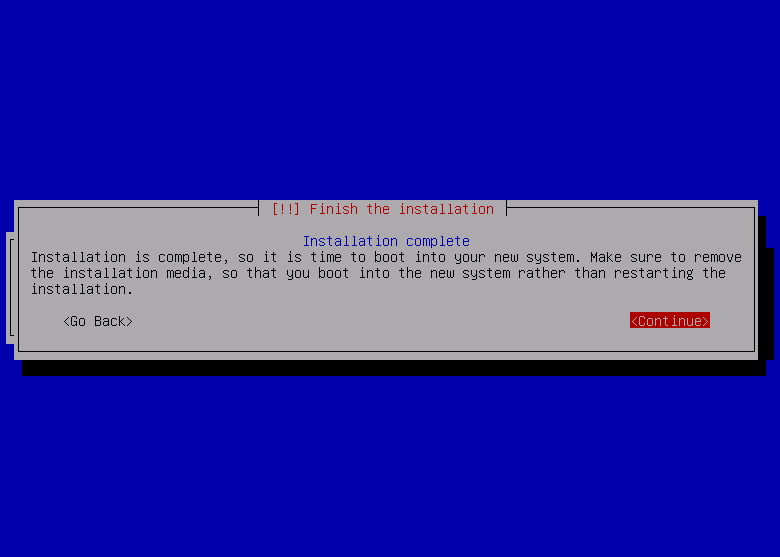
然后,经过好一段时间

回车就是
或者

或者


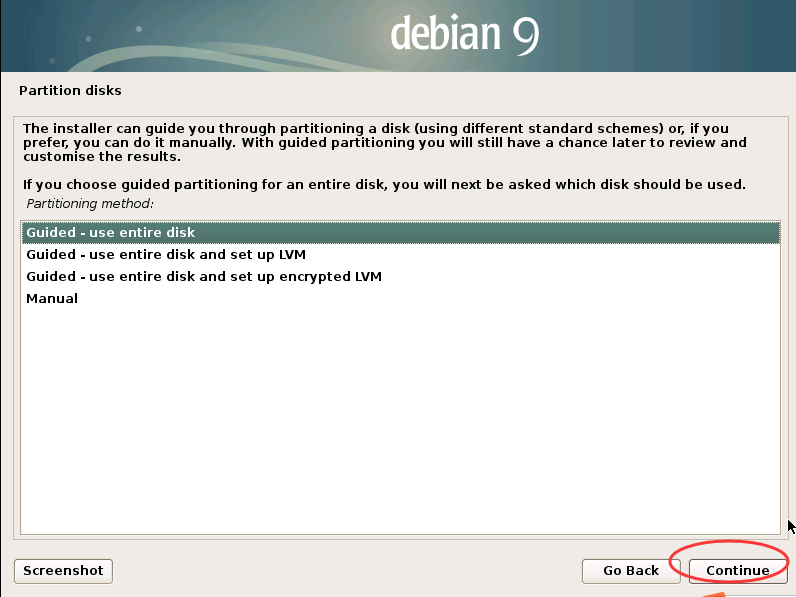
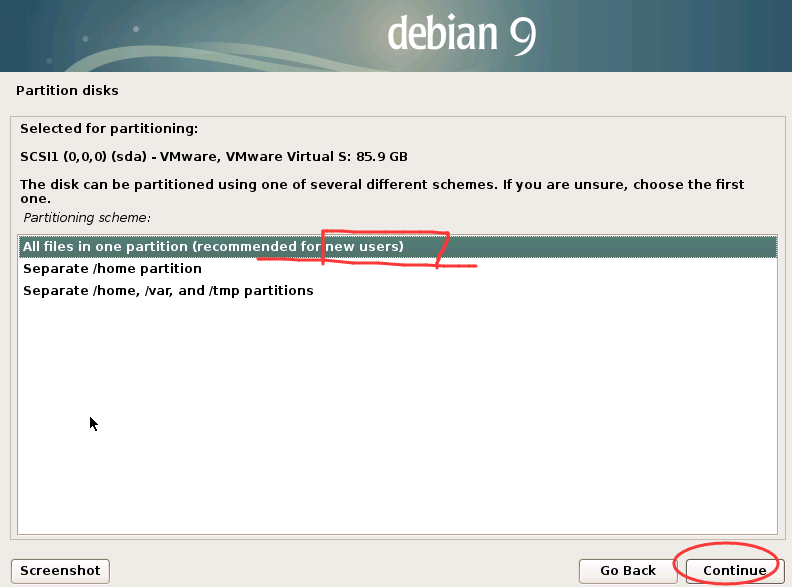
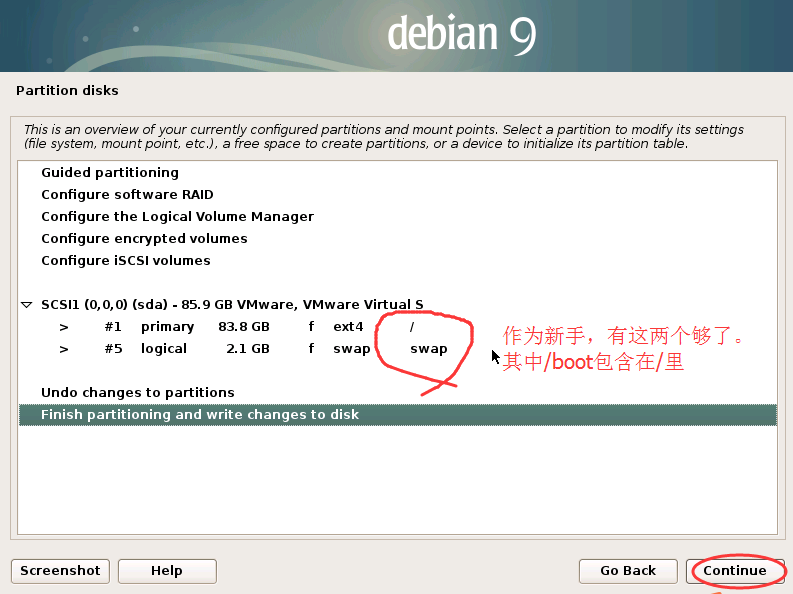
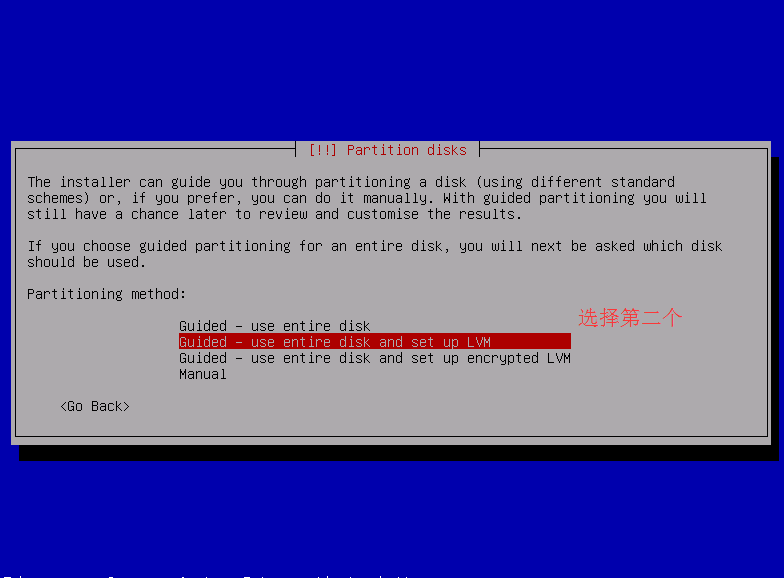
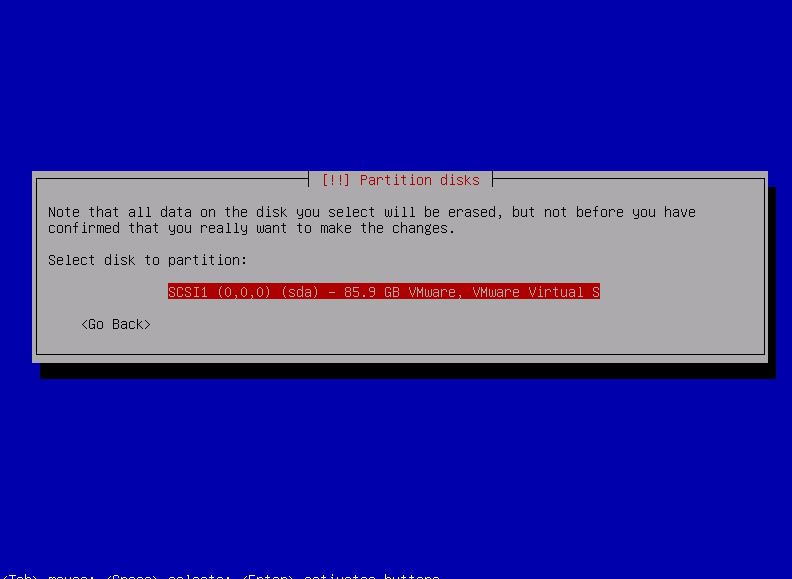
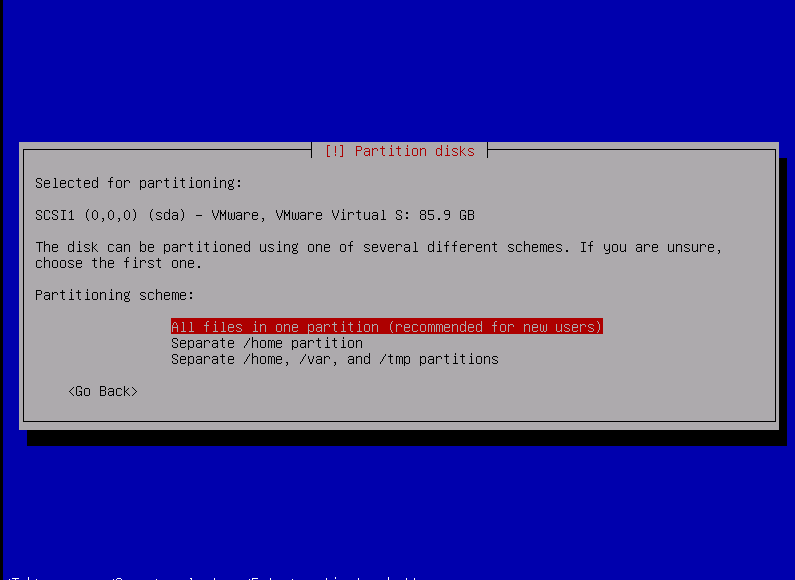
当然,若是高手,一般都要自己分区。若是要请教的话,可以在本博文的下方进行留言交流。


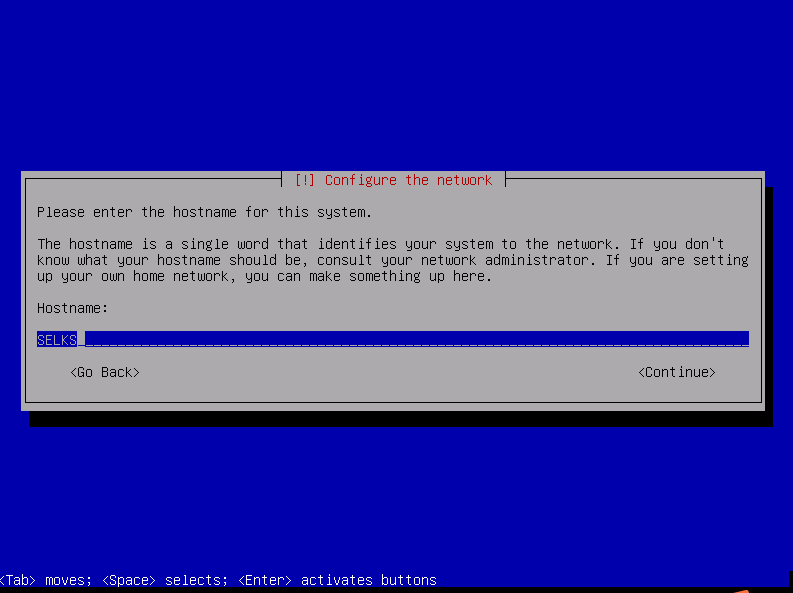
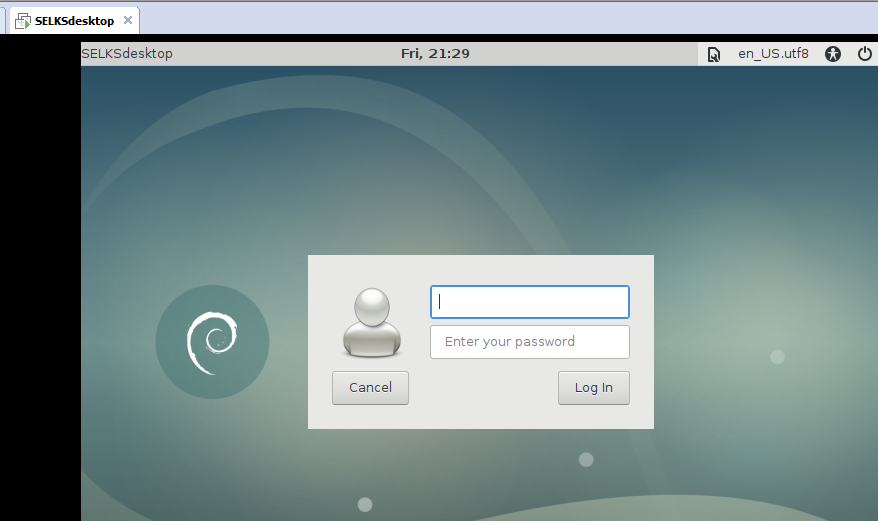
安装好之后的结果
事先,最好
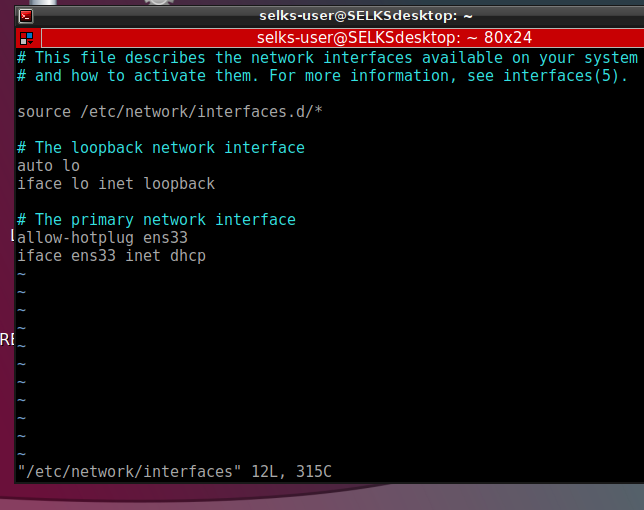
sudo vim /etc/network/interfaces
开机,这些所有的服务,都会自动启动了,非常方便和使用。
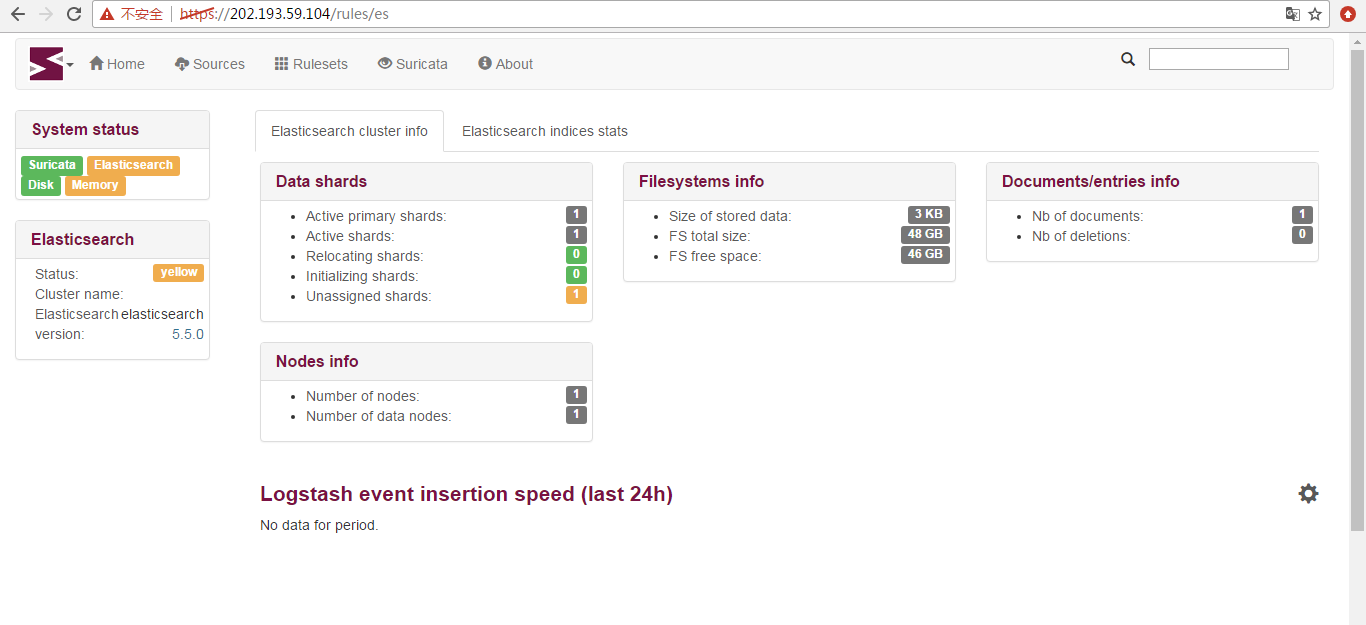
这里,若大家是用桥接模式,则是公网的ip。
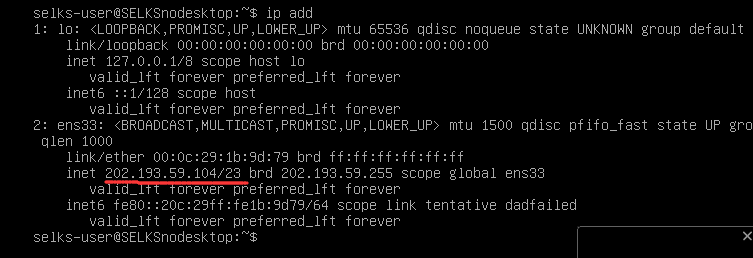
若大家是NAT模式,则是虚拟机里的ip。都可以。
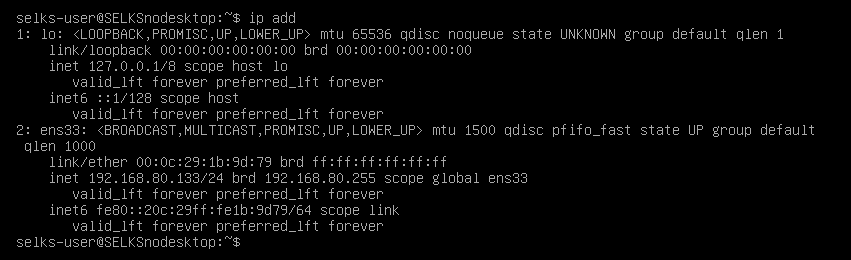
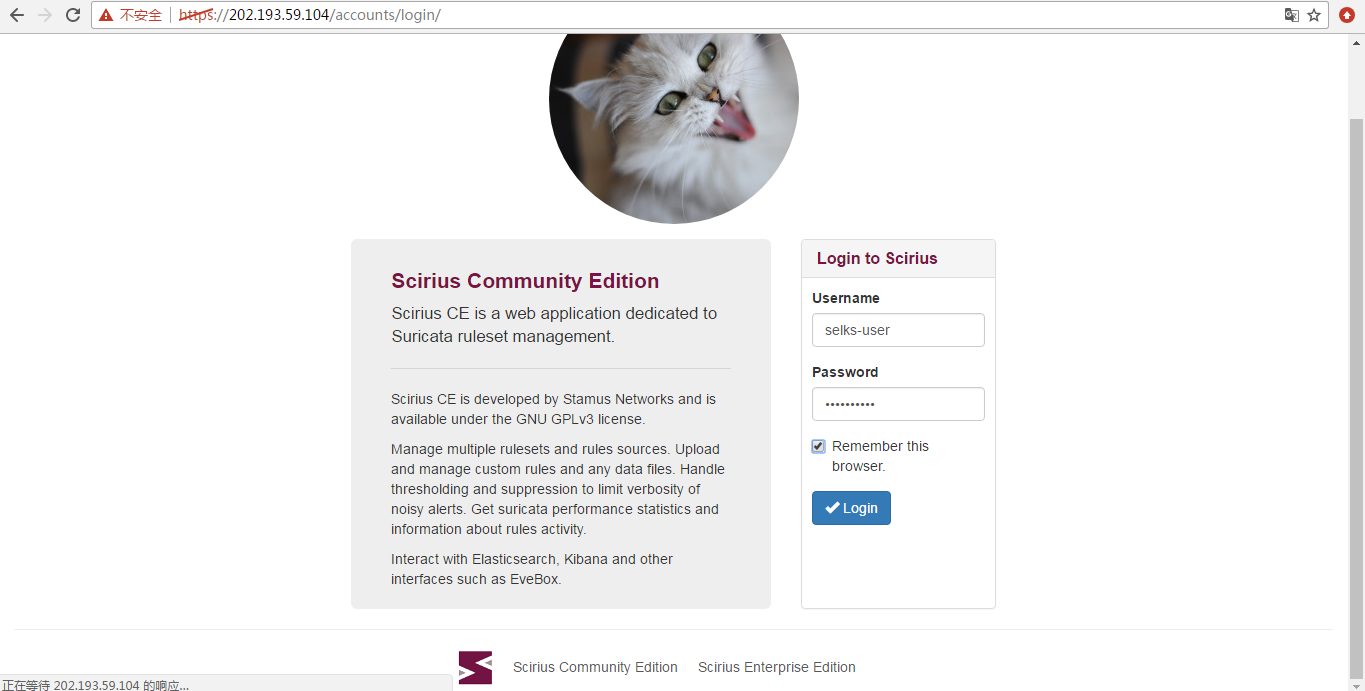
输入
https://192.168.80.133

或者


https://202.193.59.104.133
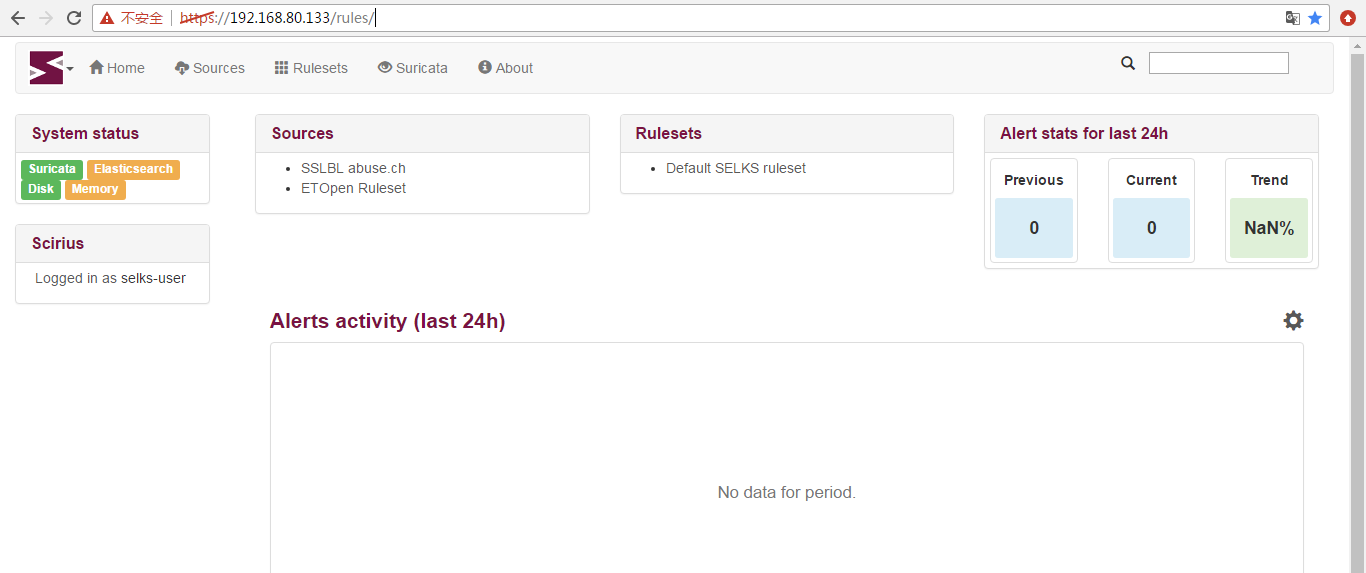
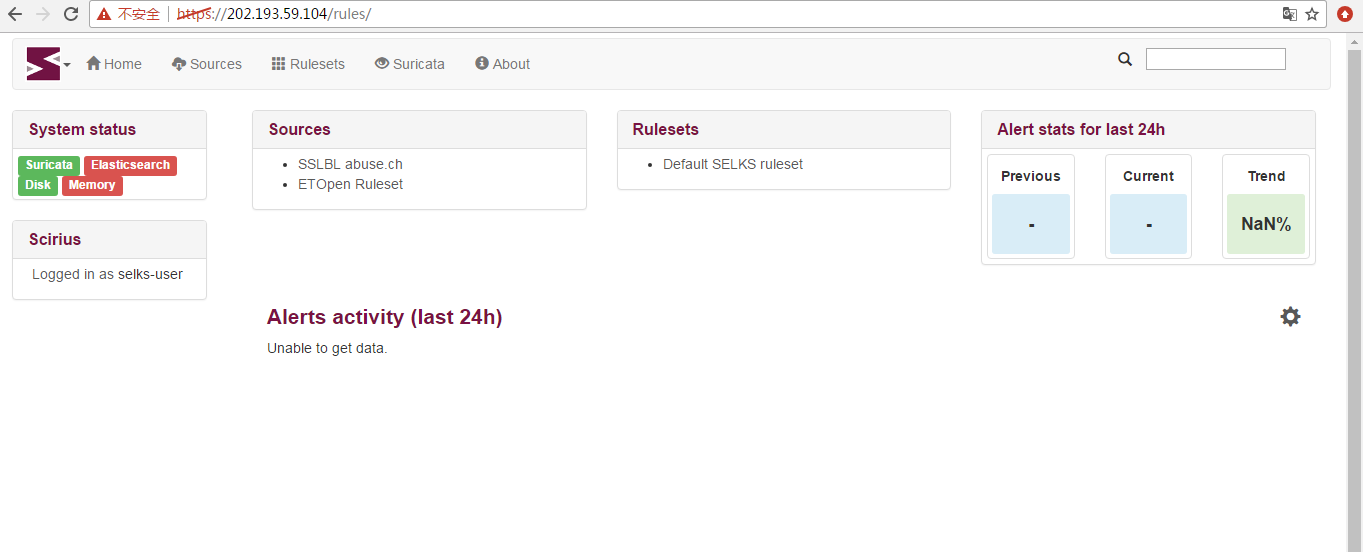
继续
如果大家,这里若出现比如 Elasticsearch没启动的话,
则,手动启动下就是
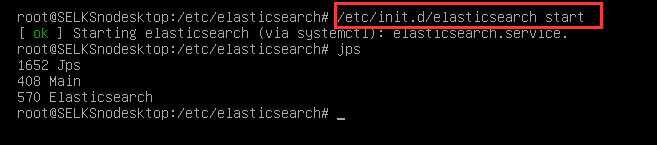
/etc/init.d/elasticsearch start
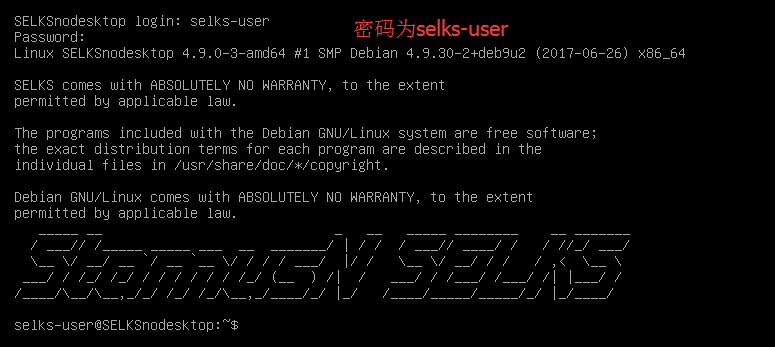
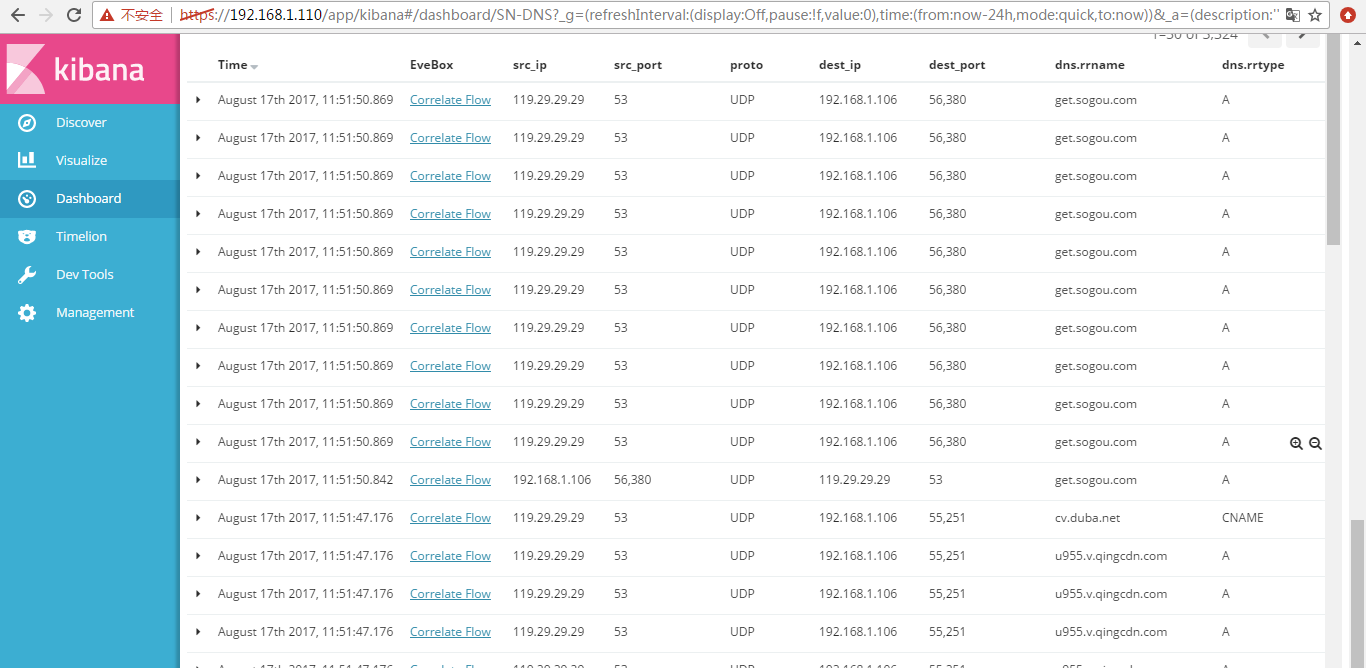
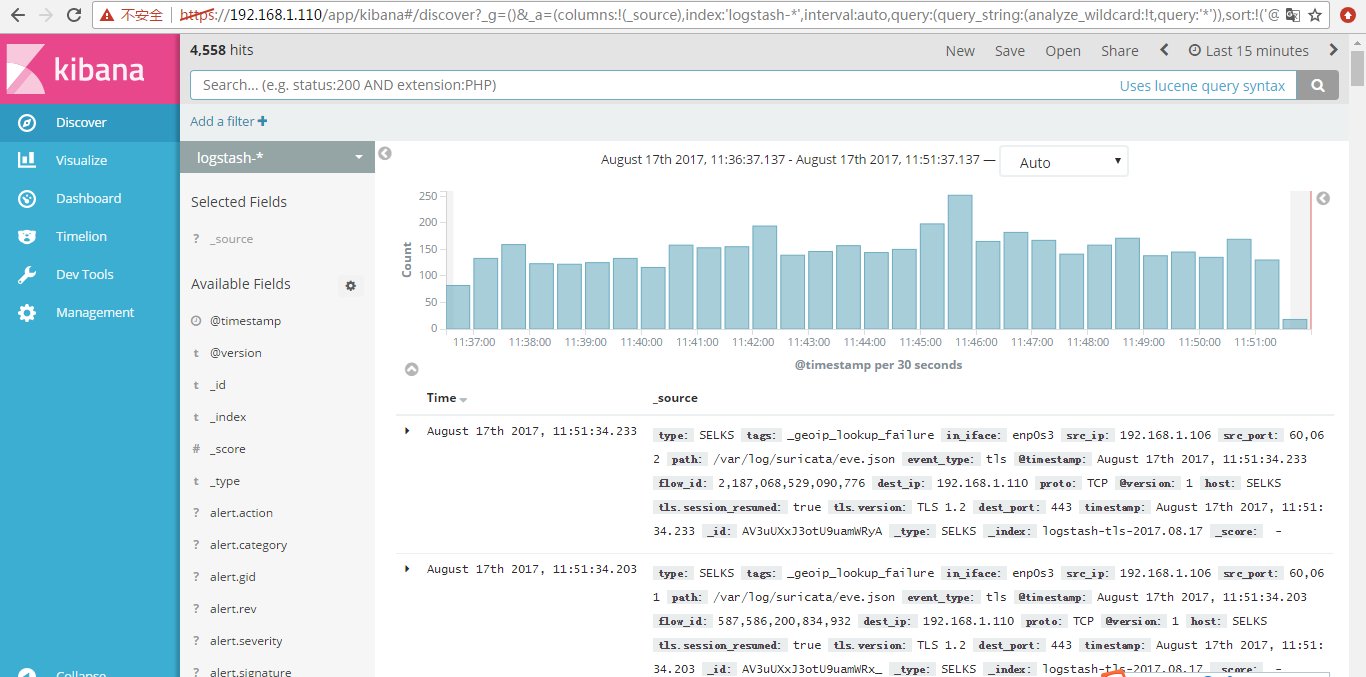
一开机,其实,这SELKS服务都已经启动了的。SELKS(Suricata IDPS、Elasticsearch 、Logstash 、Kibana 和 Scirius )
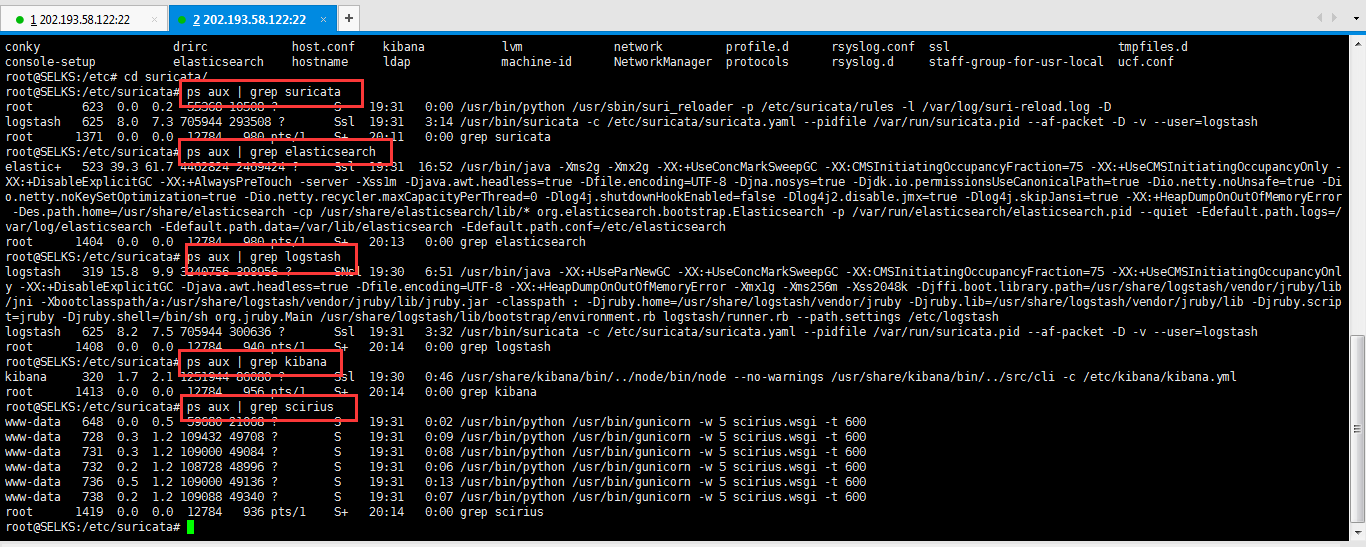
root@SELKS:/etc/suricata# ps aux | grep suricata

root         0.0  0.2    ?        S    :   : /usr/bin/python /usr/sbin/suri_reloader -p /etc/suricata/rules -l /var/log/suri-reload.log -D

logstash     8.0  7.3   ?       Ssl  :   : /usr/bin/suricata -c /etc/suricata/suricata.yaml --pidfile /var/run/suricata.pid --af-packet -D -v --user=logstash

root        0.0  0.0      pts/    S+   :   : grep suricata

root@SELKS:/etc/suricata# ps aux | grep elasticsearch

elastic+    39.3 61.7   ?     Ssl  :  : /usr/bin/java -Xms2g -Xmx2g -XX:+UseConcMarkSweepGC -XX:CMSInitiatingOccupancyFraction= -XX:+UseCMSInitiatingOccupancyOnly -XX:+DisableExplicitGC -XX:+AlwaysPreTouch -server -Xss1m -Djava.awt.headless=true -Dfile.encoding=UTF- -Djna.nosys=true -Djdk.io.permissionsUseCanonicalPath=true -Dio.netty.noUnsafe=true -Dio.netty.noKeySetOptimization=true -Dio.netty.recycler.maxCapacityPerThread= -Dlog4j.shutdownHookEnabled=false -Dlog4j2.disable.jmx=true -Dlog4j.skipJansi=true -XX:+HeapDumpOnOutOfMemoryError -Des.path.home=/usr/share/elasticsearch -cp /usr/share/elasticsearch/lib/* org.elasticsearch.bootstrap.Elasticsearch -p /var/run/elasticsearch/elasticsearch.pid --quiet -Edefault.path.logs=/var/log/elasticsearch -Edefault.path.data=/var/lib/elasticsearch -Edefault.path.conf=/etc/elasticsearch

root      1404  0.0  0.0  12784   980 pts/1    S+   20:13   0:00 grep elasticsearch

root@SELKS:/etc/suricata# ps aux | grep logstash

logstash   319 15.8  9.9 3240756 398956 ?      SNsl 19:30   6:51 /usr/bin/java -XX:+UseParNewGC -XX:+UseConcMarkSweepGC -XX:CMSInitiatingOccupancyFraction=75 -XX:+UseCMSInitiatingOccupancyOnly -XX:+DisableExplicitGC -Djava.awt.headless=true -Dfile.encoding=UTF-8 -XX:+HeapDumpOnOutOfMemoryError -Xmx1g -Xms256m -Xss2048k -Djffi.boot.library.path=/usr/share/logstash/vendor/jruby/lib/jni -Xbootclasspath/a:/usr/share/logstash/vendor/jruby/lib/jruby.jar -classpath : -Djruby.home=/usr/share/logstash/vendor/jruby -Djruby.lib=/usr/share/logstash/vendor/jruby/lib -Djruby.script=jruby -Djruby.shell=/bin/sh org.jruby.Main /usr/share/logstash/lib/bootstrap/environment.rb logstash/runner.rb --path.settings /etc/logstash

logstash   625  8.2  7.5 705944 300636 ?       Ssl  19:31   3:32 /usr/bin/suricata -c /etc/suricata/suricata.yaml --pidfile /var/run/suricata.pid --af-packet -D -v --user=logstash

root      1408  0.0  0.0  12784   940 pts/1    S+   20:14   0:00 grep logstash

root@SELKS:/etc/suricata# ps aux | grep kibana

kibana     320  1.7  2.1 1251944 86080 ?       Ssl  19:30   0:46 /usr/share/kibana/bin/../node/bin/node --no-warnings /usr/share/kibana/bin/../src/cli -c /etc/kibana/kibana.yml

root      1413  0.0  0.0  12784   956 pts/1    S+   20:14   0:00 grep kibana

root@SELKS:/etc/suricata# ps aux | grep scirius

www-data   648  0.0  0.5  59680 21068 ?        S    19:31   0:02 /usr/bin/python /usr/bin/gunicorn -w 5 scirius.wsgi -t 600

www-data   728  0.3  1.2 109432 49708 ?        S    19:31   0:09 /usr/bin/python /usr/bin/gunicorn -w 5 scirius.wsgi -t 600

www-data   731  0.3  1.2 109000 49084 ?        S    19:31   0:08 /usr/bin/python /usr/bin/gunicorn -w 5 scirius.wsgi -t 600

www-data   732  0.2  1.2 108728 48996 ?        S    19:31   0:06 /usr/bin/python /usr/bin/gunicorn -w 5 scirius.wsgi -t 600

www-data   736  0.5  1.2 109000 49136 ?        S    19:31   0:13 /usr/bin/python /usr/bin/gunicorn -w 5 scirius.wsgi -t 600

www-data   738  0.2  1.2 109088 49340 ?        S    19:31   0:07 /usr/bin/python /usr/bin/gunicorn -w 5 scirius.wsgi -t 600

root      1419  0.0  0.0  12784   936 pts/1    S+   20:14   0:00 grep scirius

root@SELKS:/etc/suricata#
得到
/etc/init.d/kibana start
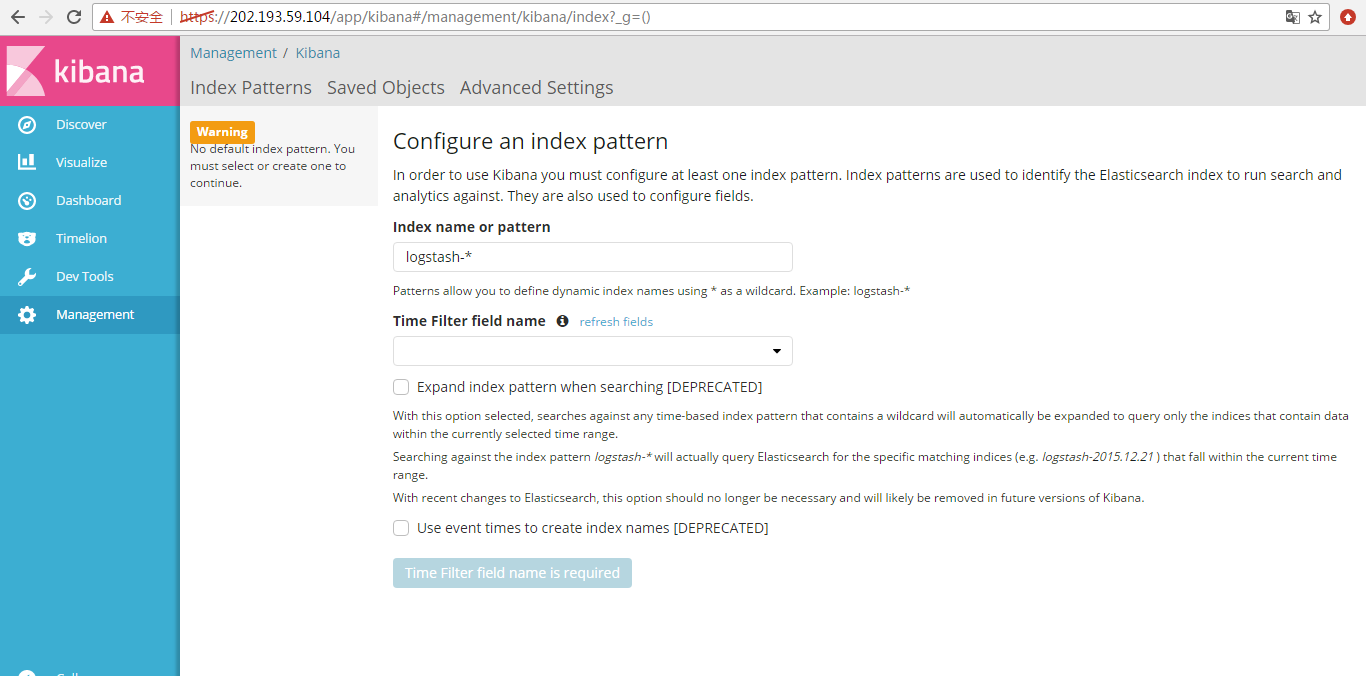
这个,大家自行去研究吧!
debian官网的网络配置
https://wiki.debian.org/NetworkConfiguration
参考
http://www.mamicode.com/info-detail-1908201.html
因为,大家都知道,这个SELKS是基于Debian 9的。
刚安装完毕的服务器是没有接口IP地址信息的,所以还需要对系统配置eth0接口IP地址。
新安装的debian9是没有ifconfig,命令的,因此你可以使用cat /etc/network/interface进行查看你的网卡配置。
很明显没有eth0接口信息,因此,我们使用nano /etc/network/interfaces手工配置一下。
强烈建议,大家去这个官网里!!!
http://www.itzgeek.com/how-tos/mini-howtos/change-default-network-name-ens33-to-old-eth0-on-ubuntu-16-04.html
https://lists.debian.org/debian-user/2017/06/msg00511.html
对此,我目前对VMare里不太会设置混杂模式的网卡,所以后面改成Virtuabox了。
作为扩展
怎么Snort + Tcpreplay搭配使用重放DARPA 1999数据集?(图文详解)
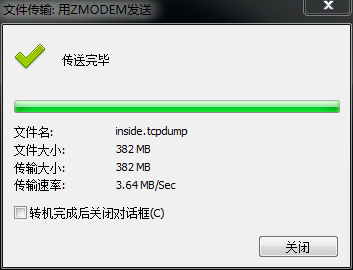
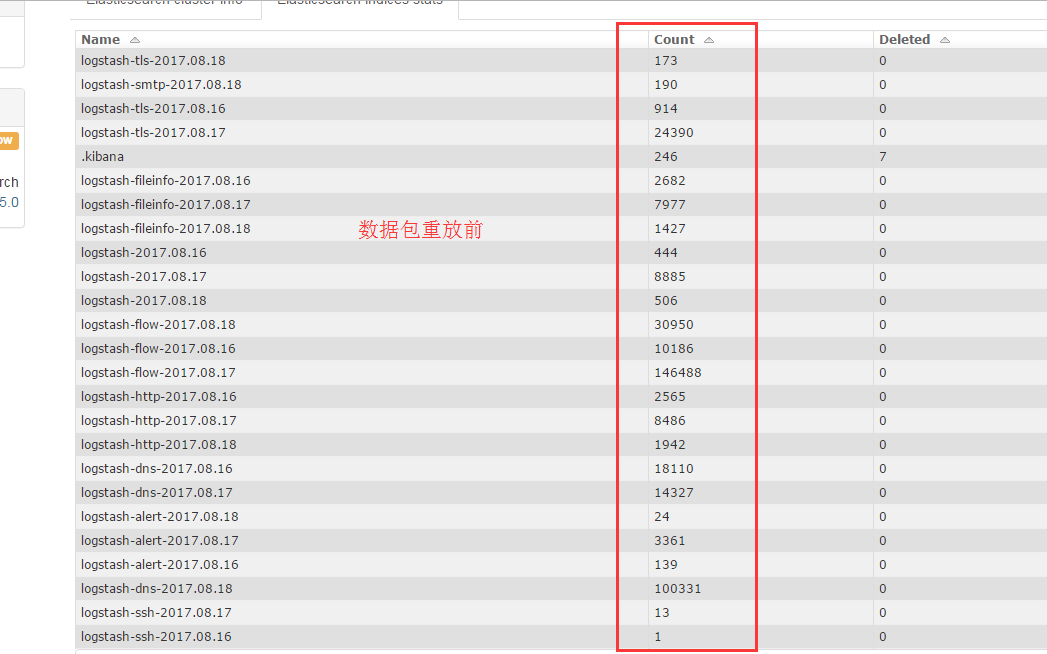
我这里采用,自带的tcpreplay来重放数据。
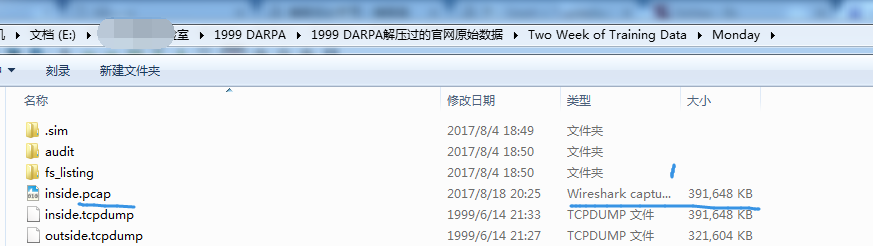
我这里重放的是,DARPA 1999数据集的第二周的星期一的内网数据集。
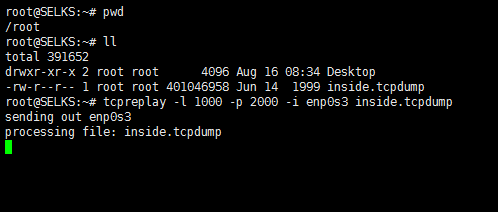
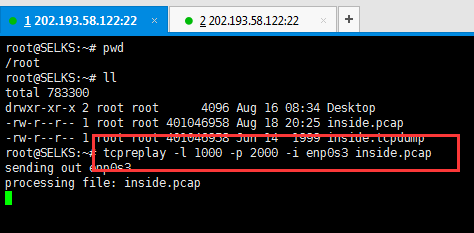
root@SELKS:~# pwd

/root

root@SELKS:~# ll

total

drwxr-xr-x  root root       Aug  : Desktop

-rw-r--r--  root root  Jun    inside.tcpdump

root@SELKS:~# tcpreplay -l  -p  -i enp0s3 inside.tcpdump

sending out enp0s3

processing file: inside.tcpdump
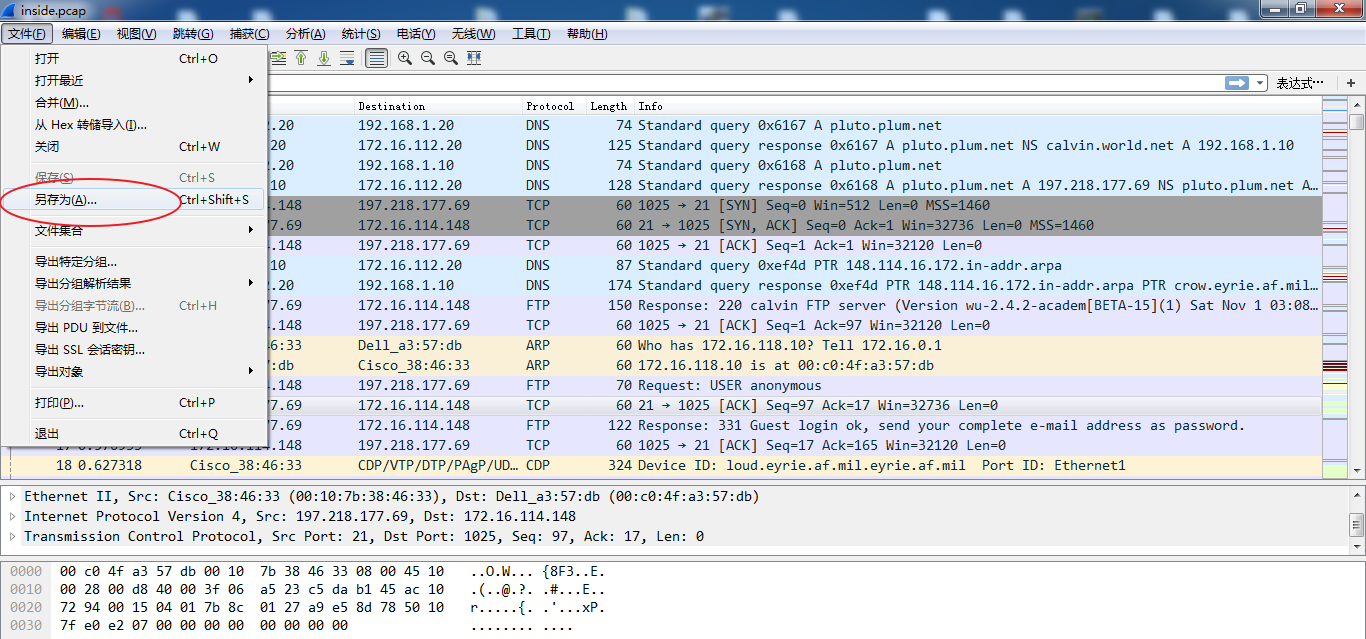
其实,对于tcpdump格式的包,其实,需要转换格式为pcap格式的包,这样才可以重放。
然后,
root@SELKS:~# pwd

/root

root@SELKS:~# ll

total

drwxr-xr-x  root root       Aug  : Desktop

-rw-r--r--  root root  Aug  : inside.pcap

-rw-r--r--  root root  Jun    inside.tcpdump

root@SELKS:~# tcpreplay -l  -p  -i enp0s3 inside.pcap

sending out enp0s3

processing file: inside.pcap


selks-user@SELKS:~/pcap$ pwd

/home/selks-user/pcap

selks-user@SELKS:~/pcap$ ls

arp_resolution.pcap  aurora.pcap  dns_axfr.pcap  http_espn.pcap  http_google.pcap  http_post.pcap  icmp_echo.pcap  tcp_ports.pcap  udp_dnsrequest.pcap

selks-user@SELKS:~/pcap$ sudo tcpreplay -l  -p  -i enp0s3 icmp_echo.pcap
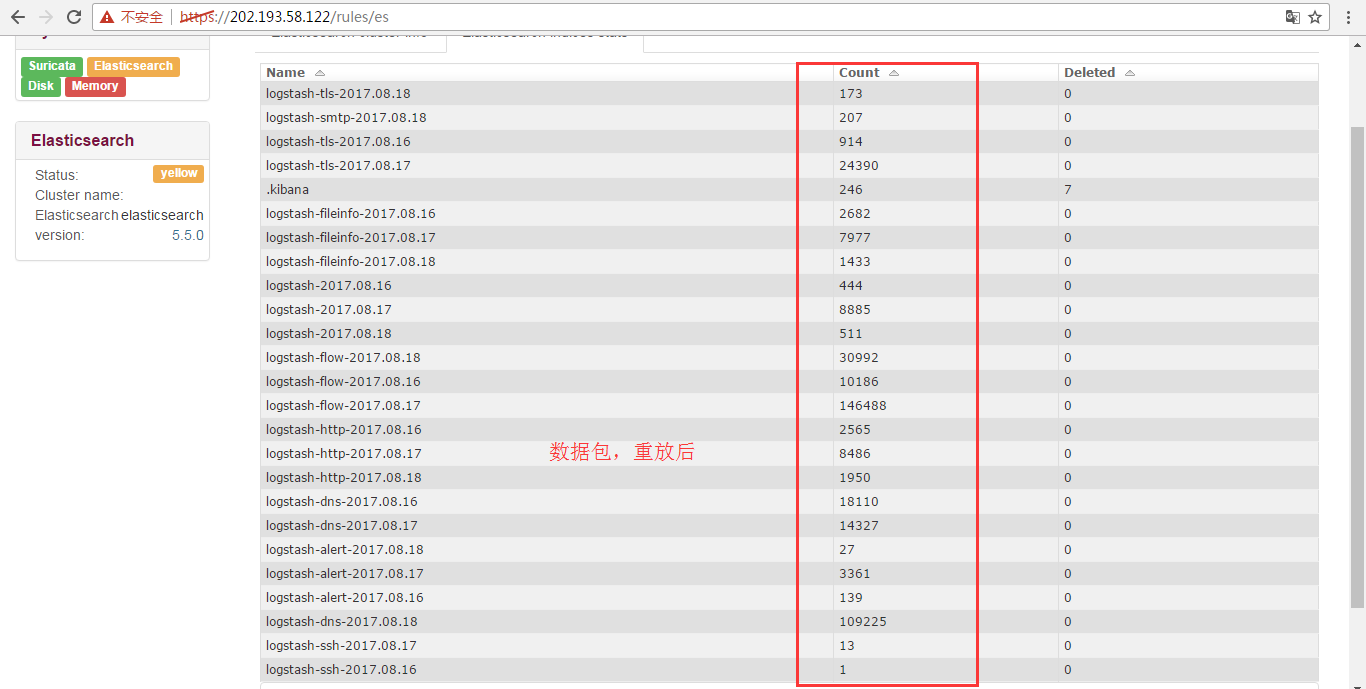
轻微多了几条而已。连续重放。连续重放10分钟看看。
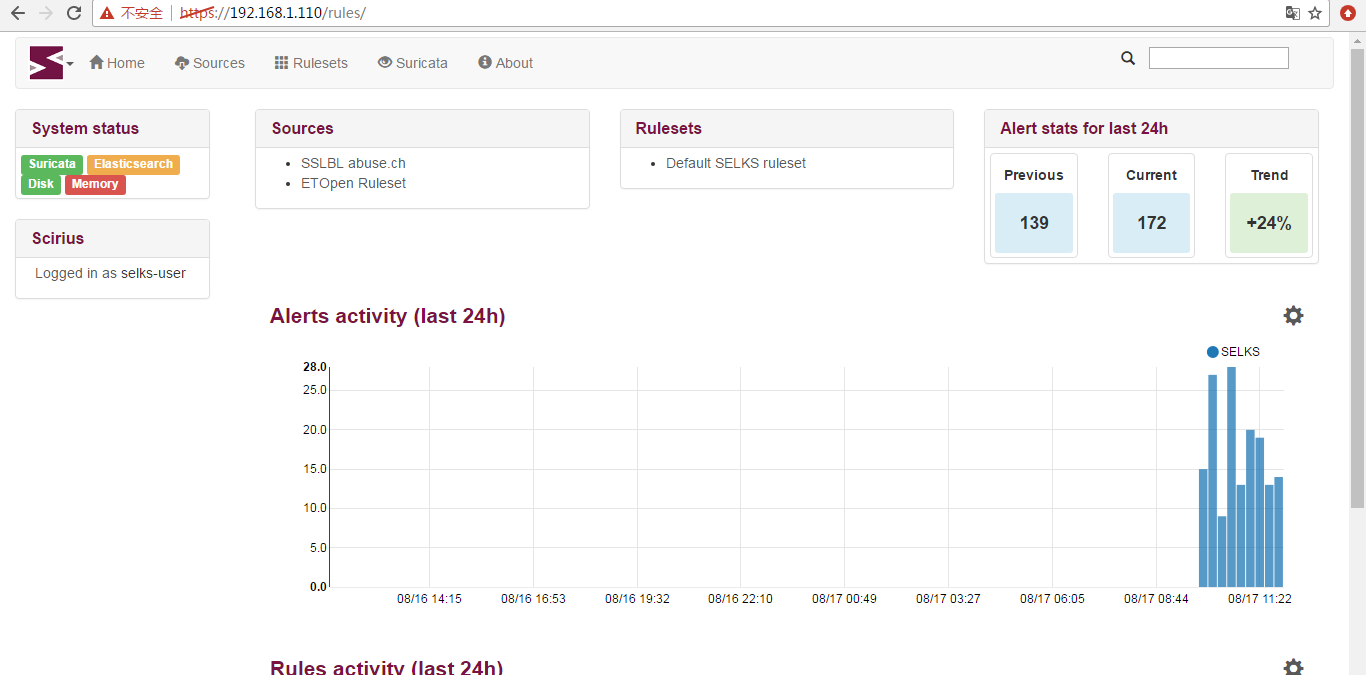
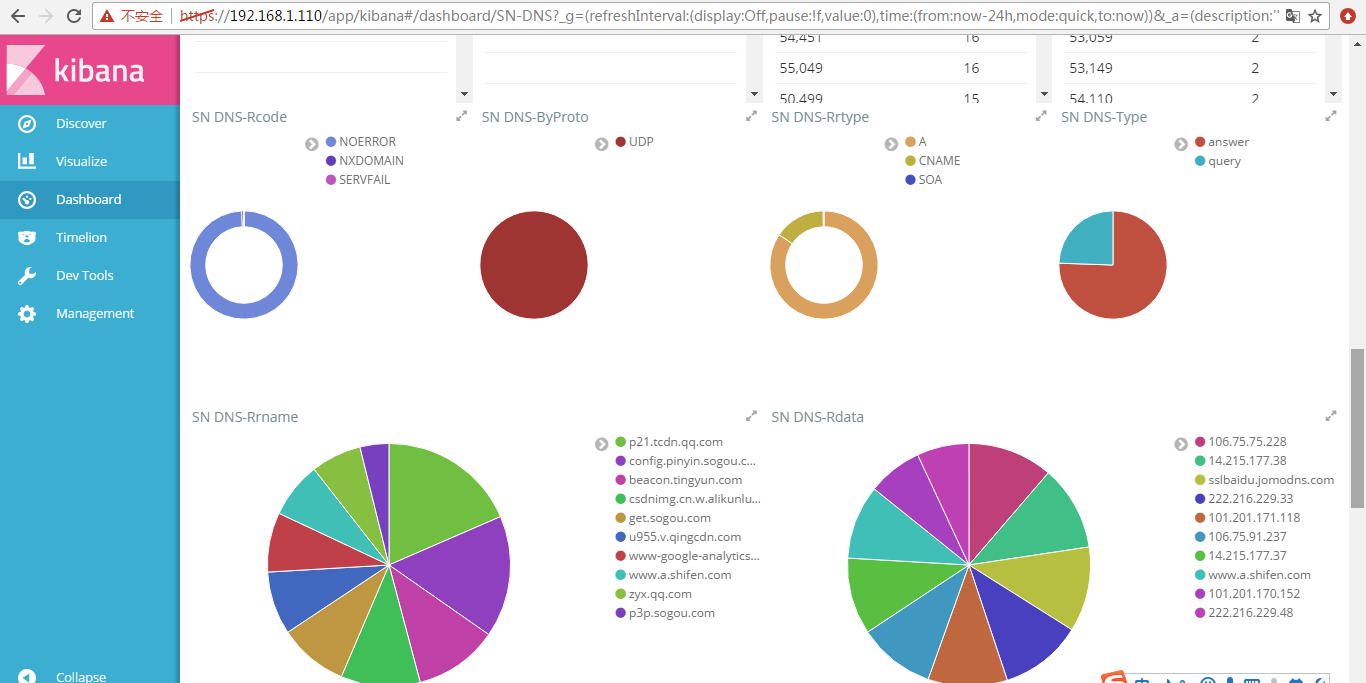
关于SELKS的详细,请看
http://blog.csdn.net/upupday19/article/details/77982722
Stamus Networks的产品SELKS(Suricata IDPS、Elasticsearch 、Logstash 、Kibana 和 Scirius )的下载和安装(带桌面版和不带桌面版)(图文详解)的更多相关文章
- suricata.yaml (一款高性能的网络IDS、IPS和网络安全监控引擎)默认配置文件(图文详解)
不多说,直接上干货! 前期博客 基于CentOS6.5下Suricata(一款高性能的网络IDS.IPS和网络安全监控引擎)的搭建(图文详解)(博主推荐) 或者 基于Ubuntu14.04下Suric ...
- 基于CentOS6.5下Suricata(一款高性能的网络IDS、IPS和网络安全监控引擎)的搭建(图文详解)(博主推荐)
不多说,直接上干货! 为什么,要写这篇论文? 是因为,目前科研的我,正值研三,致力于网络安全.大数据.机器学习研究领域! 论文方向的需要,同时不局限于真实物理环境机器实验室的攻防环境.也不局限于真实物 ...
- 基于CentOS6.5或Ubuntu14.04下Suricata里搭配安装 ELK (elasticsearch, logstash, kibana)(图文详解)
前期博客 基于CentOS6.5下Suricata(一款高性能的网络IDS.IPS和网络安全监控引擎)的搭建(图文详解)(博主推荐) 基于Ubuntu14.04下Suricata(一款高性能的网络ID ...
- 【转】ELK(ElasticSearch, Logstash, Kibana)搭建实时日志分析平台
[转自]https://my.oschina.net/itblog/blog/547250 摘要: 前段时间研究的Log4j+Kafka中,有人建议把Kafka收集到的日志存放于ES(ElasticS ...
- 使用ELK(Elasticsearch + Logstash + Kibana) 搭建日志集中分析平台实践--转载
原文地址:https://wsgzao.github.io/post/elk/ 另外可以参考:https://www.digitalocean.com/community/tutorials/how- ...
- (转)开源分布式搜索平台ELK(Elasticsearch+Logstash+Kibana)入门学习资源索引
Github, Soundcloud, FogCreek, Stackoverflow, Foursquare,等公司通过elasticsearch提供搜索或大规模日志分析可视化等服务.博主近4个月搜 ...
- ElasticSearch和Kibana 5.X集群的安装
ElasticSearch和Kibana 5.X集群的安装 1.准备工作 1.1.下载安装包 1.2.系统的准备 2.ElasticSearch集群的安装 2.1.修改 config/elastics ...
- 基于ELK5.1(ElasticSearch, Logstash, Kibana)的一次整合测试
前言开源实时日志分析ELK平台(ElasticSearch, Logstash, Kibana组成),能很方便的帮我们收集日志,进行集中化的管理,并且能很方便的进行日志的统计和检索,下面基于ELK的最 ...
- ELK日志系统:Elasticsearch+Logstash+Kibana+Filebeat搭建教程
ELK日志系统:Elasticsearch + Logstash + Kibana 搭建教程 系统架构 安装配置JDK环境 JDK安装(不能安装JRE) JDK下载地址:http://www.orac ...
随机推荐
- [原创+分享]Mandelbrot Explorer
Mandelbrot Explorer 是一款用于在MandelBort集/Julia集上进行无限漫游的软件,使用VS2013+CUDA6.5开发而成.它也是我学习CUDA开发的一个小小的成果,欢迎大 ...
- FFMpeg2.4.2 on Ubuntu14.04
FFmpeg 2.4 "Fresnel" – is the leading multimedia framework, cross-platform solution tha ...
- MongoDB 自己定义函数
定义 db.system.js.insert({ _id : "TestConcat", value : function TestConcat(s1, s2){ return s ...
- 理解static关键字
1.static 变量是类变量,通过类名引用. 2.static 方法不需要针对某个对象进行操作,其运行结果仅仅与输入的参数有关,调用时直接类名引用. 3.static 方法不能对非静态成员进行访问. ...
- Hessian Matrix 多元函数的极值 半正定矩阵 正定矩阵
https://baike.baidu.com/item/黑塞矩阵/2248782?fr=aladdin 海塞矩阵 Hasse https://baike.baidu.com/item/半正定矩阵
- 什么是 jQuery EasyUI
jQuery EasyUI 是一个基于 jQuery 的框架,集成了各种用户界面插件. jQuery EasyUI 框架提供了创建网页所需的一切,帮助您轻松建立站点. easyui 是一个基于 jQu ...
- PP-生产订单状态
转自:http://www.cnblogs.com/mingdashu/p/5566108.html SAP系统的常见订单状态如下: · CRTD (创建):标识生产订单刚刚创建,此时禁 ...
- mongo11---Access control is not enabled for the database
今天使用MongoDB时遇到了一些问题 建立数据库连接时出现了warnings 出现这个警告的原因是新版本的MongDB为了让我们创建一个安全的数据库 必须要进行验证 后来在外网找到了答案 解决方案如 ...
- ubuntu12.04 64位系统配置jdk1.6和jdk-6u20-linux-i586.bin下载地址
1:下载地址http://code.google.com/p/autosetup1/downloads/detail?name=jdk-6u20-linux-i586.bin&can=2&am ...
- CentOS 7下修改rabbitmq打开文件数量方法
以下为使用systemd的修改方法: 1.系统层修改: 通过修改sysctl配置,提高系统的打开文件数量 vim /etc/sysctl.conf,添加: fs.file-max = 65535 ...