
wangeditor富编辑器在node和vue前后台分离的使用
本来是想用百度的ueditor编辑器来达到想要的功能的,但在使用中,感觉前后台分离上,需要引入的东西过多,不轻量;然后就去尝试用wangeditor(这个名字听着感觉有点太随意的感觉。。。。但功能上还是很严谨,很轻量的);
官网:https://www.kancloud.cn/wangfupeng/wangeditor3/335782
具体使用方法如下:
一:我使用的开发环境
后台是用的express生成器,生成的后台node环境;
前台是用的vue-cli的脚手架直接搭建的项目;
二:前台的配置
2.1 进入自己的前台项目,打开cmd控制台,输入 : npm install wangeditor --save ;就完成了安装插件到自己项目中;还是很easy的;
2.2 进入src - components 新建wangEditor.vue模板文件,文件的具体内容和解释如下:
<template>

    <div id="myWangEditor" ref="myWangEditor">

        <p>欢迎使用 <b>wangEditor</b> 富文本编辑器</p>

    </div>

</template>

<script>

    import wangEditor from 'wangeditor';  //引入刚npm安装的wangeditor插件

    export default({

        name:"MyWangEditor",

        data(){

            return {

                editorContent : "" //内容

            }

        },

        created(){

        },

        mounted(){

            var _this = this;

            var editor = new wangEditor(this.$refs.myWangEditor); //实例化wangeditor
editor.customConfig = {
onchange : (html) =>{this.editorContent = html;} ,
uploadImgMaxSize : 3 * 1024 * 1024 , // 将图片大小限制为 3M
uploadImgMaxLength : 1 , // 限制一次最多上传 1 张图片
uploadFileName : 'myFileName' , //设置上传图片文件的时候,后台接受的文件名,files.myFileName;
withCredentials : true , //跨域上传中如果需要传递 cookie 需设置 withCredentials
uploadImgTimeout : 3000 , //自定义 timeout 时间,这里是设置的3秒
uploadImgServer : 'http://10.55.4.74:3000/ueditor/wangeditor/upload' , //上传到后台的接口
};
/*editor.customConfig.uploadImgParams = {//如果要自定义传一些参数,就在这里;
// 如果版本 <=v3.1.0 ,属性值会自动进行 encode ,此处无需 encode
// 如果版本 >=v3.1.1 ,属性值不会自动 encode ,如有需要自己手动 encode
img_name:_this.img_name,
token: 'abcdef12345'
};*/
            this.toListenUp(editor);//监听上传的各个阶段

            editor.create();

        },

        methods:{

            toListenUp:function(editor){ //监听上传图片的几个阶段,和做相应的处理

                var _this = this;

                editor.customConfig.uploadImgHooks = {

                    before: function (xhr, editor, files) {

                        // 图片上传之前触发

                        // xhr 是 XMLHttpRequst 对象,editor 是编辑器对象,files 是选择的图片文件

                        // 如果返回的结果是 {prevent: true, msg: 'xxxx'} 则表示用户放弃上传

                        // return {

                        //     prevent: true,

                        //     msg: '放弃上传'

                        // }

                    },

                    success: function (xhr, editor, result) {

                        // 图片上传并返回结果,图片插入成功之后触发

                        // xhr 是 XMLHttpRequst 对象,editor 是编辑器对象,result 是服务器端返回的结果

                    },

                    fail: function (xhr, editor, result) {

                        // 图片上传并返回结果,但图片插入错误时触发

                        // xhr 是 XMLHttpRequst 对象,editor 是编辑器对象,result 是服务器端返回的结果

                    },

                    error: function (xhr, editor) {

                        // 图片上传出错时触发

                        // xhr 是 XMLHttpRequst 对象,editor 是编辑器对象

                    },

                    timeout: function (xhr, editor) {

                        // 图片上传超时时触发

                        // xhr 是 XMLHttpRequst 对象,editor 是编辑器对象

                    },

                    // 如果服务器端返回的不是 {errno:0, data: [...]} 这种格式,可使用该配置

                    // (但是,服务器端返回的必须是一个 JSON 格式字符串!!!否则会报错)

                    customInsert: function (insertImg, result, editor) {

                        // 图片上传并返回结果,自定义插入图片的事件(而不是编辑器自动插入图片!!!)

                        // insertImg 是插入图片的函数,editor 是编辑器对象,result 是服务器端返回的结果// 举例:假如上传图片成功后,服务器端返回的是 {url:'....'} 这种格式,即可这样插入图片:

                        var url = result.data[0]  ; //获取后台返回的图片路径

                        insertImg(url) ;//把图片路径展示在编辑器里面

                        // result 必须是一个 JSON 格式字符串!!!否则报错

                    }

                    }

                }

            }

    })

</script>

<style>

</style>
2.3 前台配置基本简洁的配置就是这些,还有些参数配置,可以去看官网;
三:后台node的配置
3.1 进入后台项目文件夹 routes 新建路由js文件 ueditor.js , 建立一个后台接受图片上传的接口,具体代码如下:
var express = require('express');

var router = express.Router();

var formidable = require('formidable');  //上传图片处理的插件

var fs = require("fs");  //文件模块

var context = require('../public/javascripts/context'); //环境的一些配置

//wangeditor上传图片的地址

router.post("/wangeditor/upload",function(req,res,next){

    var form = new formidable.IncomingForm();

    //设置文件上传存放地址(需要先把这个文件夹,在项目中建好)

    form.uploadDir = "./public/images/wang";

    //执行里面的回调函数的时候,表单已经全部接收完毕了。

    form.parse(req, function(err, fields, files) {

            var oldpath = files.myFileName.path; //myFileName就是我们刚在前台模板里面配置的后台接受的名称;

            var extname = files.myFileName.name; //因为formidable这个时候存在我们刚路径上的,只是一个path,还没有具体的扩展名,如:2.png这样的

            //新的路径由组成:原父路径 + 拓展名

            var newpath = "./public/images/wang/" + extname;

            //改名

            fs.rename(oldpath, newpath, function(err) { //把之前存的图片换成真的图片的完整路径

                if(err) {

                    res.send({errno:1,data:[]});

                };

                var mypath = newpath.replace("./public","http://" + context.ip +":3000"); //context.ip是我自己设置的后台的ip名,根据环境,可以是localhost,也可以是电脑ip

                res.send({errno:0,data:[mypath]}) //返回图片路径,让前端展示

            });

    });

})

module.exports = router;   //暴露接口
3.2 在主app.js中,设置路由,让前台访问到,如下:
...........别的原有的配置,忽略。。。。

//新加:

var ueditor = require('./routes/ueditor');

app.use("/ueditor",ueditor);
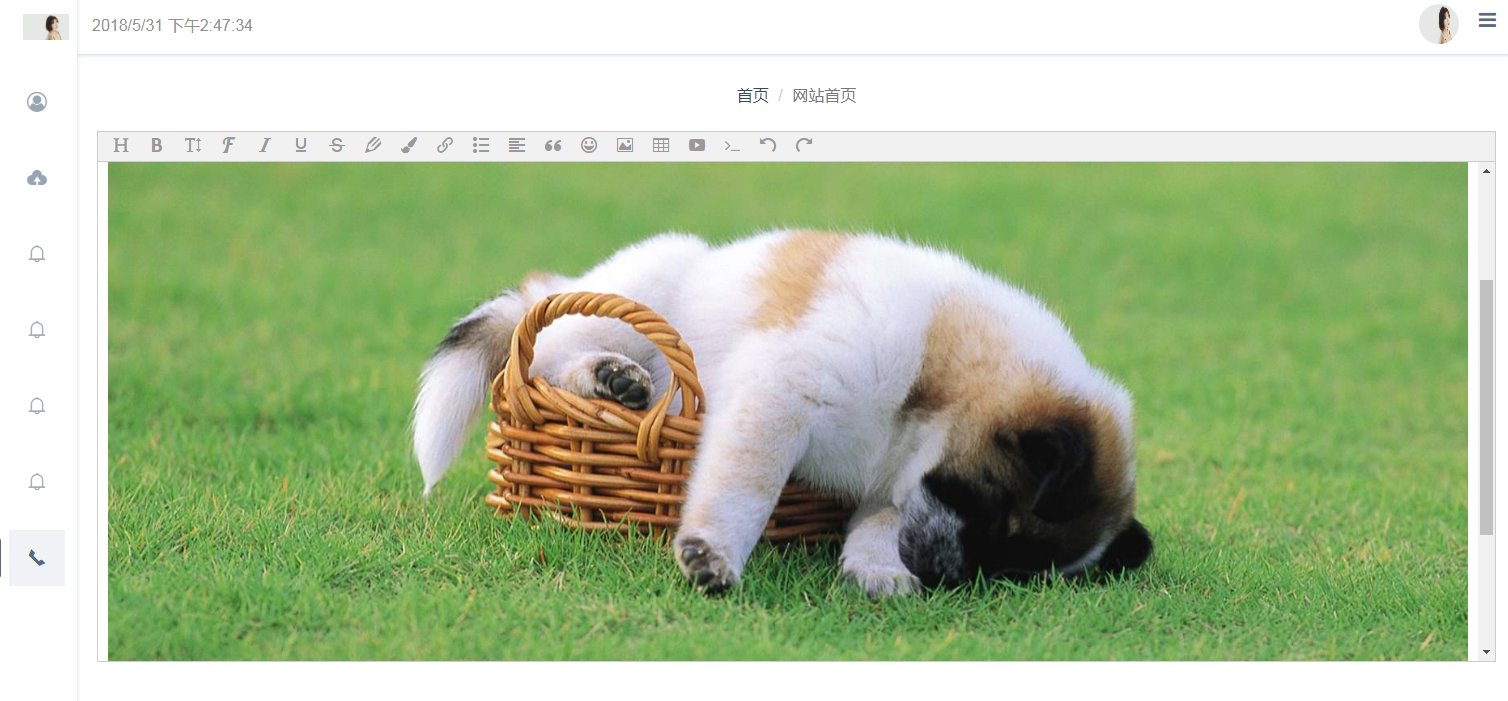
四:最后的效果就如下图:
wangeditor富编辑器在node和vue前后台分离的使用的更多相关文章
- VUE前后台分离
VUE前后台分离 配置js环境 jQuery >: cnpm install jquery vue/cli 3 配置jQuery:在vue.config.js中配置(没有,手动项目根目录下新建) ...
- [跨域问题]ssm+vue前后台分离跨域问题解决方法
跨域未解决时: Access to XMLHttpRequest at 'http://localhost:8080/vue/findall from origin 'http://localhost ...
- 「newbee-mall新蜂商城开源啦」 页面优化,最新版 wangEditor 富文本编辑器整合案例
大家比较关心的新蜂商城 Vue3 版本目前已经开发了大部分内容,相信很快就能够开源出来让大家尝鲜了,先让大家看看当前的开发进度: 开源仓库地址为 https://github.com/newbee-l ...
- 更加简洁易用——wangEditor富文本编辑器新版本发布
1. 前言 wangEditor富文本编辑器(www.wangEditor.com)从去年11月份发布,至今已经有将近10各月了.它就像一个襁褓中的小婴儿,在我的努力以及众多使用者的支持下不断摸索.成 ...
- luffy项目:基于vue与drf前后台分离项目(2)
user模块User表 创建user模块 前提:在 luffy 虚拟环境下 1.终端从项目根目录进入apps目录 >: cd luffyapi & cd apps 2.创建app > ...
- 【代码导读】Github 开源项目——wysihtml5 富编辑器(Bootstrap 风格)【一】
如果你经常留迹于各大论坛.博客,肯定对它们的富编辑器稍有印象.纯 Javascript 富编辑器可以说是前台 JS 脚本的巅峰作品.一款完整的编辑器,其复杂的功能,会让你遇到各种头痛的浏览器兼容问题, ...
- Ueditor富编辑器
坑多的Ueditor富编辑器 第一步:修改serverUrl: window.BASEPATH + "notice/word" 第二部:添加依赖包 <dependency&g ...
- 使用Node,Vue和ElasticSearch构建实时搜索引擎
(译者注:相关阅读:node.js,vue.js,Elasticsearch) 介绍 Elasticsearch是一个分布式的RESTful搜索和分析引擎,能够解决越来越多的用例. Elasticse ...
- Vue 前后台交互,插件
目录 Vuex 插件 前端存储数据汇总 前后台交互方式(重点) axios 插件 同源策略-跨域问题 前后台分离项目交互流程 异步请求细节 Element-ui 插件 jQ + Bs插件 Django ...
随机推荐
- sql注入攻击的预防函数-如何防御sql注入
1.预编译 2.捆绑变量各种过滤 用到的函数: addslashes htmlspecialchars mysql_escape_string($string) mysql_real_escape ...
- angular父组件通过@ViewChild 主动获取子组 件的数据和方法
1.调用子组件给子组件定义一个名称 <app-footer #footerChild></app-footer> 2. 引入 ViewChild import { Compon ...
- opengl版本
OpenGL vendor string: IntelOpenGL renderer string: Intel(R) HD Graphics 630OpenGL version string: 4. ...
- Linux -- GCC Built-in functions for atomic memory access
下列内建函数旨在兼容Intel Itanium Processor-specific Application Binary Interface, section 7.4. 因此,这些函数区别于普通的G ...
- Mysql读写分离(Mycat版)
(1).读写分离概述 1)工作原理 读写分离是让主数据库处理事务性增删改操作(insert.delete.update),让从数据库处理查询查询操作(select). 2)作用 1.分担负载 2.主从 ...
- 123457123456#0#-----com.threeapp.magicImageShow01----儿童宝宝魔法画笔
com.threeapp.magicImageShow01----儿童宝宝魔法画笔
- pyenv管理python版本
一.介绍 pyenv 是 Python 版本管理工具. pyenv 可以改变全局的 Python 版本,安装多个版本的 Python, 设置目录级别的 Python 版本,还能创建和管理 virtua ...
- 【ARTS】01_33_左耳听风-201900624~201900630
ARTS: Algrothm: leetcode算法题目 Review: 阅读并且点评一篇英文技术文章 Tip/Techni: 学习一个技术技巧 Share: 分享一篇有观点和思考的技术文章 Algo ...
- Spring jsp 下拉列表
完整代码 <%-- Created by IntelliJ IDEA. User: wsh Date: 2019/7/21 Time: 11:35 To change this template ...
- vue-cli2和vue-cli3同时存在
https://blog.csdn.net/Jioho_chen/article/details/90455778 win下 vue-cli2 和 vue-cli3 并存,一起使用开局一张图,内容慢慢 ...