Spring boot Sample 0010之spring-boot-web-freemarker
一、环境
1.1、Idea 2020.1
1.2、JDK 1.8
二、目的
三、步骤
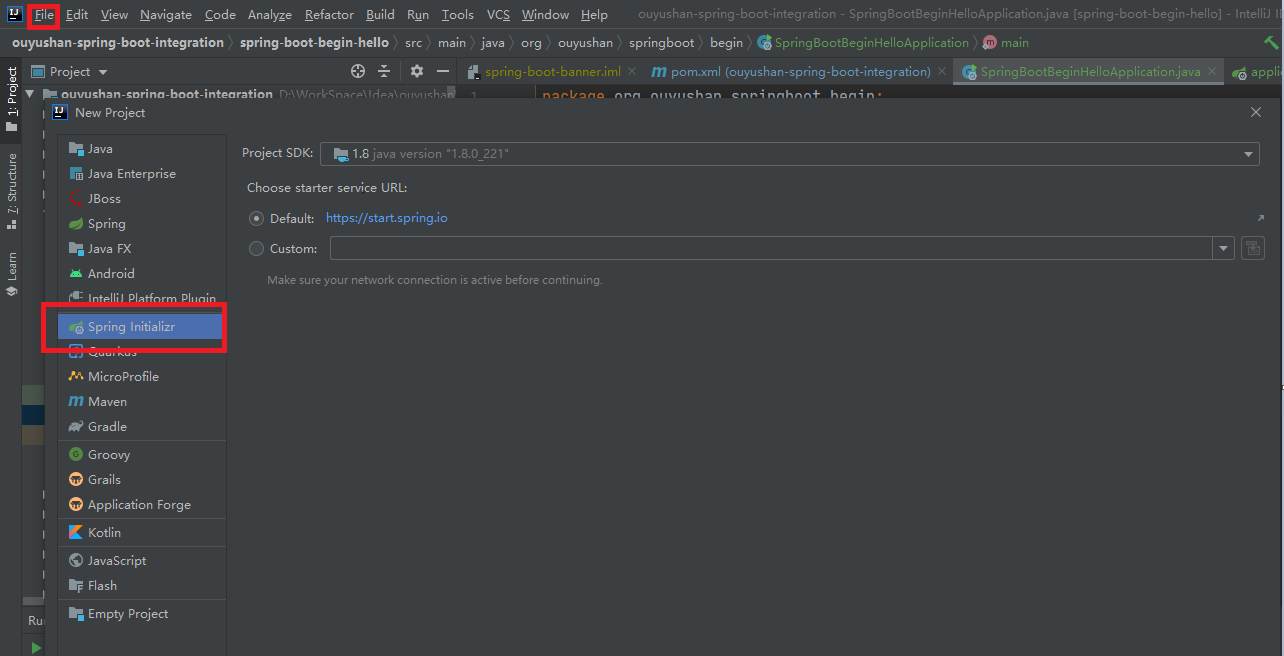
3.1、点击File -> New Project -> Spring Initializer,点击next
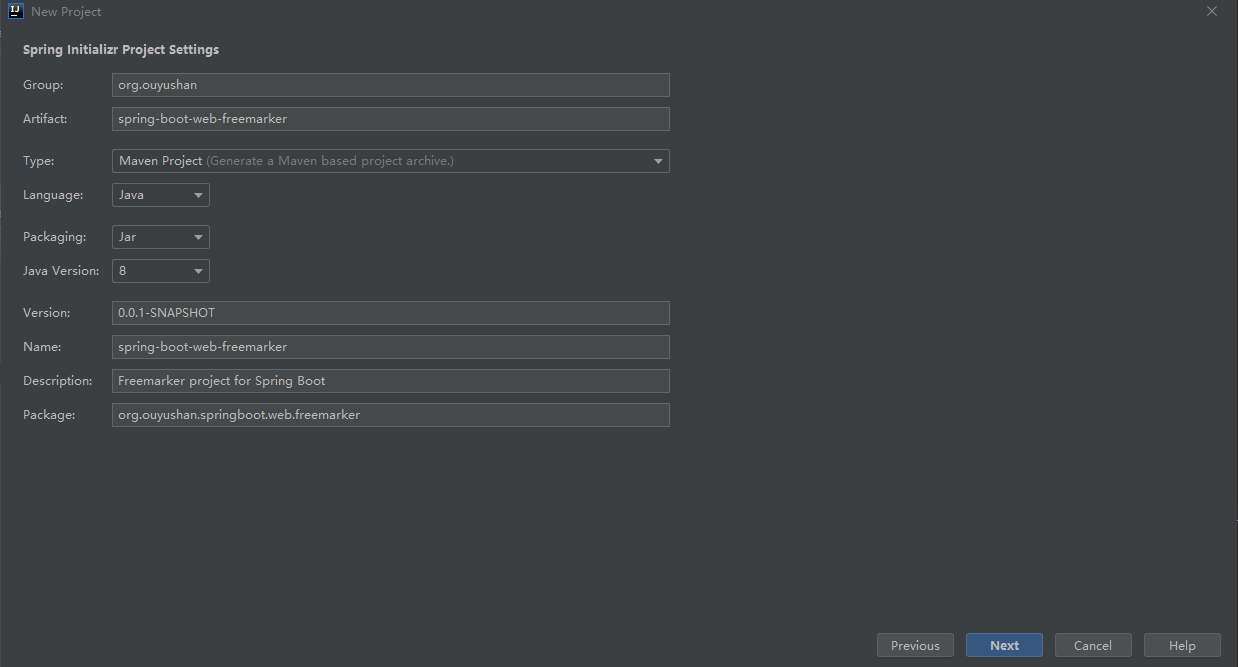
3.2、在对应地方修改自己的项目信息
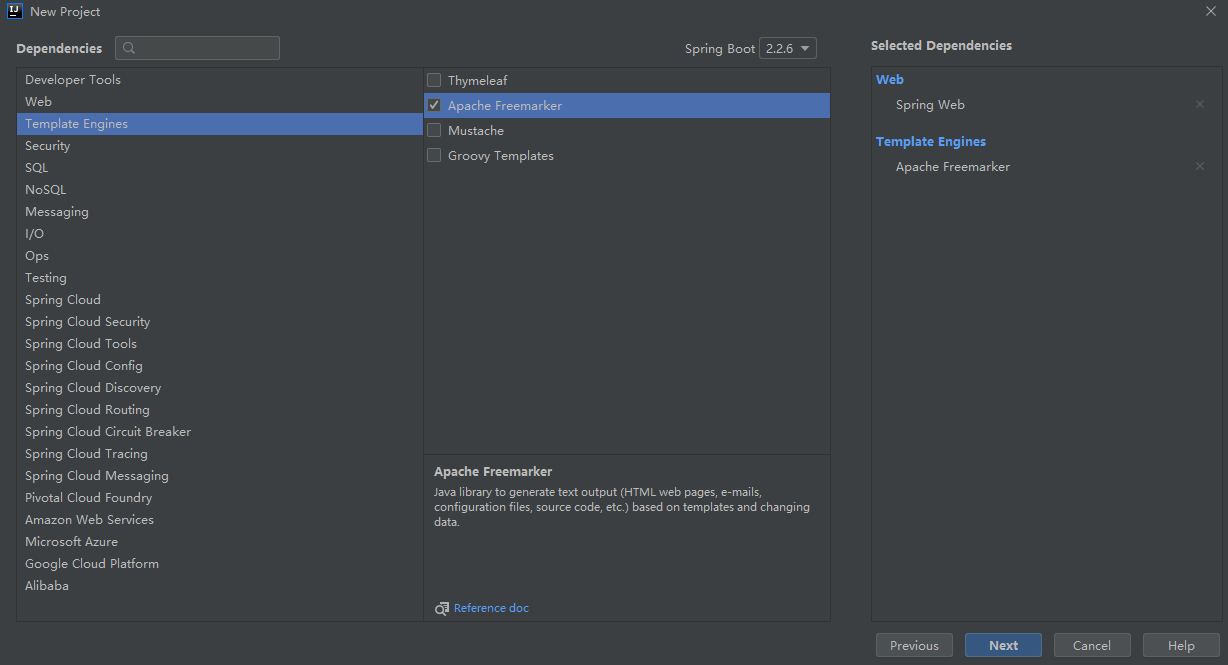
3.3、选择Web依赖,选中Spring Web。可以选择Spring Boot版本,本次默认为2.2.6,点击Next
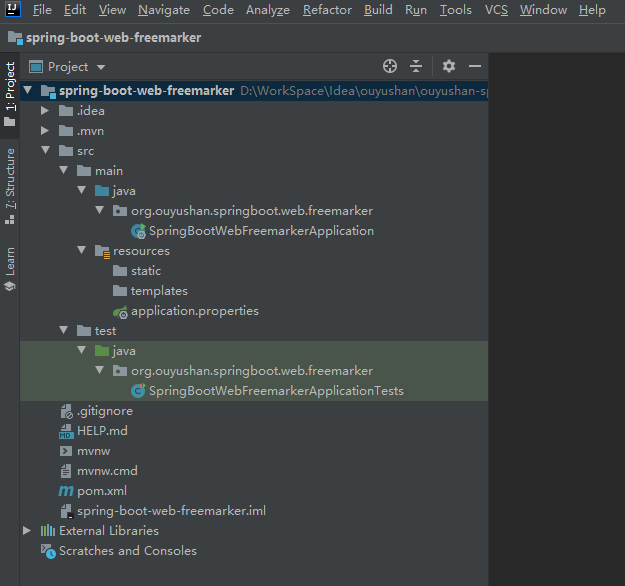
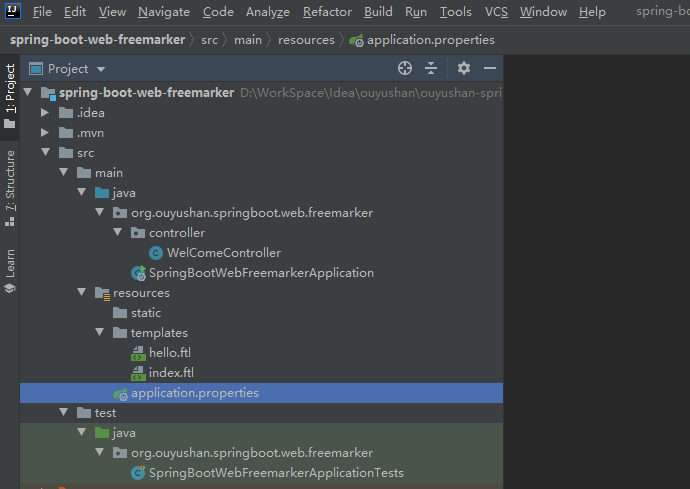
3.4、项目结构
四、添加文件
<?xml version="1.0" encoding="UTF-8"?>

<project xmlns="http://maven.apache.org/POM/4.0.0" xmlns:xsi="http://www.w3.org/2001/XMLSchema-instance"

         xsi:schemaLocation="http://maven.apache.org/POM/4.0.0 https://maven.apache.org/xsd/maven-4.0.0.xsd">

    <modelVersion>4.0.0</modelVersion>

    <parent>

        <groupId>org.springframework.boot</groupId>

        <artifactId>spring-boot-starter-parent</artifactId>

        <version>2.2.6.RELEASE</version>

        <relativePath/> <!-- lookup parent from repository -->

    </parent>

    <groupId>org.ouyushan</groupId>

    <artifactId>spring-boot-web-freemarker</artifactId>

    <version>0.0.1-SNAPSHOT</version>

    <name>spring-boot-web-freemarker</name>

    <description>Freemarker project for Spring Boot</description>

    <properties>

        <java.version>1.8</java.version>

    </properties>

    <dependencies>

        <dependency>

            <groupId>org.springframework.boot</groupId>

            <artifactId>spring-boot-starter-freemarker</artifactId>

        </dependency>

        <dependency>

            <groupId>org.springframework.boot</groupId>

            <artifactId>spring-boot-starter-web</artifactId>

        </dependency>

        <dependency>

            <groupId>org.springframework.boot</groupId>

            <artifactId>spring-boot-starter-test</artifactId>

            <scope>test</scope>

            <exclusions>

                <exclusion>

                    <groupId>org.junit.vintage</groupId>

                    <artifactId>junit-vintage-engine</artifactId>

                </exclusion>

            </exclusions>

        </dependency>

    </dependencies>

    <build>

        <plugins>

            <plugin>

                <groupId>org.springframework.boot</groupId>

                <artifactId>spring-boot-maven-plugin</artifactId>

            </plugin>

        </plugins>

    </build>

</project>
# 设定ftl文件路径

spring.freemarker.template-loader-path=classpath:/templates

spring.freemarker.suffix=.ftl

#spring.freemarker.cache=false

#spring.freemarker.charset=UTF-8

#spring.freemarker.check-template-location=true

#spring.freemarker.content-type=text/html

#spring.freemarker.expose-request-attributes=false

#spring.freemarker.expose-session-attributes=false

#spring.freemarker.request-context-attribute=request
package org.ouyushan.springboot.web.freemarker.controller;

import org.springframework.beans.factory.annotation.Value;

import org.springframework.stereotype.Controller;

import org.springframework.ui.Model;

import org.springframework.web.bind.annotation.GetMapping;

import org.springframework.web.bind.annotation.RequestMapping;

import java.util.Date;

import java.util.Map;

/**

 * @Description:

 * @Author: ouyushan

 * @Email: ouyushan@hotmail.com

 * @Date: 2020/4/30 11:35

 */

@Controller

public class WelComeController {

    @Value("${application.message:Default Value Hello World}")

    private String message;

    @GetMapping("/")

    public String error(Map<String,Object> model){

        model.put("index",this.message);

        return "index";

    }

    @GetMapping("/hi")

    public String welcome(Model model){

        model.addAttribute("time",new Date());

        model.addAttribute("message",this.message);

        return "hello";

    }

}
<!DOCTYPE html> <html lang="en"> <body>
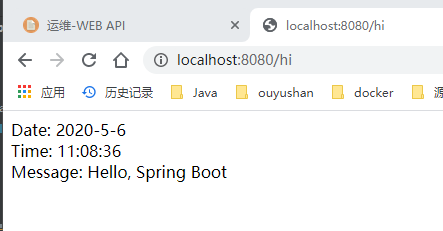
Date: ${time ? date}
<br>
Time: ${time ? time}
<br>
Message: ${message}
</body> </html>
<!DOCTYPE html>
<html lang="en">
<head>
<meta charset="UTF-8">
<title>Title</title>
</head>
<body>
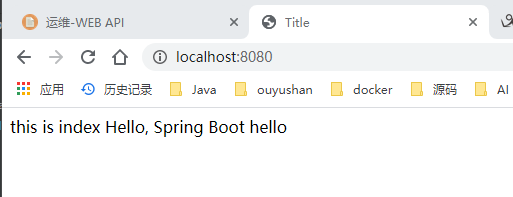
this is index ${index}
</body>
</html>
五、接口测试
六、知识点
spring.freemarker.template-loader-path=classpath:/templates

spring.freemarker.suffix=.ftl
Spring boot Sample 0010之spring-boot-web-freemarker的更多相关文章
- Spring Boot——2分钟构建spring web mvc REST风格HelloWorld
之前有一篇<5分钟构建spring web mvc REST风格HelloWorld>介绍了普通方式开发spring web mvc web service.接下来看看使用spring b ...
- [转]Spring Boot——2分钟构建spring web mvc REST风格HelloWorld
Spring Boot——2分钟构建spring web mvc REST风格HelloWorld http://projects.spring.io/spring-boot/ http://spri ...
- [转]通过Spring Boot三分钟创建Spring Web项目
来源:https://www.tianmaying.com/tutorial/project-based-on-spring-boot Spring Boot简介 接下来我们所有的Spring代码实例 ...
- 跟我学Spring Boot(三)Spring Boot 的web开发
1.Web开发中至关重要的一部分,Web开发的核心内容主要包括内嵌Servlet容器和SpringMVC spring boot 提供了spring-boot-starter-web 为web开发提 ...
- 一、spring boot 1.5.4入门(web+freemarker)
1.配置maven文件pom.xml <?xml version="1.0" encoding="UTF-8"?> <project xmln ...
- spring boot:创建一个简单的web(maven web project)
1.新建一个maven web project; 2.在pom.xml文件中添加相应的依赖包: 3.新建一个HelloController请求控制类: 4.编写index.jsp页面: 5.编写启动类 ...
- 46. Spring Boot中使用AOP统一处理Web请求日志
在之前一系列的文章中都是提供了全部的代码,在之后的文章中就提供核心的代码进行讲解.有什么问题大家可以给我留言或者加我QQ,进行咨询. AOP为Aspect Oriented Programming的缩 ...
- Spring Boot-初学01 -使用Spring Initializer快速创建Spring Boot项目 -@RestController+spEL -实现简单SpringBoot的Web页面
1.IDEA:使用 Spring Initializer快速创建项目 IDE都支持使用Spring的项目创建向导快速创建一个Spring Boot项目: 选择我们需要的模块:向导会联网创建Spring ...
- Spring boot Sample 012之spring-boot-web-upload
一.环境 1.1.Idea 2020.1 1.2.JDK 1.8 二.目的 spring boot 整合web实现文件上传下载 三.步骤 3.1.点击File -> New Project -& ...
随机推荐
- Java——Spring依赖配置详解
<properties> <junit.version>4.12</junit.version> <spring.version>4.3.9.RELEA ...
- G. 神圣的 F2 连接着我们 线段树优化建图+最短路
这个题目和之前写的一个线段树优化建图是一样的. B - Legacy CodeForces - 787D 线段树优化建图+dij最短路 基本套路 之前这个题目可以相当于一个模板,直接套用就可以了. 不 ...
- Spring源码阅读 之 配置的读取,解析
在上文中我们已经知道了Spring如何从我们给定的位置加载到配置文件,并将文件包装成一个Resource对象.这篇文章我们将要探讨的就是,如何从这个Resouce对象中加载到我们的容器?加载到容器后又 ...
- 王颖奇 20171010129《面向对象程序设计(java)》第十周学习总结
实验十 泛型程序设计技术 实验时间 2018-11-1 1.实验目的与要求 (1) 理解泛型概念: (2) 掌握泛型类的定义与使用: (3) 掌握泛型方法的声明与使用: (4) 掌握泛型接口的定义与 ...
- Linux内核驱动学习(五)KThread学习总结
文章目录 简介 例程 运行结果 参考 简介 使用内核线程需要包含头文件#include <linux/kthread.h>,下面整理了一下常用的api接口,如下表格所示: 函数 功能 st ...
- 技术人的福音!教你如何使用Typora+PicGo实现图片自动上传功能
前言 写技术文章的小伙伴,对于 Typora 肯定不陌生,用来编写 Markdown 特别的方便. 但是,有个问题,就是当我们插入一个图片,并且使之可以在公网访问时,操作流程特别的麻烦. 首先,你需要 ...
- Vulnhb 靶场系列:Jarbas1.0
靶场镜像 官网 信息收集 攻击机kali IP地址 通过nmap 进行主机发现,发现目标机IP地址 nmap -sP 192.168.227.1/24 参数说明: -sP (Ping扫描) 该选项告诉 ...
- JDBC09 CLOB文本大对象
CLOB(Character Large Object) -用于储存大量的文本数据 BLOB(Binary Large Object) -用于存储大量的二进制数据 -大字段有些特殊,不同数据处理的方式 ...
- [hdu5249]动态中位数
题意:3种操作分别为入队,出队,查询当前队列的中位数.操作数为1e5数量级. 思路:先考虑离线算法,可以离散+线段树,可以划分树,考虑在线算法,则有treap名次树,SBtree(size balan ...
- JVM入门--类加载器
一.基础架构 概览 我们平时说的栈是指的Java栈,native method stack 里面装的都是native方法 细节架构图 二.类加载器 1.类的加载 方法区并不是存放方法的区域,其是存放类 ...