1.编译spring源码
本文是作者原创,版权归作者所有.若要转载,请注明出处
下载spring源码,本文用的是版本如下:
springframework 5.1.x, IDE工具idea 2019.2.3 JAVA版本 jdk1.8.0_171 构建工具gradle-4.9
1.下载springframework 5.1.x源码

2.解压下载的压缩包,在已有工程中导入该项目
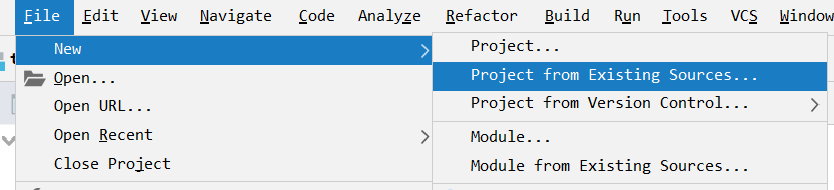
3.选择该项目路径

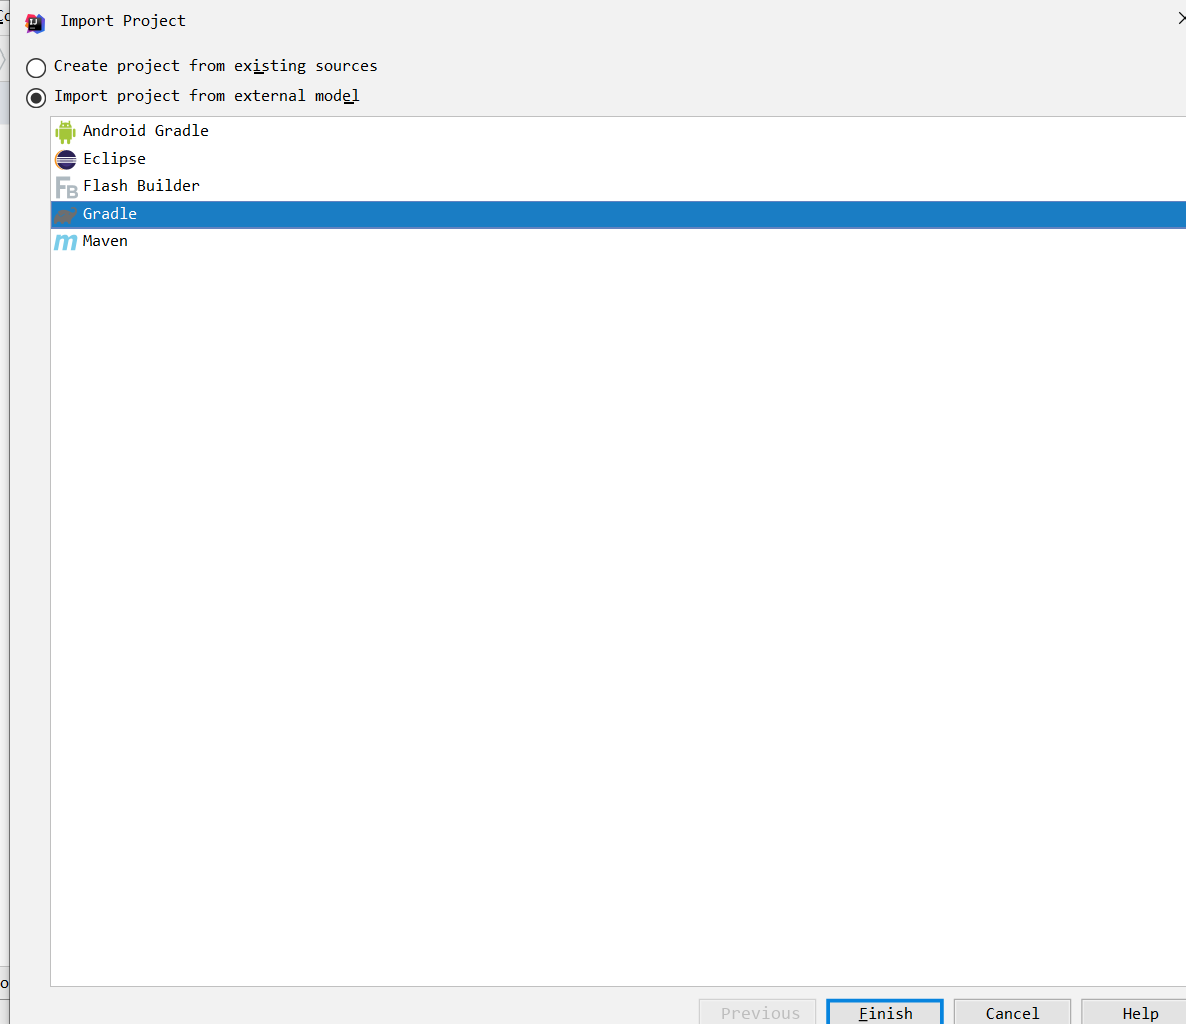
4.选择gradle导入
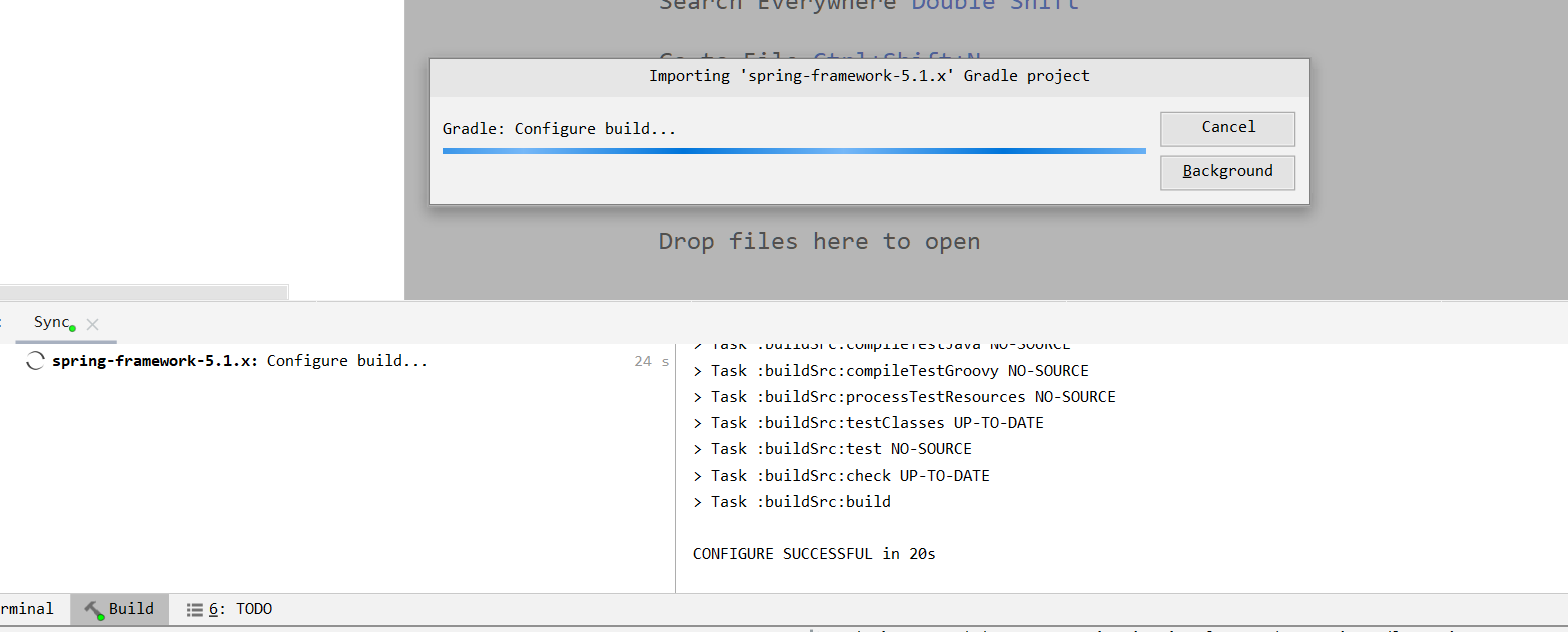
5.等待它自己构建
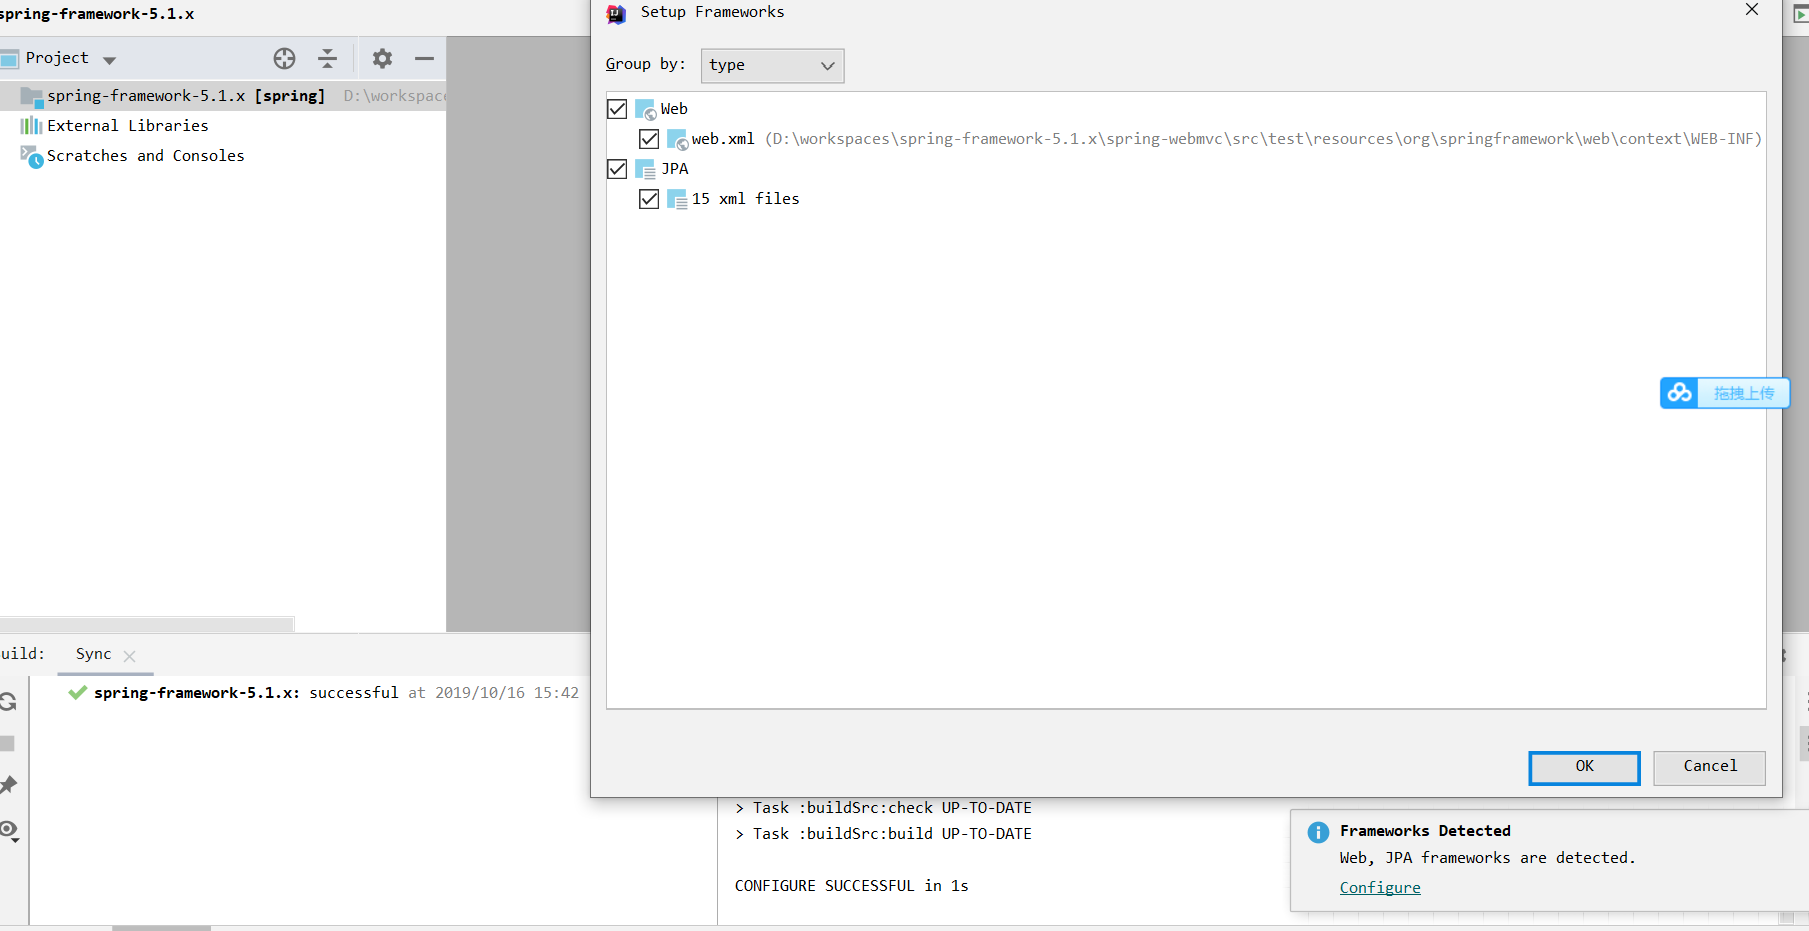
6.编译完,有个弹框出现,点击ok
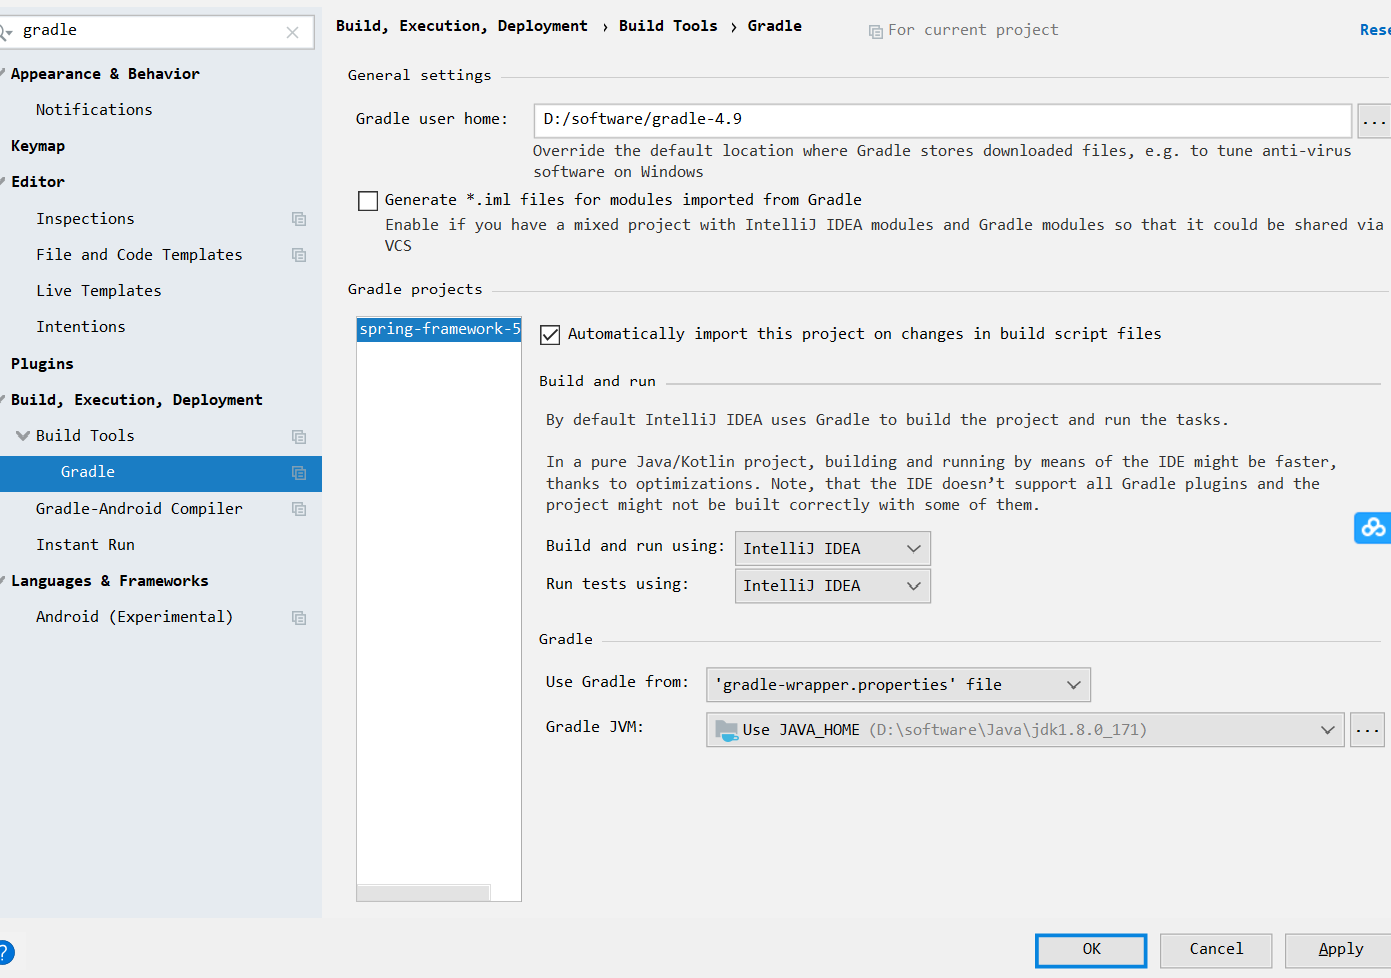
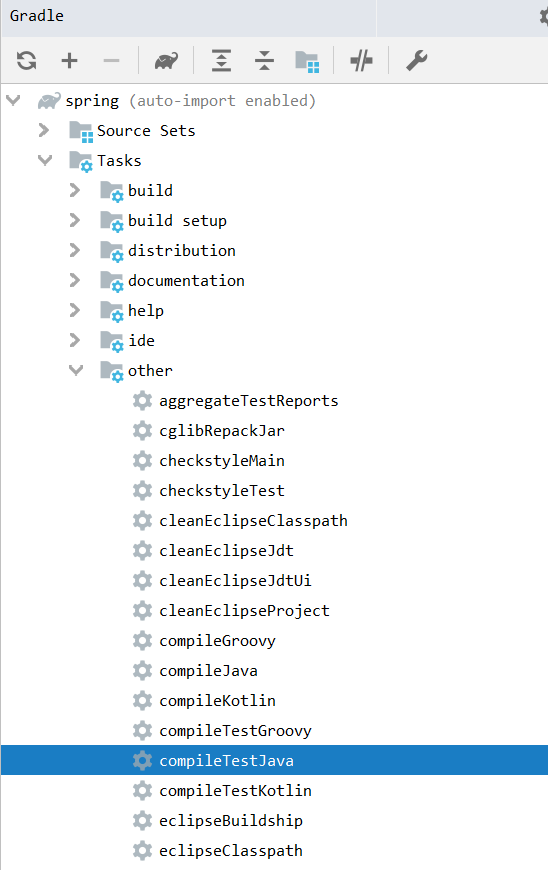
7.如图,设置gradle配置
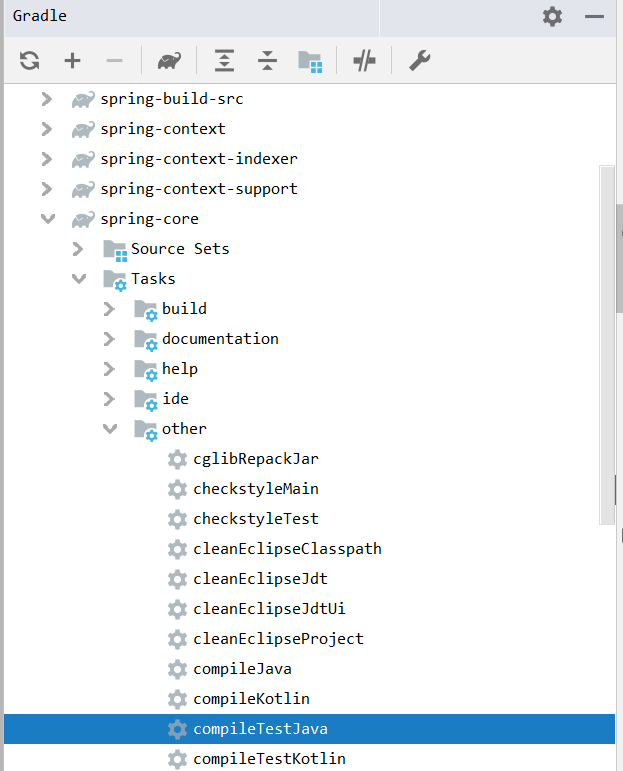
8.先编译spring-core模块
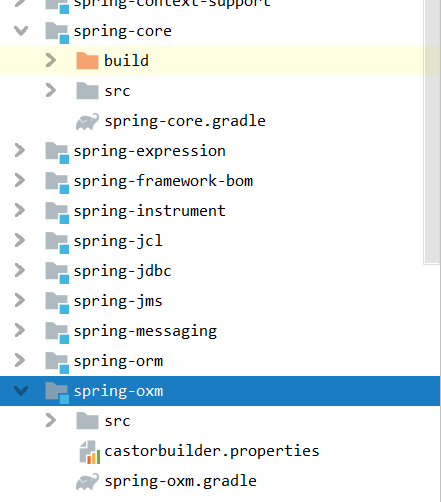
9.编译成功

我们可以看到,多了存放字节码文件的build文件夹
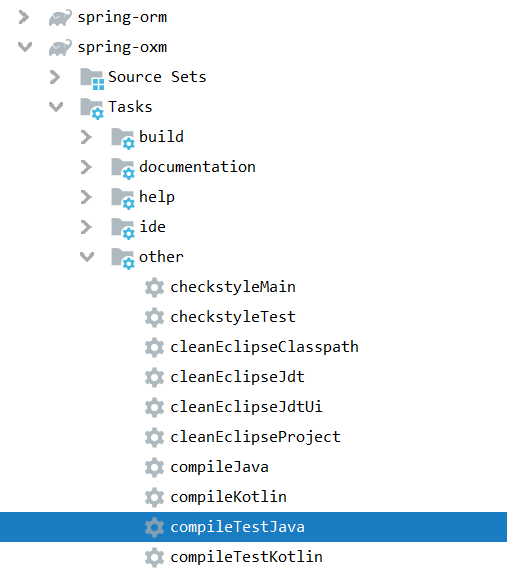
10.编译spring-oxm模块,和上面一样

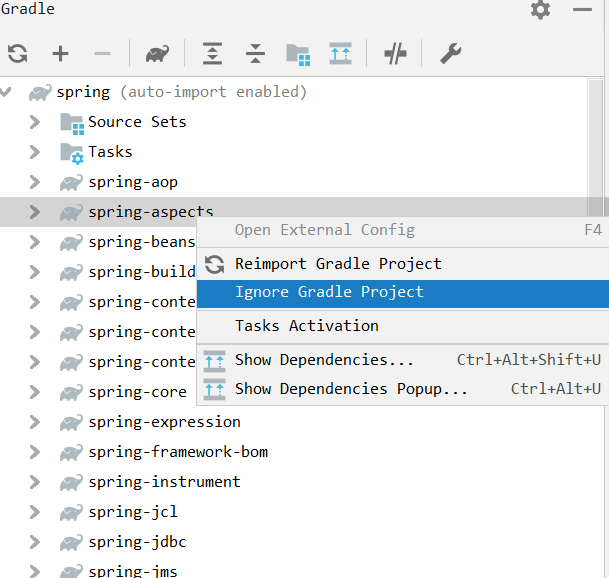
11.忽略spring-aspects模块
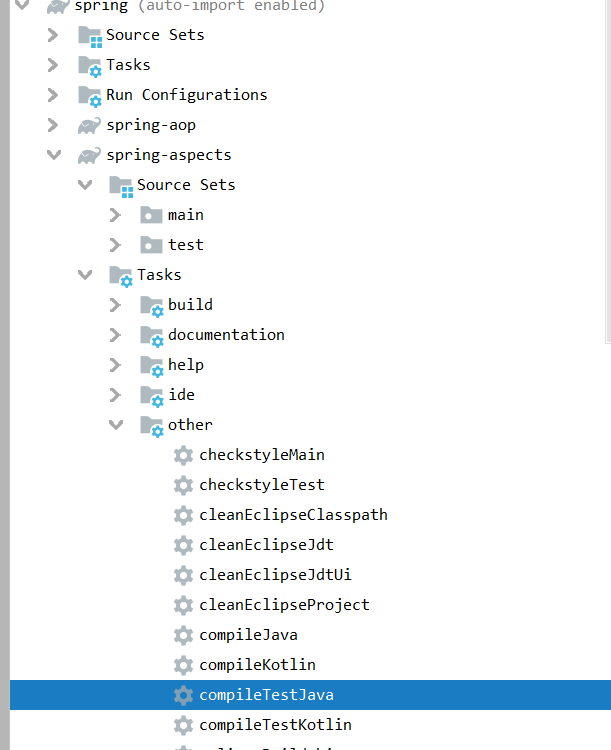
12.编译整个spring模块

13.放开spring-aspects模块,并编译

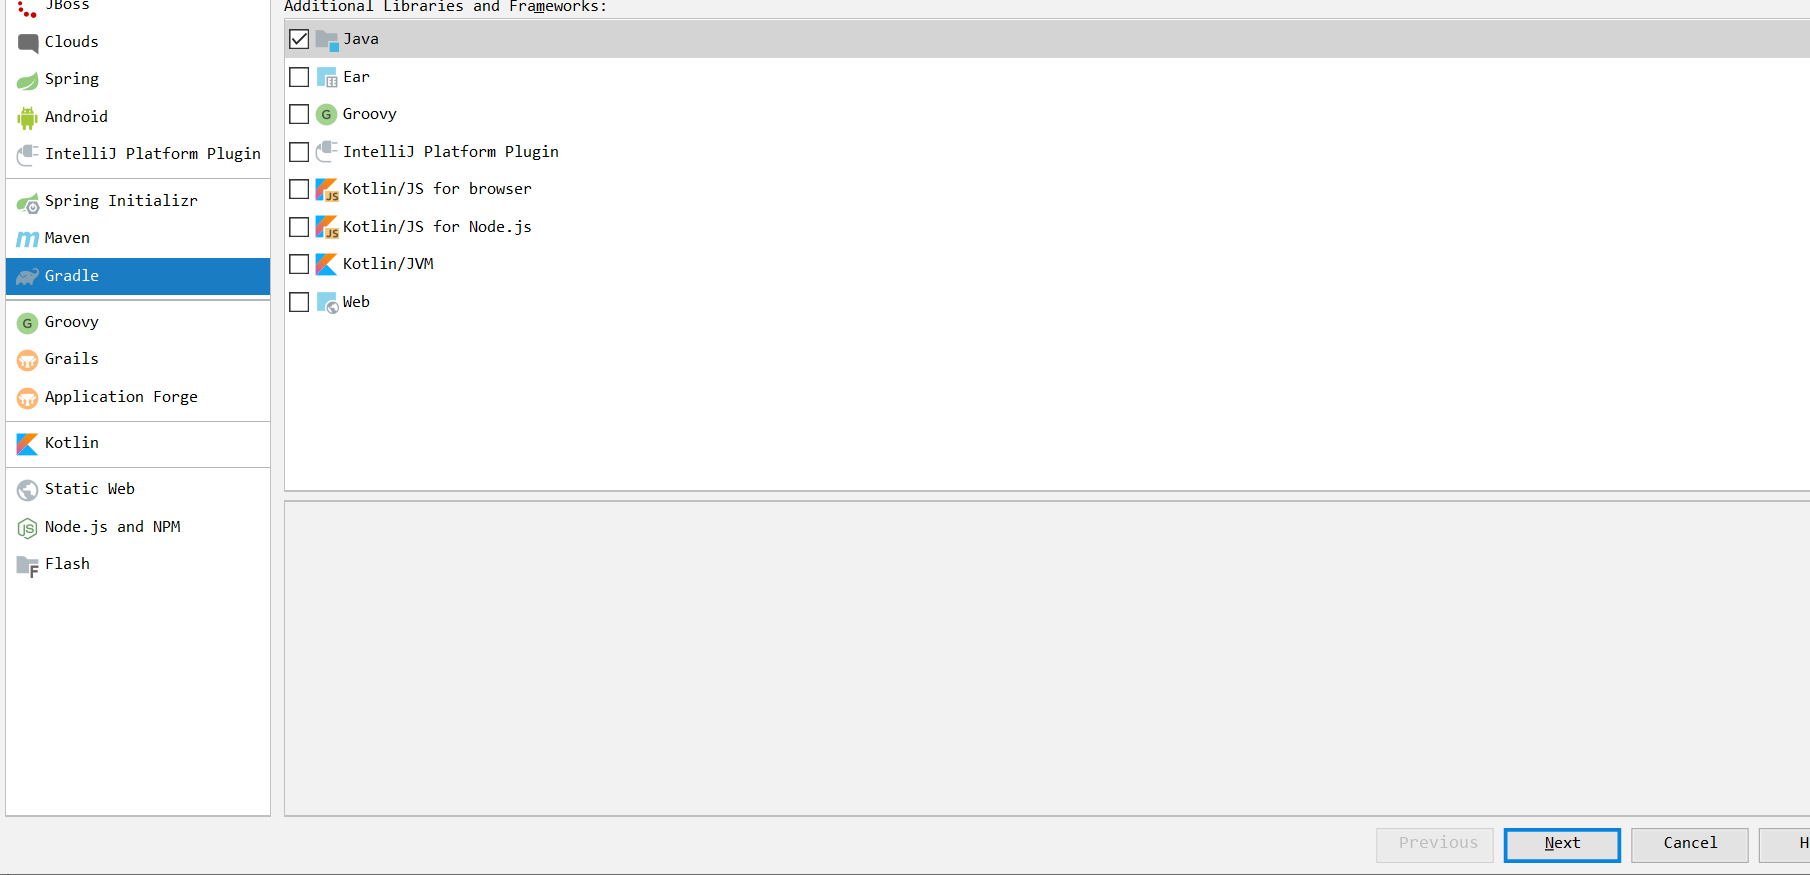
14.新建一个测试模块,测试spring是否编译成功

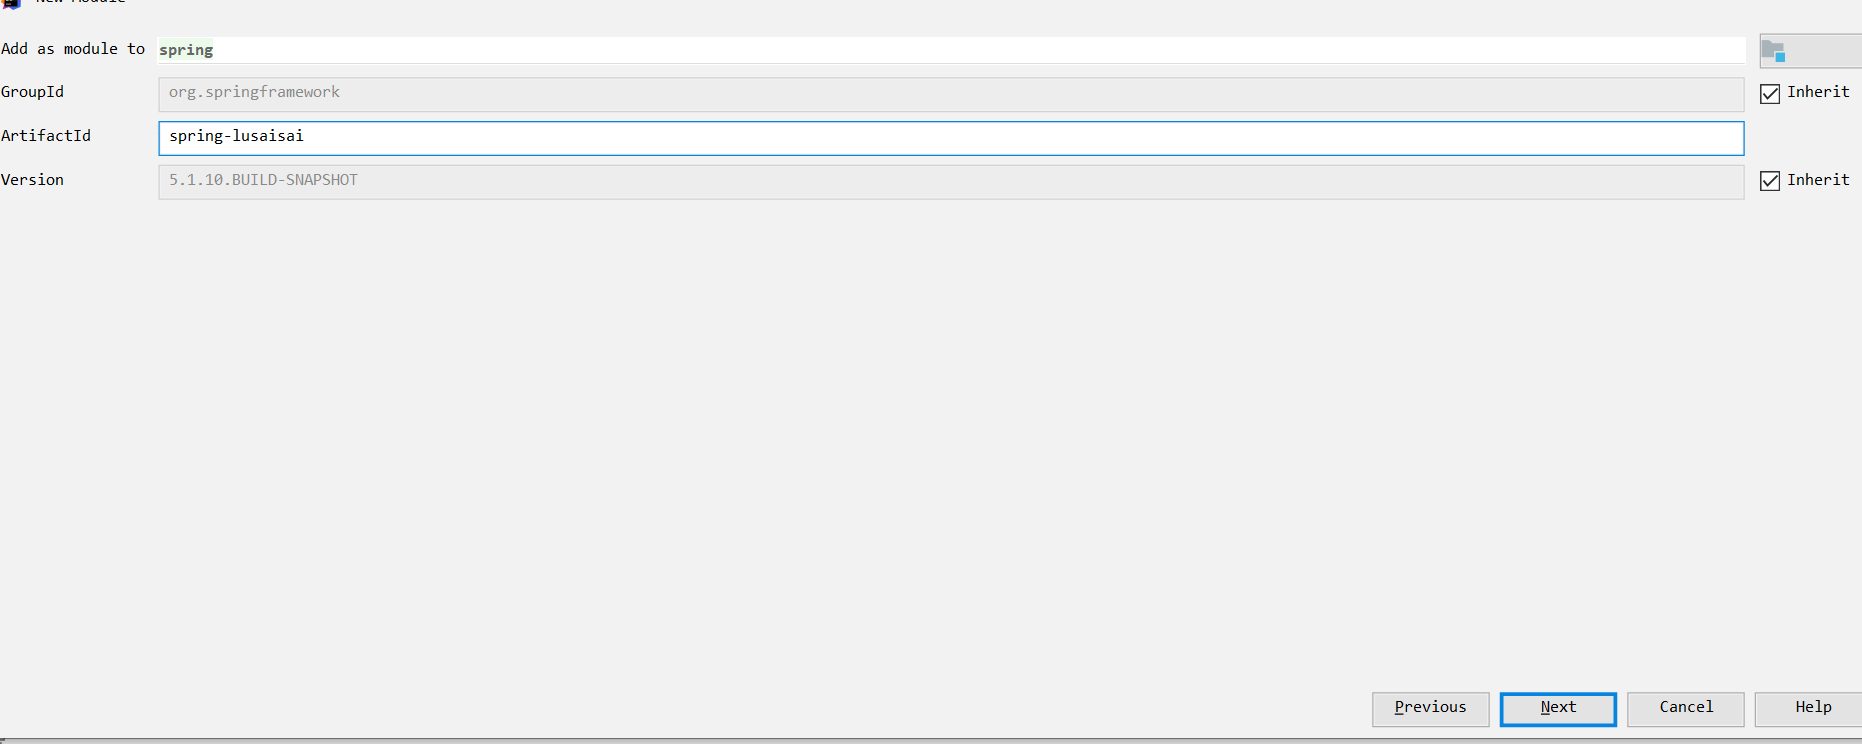

点击,右上角的ok
加上以下代码
//spring core

    compile(project(":spring-context"))

    //spring 对web的支持

    compile(project(":spring-webmvc"))

    //连接池

    compile(project(":spring-jdbc"))

    //mybatis core

    compile group: 'org.mybatis', name: 'mybatis', version: '3.5.0'

    //源码 spring mybaits的插件包

    compile group: 'org.mybatis', name: 'mybatis-spring', version: '2.0.0'

    //db

    compile group: 'mysql', name: 'mysql-connector-java', version: '6.0.6'

    //tomcat 容器

    compile group: 'org.apache.tomcat.embed', name: 'tomcat-embed-core', version: '8.5.5'

    // jsp

    compile group: 'org.apache.tomcat.embed', name: 'tomcat-embed-jasper', version: '8.5.5'

    // https://mvnrepository.com/artifact/com.alibaba/fastjson

    compile group: 'com.alibaba', name: 'fastjson', version: '1.2.50'

    // https://mvnrepository.com/artifact/org.aspectj/aspectjweaver

    compile group: 'org.aspectj', name: 'aspectjweaver', version: '1.9.0'
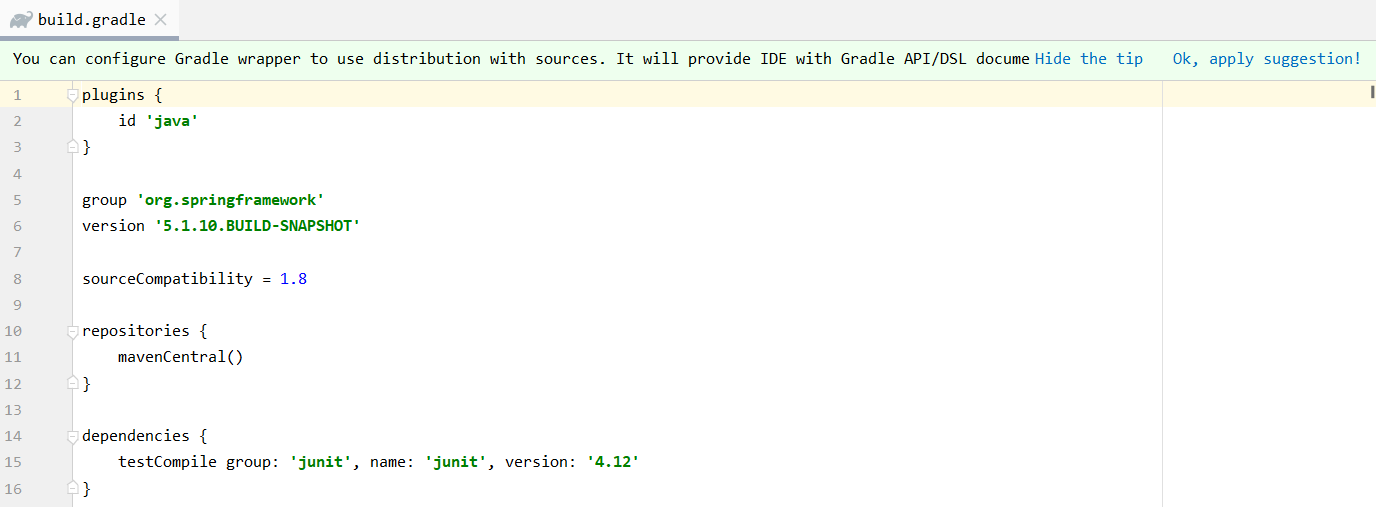
最后build.gradle文件内容如下
plugins {

    id 'java'

}

group 'org.springframework'

version '5.1.10.BUILD-SNAPSHOT'

sourceCompatibility = 1.8

repositories {

    mavenCentral()

}

dependencies {

    testCompile group: 'junit', name: 'junit', version: '4.12'

    //spring core

    compile(project(":spring-context"))

    //spring 对web的支持

    compile(project(":spring-webmvc"))

    //连接池

    compile(project(":spring-jdbc"))

    //mybatis core

    compile group: 'org.mybatis', name: 'mybatis', version: '3.5.0'

    //源码 spring mybaits的插件包

    compile group: 'org.mybatis', name: 'mybatis-spring', version: '2.0.0'

    //db

    compile group: 'mysql', name: 'mysql-connector-java', version: '6.0.6'

    //tomcat 容器

    compile group: 'org.apache.tomcat.embed', name: 'tomcat-embed-core', version: '8.5.5'

    // jsp

    compile group: 'org.apache.tomcat.embed', name: 'tomcat-embed-jasper', version: '8.5.5'

    // https://mvnrepository.com/artifact/com.alibaba/fastjson

    compile group: 'com.alibaba', name: 'fastjson', version: '1.2.50'

    // https://mvnrepository.com/artifact/org.aspectj/aspectjweaver

    compile group: 'org.aspectj', name: 'aspectjweaver', version: '1.9.0'

}
15.编写demo
package demo01;

import org.springframework.context.ApplicationContext;

import org.springframework.context.support.ClassPathXmlApplicationContext;

public class HelloSpring {

    private String input_str = null;

    public String getMyStr() {

        return this.input_str;

    }

    public void setMyStr(String strParam) {

        this.input_str = strParam;

    }

    public void Print() {

        System.out.println("Hello," + this.getMyStr());

    }

    public static void main(String[] args) {

        ApplicationContext context = new ClassPathXmlApplicationContext("applicationContext.xml");

        HelloSpring helloSpring = (HelloSpring) context.getBean("myFirstSpringDemo");

        helloSpring.Print();

    }

}
xml配置
<?xml version="1.0" encoding="UTF-8"?>

<beans xmlns="http://www.springframework.org/schema/beans"

       xmlns:xsi="http://www.w3.org/2001/XMLSchema-instance"

       xsi:schemaLocation="http://www.springframework.org/schema/beans

        https://www.springframework.org/schema/beans/spring-beans.xsd"

    default-autowire="byType">

    <bean id="myFirstSpringDemo" class="demo01.HelloSpring">

        <property name="myStr">

            <value>I am Spring</value>

        </property>

    </bean>

</beans>
16.运行,报错

可以看到错误信息提示我们在spring-context里找不到类,我们重新运行一下这个模块的所有java下的test文件
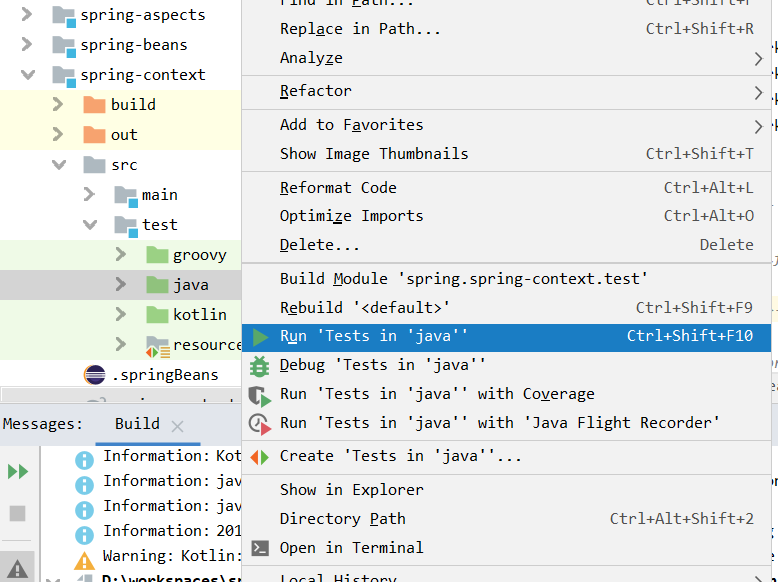
其他的问题也是一样的处理方式,全部处理完
继续运行demo
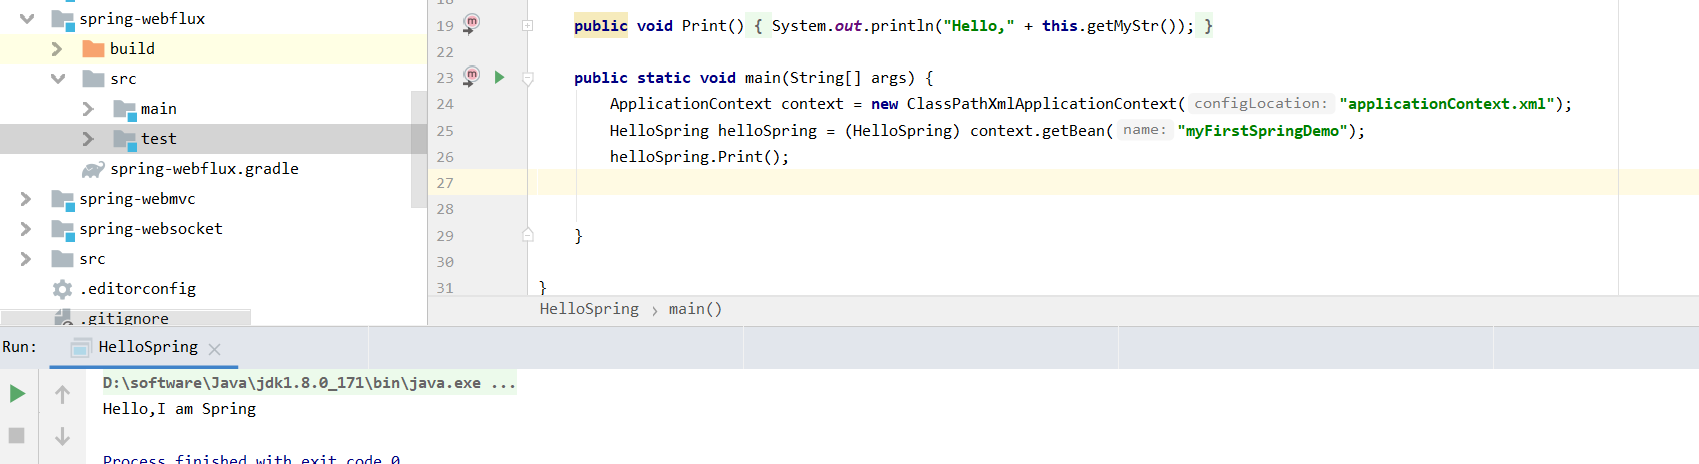
好,编译成功了,可以写注释了

至此,我们的spring源码编译成功.下面我会继续更新spring相关的应用和源码博客,欢迎大家继续关注,可以的话随手点个赞吧,谢谢大家
1.编译spring源码的更多相关文章
- spring源码系列(一)sring源码编译 spring源码下载 spring源码阅读
想对spring框架进行深入的学习一下,看看源代码,提升和沉淀下自己,工欲善其事必先利其器,还是先搭建环境吧. 环境搭建 sping源码之前是svn管理,现在已经迁移到了github中了,新版本基于g ...
- 编译Spring源码
近期,学习Spring源码.会陆续记录这次学习历程. Spring源码下载,环境中需要准备好的东西,git,gradle,eclipse (需要自己安装好) 1.Git clone Spring源码: ...
- grable编译spring源码并导入eclipse
1.下载安装gradle, spring 源码构建加入了gradle支持. gradle下载: http://www.gradle.org/downloads ,下载后设置环境变量: GRADLE_H ...
- 记一次Idea+Gradle编译Spring源码遇到的坑
打算开始研究Spring源码,于是照着书上的指导从网上下载了Spring5.0.2版本和Gradle4.0(必须JDK1.8.60以上),本地编译的时候没有任何问题,就是导入Idea的时候一直报下面这 ...
- Gradle编译Spring源码
使用工具:JDK1.8.0_11.Gradle4.9.idea2018.1.3 1. 配置Gradle Gradle下载地址:https://gradle.org/releases/ 在下载页找到自己 ...
- 修改和编译spring源码,构建jar(spring-context-4.0.2.RELEASE)
上周在定位问题时,发现Spring容器实例化Bean的时候抛出异常,为了查看更详细的信息,决定修改spring-context-4.0.2.RELEASE.jar中的CommonAnnotationB ...
- 如何编译spring源码,并导入到eclipse中
wsc@WSC-PC /d/wsc/study-spring-source$ git clone https://github.com/spring-projects/spring-framework ...
- Spring源码学习01:IntelliJ IDEA2019.3编译Spring5.3.x源码
目录 Spring源码学习01:IntelliJ IDEA2019.3编译Spring5.3.x源码 前言 工欲善其事必先利其器.学习和深读Spring源码一个重要的前提:编译源码到我们的本地环境.这 ...
- Spring源码解析 | 第一篇 :IntelliJ IDEA2019.3编译Spring5.3.x源码
前言 工欲善其事必先利其器.学习和深读Spring源码一个重要的前提:编译源码到我们的本地环境.这样方便我们在本地环境添加注释.断点追踪.查看类或接口的继承关系等等,更加高效的学习Spring源码.个 ...
随机推荐
- 目标检测 1 : 目标检测中的Anchor详解
咸鱼了半年,年底了,把这半年做的关于目标的检测的内容总结下. 本文主要有两部分: 目标检测中的边框表示 Anchor相关的问题,R-CNN,SSD,YOLO 中的anchor 目标检测中的边框表示 目 ...
- 洛谷 题解 P2727 【01串 Stringsobits】
本蒟蒻又双叒叕被爆踩辣! P2727 01串 Stringsobits 其实只要理解了就会觉得这是个傻逼题! 这题给的标签是 dp,搜索,数论 但是可以用二分的思路做! Solution: 从最高位开 ...
- sticker-footer布局
目录 1.嵌套层级不深,可直接继承自 body width:100%: height:100%; 2.嵌套层级很深,无法直接从上级继承 百分比高度的 第一种方法:给需要的 sticker-footer ...
- JQuery中操作元素的属性_对象属性
我们主要是通过attr去获取元素的属性: 看body内容: <body> <p> 账号:<input type="text" id="una ...
- Rest微服务案例
数据库 数据库名称为Product; 创建api子工程,项目名为springcloud_api Product实体类 public class Product implements Serializa ...
- SQL Server导入mdf数据库文件
方法一: 1.新建查询然后输入如下代码,点击F5键或者点击运行按钮即可 EXEC sp_attach_db @dbname = '你的数据库名', @filename1 = 'mdf文件路径(包缀名) ...
- 解决div用了position: fixed后滚动条显示不完整的问题
由于div运用了position:fixed,内部通讯列表设置了height:100%,然而列表设置overflow:overlay 溢出部分显示不全,且无滚动条出现,最终找出原因在于顶部header ...
- 开启html元素的编辑模式contenteditable="true"
开启html元素的编辑模式contenteditable="true"
- CentOS7下设置网卡名称以eth开头
一.前言 在CentOS7下,网卡的名称不再是以eth命名了,下以内容将教你如何在CentOS7下修改网卡以"eth"开头. 二.环境 ♦CentOS7.5_x86-64 三.配置 ...
- android之 xml文件一般用到的属性
android:layout_above 将该控件的底部至于给定ID的控件之上android:layout_below 将该控件的顶部至于给定ID的控件之下android:layout_toLeftO ...