
springBoot配置activeMq点对点模式消费信息以及独占模式消费如何设置
1、在pom文件中引入对应jar包
<!--activeMQ  start-->

<dependency>

   <groupId>org.springframework.boot</groupId>

   <artifactId>spring-boot-starter-activemq</artifactId>

</dependency>

<dependency>

   <groupId>org.springframework.boot</groupId>

   <artifactId>spring-boot-starter-test</artifactId>

   <scope>test</scope>

</dependency>

<dependency>

   <groupId>org.apache.activemq</groupId>

   <artifactId>activemq-pool</artifactId>

   <!-- <version>5.7.0</version> -->

</dependency>

<dependency>

   <groupId>org.springframework</groupId>

   <artifactId>spring-test</artifactId>

   <version>5.0.7.RELEASE</version>

</dependency>

<dependency>

   <groupId>junit</groupId>

   <artifactId>junit</artifactId>

   <version>4.12</version>

</dependency>

<dependency>

   <groupId>org.springframework.boot</groupId>

   <artifactId>spring-boot-test</artifactId>

   <version>2.0.3.RELEASE</version>

</dependency>

<!--activeMQ  end-->
2、application.yml文件配置activemq;对于监听Listener使用注解的形式
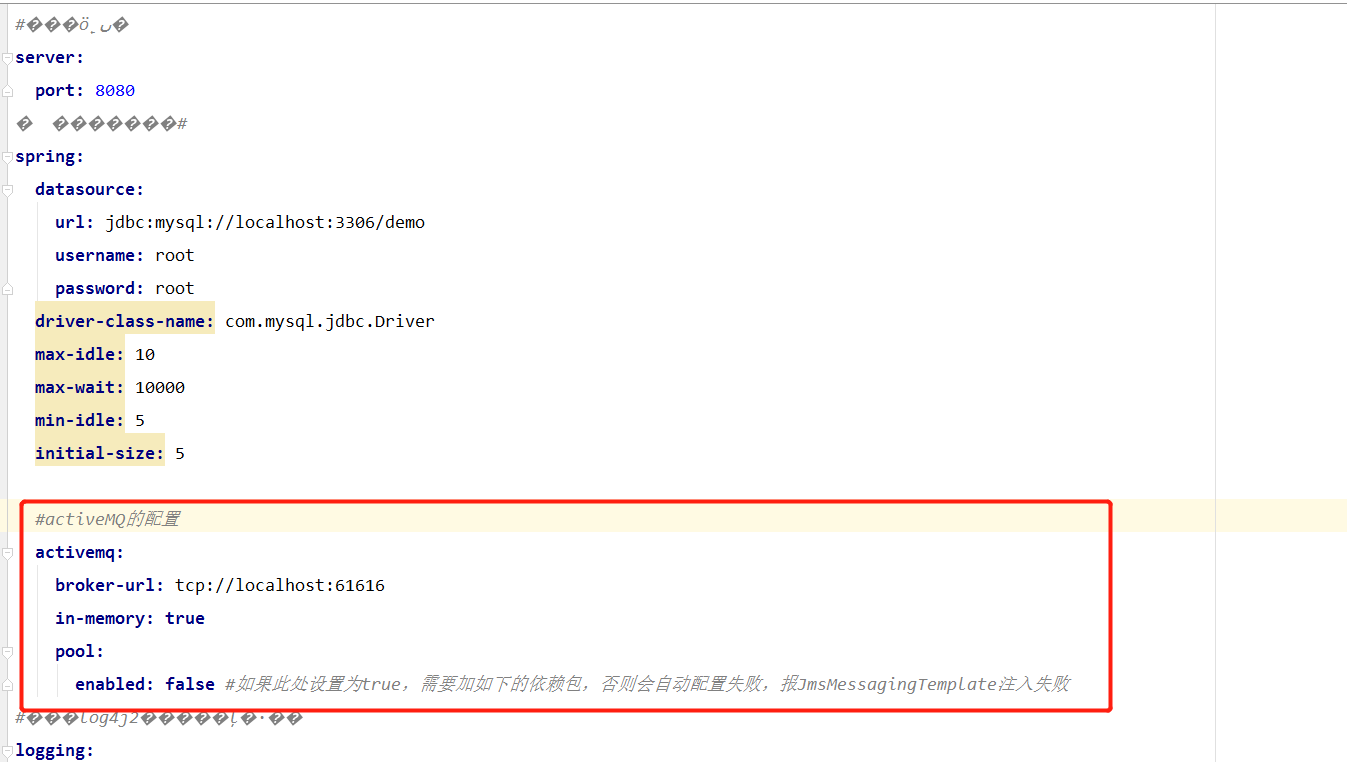
#activeMQ的配置

  activemq:

    broker-url: tcp://localhost:61616

    in-memory: true

    pool:

      enabled: false #如果此处设置为true,需要加如下的依赖包,否则会自动配置失败,报JmsMessagingTemplate注入失败
3、创建生产者类,生产者代码如下:
/**

 * Created by Administrator on 2018/7/27.

 */

@RunWith(SpringRunner.class)

@SpringBootTest

public class SpringbootJmsApplicationTests {

    @Test

    public void contextLoads() throws InterruptedException, JMSException {

        Destination destination = new ActiveMQQueue("queue_demo");

        //创建与JMS服务的连接:ConnectionFactory被管理的对象,由客户端创建,用来创建一个连接对象

        ConnectionFactory connectionfactory = new ActiveMQConnectionFactory("tcp://localhost:61616");

        //获取连接,connection一个到JMS系统提供者的活动连接

        javax.jms.Connection connection = connectionfactory.createConnection();

        //打开会话,一个单独的发送和接受消息的线程上下文

        Session session =connection.createSession(false,Session.AUTO_ACKNOWLEDGE );

        Queue queue = new ActiveMQQueue("queue_demo");

        MessageProducer msgProducer = session.createProducer(queue);

        Message msg = session.createTextMessage("文本1");

        msgProducer.send(msg);

        System.out.println("文本消息已发送");

    }

}
4、编写消费者代码,代码如下:
/**

 * Created by Administrator on 2018/7/27.

 */

@Component

public class Consumer2 {

    // 使用JmsListener配置消费者监听的队列,其中text是接收到的消息

    @JmsListener(destination = "queue_es")

    public void receiveQueue(String mapStr) {

        System.out.println("接受的消息:"+mapStr);

    }

}
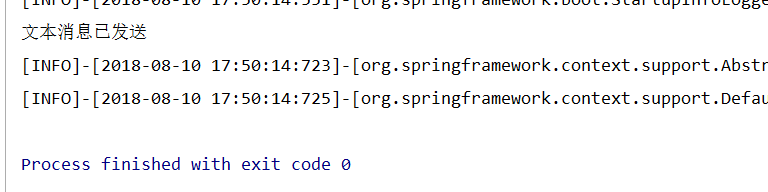
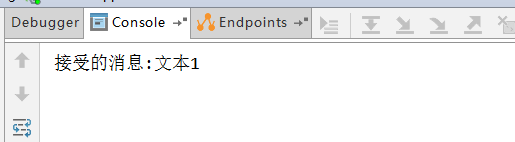
5、运行生产者(本处是test注解的测试代码),直接运行,结果如下
发送端:
接收端:
ps:如果想设置为独占消息消费模式,只需将消费者的代码@JmsListener注解处修改为如下代码:
@JmsListener(destination = "queue_es?consumer.exclusive=true")
就可以设置此消费者为独占消息消费模式,队列里的任务会玩先后顺序被这个消费者处理掉
springBoot配置activeMq点对点模式消费信息以及独占模式消费如何设置的更多相关文章
- SpringBoot整合ActiveMq实现Queue和Topic两种模式(看不懂你来打我)
目录 一.前言 二.ActiveMq的下载和使用 三.依赖准备 四.yml文件配置 五.配置Bean 六.创建生产者(Queue+Topic) 七.创建消费者(Topic模式下) 八.测试结果(Top ...
- SpringBoot配置activemq消息队列
1.配置pom相关依赖 <dependency> <groupId>org.springframework.boot</groupId> <artifactI ...
- SpringBoot配置ActiveMQ
1.添加依赖 <!-- activeMQ --> <dependency> <groupId>org.springframework.boot</groupI ...
- springboot配置server相关配置&整合模板引擎Freemarker、thymeleaf&thymeleaf基本用法&thymeleaf 获取项目路径 contextPath 与取session中信息
1.Springboot配置server相关配置(包括默认tomcat的相关配置) 下面的配置也都是模板,需要的时候在application.properties配置即可 ############## ...
- SpringBoot整合ActiveMQ,看这篇就够了
ActiveMQ是Apache提供的一个开源的消息系统,完全采用Java来实现,因此它能很好地支持JMS(Java Message Service,即Java消息服务)规范:本文将详细介绍下Activ ...
- SpringBoot系列八:SpringBoot整合消息服务(SpringBoot 整合 ActiveMQ、SpringBoot 整合 RabbitMQ、SpringBoot 整合 Kafka)
声明:本文来源于MLDN培训视频的课堂笔记,写在这里只是为了方便查阅. 1.概念:SpringBoot 整合消息服务 2.具体内容 对于异步消息组件在实际的应用之中会有两类: · JMS:代表作就是 ...
- SpringBoot JMS(ActiveMQ) 使用实践
ActiveMQ 1. 下载windows办的activeMQ后,在以下目录可以启动: 2. 启动后会有以下提示 3. 所以我们可以通过http://localhost:8161访问管理页面,通过tc ...
- springboot与ActiveMQ整合
前言 很多项目, 都不是一个系统就做完了. 而是好多个系统, 相互协作来完成功能. 那, 系统与系统之间, 不可能完全独立吧? 如: 在学校所用的管理系统中, 有学生系统, 资产系统, 宿舍系统等等. ...
- SpringBoot集成ActiveMQ
前面提到了原生API访问ActiveMQ和Spring集成ActiveMQ.今天讲一下SpringBoot集成ActiveMQ.SpringBoot就是为了解决我们的Maven配置烦恼而生,因此使用S ...
随机推荐
- nginx(一)
localtion的语法 已=开头表示精确匹配 如 A 中只匹配根目录结尾的请求,后面不能带任何字符串. ^~ 开头表示uri以某个常规字符串开头,不是正则匹配 ~ 开头表示区分大小写的正则匹配; ~ ...
- sqlserver2014创建数据库时,错误提示如下:尝试打开或创建物理‘c:\数据库\db.mdf’时,Create File遇到操作系统错误5(拒绝访问)
CREATE DATABASE test1 ON PRIMARY ( NAME =test1, FILENAME='C:\Program Files\test1.mdf',SIZE=10240K ...
- C++多小球非对心弹性碰撞(HGE引擎)
程序是一个月前完成的,之前一直没正儿八经的来整理下这个程序,感觉比较简单,不过即使简单的东西也要跟大家分享下. 源码下载:http://download.csdn.net/detail/y851716 ...
- 计算机原理以及PythonIDE配置和使用
计算机基础 在巩固了昨日学习知识的基础上,增加了新的内容 整个关于计算机基础的学习可以浓缩为五个问题 什么是编程? 人与计算机之间的交互操作,使人可以奴役计算机从而让其代替人类工作的行为 操作系统有什 ...
- Java 内存模型详解
概述 Java的内存模型(Java Memory Model )简称JMM.首先应该明白,Java内存模型是一个规范,主要规定了以下两点: 规定了一个线程如何以及何时可以看到其他线程修改过后的共享变量 ...
- 机器学习经典分类算法 —— k-均值算法(附python实现代码及数据集)
目录 工作原理 python实现 算法实战 对mnist数据集进行聚类 小结 附录 工作原理 聚类是一种无监督的学习,它将相似的对象归到同一个簇中.类似于全自动分类(自动的意思是连类别都是自动构建的) ...
- 解决微信小程序开发者工具输入框焦点问题
Windows10笔记本上运行微信小程序开发者工具,输入框(input,textarea)没有焦点,只能在真机调试,效率太低.后来发现是Window10对笔记本高分屏支持不好,要DPI缩放,导致兼容性 ...
- 命令用法习题,yum仓库的创建 chapter02 - 03 作业
1. 分别用cat \tac\nl三个命令查看文件/etc/ssh/sshd_config文件中的内容,并用自己的话总计出这三个文档操作命令的不同之处? [root@localhost /]# ca ...
- idea 2018.3.4安装破解
电脑环境:win10 64位 1.idea官网下载: 链接:https://www.jetbrains.com/idea/,如下图: 2.JDK官网下载: 链接:https://www.oracle. ...
- c#链接数据库,查找数据信息
using System;using System.Collections.Generic;using System.Linq;using System.Text;using System.Threa ...