Spring集成CXF发布WebService并在客户端调用
Spring集成CXF发布WebService
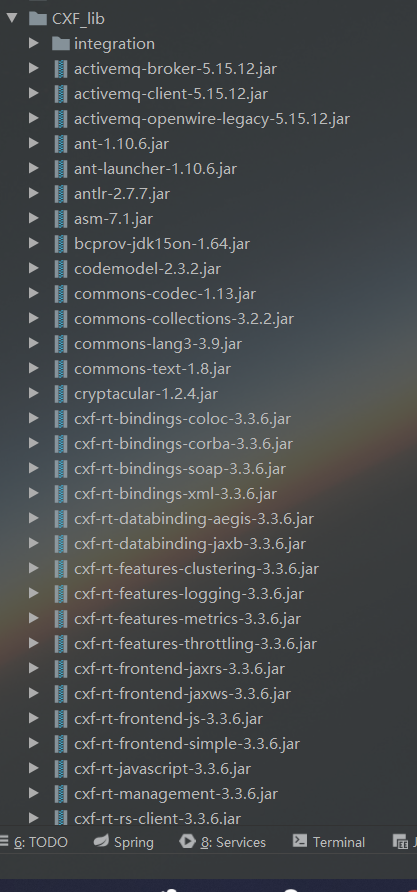
1.导入jar包
因为官方下载的包里面有其他版本的sprring包,全导入会产生版本冲突,所以去掉spring的部分,然后在项目根目录下新建了一个CXF_lib目录,保存jar包。
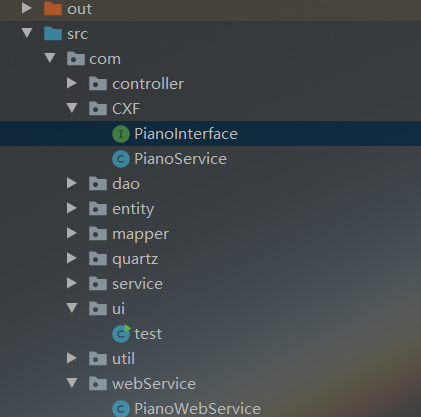
2.编写PianoInterface接口
新建一个PianoInterface接口定义方法,并添加注解@WebService
package com.CXF;

import javax.jws.WebService;

@WebService

public interface PianoInterface {

    //根据Brand查询价格

    public int getPriceByBrand(String brand);

}
3.创建PianoService实现PianoInterface接口
package com.CXF;
import com.service.PianoServiceImpl;
import org.springframework.context.ApplicationContext;
import org.springframework.context.support.FileSystemXmlApplicationContext;
import javax.jws.WebService;
@WebService(endpointInterface = "com.CXF.PianoInterface")
public class PianoService implements PianoInterface {
/**
* @description 根据品牌查询价格
* @param brand 品牌
* @return int price 价格
* @date 2020/4/2
* @author Charlotte
*/
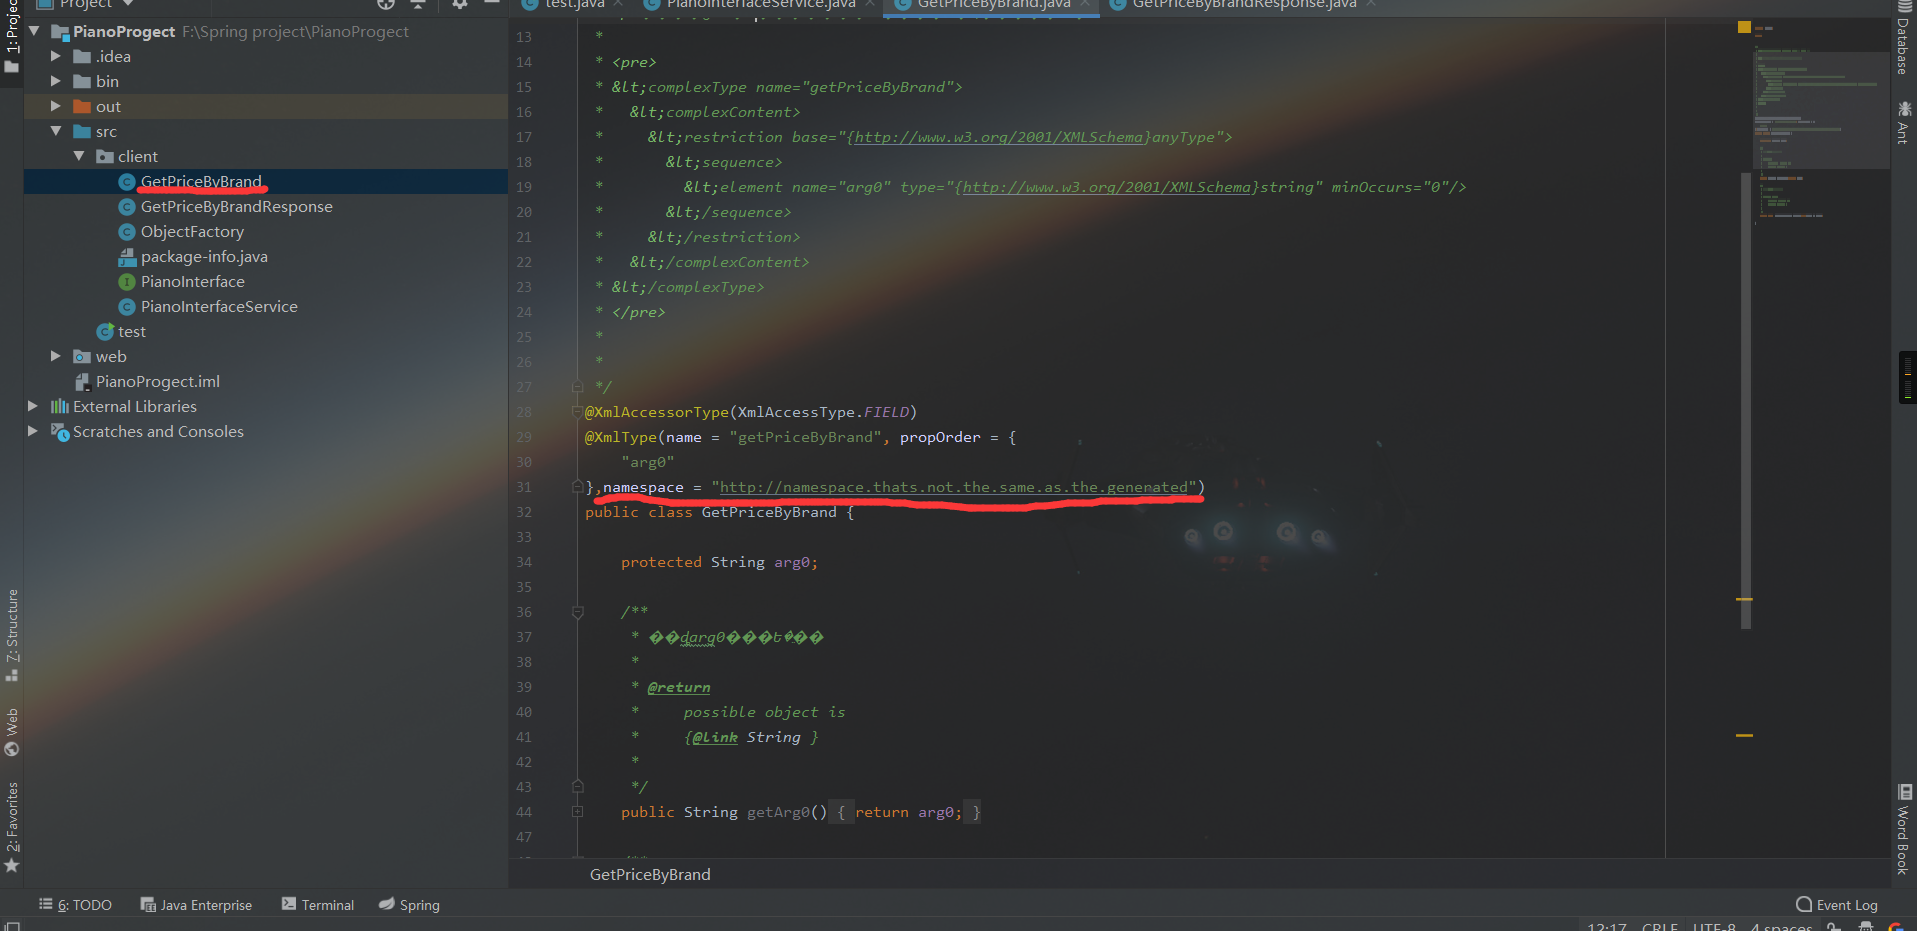
@Override
public int getPriceByBrand(String brand) {
ApplicationContext ctx = new FileSystemXmlApplicationContext("src/applicationContext.xml");
PianoServiceImpl pianoService = (PianoServiceImpl) ctx.getBean("pianoServiceImpl");
return pianoService.getPriceByBrand(brand);
}
}
4.修改spring配置文件
修改applicationContext.xml文件
添加
xmlns:jaxws="http://cxf.apache.org/jaxws"

http://cxf.apache.org/jaxws

http://cxf.apache.org/schemas/jaxws.xsd
添加
<!-- 配置发布webservice服务 -->

    <jaxws:server address="/PianoWs"

                  serviceClass="com.CXF.PianoService">

        <jaxws:serviceBean>

            <bean class="com.CXF.PianoService"></bean>

        </jaxws:serviceBean>

    </jaxws:server>
配置web.xml
<!--    CXF配置Servlet-->

    <servlet>

        <servlet-name>cxf</servlet-name> <servlet-class>org.apache.cxf.transport.servlet.CXFServlet</servlet-class>

        <!-- 初始化CXFServlet -->

<!--        <init-param>-->

<!--            <param-name>config-location</param-name>-->

<!--            <param-value>classpath:applicationContext.xml</param-value>-->

<!--        </init-param>-->

        <load-on-startup>1</load-on-startup>

    </servlet>

    <servlet-mapping>

        <servlet-name>cxf</servlet-name>

        <url-pattern>/ws/*</url-pattern>

    </servlet-mapping>
发布WebService
package com.ui;

import com.CXF.PianoInterface;

import com.CXF.PianoService;

import com.webService.PianoWebService;

import org.apache.cxf.jaxws.JaxWsServerFactoryBean;

import javax.xml.ws.Endpoint;

public class test {

    public static void main(String[] args) {

        //JAVA自带的WebService发布类

//        PianoWebService pianoWebService = new PianoWebService();

//        Endpoint.   publish("http://localhost:8080/pianowebservice",pianoWebService);

//        System.out.println("启动webservice");

        //使用CXF发布WebService

        JaxWsServerFactoryBean jsfb = new JaxWsServerFactoryBean();

        //1.服务提供者实现的接口

        jsfb.setServiceClass(PianoInterface.class);

        //2.指定访问路径

        jsfb.setAddress("http://localhost:8080/ws");

        //3.指定服务实现类

        jsfb.setServiceBean(new PianoService());

        //jsfb.getInInterceptors().add(new LoggingInInterceptor());

        //jsfb.getOutInterceptors().add(new LoggingOutInterceptor());

        //4.发布

        jsfb.create();

        System.out.println("发布成功...");

    }

}
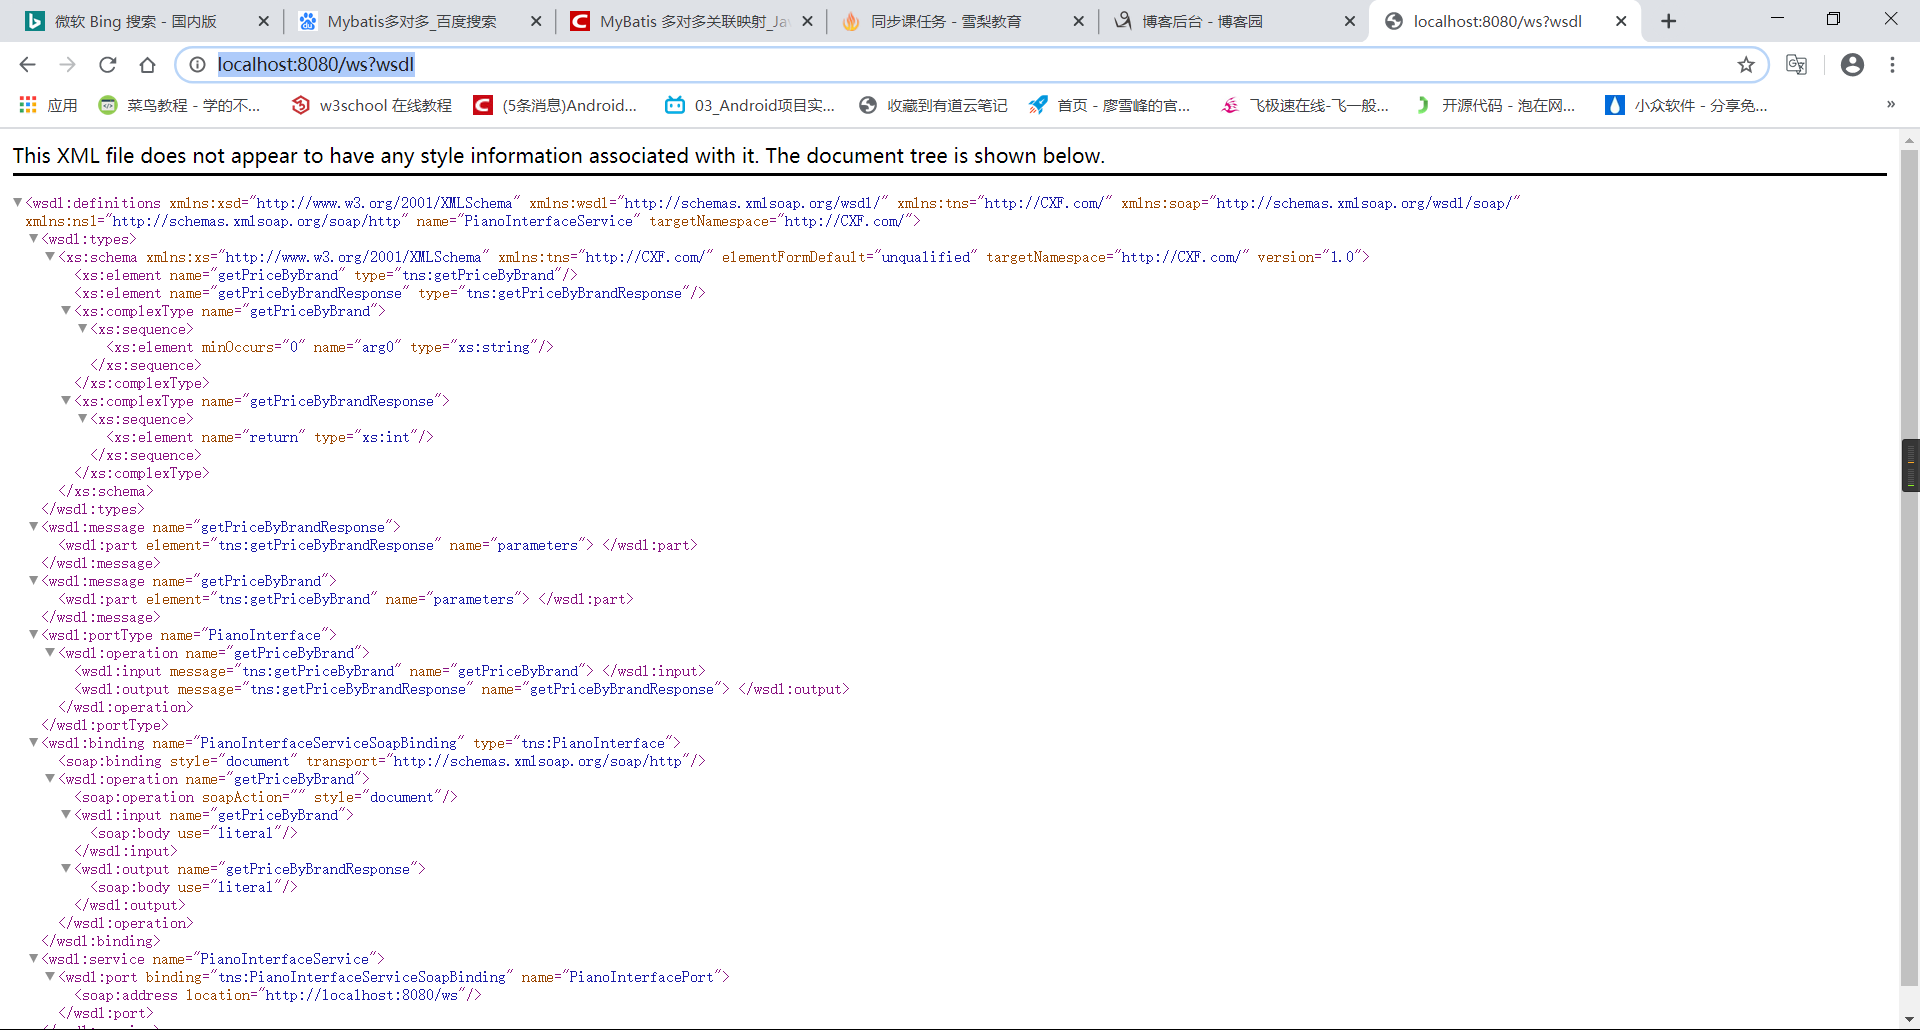
发布完成之后可以访问http://localhost:8080/ws?wsdl
客户端调用WebService
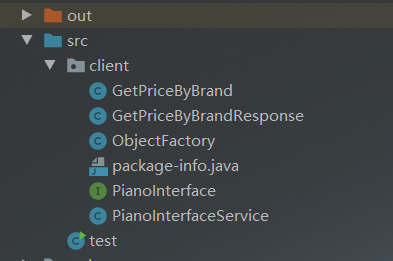
1.获取java文件
cmd进入jdk下的bin目录,然后输入以下代码
C:\Program Files\Java\jdk1.8.0_73\bin>wsimport -d F:\ -s F:\ -p com http://localhost:8080/pianowebservice?wsdl
在上面指定的文件里得到生成的文件,然后复制java文件到项目中

2.客户端导入CXF的所有jar包,如果冲突可以不导入spring相关的jar包
编写test类
import client.PianoInterface;
import client.PianoInterfaceService;
import org.apache.cxf.jaxws.JaxWsProxyFactoryBean;
public class test {
public static void main(String[] args) {
//JAVA原生
// PianoInterfaceService pianoWebService = new PianoInterfaceService();
// PianoInterface pianoService = pianoWebService.getPianoInterfacePort();
// int price = pianoService.getPriceByBrand("IQOO");
// System.out.println("获得价格:"+price);
//CXF
JaxWsProxyFactoryBean soapFactoryBean = new JaxWsProxyFactoryBean();
soapFactoryBean.setAddress("http://localhost:8080/ws");
soapFactoryBean.setServiceClass(PianoInterface.class);
Object o = soapFactoryBean.create();
PianoInterface service = (PianoInterface) o;
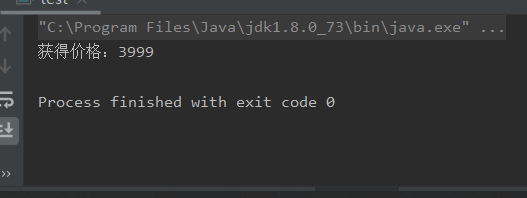
int price = service.getPriceByBrand("IQOO");
System.out.println("获得价格:"+price);
}
}
如果报
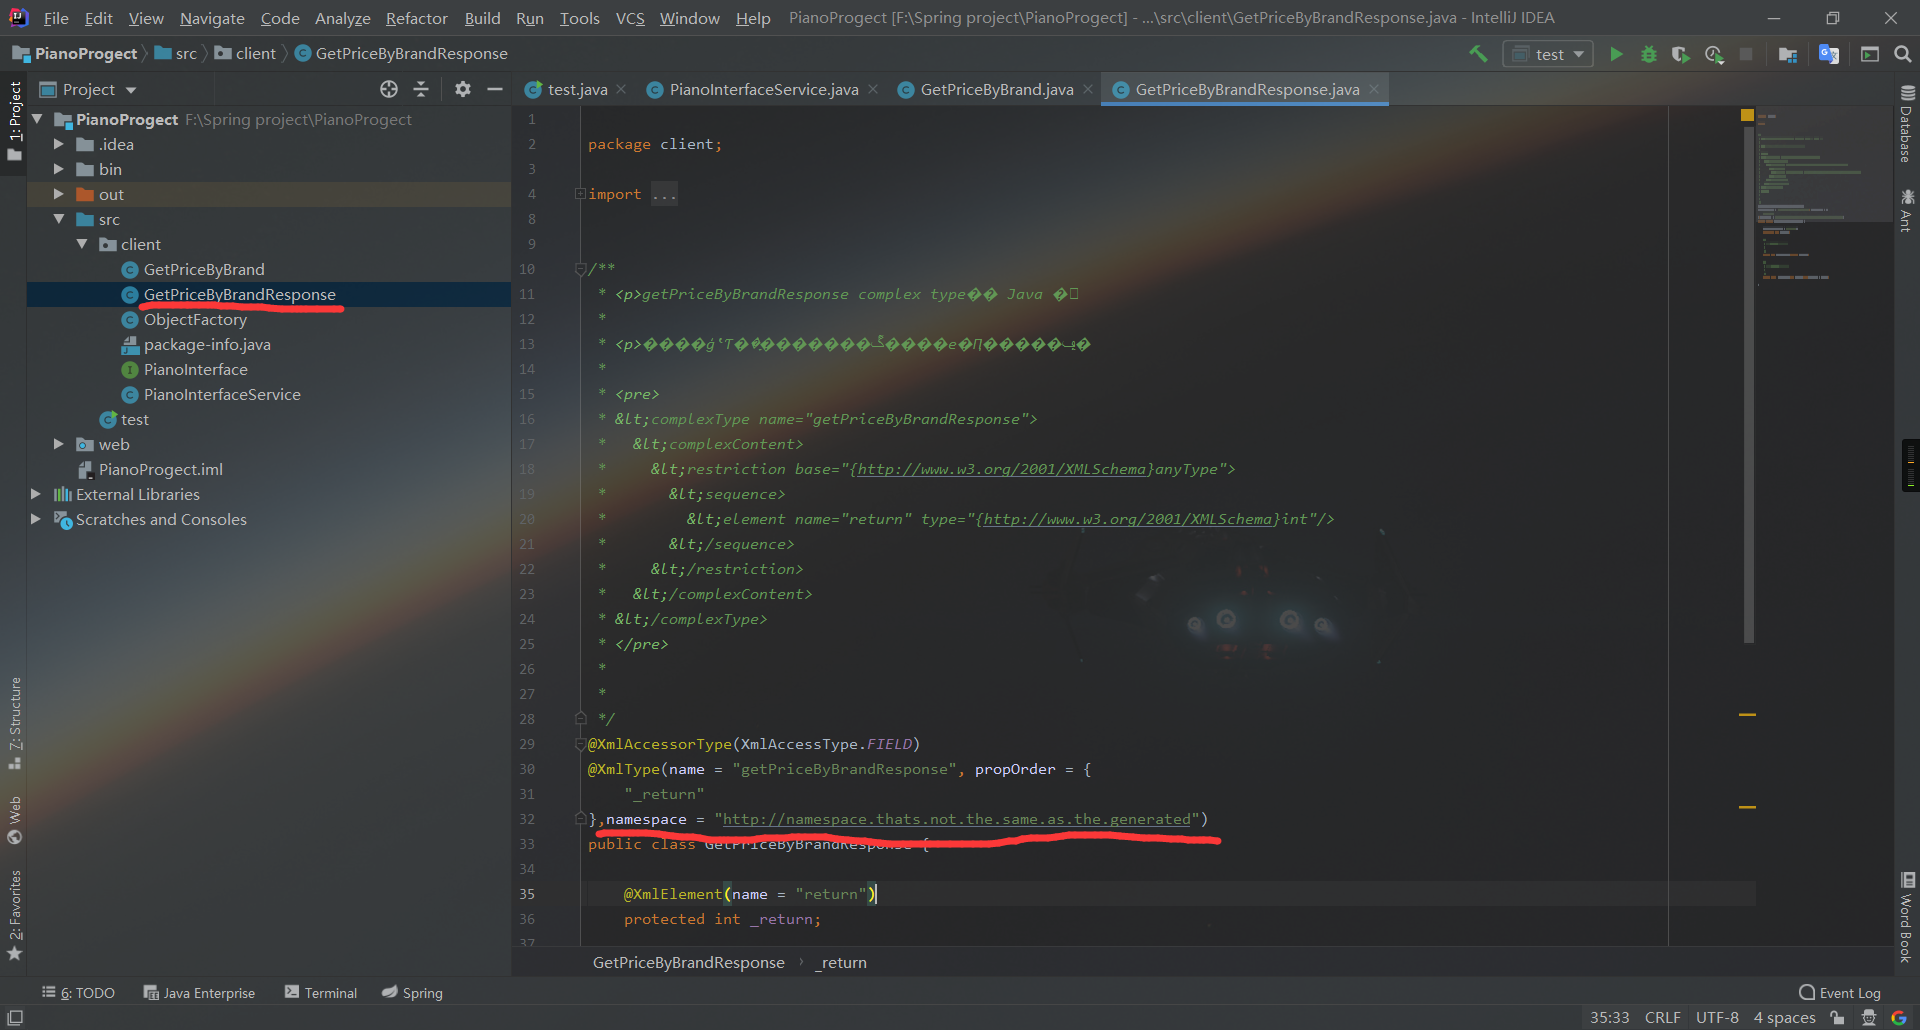
两个类具有相同的 XML 类型名称 "{http://webService.com/}getPriceResponse"。请使用 @XmlType.name 和 @XmlType.namespace 为类分配不同的名称
这个错可以在两个类里添加一个注解,namespace = "http://namespace.thats.not.the.same.as.the.generated"
3.运行
Spring集成CXF发布WebService并在客户端调用的更多相关文章
- CXF发布webService服务以及客户端调用
这篇随笔内容是CXF发布webService服务以及客户端调用的方法 CXF是什么? 开发工作之前需要下载CXF和安装 下载地址:http://cxf.apache.org 安装过程: <1&g ...
- spring集成cxf实现webservice接口功能
由于cxf的web项目已经集成了Spring,所以cxf的服务类都是在spring的配置文件中完成的.以下是步骤:第一步:建立一个web项目.第二步:准备所有jar包.将cxf_home\lib项目下 ...
- SSH集成cxf 发布restful webservice
首先讲一下什么是restful webservice ,这个问题网上一搜有很多博文去长篇大论的介绍它,但是最后你看完了也会觉得云里雾里的,所以我在这里简单的讲一下我理解的rest webservice ...
- 使用CXF与Spring集成实现RESTFul WebService
以下引用与网络中!!! 一种软件架构风格,设计风格而不是标准,只是提供了一组设计原则和约束条件.它主要用于客户端和服务器交互类的软件.基于这个风格设计的软件可以更简洁,更有层次,更易于实现缓存 ...
- Spring Boot+CXF搭建WebService(转)
概述 最近项目用到在Spring boot下搭建WebService服务,对Java语言下的WebService了解甚少,而今抽个时间查阅资料整理下Spring Boot结合CXF打架WebServi ...
- struts1+spring+myeclipse +cxf 开发webservice以及普通java应用调用webservice的实例
Cxf + Spring+ myeclipse+ cxf 进行 Webservice服务端开发 使用Cxf开发webservice的服务端项目结构 Spring配置文件applicationCont ...
- 使用CXF发布WebService服务简单实例
一.说明: 前面介绍了使用axis2来发布Webservice服务,现在介绍一种更popular,更高效的Webservice服务发布技术:CXF Apache CXF = Celtix + XFir ...
- SpringBoot整合cxf发布webService
1. 看看项目结构图 2. cxf的pom依赖 1 <dependency>2 <groupId>org.apache.cxf</groupId>3 <art ...
- SpringMVC4整合CXF发布WebService
SpringMVC4整合CXF发布WebService版本:SpringMVC 4.1.6,CXF 3.1.0项目管理:apache-maven-3.3.3 pom.xml <project x ...
随机推荐
- 在eclipse中使用maven构建spring cloud微服务
使用eclipse中使用maven构建spring cloud微服务,springcloud通过maven构建项目.springcloud项目搭建. 工具/原料 eclipse maven spr ...
- Nginx配置upstream实现负载均衡1
如果Nginx没有仅仅只能代理一台服务器的话,那它也不可能像今天这么火,Nginx可以配置代理多台服务器,当一台服务器宕机之后,仍能保持系统可用.具体配置过程如下: 1. 在http节点下,添加ups ...
- 华为云—环境安装(jdk安装,tomcat安装)
前言 在前面咱们讲到华为云的购买以及一些配置,通过上一文即可获得一个可以直接访问使用的云服务器.但是对于不同的人群服务器的使用用途可能不同,对于咱们大部分的java程序员来说,jdk.tomcat.m ...
- css sprites(精灵图)如何使用?
CSS Sprites是一种性能优化技术,一种网页图片应用处理方式:将多个图像组合成单个图像文件以在网站上使用的方法,以提高性能:也被称为css 精灵图. 网页通常包含多个图像.这些包括图标,按钮,徽 ...
- 【线型DP模板】最上上升子序列(LIS),最长公共子序列(LCS),最长公共上升子序列(LCIS)
BEGIN LIS: 一个数的序列bi,当b1 < b2 < … < bS的时候,我们称这个序列是上升的.对于给定的一个序列(a1, a2, …, aN),我们可以得到一些上升的子序 ...
- 【笔记】在java中String类为什么要设计成final?
部分内容转自知乎:https://www.zhihu.com/question/31345592 从自己的理解进行加工,压缩. String本质上是一个final类 public final clas ...
- 攻防世界-新手篇(Mise)~~~
Mise this_is_flag 签到题flag{th1s_!s_a_d4m0_4la9} pdf 打开图片,flag值在图片底下,wps将pdf转为word格式后,将图片拉开发现flag flag ...
- Dubbo 高危漏洞!原来都是反序列化惹得祸
前言 这周收到外部合作同事推送的一篇文章,[漏洞通告]Apache Dubbo Provider默认反序列化远程代码执行漏洞(CVE-2020-1948)通告. 按照文章披露的漏洞影响范围,可以说是当 ...
- python分块读取大数据,避免内存不足
- LNMP安装composer install时出现Warning: putenv()
layout: post title: LNMP安装composer install时出现Warning: putenv() has been disabled for security reason ...