TensorFlow图像处理函数
参考书
《TensorFlow:实战Google深度学习框架》(第2版)
图像编码处理+图像大小调整+图像翻转+图像色彩调整+处理标注框
#!/usr/bin/env python
# -*- coding: UTF-8 -*-
# coding=utf-8 """
@author: Li Tian
@contact: 694317828@qq.com
@software: pycharm
@file: figure_deal_test1.py
@time: 2019/1/21 10:06
@desc: 用TensorFlow对jpeg格式图像进行编码/解码
""" # matplotlib.pyplot是一个python的画图工具。在这一节中使用这个工具来可视化经过TensorFlow处理的图像。
import matplotlib.pyplot as plt
import tensorflow as tf # 读取图像的原始数据。
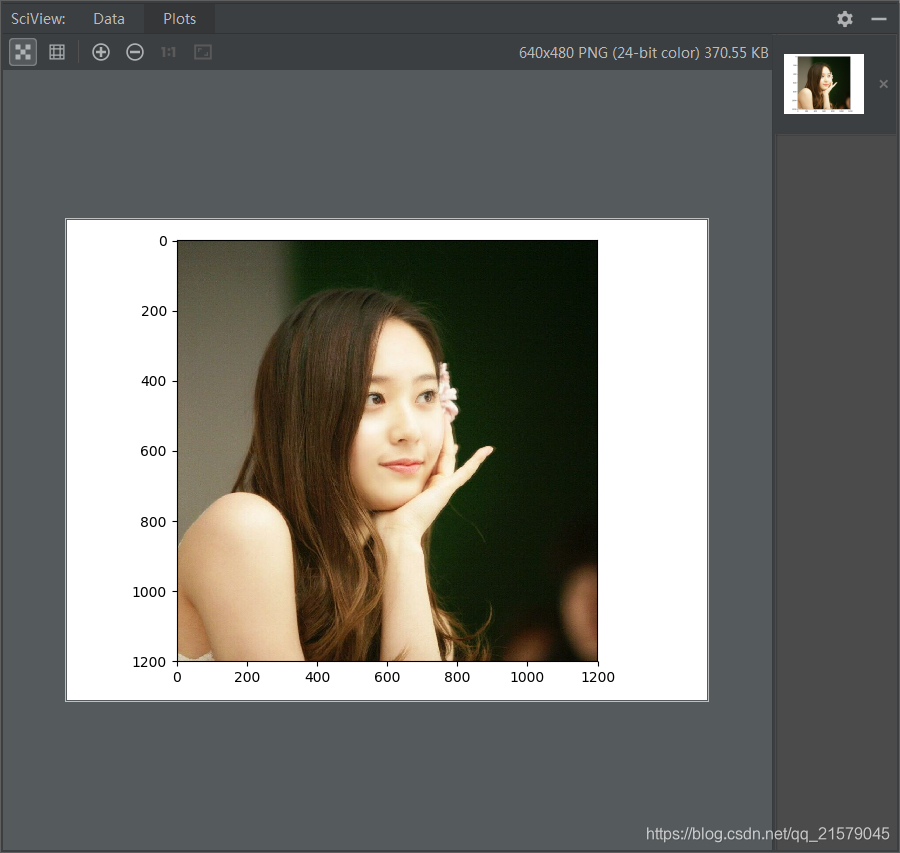
image_raw_data = tf.gfile.FastGFile('F:/Python3Space/figuredata_deal/krystal.jpg', 'rb').read() with tf.Session() as sess:
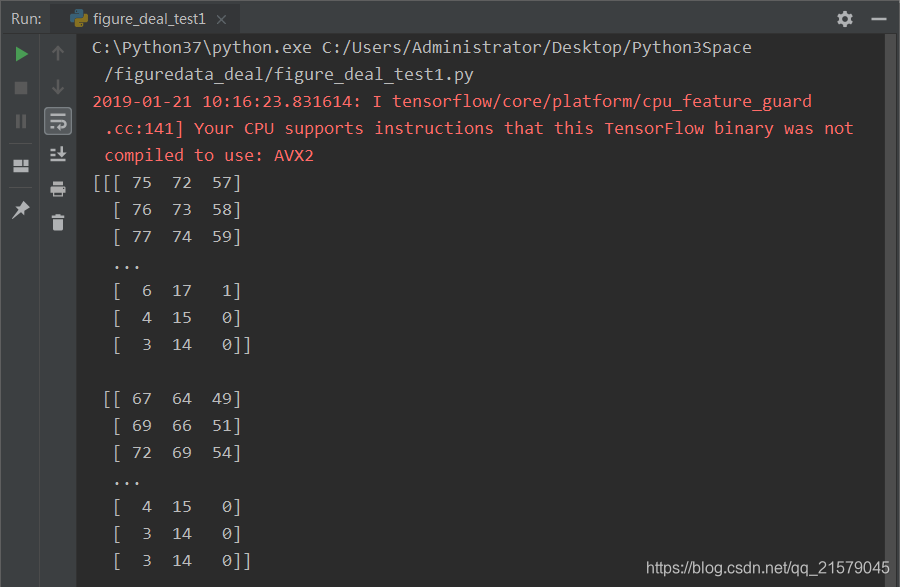
# 对图像进行jpeg的格式解码从而得到图相对应的三维矩阵。TensorFlow还提供了tf.image.decode_png函数对png格式的图像进行解码。
# 解码之后的结果为一个张量,在使用它的取值之前需要明确调用运行的过程。
img_data = tf.image.decode_jpeg(image_raw_data)
imag_data = tf.image.convert_image_dtype(img_data, dtype=tf.float32) # 调整图像调整大小
# 0:双线性插值法
resized_0 = tf.image.resize_images(imag_data, [300, 300], method=0)
# 1:最近邻居法
resized_1 = tf.image.resize_images(imag_data, [300, 300], method=1)
# 2:双三次插值法
resized_2 = tf.image.resize_images(imag_data, [300, 300], method=2)
# 3:面积插值法
resized_3 = tf.image.resize_images(imag_data, [300, 300], method=3) # 对图像进行裁剪和填充
croped = tf.image.resize_image_with_crop_or_pad(imag_data, 1000, 1000)
padded = tf.image.resize_image_with_crop_or_pad(imag_data, 3000, 3000) # 用过比例调整图像大小
central_cropped = tf.image.central_crop(imag_data, 0.5) # 将图像上下翻转
flipped_0 = tf.image.flip_up_down(imag_data)
# 将图像左右翻转
flipped_1 = tf.image.flip_left_right(imag_data)
# 将图像沿对角线翻转
transposed = tf.image.transpose_image(imag_data) # 随机图像翻转
flipped_2 = tf.image.random_flip_up_down(imag_data)
flipped_3 = tf.image.random_flip_left_right(imag_data) # 图像亮度调整
adjusted = tf.image.adjust_brightness(imag_data, -0.5)
# 色彩调整的API可能导致像素的实数值超出0.0-1.0的范围,因此在输出最终图像前需要将其值截断在0.0-1.0范围区内,否则
# 不仅图像无法正常可视化,以此为输入的神经网络的训练质量也可能收到影响。
adjusted_0 = tf.clip_by_value(adjusted, 0.0, 1.0) # 将图像的亮度+0.5
adjusted = tf.image.adjust_brightness(imag_data, 0.5)
adjusted_1 = tf.clip_by_value(adjusted, 0.0, 1.0)
# 在[-max_delta, max_delta)的范围随机调整图像的亮度。
adjusted_2 = tf.image.random_brightness(imag_data, max_delta=0.5) # 改变图像的对比度
adjusted_3 = tf.image.adjust_contrast(imag_data, 0.5)
adjusted_4 = tf.image.adjust_contrast(imag_data, 5)
adjusted_5 = tf.image.random_contrast(imag_data, 0.1, 10) # 调整图像色相
adjusted_6 = tf.image.adjust_hue(imag_data, 0.1)
adjusted_7 = tf.image.adjust_hue(imag_data, 0.6)
adjusted_8 = tf.image.random_hue(imag_data, 0.3) # 调整图像饱和度
adjusted_9 = tf.image.adjust_saturation(imag_data, -5)
adjusted_10 = tf.image.adjust_saturation(imag_data, 5)
adjusted_11 = tf.image.random_saturation(imag_data, 0, 5) # 图像标准化:将图像上的亮度均值变为0,方差变为1,。
adjusted_12 = tf.image.per_image_standardization(imag_data) # 处理标注框
# 将图像缩小一些,这样可视化能让标准框更加清楚。
# img_data_deal = tf.image.resize_images(imag_data, [180, 267], method=1)
# 图像的输入是一个batch的数据,也就是多张图像组成四维矩阵,所以需要将解码之后的图像矩阵加一维
batched_1 = tf.expand_dims(tf.image.convert_image_dtype(img_data, tf.float32), 0)
boxes = tf.constant([[[0.05, 0.05, 0.9, 0.7], [0.35, 0.47, 0.5, 0.56]]])
result = tf.image.draw_bounding_boxes(batched_1, boxes) # 随机截取图像上有信息含量的部分
# 可以通过提供标注框的方式来告诉随机截取图像的算法哪些部分是“有信息量”的
begin, size, bbox_for_draw = tf.image.sample_distorted_bounding_box(tf.shape(img_data), bounding_boxes=boxes, min_object_covered=0.4)
# 通过标注框可视化随机截取得到的图像
batched_2 = tf.expand_dims(tf.image.convert_image_dtype(img_data, tf.float32), 0)
image_with_box = tf.image.draw_bounding_boxes(batched_2, bbox_for_draw)
# 截取随机出来的图像。
distorted_image = tf.slice(img_data, begin, size) plt.rcParams['font.sans-serif'] = ['SimHei'] # 步骤一(替换sans-serif字体)
plt.rcParams['axes.unicode_minus'] = False # 步骤二(解决坐标轴负数的负号显示问题) # '''
fig1 = plt.figure(1, (16, 16), dpi=100)
ax = plt.subplot(331)
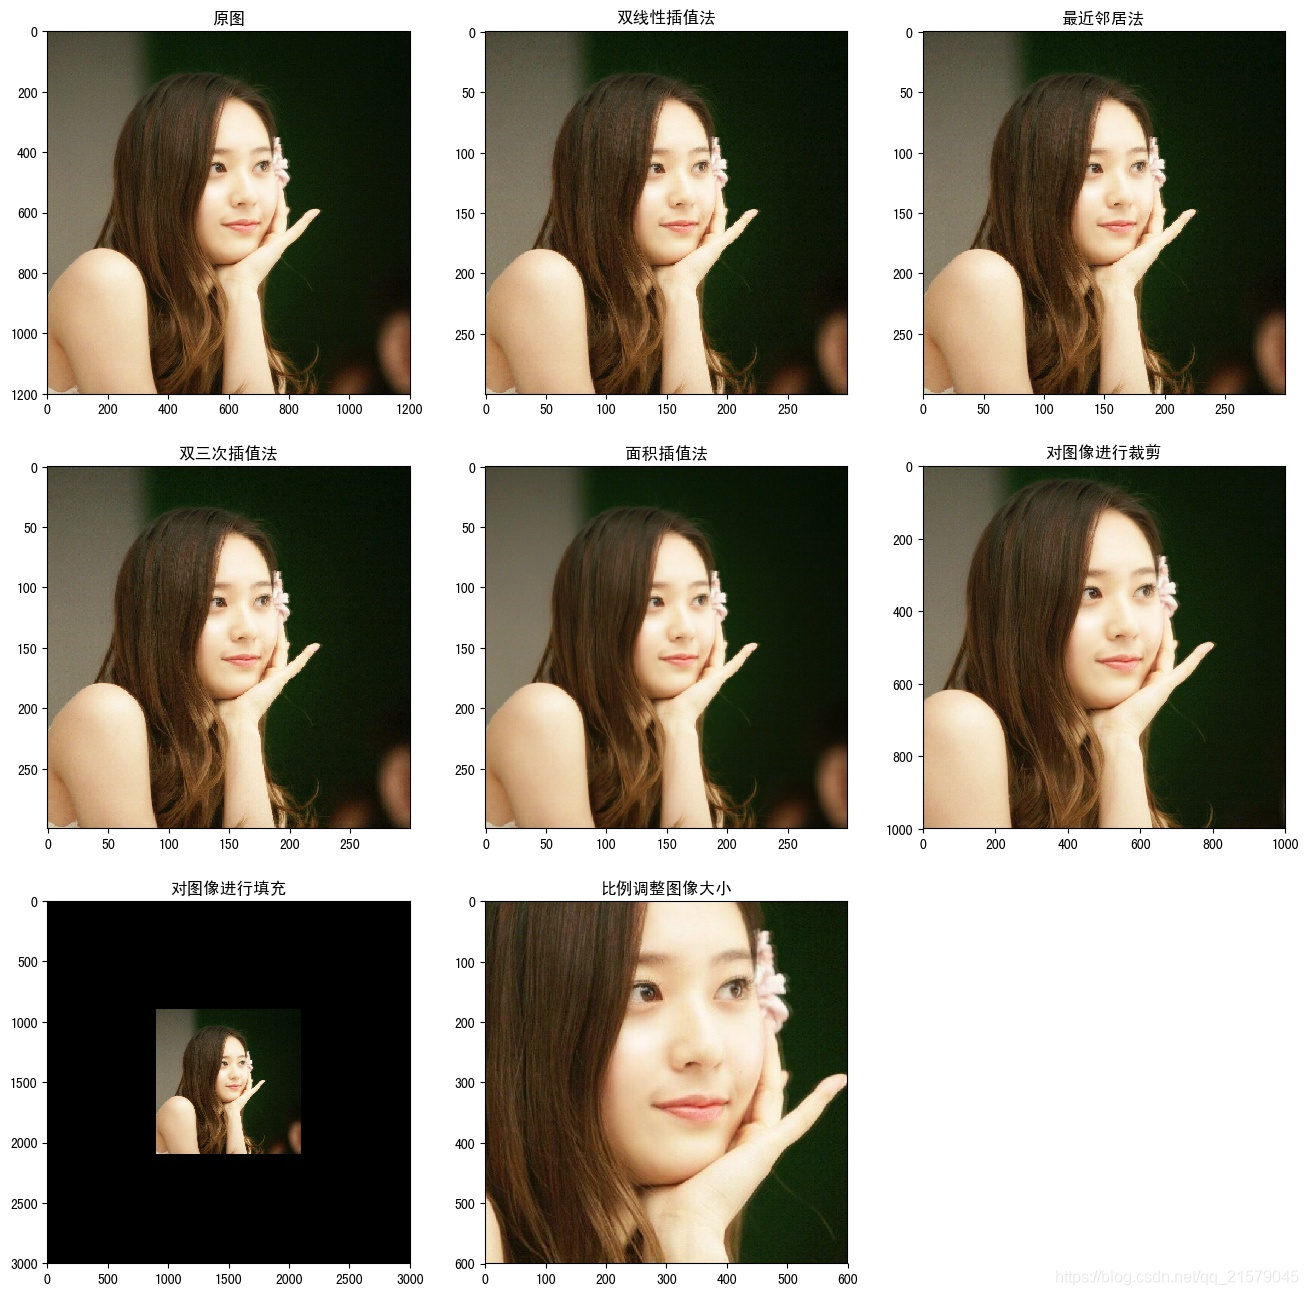
ax.set_title('原图')
plt.imshow(imag_data.eval())
ax = plt.subplot(332)
ax.set_title('双线性插值法')
plt.imshow(resized_0.eval())
ax = plt.subplot(333)
ax.set_title('最近邻居法')
plt.imshow(resized_1.eval())
ax = plt.subplot(334)
ax.set_title('双三次插值法')
plt.imshow(resized_2.eval())
ax = plt.subplot(335)
ax.set_title('面积插值法')
plt.imshow(resized_3.eval())
ax = plt.subplot(336)
ax.set_title('对图像进行裁剪')
plt.imshow(croped.eval())
ax = plt.subplot(337)
ax.set_title('对图像进行填充')
plt.imshow(padded.eval())
ax = plt.subplot(338)
ax.set_title('比例调整图像大小')
plt.imshow(central_cropped.eval()) fig2 = plt.figure(2, (16, 16), dpi=250)
ax = plt.subplot(331)
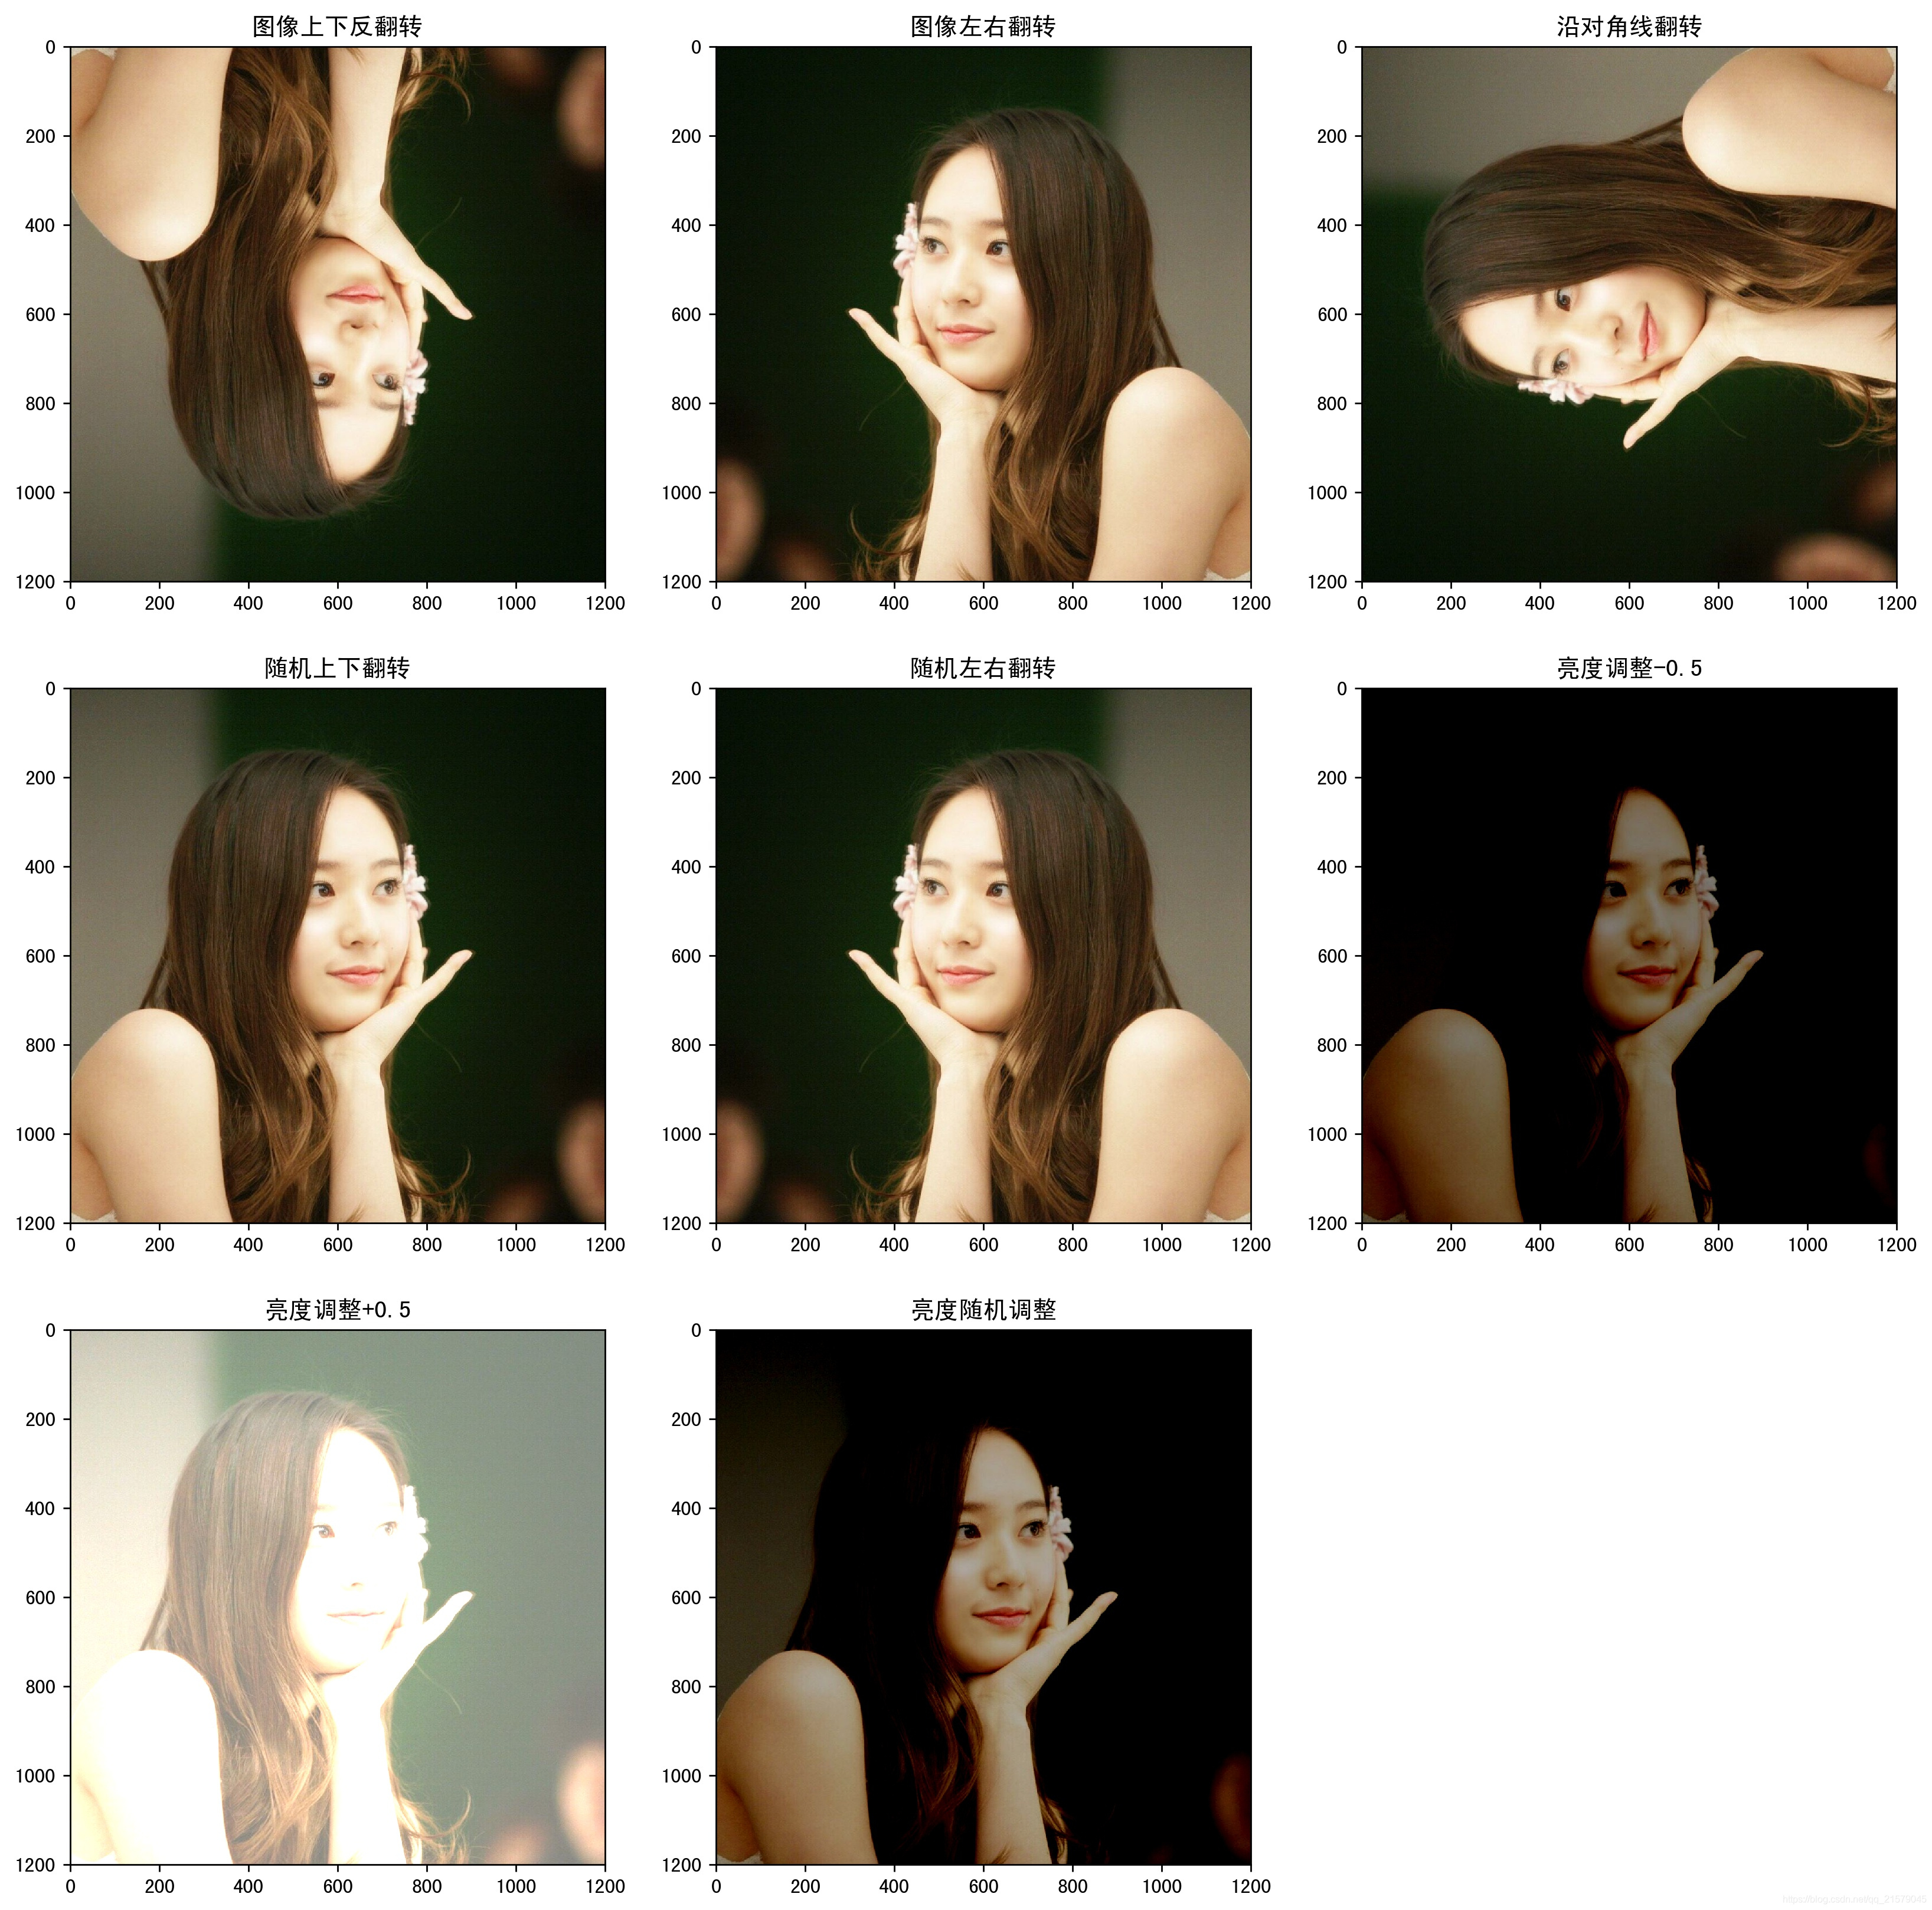
ax.set_title('图像上下反翻转')
plt.imshow(flipped_0.eval())
ax = plt.subplot(332)
ax.set_title('图像左右翻转')
plt.imshow(flipped_1.eval())
ax = plt.subplot(333)
ax.set_title('沿对角线翻转')
plt.imshow(transposed.eval())
ax = plt.subplot(334)
ax.set_title('随机上下翻转')
plt.imshow(flipped_2.eval())
ax = plt.subplot(335)
ax.set_title('随机左右翻转')
plt.imshow(flipped_3.eval())
ax = plt.subplot(336)
ax.set_title('亮度调整-0.5')
plt.imshow(adjusted_0.eval())
ax = plt.subplot(337)
ax.set_title('亮度调整+0.5')
plt.imshow(adjusted_1.eval())
ax = plt.subplot(338)
ax.set_title('亮度随机调整')
plt.imshow(adjusted_2.eval()) fig3 = plt.figure(3, (16, 16), dpi=250)
ax = plt.subplot(331)
ax.set_title('对比度调整+0.5')
plt.imshow(adjusted_3.eval())
ax = plt.subplot(332)
ax.set_title('对比度调整+5')
plt.imshow(adjusted_4.eval())
ax = plt.subplot(333)
ax.set_title('对比度随机调整')
plt.imshow(adjusted_5.eval())
ax = plt.subplot(334)
ax.set_title('色相调整+0.1')
plt.imshow(adjusted_6.eval())
ax = plt.subplot(335)
ax.set_title('色相调整+0.6')
plt.imshow(adjusted_7.eval())
ax = plt.subplot(336)
ax.set_title('色相随机调整')
plt.imshow(adjusted_8.eval())
ax = plt.subplot(337)
ax.set_title('饱和度调整-5')
plt.imshow(adjusted_9.eval())
ax = plt.subplot(338)
ax.set_title('饱和度调整+5')
plt.imshow(adjusted_10.eval())
ax = plt.subplot(339)
ax.set_title('饱和度随机调整')
plt.imshow(adjusted_11.eval())
# ''' fig4 = plt.figure(4, (16, 16), dpi=250)
ax = plt.subplot(221)
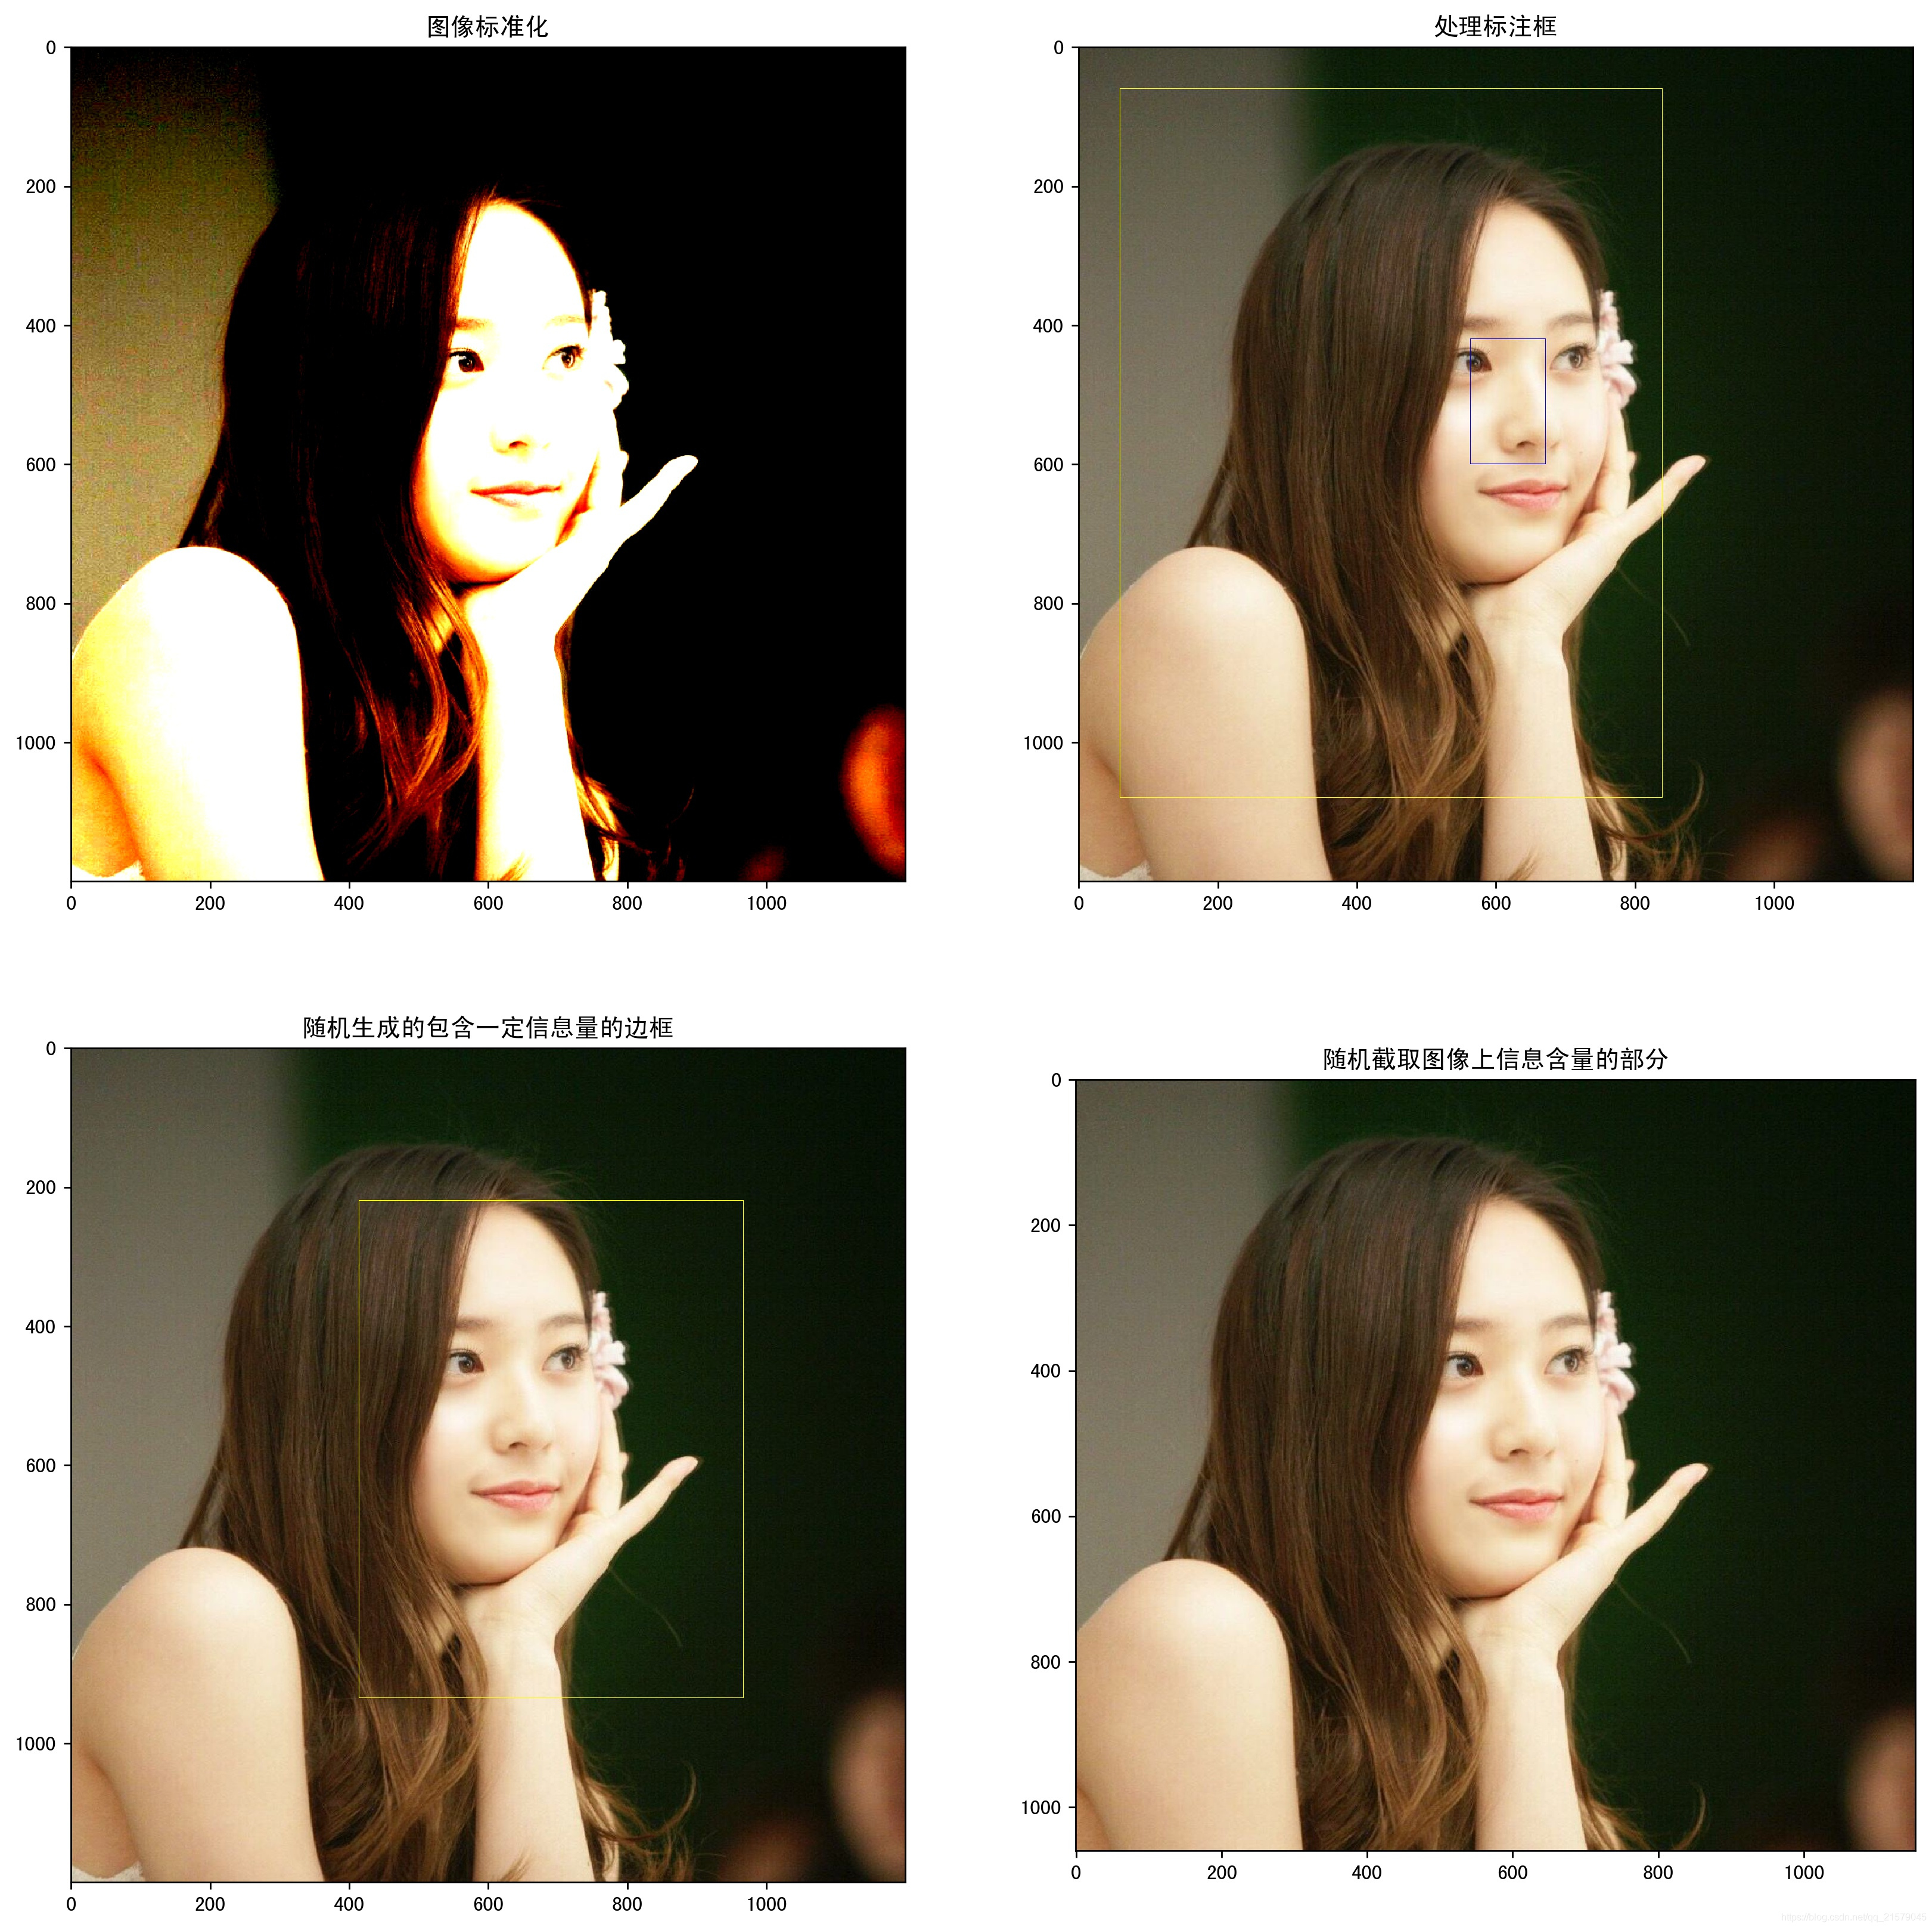
ax.set_title('图像标准化')
plt.imshow(adjusted_12.eval())
ax = plt.subplot(222)
ax.set_title('处理标注框')
plt.imshow(result[0].eval())
ax = plt.subplot(223)
ax.set_title('随机生成的包含一定信息量的边框')
plt.imshow(image_with_box[0].eval())
ax = plt.subplot(224)
ax.set_title('随机截取图像上信息含量的部分')
plt.imshow(distorted_image.eval()) # 使用pyplot工具可视化得到的图像。
# plt.show()
# '''
fig1.savefig('F:/Python3Space/figuredata_deal/figure1.jpg', bbox_inches='tight')
fig2.savefig('F:/Python3Space/figuredata_deal/figure2.jpg', bbox_inches='tight')
fig3.savefig('F:/Python3Space/figuredata_deal/figure3.jpg', bbox_inches='tight')
# '''
fig4.savefig('F:/Python3Space/figuredata_deal/figure4.jpg', bbox_inches='tight') # 将表示一张图像的三维矩阵重新按照jpeg格式编码并存入文件中,打开这张图像,可以得到和原始图像一样的图像。
# encoded_image = tf.image.encode_jpeg(imag_data)
# with tf.gfile.GFile('C:/Users/Administrator/Desktop/Python3Space/figuredata_deal/output.jpg', 'wb') as f:
# f.write(encoded_image.eval())
运行结果:


TensorFlow图像处理函数的更多相关文章
- tensorflow图像处理函数(1)
1.tensorflow中对jpeg格式图像的编码/解码函数: import matplotlib.pyplot as plt import tensorflow as tf image_raw_da ...
- 吴裕雄 python 神经网络——TensorFlow 图像处理函数
import numpy as np import tensorflow as tf import matplotlib.pyplot as plt image_raw_data = tf.gfile ...
- 吴裕雄--天生自然 pythonTensorFlow图形数据处理:TensorFlow图像处理函数
import numpy as np import tensorflow as tf import matplotlib.pyplot as plt #读取图片 image_raw_data = tf ...
- Tensorflow图像处理
Tensorflow图像处理主要包括:调整尺寸,图像翻转,调整色彩,处理标注框. 代码如下: #coding=utf-8 import matplotlib.pyplot as plt import ...
- Matlab图像处理函数:regionprops
本篇文章为转载,仅为方便学术讨论所用,不用于商业用途.由于时间较久,原作者以及原始链接暂时无法找到,如有侵权以及其他任何事宜欢迎跟我联系,如有侵扰,在此提前表示歉意.----------------- ...
- tf.nn.embedding_lookup TensorFlow embedding_lookup 函数最简单实例
tf.nn.embedding_lookup TensorFlow embedding_lookup 函数最简单实例 #!/usr/bin/env python # -*- coding: utf-8 ...
- 深度学习TensorFlow常用函数
tensorflow常用函数 TensorFlow 将图形定义转换成分布式执行的操作, 以充分利用可用的计算资源(如 CPU 或 GPU.一般你不需要显式指定使用 CPU 还是 GPU, Tensor ...
- php GD 和图像处理函数, 用 STHUPO.TTF 字体向图像写入文本
php GD 和图像处理函数, 用 STHUPO.TTF 字体向图像写入文本 注意: 01) imagettftext() 这个函数不能使用相对路径, 要想使用相对路径要先使用 puten ...
- php GD 和图像处理函数, 制作一张图片
php GD 和图像处理函数, 制作一张图片 // GD 和图像处理函数 // https://www.php.net/manual/zh/ref.image.php // https://www.p ...
随机推荐
- HDU 5289 Assignment(多校联合第一场1002)
Assignment Time Limit: 4000/2000 MS (Java/Others) Memory Limit: 65536/65536 K (Java/Others) Total ...
- 通过/proc/cpuinfo判断CPU数量、Multicores、Multithreading、Hyper-threading
http://blog.sina.com.cn/s/blog_4a6151550100iowl.html 判断依据:1.具有相同core id的cpu是同一个core的超线程.2.具有相同physic ...
- Space for commit to queue couldn't be acquired
18/07/27 16:53:53 ERROR source.ExecSource: Failed while running command: tail -F /home/MyBgJavaLan/p ...
- poj 2228 Naptime(DP的后效性处理)
\(Naptime\) \(solution:\) 这道题不做多讲,它和很多区间DP的套路一致,但是这一道题它不允许断环成链,会超时.但是我们发现如果这只奶牛跨夜休息那么它在不跨夜的二十四个小时里一定 ...
- JS中prototype,js原型扩展
作者:轩脉刃(yjf512)出处:(http://www.cnblogs.com/yjf512/)版权声明:本文的版权归作者与博客园共有.欢迎转载阅读,转载时须注明本文的详细链接. 原文 http:/ ...
- Easy smart REST with kbmMW
使用新版kbmMW开发的 smart service,也可以轻松的发布为通过REST来调用的功能. 一个 kbmMW smart service象下面这样实现,就可以使用REST来访问: ty ...
- 使用JQuery.Validate插件来校验页面表单有效性
使用JQuery.Validate插件来校验页面表单有效性1. [代码] 常见的注册表单元素 <form action="#" method="post" ...
- silverlight DataGrid 内嵌ComboBox 实现加载和保存
<Grid x:Name="LayoutRoot" Background="White" Height="322" Width=&qu ...
- 【POJ 1655】 Balancing Act
[题目链接] 点击打开链接 [算法] 树形DP求树的重心 [代码] #include <algorithm> #include <bitset> #include <cc ...
- 【USACO】 Balanced Photo
[题目链接] 点击打开链接 [算法] 树状数组 [代码] #include<bits/stdc++.h> using namespace std; int i,N,ans,l1,l2; ] ...