Windows下的Jupyter Notebook 安装与自定义启动
1、Jupyter Notebook 和 pip
为了更加方便地写 Python 代码,还需要安装 Jupyter notebook。 利用 pip 安装 Jupyter notebook。
为什么要使用 Jupyter?参考: https://www.zhihu.com/question/37490497
pip: Python 的包管理工具,安装 Python 的同时已经安装好了。
Jupyter notebook: 一个交互式笔记本,支持运行 40 多种编程语言。 利用她来写 Python,代码和运行结果都可以保存下载,十分方便。
2、Jupyter notebook 安装
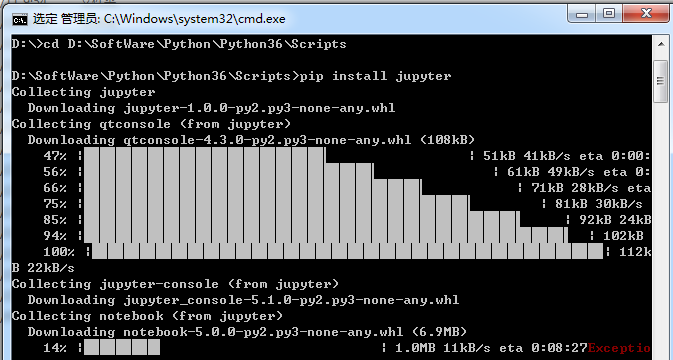
命令行窗口输入: pip install jupyter
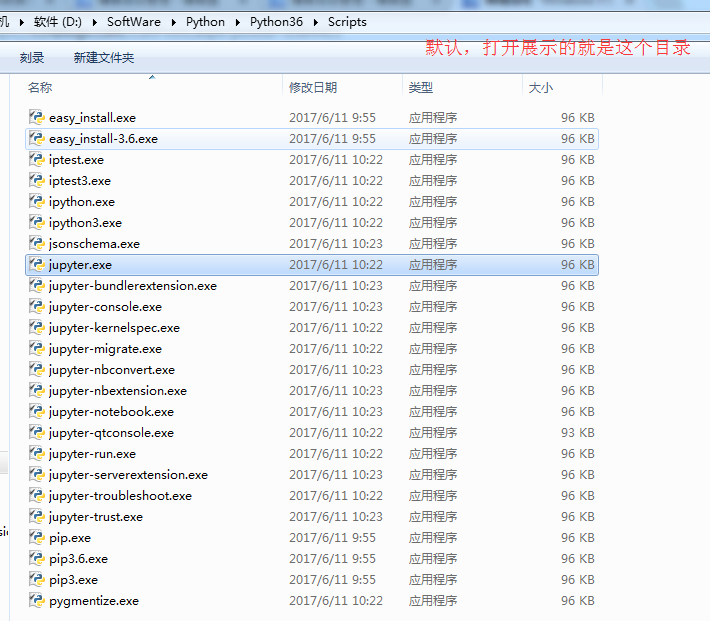
切换到 D:\SoftWare\Python\Python36\Scripts目录下,
当然,若大家是默认安装的话,则在C:\Users\Administrator\AppData\Local\Programs\Python\Python36\Scripts 目录下 。
或者将该目录添加到 path,就不用切换了。
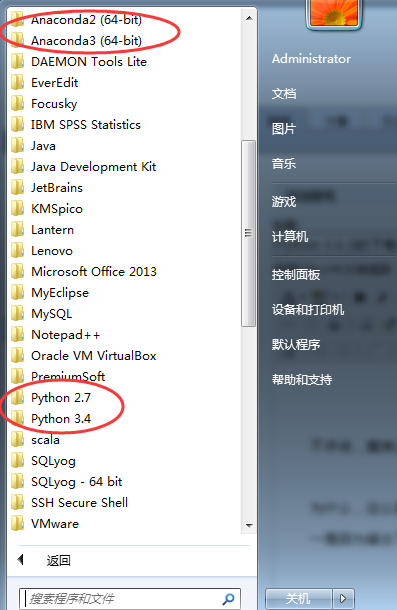
我这里,因为考虑到机器学习深度学习那边,已经安装了Anaconda2和Anaconda3,所以这边的数据分析所用的python3.6.1就不添加到path了。每次去切换到这个目录来,也不麻烦。
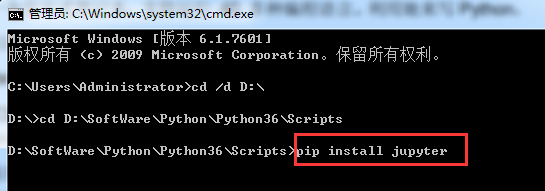

Microsoft Windows [版本 6.1.7601]

版权所有 (c) 2009 Microsoft Corporation。保留所有权利。

C:\Users\Administrator>cd /d D:\

D:\>cd D:\SoftWare\Python\Python36\Scripts

D:\SoftWare\Python\Python36\Scripts>pip install jupyter

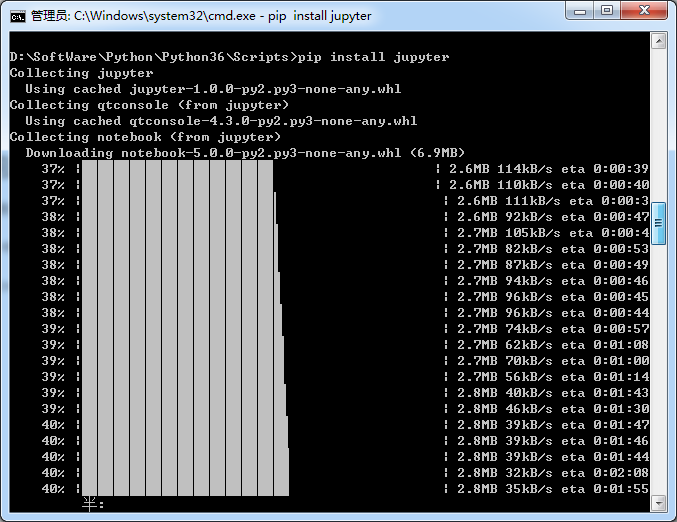


安装成功。
3、 jupyter notebook的启动
命令行窗口输入: jupyter notebook
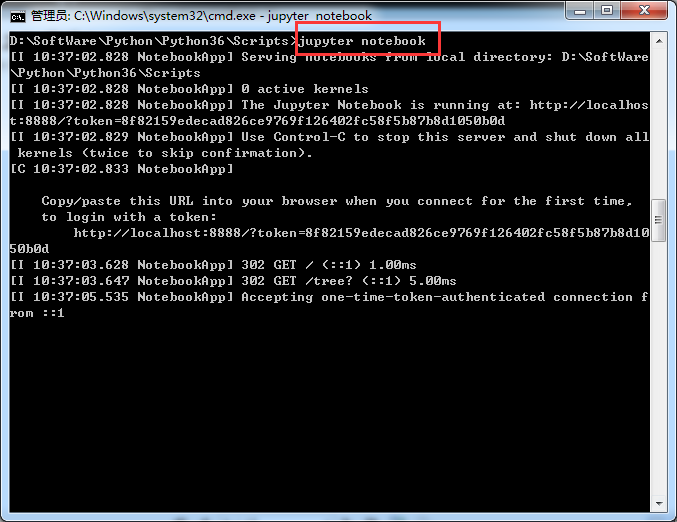
D:\SoftWare\Python\Python36\Scripts>jupyter notebook

[I 10:37:02.828 NotebookApp] Serving notebooks from local directory: D:\SoftWare

\Python\Python36\Scripts

[I 10:37:02.828 NotebookApp] 0 active kernels

[I 10:37:02.828 NotebookApp] The Jupyter Notebook is running at: http://localhos

t:8888/?token=8f82159edecad826ce9769f126402fc58f5b87b8d1050b0d

[I 10:37:02.829 NotebookApp] Use Control-C to stop this server and shut down all

 kernels (twice to skip confirmation).

[C 10:37:02.833 NotebookApp]

    Copy/paste this URL into your browser when you connect for the first time,

    to login with a token:

        http://localhost:8888/?token=8f82159edecad826ce9769f126402fc58f5b87b8d10

50b0d

[I 10:37:03.628 NotebookApp] 302 GET / (::1) 1.00ms

[I 10:37:03.647 NotebookApp] 302 GET /tree? (::1) 5.00ms

[I 10:37:05.535 NotebookApp] Accepting one-time-token-authenticated connection f

rom ::1
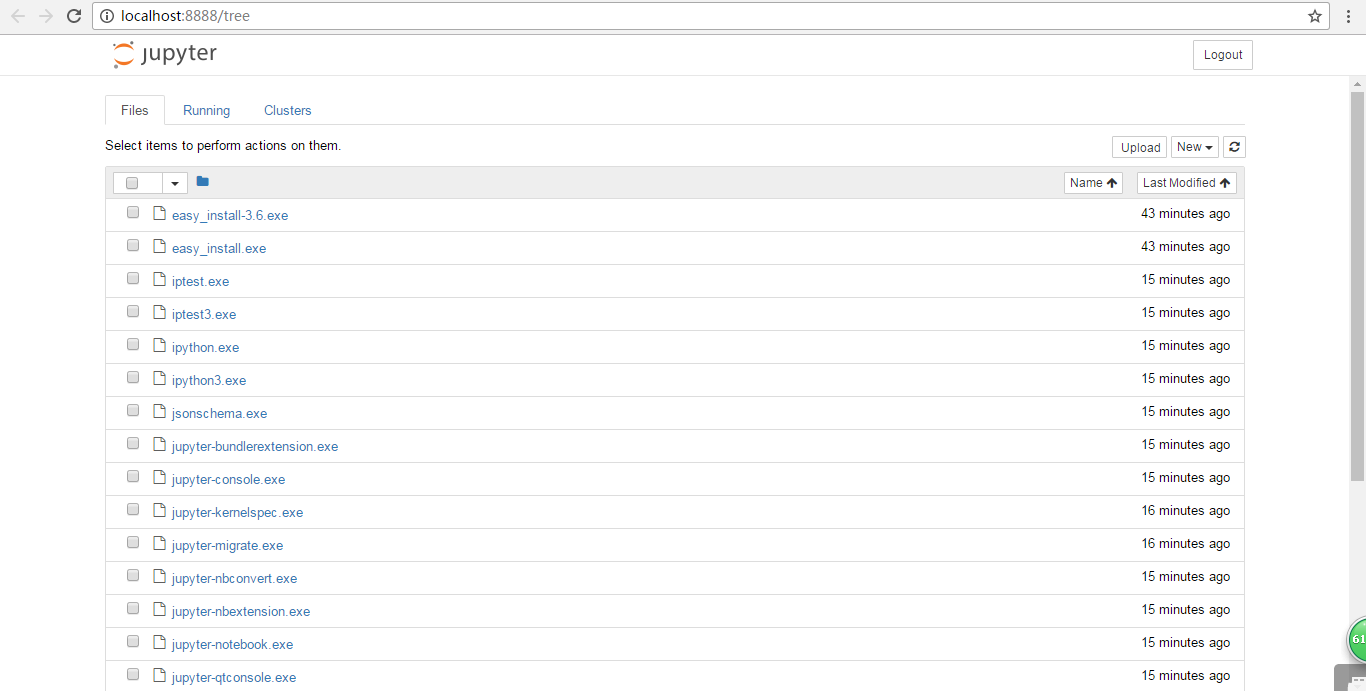
同时,默认浏览器会打开 Jupyter notebook 窗口。 说明 Jupyter notebook 安装成功了。
4、配置 Jupyter notebook
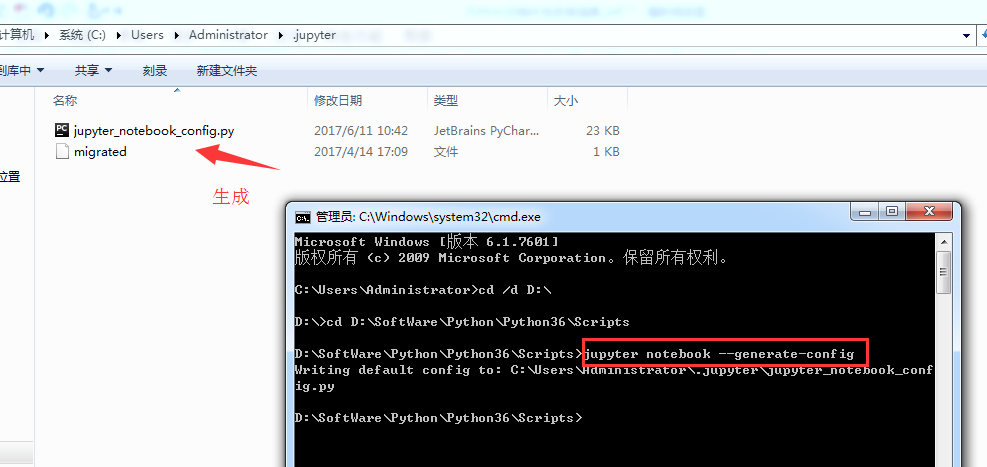
jupyter notebook --generate-config
运行之前
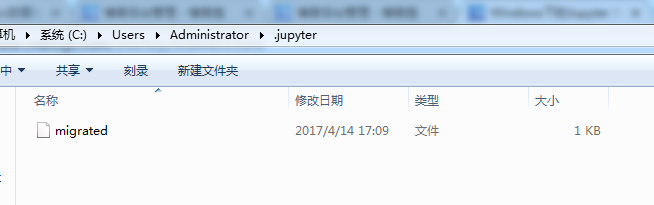
打开“.jupyter”文件夹,可以看到里面有个配置文件。
Microsoft Windows [版本 6.1.7601]

版权所有 (c) 2009 Microsoft Corporation。保留所有权利。

C:\Users\Administrator>cd /d D:\

D:\>cd D:\SoftWare\Python\Python36\Scripts

D:\SoftWare\Python\Python36\Scripts>jupyter notebook --generate-config

Writing default config to: C:\Users\Administrator\.jupyter\jupyter_notebook_conf

ig.py

D:\SoftWare\Python\Python36\Scripts>
修改jupyter_notebook_config.py配置文件
打开这个配置文件,找到“c.NotebookApp.notebook_dir=……”,把路径改成自己的工作目录。

比如,这里要变更为
## The directory to use for notebooks and kernels.
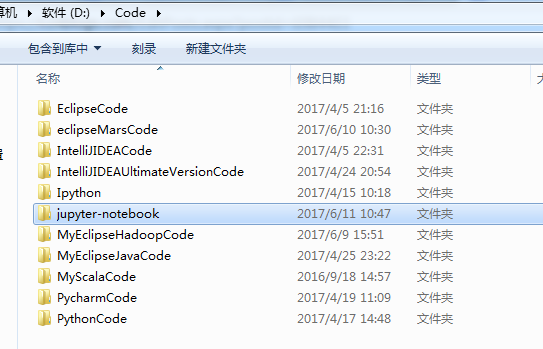
c.NotebookApp.notebook_dir = 'D:\Code\jupyter-notebook'
,当然,文件夹 jupyter-notebook 需要自己创建好。

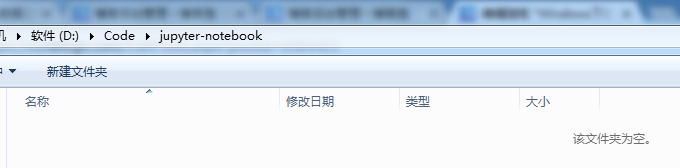
配置文件修改完成后, 以后在 jupyter notebook 中写的代码等都会保存在自己创建的目录中。
jupyter notebook的自定义启动(变了)
配置文件修改成后,就可以启动 jupyter notebook 了,命令行窗口中输入 jupyter notebook,
默认浏览器就会打开一个页面
jupyter notebook的启动
命令行窗口输入: jupyter notebook
以前是
D:\SoftWare\Python\Python36\Scripts>jupyter notebook

[I 10:37:02.828 NotebookApp] Serving notebooks from local directory: D:\SoftWare

\Python\Python36\Scripts

[I 10:37:02.828 NotebookApp] 0 active kernels

[I 10:37:02.828 NotebookApp] The Jupyter Notebook is running at: http://localhos

t:8888/?token=8f82159edecad826ce9769f126402fc58f5b87b8d1050b0d

[I 10:37:02.829 NotebookApp] Use Control-C to stop this server and shut down all

 kernels (twice to skip confirmation).

[C 10:37:02.833 NotebookApp]

    Copy/paste this URL into your browser when you connect for the first time,

    to login with a token:

        http://localhost:8888/?token=8f82159edecad826ce9769f126402fc58f5b87b8d10

50b0d

[I 10:37:03.628 NotebookApp] 302 GET / (::1) 1.00ms

[I 10:37:03.647 NotebookApp] 302 GET /tree? (::1) 5.00ms

[I 10:37:05.535 NotebookApp] Accepting one-time-token-authenticated connection f

rom ::1
现在是
Microsoft Windows [版本 6.1.7601]
版权所有 (c) 2009 Microsoft Corporation。保留所有权利。 C:\Users\Administrator>cd /d D:\ D:\>cd D:\SoftWare\Python\Python36\Scripts
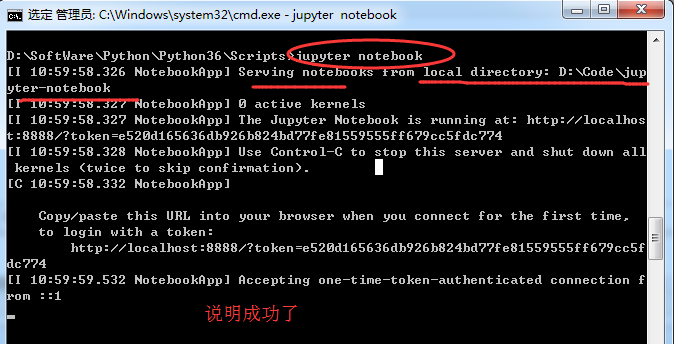
D:\SoftWare\Python\Python36\Scripts>jupyter notebook
[I 10:59:58.326 NotebookApp] Serving notebooks from local directory: D:\Code\jup
yter-notebook
[I 10:59:58.327 NotebookApp] 0 active kernels
[I 10:59:58.327 NotebookApp] The Jupyter Notebook is running at: http://localhos
t:8888/?token=e520d165636db926b824bd77fe81559555ff679cc5fdc774
[I 10:59:58.328 NotebookApp] Use Control-C to stop this server and shut down all
kernels (twice to skip confirmation).
[C 10:59:58.332 NotebookApp] Copy/paste this URL into your browser when you connect for the first time,
to login with a token:
http://localhost:8888/?token=e520d165636db926b824bd77fe81559555ff679cc5f
dc774
[I 10:59:59.532 NotebookApp] Accepting one-time-token-authenticated connection f
rom ::1

当然,其实啊,这个玩意非常的简单和方便。关于修改名字、上传等操作,后续关注的我博客。
常见问题及解决方案
如何添加 Path?
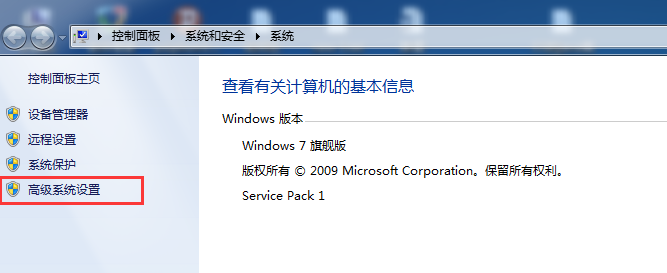
计算机-右击-单机“属性”
单机“高级系统设置”
单机“环境变量”
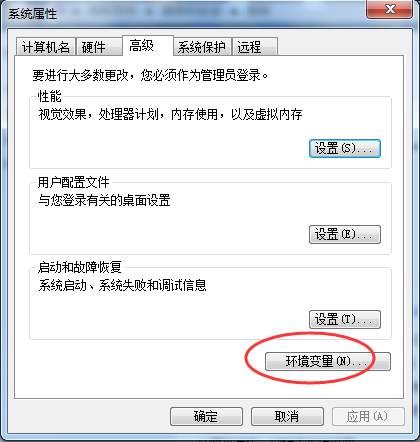
找到系统变量 path,编辑
在最后加上 2 个路径:
C:\Users\Administrator\AppData\Local\Programs\Python\Python36
C:\Users\Administrator\AppData\Local\Programs\Python\Python36\Scripts
说明:以上默认安装路径,每个电脑上是类似的,找到复制这个路径加到 Path 中即可
我的路径是已经改了,在下面的这篇博客里,可以看到
Windows下的Python 3.6.1的下载与安装(适合32bits和64bits)(图文详解)
这是我自定义的Python 的安装目录 (D:\SoftWare\Python\Python36\Scripts)
jupyter notebook 闪退
解决办法:更换默认浏览器。 ,建议用谷歌浏览器或者火狐浏览器
Windows下的Jupyter Notebook 安装与自定义启动的更多相关文章
- Windows下的Jupyter Notebook 安装与自定义启动(图文详解)
不多说,直接上干货! 前期博客 Windows下的Python 3.6.1的下载与安装(适合32bits和64bits)(图文详解) 这是我自定义的Python 的安装目录 (D:\SoftWare\ ...
- Windows下的Jupyter Notebook 的介绍(写给新手)(图文详解)
不多说,直接上干货! Windows下的Python 3.6.1的下载与安装(适合32bits和64bits)(图文详解) Windows下的Jupyter Notebook 安装与自定义启动(图文详 ...
- Anaconda下的 Jupyter Notebook 安装 多python环境
装完 Anaconda 会自带一个pyhon环境 也会自带Jupyter Notebook 可以点击开始中的Jupyter Notebook 打开 浏览器 我这里是 3.x 想要装个2.7 的 ...
- Windows下使用service.bat安装tomcat服务, 启动停止tomcat服务
在项目开发过程中,以前只是在Eclipse中配置.启动.停止tomcat服务器 如果只想在机器中使用tomcat服务器,而不想安装MyEclipse,可以使用service.bat 将tomcat安装 ...
- 全真教程:Windows环境Jupyter Notebook安装、运行和工作文件夹配置
全真教程:Windows环境Jupyter Notebook安装.运行和工作文件夹配置 @ 目录 全真教程:Windows环境Jupyter Notebook安装.运行和工作文件夹配置 一.Jupyt ...
- ubuntu下设置jupyter notebook 2017年07月29日 19:28:34 小旋锋 阅读数:8329 标签: ubuntu 更多 个人分类: python 二三事 来源:http://blog.csdn.net/suzyu12345/article/details/51037905 Ipython Notebook现在已经改名为Ipython jupyter,是最知名最好用的
ubuntu下设置jupyter notebook 来源:http://blog.csdn.net/suzyu12345/article/details/51037905 Ipython No ...
- 在windows端使用jupyter notebook,服务器充当后台计算云端 简化描述
在CentOS7服务器端启动jupyter notebook服务,在windows端使用jupyter notebook,服务器充当后台计算云端 简化描述 CentOS7服务器端 jupyter no ...
- 在CentOS7服务器端启动jupyter notebook服务,在windows端使用jupyter notebook,服务器充当后台计算云端
在CentOS7服务器端启动jupyter notebook服务,在windows端使用jupyter notebook,服务器充当后台计算云端 在服务器端启动jupyter notebook服务,在 ...
- 2分钟 windows下sublime text 3安装git插件:
12:35 2015/11/182分钟 windows下sublime text 3安装git插件:推荐博客:http://blog.csdn.net/naola2001/article/detail ...
随机推荐
- ElasticSearch做实时OLAP框架~实时搜索、统计和OLAP需求,甚至可以作为NOSQL来使用(转)
使用ElasticSearch作为大数据平台的实时OLAP框架 – lxw的大数据田地 http://lxw1234.com/archives/2015/12/588.htm 一直想找一个用于大数据平 ...
- vue兄弟组件的传值eventbus
注:当在a.vue组件上触发点击事件时,就会触发bus上监听的事件,而bus事件监听在b.vue里面,这个时候就会触发b.vue 上的事件监听,而通过回调函数,就可以拿到a.vue组件传过来的数据,从 ...
- Apache Log View 5.37破解笔记
i春秋作家:Sp4ce 之前说过要分享这个日志分析工具[记一次简单的攻击日志分析]的破解版,在破解的路上踩了几个坑,记录分享下. 0×00程序概述 原程序 大小: 2283672 字节文件版本: 5. ...
- zabbix-将业务机器加入到监控中
一.设置被监控的机器 1. 配置主机名 echo "agent.test.com" > /etc/hostname hostname agent.test.com 2.安装z ...
- node-exporter cpu使用率为负数
在prometheus利用公式:100 - (avg by (instance) (irate(node_cpu{instance="xxx", mode="idle&q ...
- STUN/TURN服务器搭建
目录 STUN/TURN服务器搭建 编译安装 配置使用 添加用户 启动server 测试 开机启动 参考 STUN/TURN服务器搭建 编译安装 编译安装 OpenSSL: sudo apt-get ...
- 在linux中安装VM tools
step 1:虚拟机选择安装 Vmware tools ,在DVD中将.tar.gz的文件包拖到桌面中: step 2:打开终端,切换到桌面,cd /home/whoami/桌面 cd /home/u ...
- .gitignore文件不起作用,怎么处理?
遇到这么个场景,项目之前没有.gitignore文件,新建的.gitignore文件中已经标明忽略的文件目录下的文件,但是git push上去忽略的文件还是在push的目录中.查阅资料了解到 在git ...
- BCB6 调用C# DLL
最近项目涉及第三方接口调用.第三方是用C#实现的WCF服务.而我们的程序是使用的BCB6开发.因此,打算将与WCF的通讯包含在C#的类库中,给BCB6调用.BCB6 是无法直接调用C#的DLL,但可以 ...
- Java基础-异常处理机制 及异常处理的五个关键字:try/catch/finally/throw /throws
笔记: /** 异常处理机制: 抓抛模型 * 1."抛", 一旦抛出,程序终止! printStackTrace()显示异常路径! * 2."抓", 抓住异常 ...