SpringIOC以及AOP注解开发
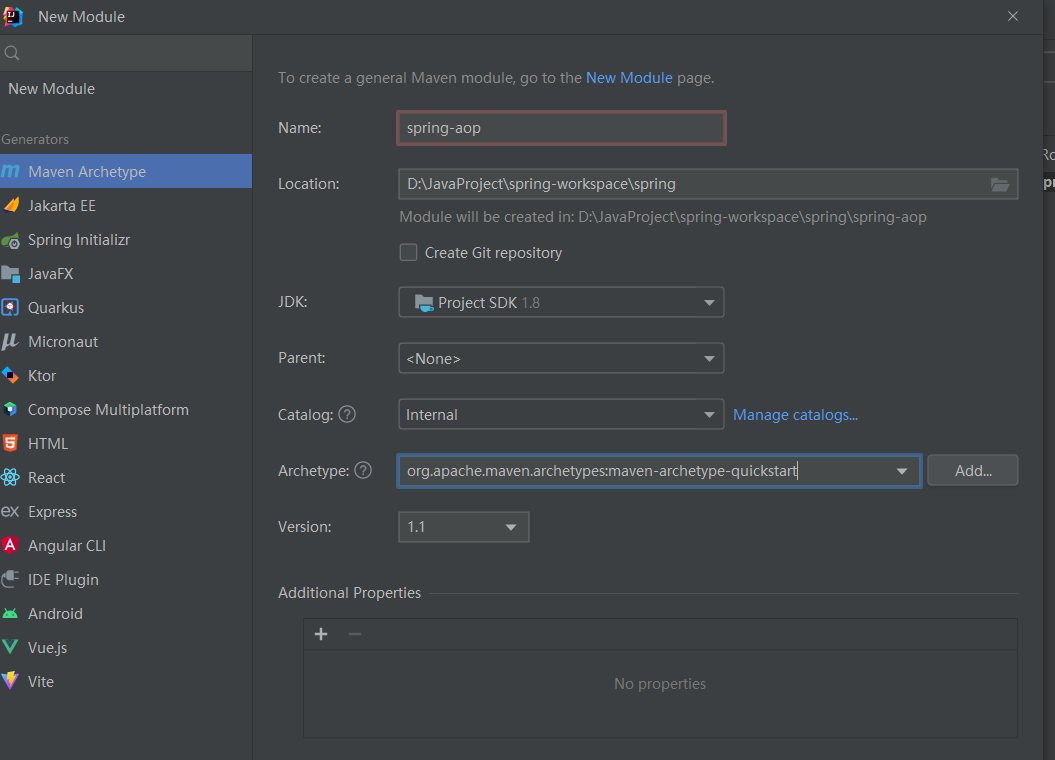
新建一个maven项目
Spring 为了知道程序员在哪些地方标记了什么注解,就需要通过扫描的方式,来进行检测。然后根据注解进行后续操作。
pom.xml
<project xmlns="http://maven.apache.org/POM/4.0.0" xmlns:xsi="http://www.w3.org/2001/XMLSchema-instance"

  xsi:schemaLocation="http://maven.apache.org/POM/4.0.0 http://maven.apache.org/xsd/maven-4.0.0.xsd">

  <modelVersion>4.0.0</modelVersion>

  <groupId>org.example</groupId>

  <artifactId>spring-aop</artifactId>

  <version>1.0-SNAPSHOT</version>

  <packaging>jar</packaging>

  <name>spring-aop</name>

  <url>http://maven.apache.org</url>

  <properties>

    <project.build.sourceEncoding>UTF-8</project.build.sourceEncoding>

  </properties>

  <dependencies>

    <dependency>

      <groupId>org.projectlombok</groupId>

      <artifactId>lombok</artifactId>

      <version>1.18.12</version>

      <!--这里是设置作用域-->

      <!--注释作用域,表明我想让它为全局使用-->

      <!--<scope>provided</scope>-->

    </dependency>

    <dependency>

      <groupId>junit</groupId>

      <artifactId>junit</artifactId>

      <version>3.8.1</version>

      <scope>test</scope>

    </dependency>

    <dependency>

      <groupId>org.springframework</groupId>

      <artifactId>spring-webmvc</artifactId>

      <version>5.2.0.RELEASE</version>

    </dependency>

    <dependency>

      <groupId>org.springframework</groupId>

      <artifactId>spring-aspects</artifactId>

      <version>5.2.0.RELEASE</version>

    </dependency>

  </dependencies>

</project>
注解开发的话当然需要配置类

@Configuration //这个类就是配置类相当于配置文件
@ComponentScan
用于类或接口上主要是指定扫描路径,spring会把指定路径下带有指定注解的类自动装配到bean容器里。会被自动装配的注解包括@Controller、@Service、@Component、@Repository等等。与ComponentScan注解相对应的XML配置就是<context:component-scan/>, 根据指定的配置自动扫描package,将符合条件的组件加入到IOC容器中;
@EnableAspectJAutoProxy
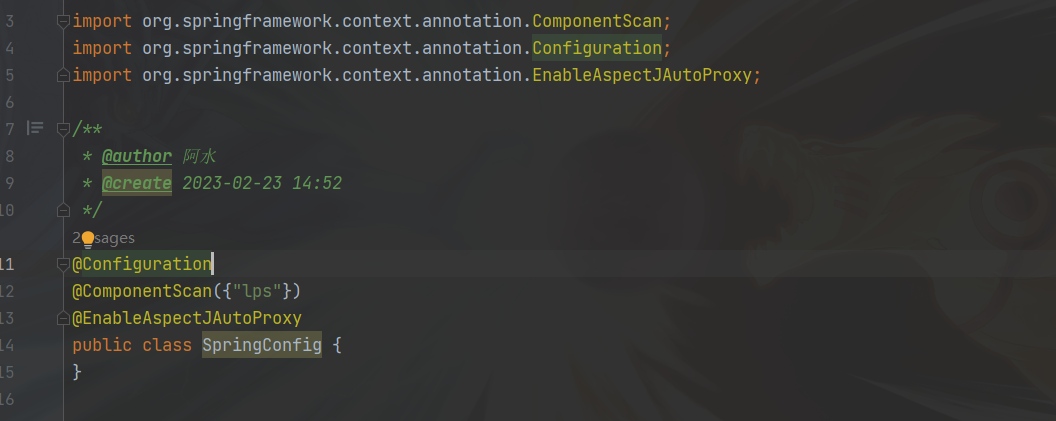
package lps.config;

import org.springframework.context.annotation.ComponentScan;

import org.springframework.context.annotation.Configuration;

import org.springframework.context.annotation.EnableAspectJAutoProxy;

/**

 * @author 阿水

 * @create 2023-02-23 14:52

 */

@Configuration

@ComponentScan({"lps"})

@EnableAspectJAutoProxy

public class SpringConfig {

}
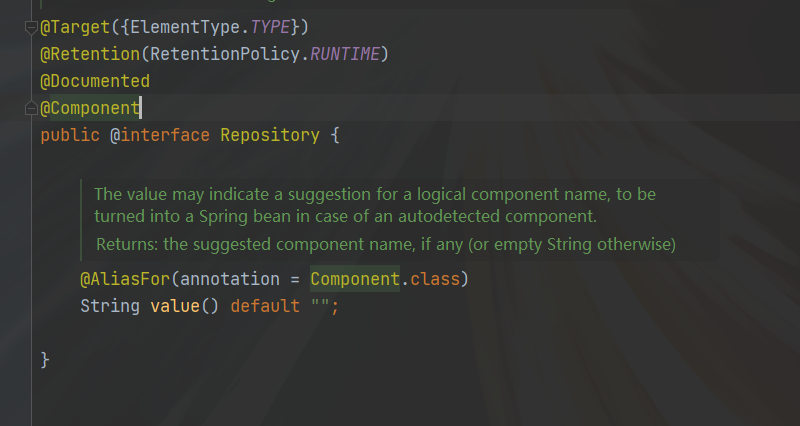
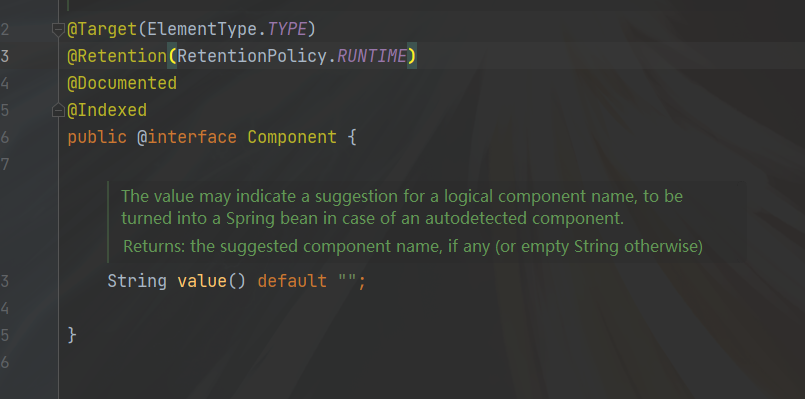
①使用@Component注解标记的普通组
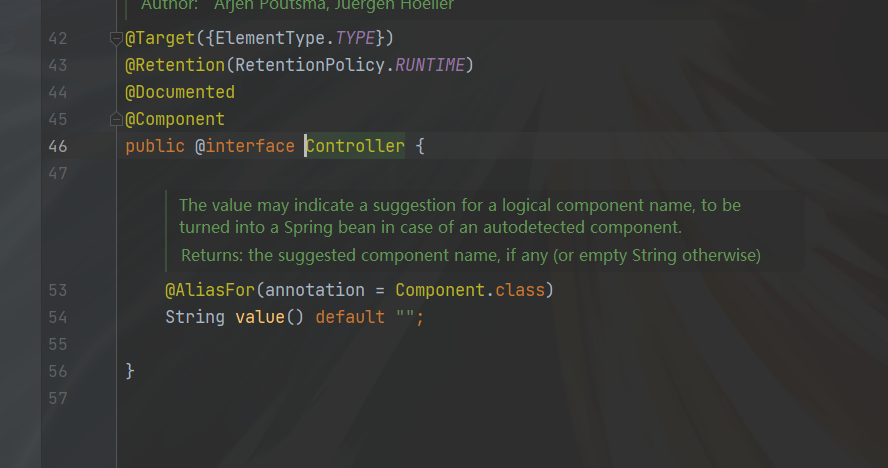
②使用@Controller注解标记的控制器组件
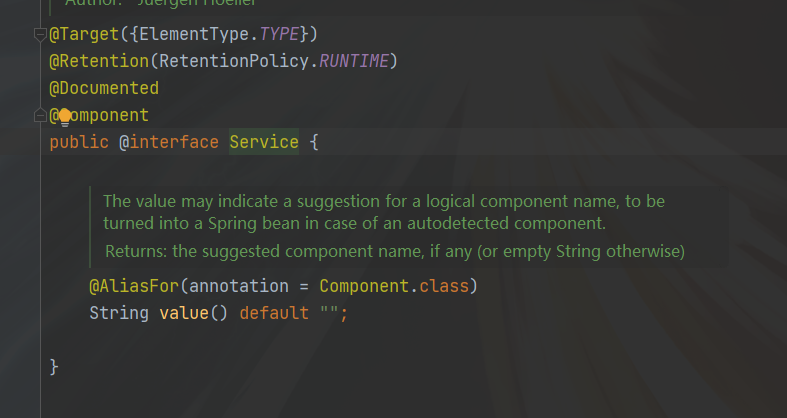
③使用@Service注解标记的业务逻辑组件
④使用@Repository注解标记的持久化层组件
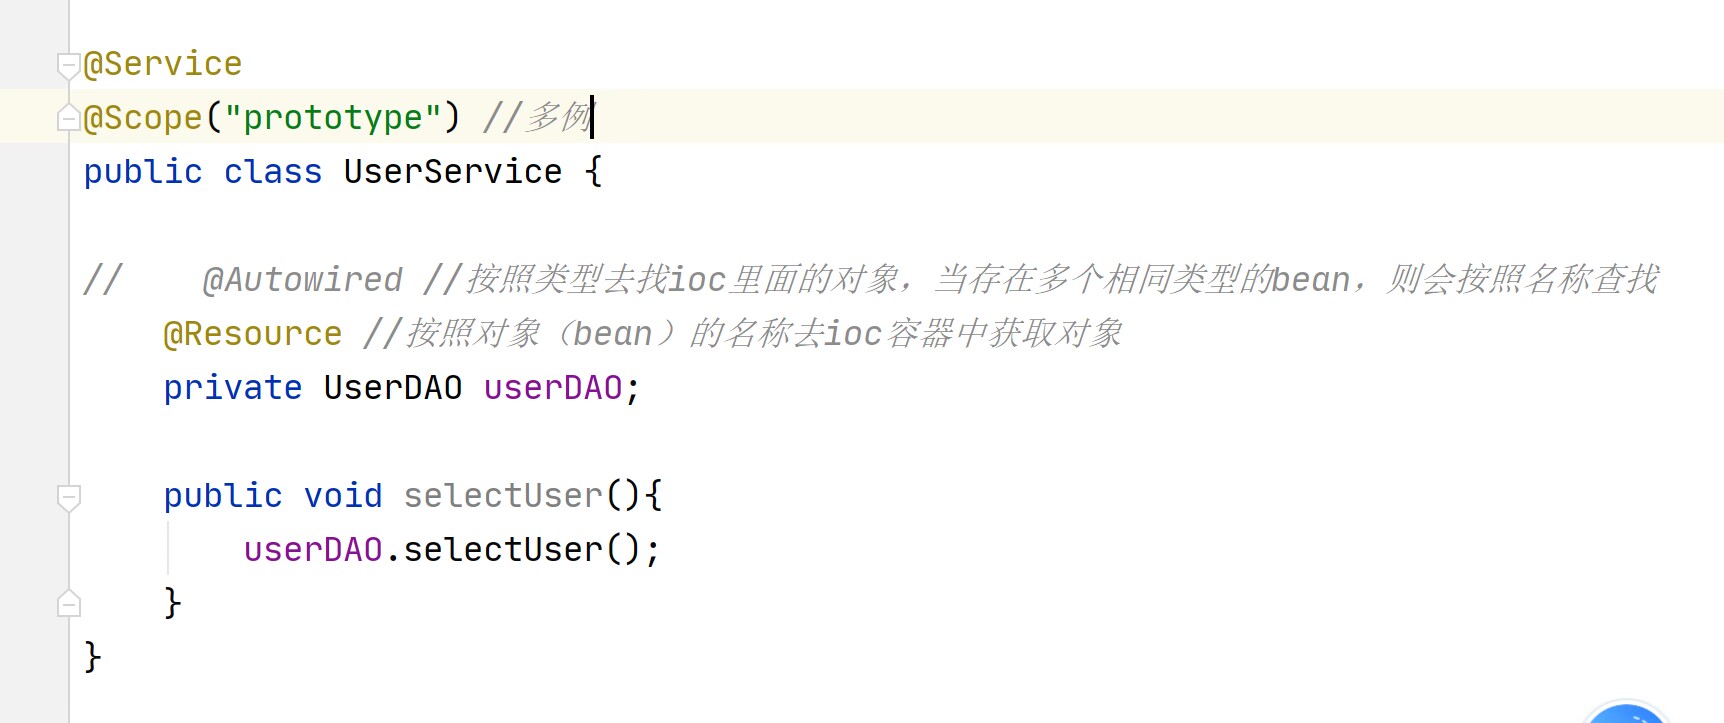
@Autowired和@Resource区别
提供方不同
@Autowired 是Spring提供的,@Resource 是J2EE提供的。
装配时默认类型不同
@Autowired只按type装配,@Resource默认是按name装配。
切入点表达式的写法-execution函数
关键字:execution(表达式)
表达式:访问修饰符 返回值 包名.包名.包名...类名.方法名
| 规则 | 表达式 | 示例 |
|---|---|---|
| 匹配所有类的public方法 | execution(public **(..)) | |
| 匹配指定包下所有类的方法(不包含子包) | execution(* 包名.*(..)) | execution(* test.aop.t1.*(..)) |
| 匹配指定包下所有类的方法(包含子包) | execution(* 包名.**(..)) | execution(* test.aop.t1..*(..)) |
| 匹配指定类下的所有方法 | execution(* 包名.类名.*(..)) | execution(* test.aop.t1.UserDao.*(..)) |
| 匹配指定类下的指定方法 | execution(* 包名.类名.方法名(..)) | execution(* test.aop.t1.UserDao.add(..)) |
| 匹配实现指定接口的所有类的方法 | execution(* 包名.接口名+*(..)) | execution(* test.aop.t1.UserDao+*(..)) |
| 匹配所有名称以save开头的方法 | execution(* save*(..)) |
Spring中的通知
Spring中一共有5种通知
前置通知(before)、后置通知(returning)、异常通知(throwing)、最终通知(after)、环绕通知(around)

复制代码| 通知类型 | 作用 | 应用场景 |
|---|---|---|
| 前置通知 | 在目标方法执行前增强代码逻辑 | 权限控制(权限不足抛出异常)、记录方法调用信息日志 |
| 后置通知 | 在目标方法运行后返回值后再增强代码逻辑,在出现异常时不执行 | 与业务相关的,如银行在存取款结束后的发送短信消息 */ |
| 异常通知 | 目标代码出现异常,通知执行。记录异常日志、通知管理员(短信、邮件) | 处理异常(一般不可预知),记录日志 |
| 最终通知 | 不管目标方法是否发生异常,最终通知都会执行(类似于finally代码功能) | 释放资源 (关闭文件、 关闭数据库连接、 网络连接、 释放内存对象 ) |
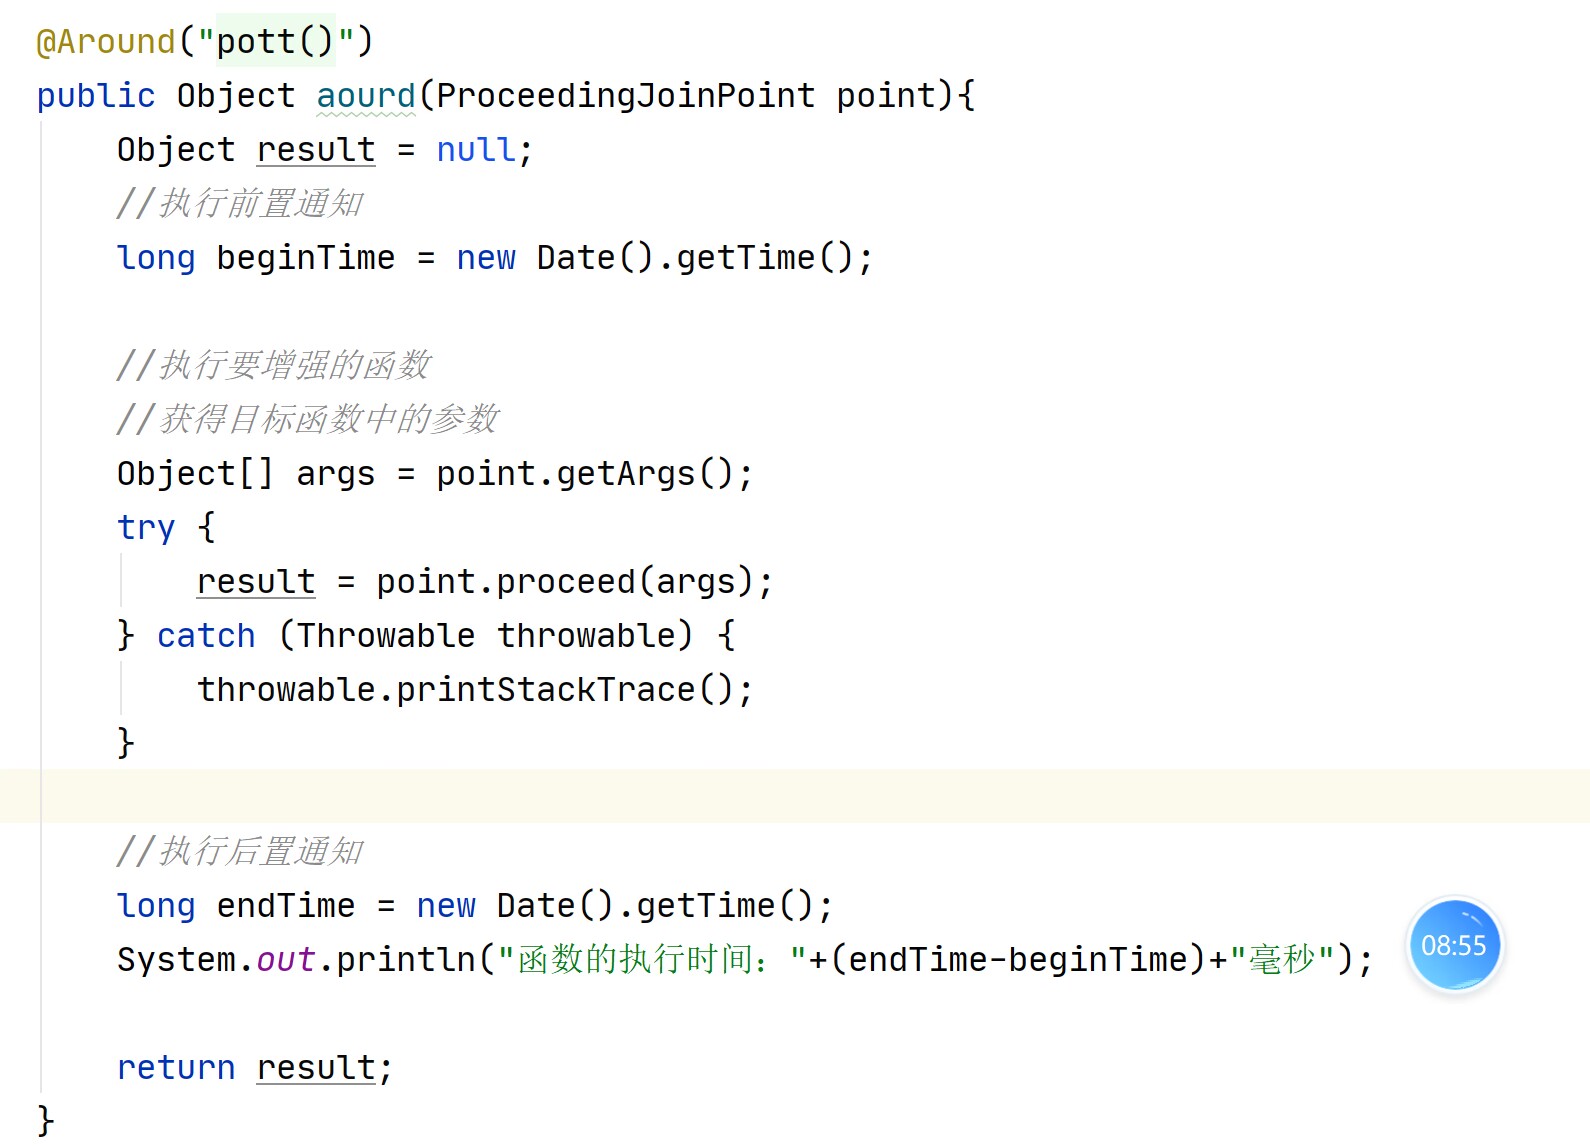
| 环绕通知 | 目标方法执行前后,都进行增强(控制目标方法执行) | 日志、缓存、权限、性能监控、事务管理 |
UserService.java
package lps.service; import org.springframework.stereotype.Component;
import org.springframework.stereotype.Controller;
import org.springframework.stereotype.Repository;
import org.springframework.stereotype.Service; /**
* @author 阿水
* @create 2023-02-23 14:50
*/
@Service("userService")
public class UserService {
/* public void sing(){
System.out.println("我爱唱歌");
}
public void dance(){
System.out.println("我爱跳舞");
}
public void rap() {
//int i=10/0;
System.out.println("我爱rap 篮球 起~");
}*/
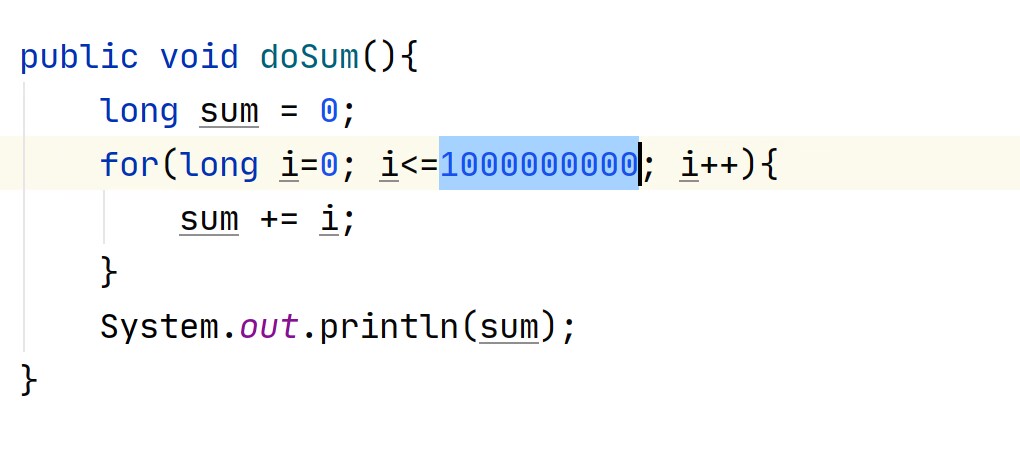
public void doSum(){
long sum=0;
for (long i = 0; i < 1000000000; i++) {
sum+=i;
}
System.out.println(sum);
}
}
Aspect代码块
package lps.aspect; import org.aspectj.lang.ProceedingJoinPoint;
import org.aspectj.lang.annotation.*;
import org.springframework.stereotype.Component; import java.util.Date; /**
* @author 阿水
* @create 2023-02-23 15:18
*/
@Component
@Aspect
public class LoggerAspect {
//@Pointcut("execution(public * lps.service.*.*(..))")
@Pointcut("execution(* lps.*.*.*(..))")
private void pointcut() {
} /* @AfterReturning("pointcut()")
public void after() {
System.out.println("AfterReturning————————————————————你的鸡哥————————————————————");
} @Before("pointcut()")
public void before() {
System.out.println("Before________________________你的坤坤________________________");
}
*//* @Around("pointcut()")
public void around(){
System.out.println("_+++++环绕的鸡哥_+++++");
}*//*
@AfterThrowing("pointcut()")
public void logAfterThrowing(){
System.out.println("AfterThrowing出错啦 赶紧回来");
}
@After("pointcut()")
public void afterFinalyy() {
System.out.println("After最终通知 ");
}*/
@Around("pointcut()")
public Object test(ProceedingJoinPoint point){
Object result=null;
//long beginTime = System.currentTimeMillis();
long beginTime = new Date().getTime();
Object[] args = point.getArgs(); try {
result = point.proceed(args);
} catch (Throwable e) {
throw new RuntimeException(e);
} //long endTime = System.currentTimeMillis();
long endTime = new Date().getTime();
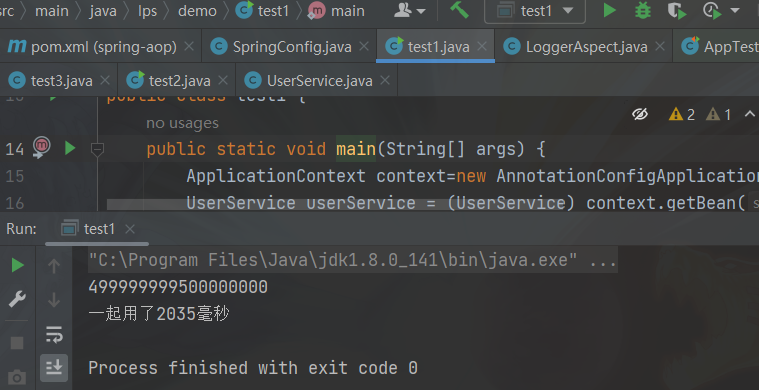
System.out.println("一起用了"+(endTime-beginTime)+"毫秒");
return result; } }
测试类
package lps.demo;

import javafx.application.Application;

import lps.config.SpringConfig;

import lps.service.UserService;

import org.springframework.context.ApplicationContext;

import org.springframework.context.annotation.AnnotationConfigApplicationContext;

/**

 * @author 阿水

 * @create 2023-02-23 14:53

 */

public class test1 {

    public static void main(String[] args) {

        ApplicationContext context=new AnnotationConfigApplicationContext(SpringConfig.class);

        UserService userService = (UserService) context.getBean("userService");

   /*     userService.sing();

        userService.dance();

        userService.rap();*/

        userService.doSum();

    }

}
SpringIOC以及AOP注解开发的更多相关文章
- Spring (二)SpringIoC和DI注解开发
1.Spring配置数据源 1.1 数据源(连接池)的作用 数据源(连接池)是提高程序性能出现的 事先实例化数据源,初始化部分连接资源 使用连接资源时从数据源中获取 使用完毕后将连接资源归还给数据源 ...
- Spring笔记04_AOP注解开发_模板_事务
目录 1. Spring基于AspectJ的注解的AOP开发 1. 1 SpringAOP的注解入门 1.2 Spring的AOP的注解通知类型 1.2.1 @Before:前置通知 1.2.2 @A ...
- Spring入门(三)— AOP注解、jdbc模板、事务
一.AOP注解开发 导入jar包 aop联盟包. aspectJ实现包 . spring-aop-xxx.jar . spring-aspect-xxx.jar 导入约束 aop约束 托管扩展类和被扩 ...
- Spring---AOP注解开发&jdbc模板&Spring事务管理
一.AOP注解开发 此处需要回忆一遍AOP的概念.简单的来说,AOP就是利用动态代理技术,做到不触动源代码但却扩展了功能.那么就需要一个被扩展的对象和一个“新的功能”,例如说给某类的saveUser方 ...
- springAop:Aop(Xml)配置,Aop注解配置,spring_Aop综合案例,Aop底层原理分析
知识点梳理 课堂讲义 0)回顾Spring体系结构 Spring的两个核心:IoC和AOP 1)AOP简介 1.1)OOP开发思路 OOP规定程序开发以类为模型,一切围绕对象进行,OOP中完成某个任务 ...
- springIOC、AOP的一些注解
springIOC.AOP的一些注解(使用这些注解之前要导入spring框架的一些依赖): 1.注入IOC容器 @Compontent:使用注解的方式添加到ioc容器需要在配置文件 ...
- Spring基于AspectJ的AOP的开发——注解
源码:https://gitee.com/kszsa/dchart 一, AspectJ的概述: AspectJ是一个面向切面的框架,它扩展了Java语言.AspectJ定义了AOP语法所以它有一个专 ...
- (转)Spring使用AspectJ进行AOP的开发:注解方式
http://blog.csdn.net/yerenyuan_pku/article/details/69790950 Spring使用AspectJ进行AOP的开发:注解方式 之前我已讲过Sprin ...
- Spring_IoC注解开发和AOP的XML开发(学习笔记2)
一:IoC注解开发 1,在applicationContext.xml中需要引入context约束 <beans xmlns="http://www.springframework.o ...
- AOP注解方式ApsectJ开发
AOP注解方式ApsectJ开发 引入配置文件 编写切面类配置 使用注解的AOP对象目标类进行增强 在配置文件中开启以注解形式进行AOP开发 在切面类上添加注解 注解AOP通知类型 @Before前置 ...
随机推荐
- Wahahahehehe 随笔归档
[连载教程类] <RISC-V MCU 原理与应用> 1. 计算机理论模型--图灵机 2. 从图灵机到计算机 3. MCU构成及其运行原理 <RISC-V MCU 开发那些事> ...
- Goreplay流量回放-使用真实流量测试
介绍: 1.goreplay是一个开源的网络监控工具,它可以记录你的实时流量,并用于跟踪.负载测试.监控和详细分析. 2.goreplay 是一款从生产环境 copy 流量到测试环境的工具,且不会影响 ...
- composer 操作
composer list 显示所有命令 composer show 显示所有包信息 composer install 在 composer.json 配置中添加依赖库之后运行此命令安装 compos ...
- 解决 Outlook 的 Teams 会议加载项ID/链接等问题
参考: https://learn.microsoft.com/zh-cn/microsoftteams/troubleshoot/meetings/resolve-teams-meeting-add ...
- java基于ssm框架开发的公交查询系统源码公交系统源码公交路线查询项目有论文
简介 java基于ssm的公交路线查询系统,用户可以查询公交站点公交车路线以及公交换乘方案,还可以查看公交车路线地图,以及该站点所有的公交车路线. 演示视频: https://www.ixigua.c ...
- select选项中的内容和其他输入框不对齐
有时候总会遇见莫名其妙的问题,如图中(为了清除的表示问题,我又用画图将偏离更夸张些).为了解决这个问题,只好取消样式优化,同时自己加小箭头.但是为什么会有这样的问题啊 /*取消iphone样式优化*/ ...
- vue-quill-editor 图片上传处理
<template> <div class="quill-editor"> <!-- 图片上传组件辅助--> <el-upload cla ...
- 安卓开发学习10-1:数据存储:Shared Preferences存储
解析 什么是Shared Perferences 应用场景 配置信息 主题信息 游戏的积分信息等 存储路径 在本应用中的data-data-应用包-自定义名称xml文件下保存写入的数据信息 使用 获取 ...
- OSP6部署流程
准备4台虚拟机,完成初始化 一.架构如下: Controller 控制节点 也可以复用为计算节点 192.168.6.11 Compute01 192.168.6.21 Compute02 ...
- 利用Canal投递MySQL Binlog到Kafka
https://www.aboutyun.com/thread-27654-1-1.html https://www.cnblogs.com/bigdatalearnshare/p/13832709. ...