Spring Boot 2 发布与调用REST服务
开发环境:IntelliJ IDEA 2019.2.2
Spring Boot版本:2.1.8
一、发布REST服务
1、IDEA新建一个名称为rest-server的Spring Boot项目
2、新建一个实体类User.java
package com.example.restserver.domain;

public class User {

    String name;

    Integer age;

    public String getName() {

        return name;

    }

    public void setName(String name) {

        this.name = name;

    }

    public Integer getAge() {

        return age;

    }

    public void setAge(Integer age) {

        this.age = age;

    }

}
3、新建一个控制器类 UserController.java
package com.example.restserver.web;

import com.example.restserver.domain.User;

import org.springframework.http.MediaType;

import org.springframework.web.bind.annotation.PathVariable;

import org.springframework.web.bind.annotation.RequestMapping;

import org.springframework.web.bind.annotation.RestController;

@RestController

public class UserController {

    @RequestMapping(value="/user/{name}", produces = MediaType.APPLICATION_JSON_VALUE)

    public User user(@PathVariable String name) {

        User u = new User();

        u.setName(name);

        u.setAge(30);

        return u;

    }

}
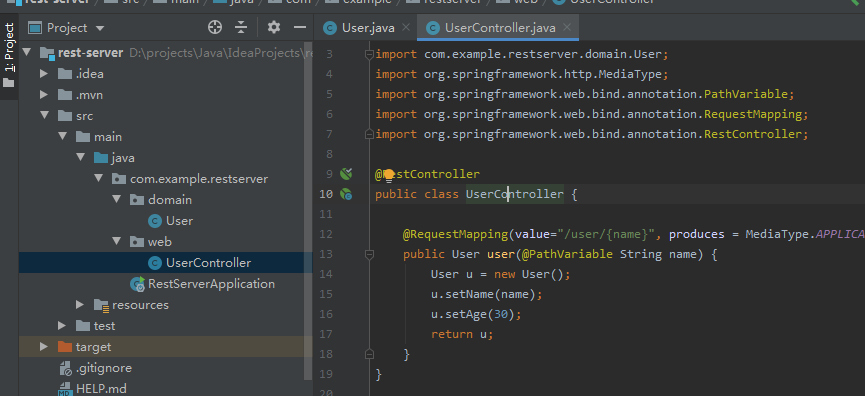
项目结构如下:
访问 http://localhost:8080/user/lc,页面显示:
{"name":"lc","age":30}
二、使用RestTemplae调用服务
1、IDEA新建一个名称为rest-client的Spring Boot项目
2、新建一个含有main方法的普通类 RestTemplateMain.java,调用服务
package com.example.restclient;

import com.example.restclient.domain.User;

import org.springframework.web.client.RestTemplate;

public class RestTemplateMain {

    public static void main(String[] args){

        RestTemplate tpl = new RestTemplate();

        User u = tpl.getForObject("http://localhost:8080/user/lc", User.class);

        System.out.println(u.getName() + "," + u.getAge());

    }

}
右键Run 'RestTemplateMain.main()',控制台输出:lc,30
3、在bean里面使用RestTemplate,可使用RestTemplateBuilder,新建类 UserService.java
package com.example.restclient.service;

import com.example.restclient.domain.User;

import org.springframework.beans.factory.annotation.Autowired;

import org.springframework.boot.web.client.RestTemplateBuilder;

import org.springframework.context.annotation.Bean;

import org.springframework.stereotype.Service;

import org.springframework.web.client.RestTemplate;

@Service

public class UserService {

    @Autowired

    private RestTemplateBuilder builder;

    @Bean

    public RestTemplate restTemplate(){

        return builder.rootUri("http://localhost:8080").build();

    }

    public User userBuilder(String name){

        User u = restTemplate().getForObject("/user/" + name, User.class);

        return u;

    }

}
4、编写一个单元测试类,来测试上面的UserService的bean。
package com.example.restclient.service;

import com.example.restclient.domain.User;

import org.junit.Assert;

import org.junit.Test;

import org.junit.runner.RunWith;

import org.springframework.beans.factory.annotation.Autowired;

import org.springframework.boot.test.context.SpringBootTest;

import org.springframework.test.context.junit4.SpringRunner;

@RunWith(SpringRunner.class)

@SpringBootTest(webEnvironment = SpringBootTest.WebEnvironment.NONE)

public class UserServiceTest {

    @Autowired

    private UserService userService;

    @Test

    public void testUser(){

        User u = userService.userBuilder("lc");

        Assert.assertEquals("lc", u.getName());

    }

}
5、控制器类UserController.cs 中调用
配置在application.properties 配置端口和8080不一样,如 server.port = 9001
    @Autowired

    private UserService userService;

    @RequestMapping(value="/user/{name}", produces = MediaType.APPLICATION_JSON_VALUE)

    public User user(@PathVariable String name) {

        User u = userService.userBuilder(name);

        return u;

    }
三、使用Feign调用服务
继续在rest-client项目基础上修改代码。
1、pom.xml添加依赖
        <dependency>

            <groupId>io.github.openfeign</groupId>

            <artifactId>feign-core</artifactId>

            <version>9.5.0</version>

        </dependency>

        <dependency>

            <groupId>io.github.openfeign</groupId>

            <artifactId>feign-gson</artifactId>

            <version>9.5.0</version>

        </dependency>
2、新建接口 UserClient.java
package com.example.restclient.service;

import com.example.restclient.domain.User;

import feign.Param;

import feign.RequestLine;

public interface UserClient {

    @RequestLine("GET /user/{name}")

    User getUser(@Param("name")String name);

}
3、在控制器类 UserController.java 中调用
decoder(new GsonDecoder()) 表示添加了解码器的配置,GsonDecoder会将返回的JSON字符串转换为接口方法返回的对象。
相反的,encoder(new GsonEncoder())则是编码器,将对象转换为JSON字符串。
    @RequestMapping(value="/user2/{name}", produces = MediaType.APPLICATION_JSON_VALUE)

    public User user2(@PathVariable String name) {

        UserClient service = Feign.builder().decoder(new GsonDecoder())

                                    .target(UserClient.class, "http://localhost:8080/");

        User u = service.getUser(name);

        return u;

    }
4、优化第3步代码,并把请求地址放到配置文件中。
(1)application.properties 添加配置
application.client.url = http://localhost:8080
(2)新建配置类ClientConfig.java
package com.example.restclient.config;

import com.example.restclient.service.UserClient;

import feign.Feign;

import feign.gson.GsonDecoder;

import org.springframework.beans.factory.annotation.Value;

import org.springframework.context.annotation.Bean;

import org.springframework.context.annotation.Configuration;

@Configuration

public class ClientConfig {

    @Value("${application.client.url}")

    private String clientUrl;

    @Bean

    UserClient userClient(){

        UserClient client = Feign.builder()

                .decoder(new GsonDecoder())

                .target(UserClient.class, clientUrl);

        return client;

    }

}
(3)控制器 UserController.java 中调用
    @Autowired

    private  UserClient userClient;

    @RequestMapping(value="/user3/{name}", produces = MediaType.APPLICATION_JSON_VALUE)

    public User user3(@PathVariable String name) {

        User u = userClient.getUser(name);

        return u;

    }
UserController.java最终内容:
package com.example.restclient.web;

import com.example.restclient.domain.User;

import com.example.restclient.service.UserClient;

import com.example.restclient.service.UserService;

import feign.Feign;

import feign.gson.GsonDecoder;

import org.springframework.beans.factory.annotation.Autowired;

import org.springframework.http.MediaType;

import org.springframework.web.bind.annotation.PathVariable;

import org.springframework.web.bind.annotation.RequestMapping;

import org.springframework.web.bind.annotation.RestController;

@RestController

public class UserController {

    @Autowired

    private UserService userService;

    @Autowired

    private  UserClient userClient;

    @RequestMapping(value="/user/{name}", produces = MediaType.APPLICATION_JSON_VALUE)

    public User user(@PathVariable String name) {

        User u = userService.userBuilder(name);

        return u;

    }

    @RequestMapping(value="/user2/{name}", produces = MediaType.APPLICATION_JSON_VALUE)

    public User user2(@PathVariable String name) {

        UserClient service = Feign.builder().decoder(new GsonDecoder())

                                    .target(UserClient.class, "http://localhost:8080/");

        User u = service.getUser(name);

        return u;

    }

    @RequestMapping(value="/user3/{name}", produces = MediaType.APPLICATION_JSON_VALUE)

    public User user3(@PathVariable String name) {

        User u = userClient.getUser(name);

        return u;

    }

}
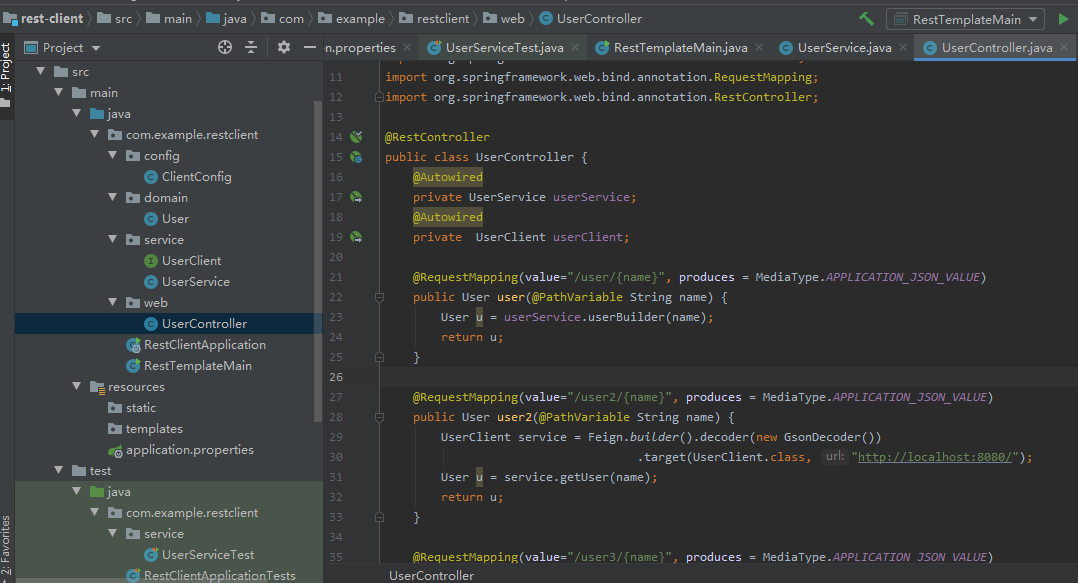
项目结构
先后访问下面地址,可见到输出正常结果
http://localhost:9001/user/lc
http://localhost:9001/user2/lc2
http://localhost:9001/user3/lc3
Spring Boot 2 发布与调用REST服务的更多相关文章
- spring boot 集成 Apache CXF 调用 .NET 服务端 WebService
1. pom.xml加入 cxf 的依赖 <dependency> <groupId>org.apache.cxf</groupId> <artifactId ...
- Spring Boot工程发布到Docker
先聊聊闲话 搞过企业级的application运维的同仁肯定深有感触,每个application的功能交叉错杂,数据交换就让人焦头烂额(当然这和顶层业务设计有关系), 几十个application发布 ...
- 使用Ratpack和Spring Boot打造高性能的JVM微服务应用
使用Ratpack和Spring Boot打造高性能的JVM微服务应用 这是我为InfoQ翻译的文章,原文地址:Build High Performance JVM Microservices wit ...
- spring boot项目发布tomcat容器(包含发布到tomcat6的方法)
spring boot因为内嵌tomcat容器,所以可以通过打包为jar包的方法将项目发布,但是如何将spring boot项目打包成可发布到tomcat中的war包项目呢? 1. 既然需要打包成wa ...
- Spring Boot同时开启HTTP和HTTPS服务
由于Spring Boot中通过编码开启HTTPS服务比较复杂,所以官方推荐通过编码开启HTTP服务,而通过配置开启HTTPS服务. Spring Boot的application.yml中添加如下配 ...
- Spring Boot 2.X(十三):邮件服务
前言 邮件服务在开发中非常常见,比如用邮件注册账号.邮件作为找回密码的途径.用于订阅内容定期邮件推送等等,下面就简单的介绍下邮件实现方式. 准备 一个用于发送的邮箱,本文是用腾讯的域名邮箱,可以自己搞 ...
- 翻译-使用Ratpack和Spring Boot打造高性能的JVM微服务应用
这是我为InfoQ翻译的文章,原文地址:Build High Performance JVM Microservices with Ratpack & Spring Boot,InfoQ上的中 ...
- spring boot(二十)使用spring-boot-admin对服务进行监控
上一篇文章<springboot(十九):使用Spring Boot Actuator监控应用>介绍了Spring Boot Actuator的使用,Spring Boot Actuato ...
- WebService—CXF整合Spring实现接口发布和调用过程
一.CXF整合Spring实现接口发布 发布过程如下: 1.引入jar包(基于maven管理) <!-- cxf --> <dependency> <groupId> ...
随机推荐
- Android 表格布局 TableLayout
属性介绍 stretchColumns:列被拉伸 shrinkColumns:列被收缩 collapseColumns:列被隐藏 举例测试 <TableLayout android:id=&qu ...
- 如何减小ABAP业务代码的复杂度
在程序开发的过程中,相同的功能往往有不同的实现方式.对于可以实现同样功能的不同代码,复杂度是用于比较其质量优劣的重要指标. 在本文中,代码复杂度是指代码被理解/修改的难易程度.越容易被理解.修改的代码 ...
- JsonPath基本用法
JsonPath基本用法 本文主要介绍JsonPath的基本语法,并演示如何在Newtonsoft.Json中进行使用. JsonPath的来源 看它的名字你就能知道,这家伙和JSON文档有关系,正如 ...
- 编译Netty源码遇到的一些问题-缺少io.netty.util.collection包
缺少包和java类 下载好Netty的源码后,导入到IDE,运行自带的example时编译不通过. 如下图,是因为io.netty.util.collection的包没有 点进去看,确实没有这个包 发 ...
- Python中的测试工具
当我们在写程序的时候,我们需要通过测试来验证程序是否出错或者存在问题,但是,编写大量的测试来确保程序的每个细节都没问题会显得很繁琐.在Python中,我们可以借助一些标准模块来帮助我们自动完成测试 ...
- 避免网络爬虫IP被封的策略
背景 这两天一直在搞Java网络爬虫作为Java课程设计,目标是爬取豆瓣电影top250的影评,之后可能还需要进行情感分析,当然这就不是爬虫的内容了.我的爬虫程序在一开始只是一个页面一个页面的爬取信息 ...
- C#中转换运算符explicit、implicit、operator、volatile研究
C#中的这个几个关键字:explicit.implicit与operator,估计好多人的用不上,什么情况,这是什么?字面解释:explicit:清楚明白的;易于理解的;(说话)清晰的,明确的;直言的 ...
- EntityFramework中实体类到表名的批量映射
在使用EntityFramework做CodeFirst开发时,经常需要将实体类映射到数据库表,但是C#实体类和数据库表中的命名遵循的是不同的规范,这就需要为每个实体类做一个到数据库表名的映射.大多情 ...
- jQuery淡入淡出轮播图实现
大家好我是 只是个单纯的小白,这是人生第一次写博客,准备写的内容是Jquery淡入淡出轮播图实现,在此之前学习JS写的轮播图效果都感觉不怎么好,学习了jQuery里的淡入淡出效果后又写了一次轮播图效果 ...
- WordPress 文件下载漏洞
Google dork:inurl:"/wp-content/themes/liberator/inc/php/download.php" exploit:https://www. ...