Spring学习笔记3——使用注解的方式完成注入对象中的效果
第一步:修改applicationContext.xml
添加<context:annotation-config/>表示告诉Spring要用注解的方式进行配置
 <?xml version="1.0" encoding="UTF-8"?>

 <beans xmlns="http://www.springframework.org/schema/beans"

     xmlns:xsi="http://www.w3.org/2001/XMLSchema-instance"

     xmlns:aop="http://www.springframework.org/schema/aop"

     xmlns:tx="http://www.springframework.org/schema/tx"

     xmlns:context="http://www.springframework.org/schema/context"

     xsi:schemaLocation="

    http://www.springframework.org/schema/beans

    http://www.springframework.org/schema/beans/spring-beans-3.0.xsd

    http://www.springframework.org/schema/aop

    http://www.springframework.org/schema/aop/spring-aop-3.0.xsd

    http://www.springframework.org/schema/tx

    http://www.springframework.org/schema/tx/spring-tx-3.0.xsd

    http://www.springframework.org/schema/context

    http://www.springframework.org/schema/context/spring-context-3.0.xsd">

   <context:annotation-config/>

     <bean name="category" class="com.spring.cate.Category">

         <property name="name" value="category 3333" />

     </bean>

     <bean name="product" class="com.spring.cate.Product">

         <property name="name" value="product 3333" />

     </bean>

 </beans>
第二步:在Product.java的category属性前加上@Autowired注解
 package com.spring.cate;

 import org.springframework.beans.factory.annotation.Autowired;

 public class Product {

     private int id;

     private String name;

     @Autowired

     private Category category;

     public int getId() {

         return id;

     }

     public void setId(int id) {

         this.id = id;

     }

     public String getName() {

         return name;

     }

     public void setName(String name) {

         this.name = name;

     }

     public Category getCategory() {

         return category;

     }

     public void setCategory(Category category) {

         this.category = category;

     }

 }
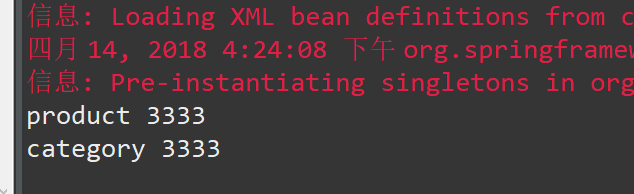
第三步:测试
 package com.spring.test;

 import org.springframework.context.ApplicationContext;

 import org.springframework.context.support.ClassPathXmlApplicationContext;

 import com.spring.cate.Product;

 public class TestSpring {

     public static void main(String[] args) {

         // TODO Auto-generated method stub

         ApplicationContext context = new ClassPathXmlApplicationContext(new String[] { "applicationContext.xml" });

         Product p = (Product) context.getBean("product");

         System.out.println(p.getName());

         System.out.println(p.getCategory().getName());

     }

 }
第四步:除了前面的在属性前加@Autowired这种方式外,也可以在setCategory方法前加上@Autowired,这样来达到相同的效果
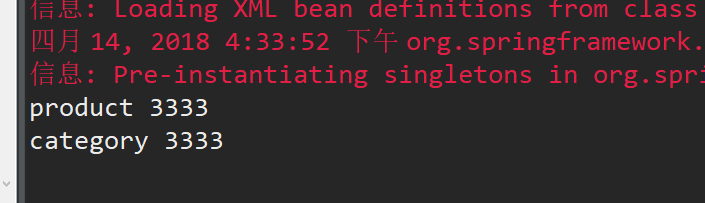
第五步:除了@Autowired之外,@Resource也是常用的手段
 package com.spring.cate;

 import javax.annotation.Resource;

 //@Component("product")

 public class Product {

     private int id;

     // private String name = "product1";

     private String name;

     @Resource(name = "category")

     private Category category;

     public int getId() {

         return id;

     }

     public void setId(int id) {

         this.id = id;

     }

     public String getName() {

         return name;

     }

     public void setName(String name) {

         this.name = name;

     }

     public Category getCategory() {

         return category;

     }

     public void setCategory(Category category) {

         this.category = category;

     }

 }
第六步:对Bean的注解
上述例子是对注入对象行为的注解,那么bean对象本身,比如Category,Product可不可以移出applicationContext.xml配置文件,也通过注解进行呢?
接下来就讲解如何对Bean进行注解配置
第七步:修改applicationContext.xml
修改applicationContext.xml,什么都去掉,只新增: <context:component-scan base-package="com.spring.cate"/>
其作用是告诉Spring,bean都放在com.spring.cate这个包下
第八步:@Component
为Product类加上@Component注解,即表明此类是bean
为Category 类加上@Component注解,即表明此类是bean
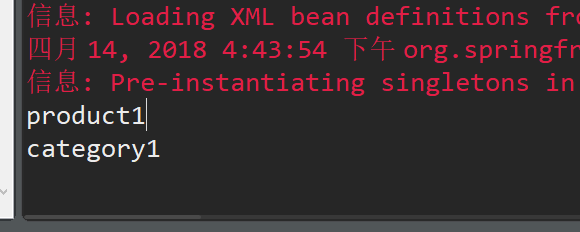
另外,因为配置从applicationContext.xml中移出来了,所以属性初始化放在属性声明上进行了。
Product.java
 package com.spring.cate;

 import org.springframework.beans.factory.annotation.Autowired;

 import org.springframework.stereotype.Component;

 @Component("product")

 public class Product {

     private int id;

     private String name = "product1";

     @Autowired

     private Category category;

     public int getId() {

         return id;

     }

     public void setId(int id) {

         this.id = id;

     }

     public String getName() {

         return name;

     }

     public void setName(String name) {

         this.name = name;

     }

     public Category getCategory() {

         return category;

     }

     public void setCategory(Category category) {

         this.category = category;

     }

 }
Category.java
 package com.spring.cate;

 import org.springframework.stereotype.Component;

 @Component("category")

 public class Category {

     private int id;

     private String name = "category1";

     public int getId() {

         return id;

     }

     public void setId(int id) {

         this.id = id;

     }

     public String getName() {

         return name;

     }

     public void setName(String name) {

         this.name = name;

     }

 }
结果:
Spring学习笔记3——使用注解的方式完成注入对象中的效果的更多相关文章
- Spring 学习笔记(四)—— XML配置依赖注入
依赖注入(DI)与控制反转(IoC)是同一个概念,都是为了处理对象间的依赖关系. 通过DI/IoC容器,相互依赖的对象由容器负责创建和装配,而不是在代码中完成. Spring支持通过setter方法和 ...
- spring学习笔记 星球日one - xml方式配置bean
ide: idea lib包的导入:http://webcache.googleusercontent.com/search?q=cache:http://zyjustin9.iteye.com/bl ...
- spring学习笔记三:Component注解(把POJO类实例化到spring的IOC容器中)
Component注解:把普通的POJO 类实例化到spring的IOC容器中,就是定义成<bean id="" class=""> 项目目录树: ...
- Java框架spring 学习笔记(九):Spring的bean管理(@Required、@Component、@Autowired、@Resource注解)
注解:代码里面特殊的标记,使用注解可以完成相关功能 注解写法:@注解名称(属性名.属性值) @Required 用在set方法上,一旦用了这个注解,那么容器在初始化bean的时候必须要进行set,也就 ...
- 不错的Spring学习笔记(转)
Spring学习笔记(1)----简单的实例 --------------------------------- 首先需要准备Spring包,可从官方网站上下载. 下载解压后,必须的两个包是s ...
- 【Spring学习笔记-MVC-3.1】SpringMVC返回Json数据-方式1-扩展
<Spring学习笔记-MVC>系列文章,讲解返回json数据的文章共有3篇,分别为: [Spring学习笔记-MVC-3]SpringMVC返回Json数据-方式1:http://www ...
- 【Spring学习笔记-MVC-4】SpringMVC返回Json数据-方式2
<Spring学习笔记-MVC>系列文章,讲解返回json数据的文章共有3篇,分别为: [Spring学习笔记-MVC-3]SpringMVC返回Json数据-方式1:http://www ...
- 【Spring学习笔记-MVC-3】SpringMVC返回Json数据-方式1
<Spring学习笔记-MVC>系列文章,讲解返回json数据的文章共有3篇,分别为: [Spring学习笔记-MVC-3]SpringMVC返回Json数据-方式1:http://www ...
- Spring学习笔记之依赖的注解(2)
Spring学习笔记之依赖的注解(2) 1.0 注解,不能单独存在,是Java中的一种类型 1.1 写注解 1.2 注解反射 2.0 spring的注解 spring的 @Controller@Com ...
随机推荐
- php析构方法
析构方法说明: 1. 析构方法会自动调用 2. 析构方法主要用于销毁资源(比如释放数据库的链接,图片资源...销毁某个对象..); 析构函数会在到对象的所有的引用都被删除或者当对象被显示销毁时执行. ...
- Python 列表嵌套多种实现方式
#coding=utf-8 list=[] for i in range(1,101): list.append(i) # print(list) tempList=[] newList=[] whi ...
- 第一次制作和使用图标字体-IcoMoon
开题:之前就有所耳闻,最近两天第一次运用到图标字体.刚开始嘛,一脸懵逼的状态.成功运用之后就来记录一下使用过程咯! 1. 打开在线生成工具:https://icomoon.io/app/#/selec ...
- OrientDB入门(1)Getting Started
Running OrientDB the First Time First, download and extract OrientDB by selecting the appropriate pa ...
- python网络爬虫与信息提取 学习笔记day3
Day3: 只需两行代码解析html或xml信息 具体代码实现:day3_1 注意BeautifulSoup的B和S需要大写,因为python大小写敏感 import requests r ...
- Echarts 中国地图(包括china.js文件)
用Echarts写中国地图需要导入china.js(现在官方不提供下载,个人找的在最下面有),根据需要的效果如下.位置可以自己在option里面修改 <!DOCTYPE html> < ...
- Extensions in UWP Community Toolkit - ViewExtensions
概述 UWP Community Toolkit Extensions 中有一个为 View 提供的扩展 - View Extensions,本篇我们结合代码详细讲解 View Extensions ...
- python 报障系统(完)
python 报障系统(完) 一.报障系统原理: 原理: 1. 简单管理 2. 角色多管理(权限) a. 登录 session放置用户信息(检测是否已经登录) session放置权限信息(检测是否有权 ...
- delphi 10.1 Berlin 中使用自带的 Base64 编码
delphi 10.1 berlin版本中,有好几个 base64 编码的单元可以使用,例如 Indy, MessageDigest_5,还有 CnBase64,我现在使用自带的 System.Net ...
- YII2框架下使用PHPExcel导出柱状图
导出结果: 首先,到官网下载PHPExcel插件包,下载后文件夹如下: 将Classes文件夹放入到项目公共方法内. 新建控制器(访问导出的方法):EntryandexitController < ...