How To Install Apache Tomcat 7 on CentOS 7 via Yum
摘自:https://www.digitalocean.com/community/tutorials/how-to-install-apache-tomcat-7-on-centos-7-via-yum
Introduction
Apache Tomcat is a web server and servlet container that is used to serve Java applications. Tomcat is an open source implementation of the Java Servlet and JavaServer Pages technologies, released by the Apache Software Foundation.
This tutorial covers the basic installation and some configuration of Tomcat 7 with yum on your CentOS 7 server. Please note that this will install the latest release of Tomcat that is in the official Ubuntu repositories, which may or may not be the latest release of Tomcat. If you want to guarantee that you are installing the latest version of Tomcat, you can always download the latest binary distribution.
Note: Tomcat can be installed automatically on your Droplet by adding this script to its User Data when launching it. Check out this tutorial to learn more about Droplet User Data.
Prerequisites
Before you begin with this guide, you should have a separate,
non-root user account set up on your server. You can learn how to do
this by completing the initial server setup for CentOS 7 tutorial. We will be using the demo user for the rest of this tutorial.
Install Tomcat
Now you are ready to install Tomcat 7. Run the following command to install the Tomcat package:
- sudo yum install tomcat
Answer y at the confirmation prompt to install tomcat. This will install Tomcat 7 and its dependencies, such as Java, and it will also create the tomcat user.
Most of the important Tomcat files will be located in /usr/share/tomcat. If you already have a Tomcat application that you want to run, you can place it in the /usr/share/tomcat/webapps directory, configure Tomcat, and restart the Tomcat service. In this tutorial, however, we will install a few additional packages that will help you manage your Tomcat applications and virtual hosts.
Let's make a quick change to the Java options that Tomcat uses when it starts. Open the Tomcat configuration file:
- sudo vi /usr/share/tomcat/conf/tomcat.conf
Add the following JAVA_OPTS line to the file. Feel free to change the Xmx and MaxPermSize values—these settings affect how much memory Tomcat will use:
JAVA_OPTS="-Djava.security.egd=file:/dev/./urandom -Djava.awt.headless=true -Xmx512m -XX:MaxPermSize=256m -XX:+UseConcMarkSweepGC"
Save and exit.
Note that the Tomcat service will not be running yet.
Install Admin Packages
If you are just getting started with Apache Tomcat, you will most likely want to install some admin tools that will help you deploy your Java applications and manage your virtual hosts. Luckily, there are packages that include these tools as web applications.
To install the default Tomcat root page (tomcat-webapps), and the Tomcat Web Application Manager and Virtual Host Manager (tomcat-admin-webapps), run this command:
- sudo yum install tomcat-webapps tomcat-admin-webapps
Answer y at the confirmation prompt.
This adds the ROOT, examples, sample, manager, and host-manager web apps to the tomcat/webapps directory.
Install Online Documentation (Optional)
If you want to install the Tomcat documentation, so that all of the links on the default Tomcat page will work, run this command:
- sudo yum install tomcat-docs-webapp tomcat-javadoc
Answer y at the prompt to install the documentation packages.
Configure Tomcat Web Management Interface
In order to use the manager webapp installed in the previous step, we must add a login to our Tomcat server. We will do this by editing the tomcat-users.xml file:
- sudo vi /usr/share/tomcat/conf/tomcat-users.xml
This file is filled with comments which describe how to configure the file. You may want to delete all the comments between the following lines, or you may leave them if you want to reference the examples:
<tomcat-users>

...

</tomcat-users>
You will want to add a user who can access the manager-gui and admin-gui (the management interface that we installed earlier). You can do so by defining a user similar to the example below. Be sure to change the username and password to something secure:
<tomcat-users>

    <user username="admin" password="password" roles="manager-gui,admin-gui"/>

</tomcat-users>
Save and exit the tomcat-users.xml file.
Now we're ready to start the Tomcat service.
Start Tomcat
To put our changes into effect, restart the Tomcat service:
- sudo systemctl start tomcat
If you started the service earlier for some reason, run the restart command instead:
- sudo systemctl restart tomcat
Enable Tomcat Service
If you want Tomcat to run every time the server is booted up, you will need to enable the service:
- sudo systemctl enable tomcat
Now we're ready to access the web interface.
Access the Web Interface
Now that Tomcat is up and running, let's access the web management interface in a web browser. You can do this by accessing the public IP address of the server, on port 8080:
http://server_IP_address:8080
You will see something like the following image:
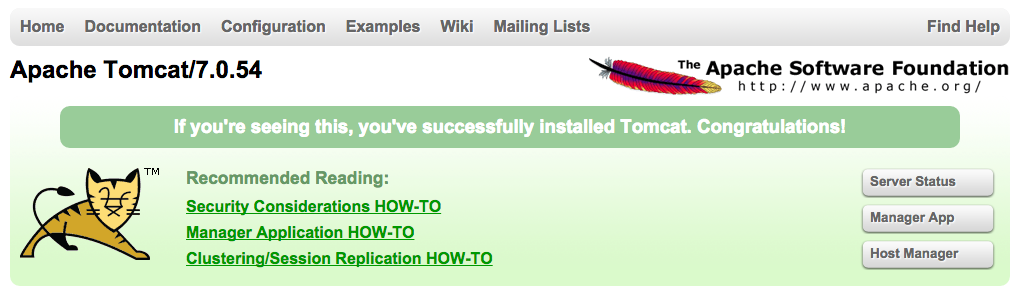
As you can see, there are links to the admin webapps that you installed earlier.
Let's take a look at the Manager App, accessible via the link or http://server_IP_address:8080/manager/html:
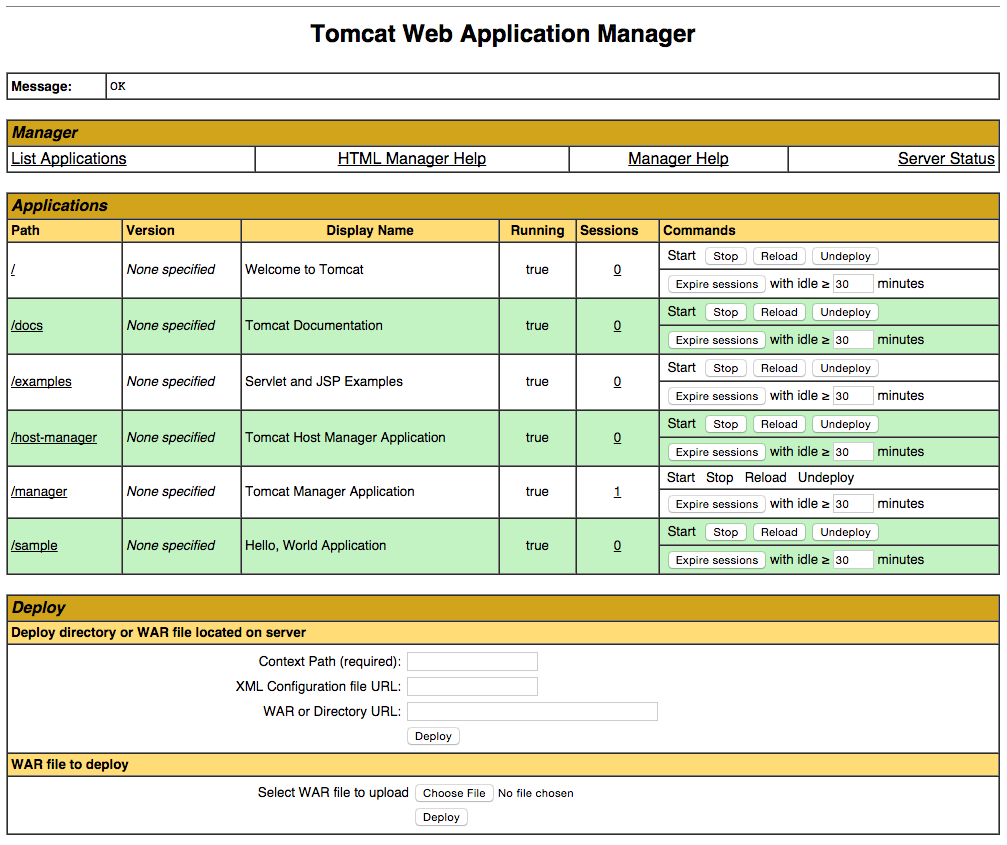
The Web Application Manager is used to manage your Java applications. You can Start, Stop, Reload, Deploy, and Undeploy here. You can also run some diagnostics on your apps (i.e. find memory leaks). Lastly, information about your server is available at the very bottom of this page.
Now let's take a look at the Host Manager, accessible via the link or http://server_IP_address:8080/host-manager/html/:
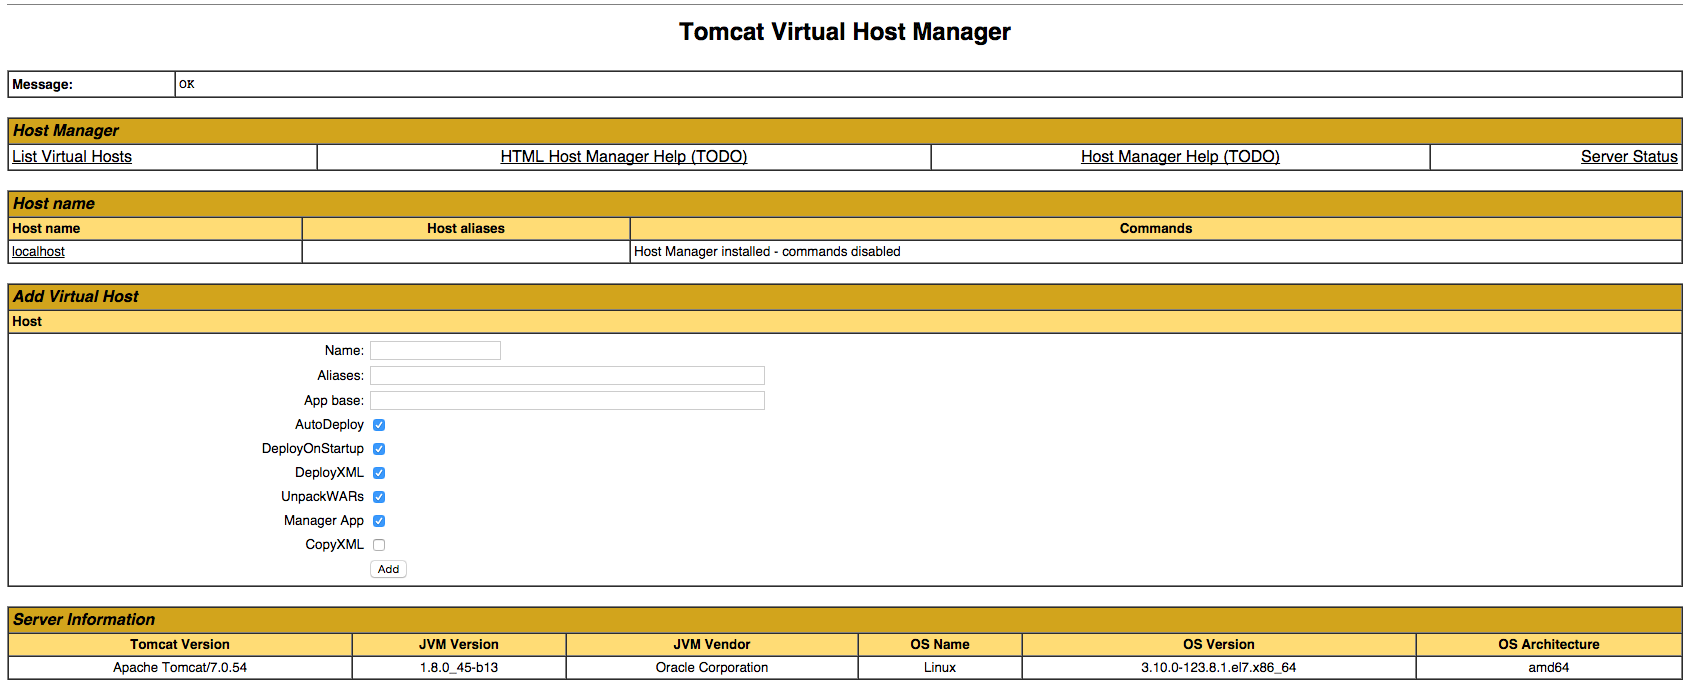
From the Virtual Host Manager page, you can add virtual hosts to serve your applications from.
Conclusion
Your installation of Tomcat is complete! Your are now free to deploy your own Java web applications!
How To Install Apache Tomcat 7 on CentOS 7 via Yum的更多相关文章
- How to Install Apache Tomcat 8.5 on CentOS 7.3
How to Install Apache Tomcat 8.5 on CentOS 7.3 From: https://www.howtoforge.com/tutorial/how-to-inst ...
- digitalocean --- How To Install Apache Tomcat 8 on Ubuntu 16.04
https://www.digitalocean.com/community/tutorials/how-to-install-apache-tomcat-8-on-ubuntu-16-04 Intr ...
- install openjdk & tomcat on the centos
1.检查当前服务器是否已安装openjdk
- [转载]How To Install Nginx And PHP-FPM On CentOS 6 Via Yum
http://www.lifelinux.com/how-to-install-nginx-and-php-fpm-on-centos-6-via-yum/ http://blog.csdn.net/ ...
- 基于RedHat发行的Apache Tomcat本地提权漏洞
描述 Tomcat最近总想搞一些大新闻,一个月都没到,Tomcat又爆出漏洞.2016年10月11日,网上爆出Tomcat本地提权漏洞,漏洞编号为CVE-2016-5425.此次受到影响的主要是基于R ...
- Install Tomcat 6 on CentOS or RHEL --转载
source:http://www.davidghedini.com/pg/entry/install_tomcat_6_on_centos This post will cover installa ...
- 腾讯云Centos下Nginx反向代理Apache+Tomcat
1. 安装Apahce, PHP, MySQL以及php连接mysql库的组件#yum -y install httpd php mysql mysql-server php-mysql // ...
- Linux CentOS 7 下 Apache Tomcat 7 安装与配置
前言 记录一下Linux CentOS 7安装Tomcat7的完整步骤. 下载 首先需要下载tomcat7的安装文件,地址如下: http://mirror.bit.edu.cn/apache/tom ...
- Install LAMP Server (Apache, MariaDB, PHP) On CentOS/RHEL/Scientific Linux 7
Install LAMP Server (Apache, MariaDB, PHP) On CentOS/RHEL/Scientific Linux 7 By SK - August 12, 201 ...
随机推荐
- 绘图、Core Animation与硬件架构
原文地址:http://blog.csdn.net/wzzvictory/article/details/11180241 转载请注明出处 如果觉得文章对你有所帮助,请通过留言或关注微信公众帐号wan ...
- [19/04/05-星期五] 多线程_Thread(线程、线条)、基本术语
一.基本概念 多线程是Java语言的重要特性,大量应用于网络编程.服务器端程序的开发,最常见的UI界面底层原理.操作系统底层原理都大量使用了多线程. 我们可以流畅的点击软件或者游戏中的各种按钮,其实, ...
- tensorflow一个很好的博客
http://blog.csdn.net/mydear_11000/article/details/53197891
- 解决iOS项目根目录下文件乱七八糟的问题
对于一个刚做项目的新手来说,肯定会碰到一个相当蛋疼的问题,那就是你在项目中建立的文件夹与你在根目录下的文件夹完全对应不起来,说直接点就是你通过group的方式在项目中建立的文件夹在本目录下根本就没有. ...
- Python:文件的读取、创建、追加、删除、清空
一.用Python创建一个新文件,内容是从0到9的整数, 每个数字占一行:#python>>>f=open('f.txt','w') # r只读,w可写,a追加>> ...
- [转]:理解 Linux 配置文件
简介: 本文说明了 Linux 系统的配置文件,在多用户.多任务环境中,配置文件控制用户权限.系统应用程序.守护进程.服务和其它管理任务.这些任务包括管理用户帐号.分配磁盘配 额.管理电子邮件和新闻组 ...
- VS2017无法打开Razor视图文件
VS2017一直卡顿就在扩展和更新里把没用的插件关闭了.导致后来一直NETCORE的Razor视图文件打不开 查了资料才知道需要依赖 ASP.NET Core Razor Language Servi ...
- 商业化IM 客户端设计---Message模型
在IM开发中,一个问题是怎么管理传输,包括处理消息发送,消息接受和怎么转发等等,就是上一篇文章提到的IMService扮演的角色.另一个问题就是传输的具体数据是怎么定义的,既包括业务数据(文字,语音, ...
- DQL-条件查询
二 :条件查询 语法:select 列表名 from 表名 where 筛选条件 例如: select salary from employees where salary> ...
- shell习题第1题:每日一文件
[题目要求] 请按照这样的日期格式(xxxx-xx-xx)每日生成一个文件 例如生成的文件为2019-04-25.log,并且把磁盘使用情况写入到这个文件中 不用考虑cron,仅仅写脚本即可 [核心要 ...