liunx 安装ActiveMQ 及 spring boot 初步整合 activemq
源码地址: https://gitee.com/kevin9401/microservice.git
一、安装 ActiveMQ:
1. 下载 ActiveMQ
wget https://archive.apache.org/dist/activemq/5.14.0/apache-activemq-5.14.0-bin.tar.gz

2. 解压 并且重命名 为 activemq
tar -zxvf apache-activemq-5.14.0-bin.tar.gz && mv apache-activemq-5.14.0 activemq


3. 配置环境变量(不做也行,暂时没发现用处)
vim /etc/profile
添加
export ACTIVEMQ_HOME=/usr/local/softwares/activemq
export PATH=:$JAVA_HOME/bin:$ACTIVEMQ_HOME/bin:$PATH

使配置生效:
source /etc/profile
4. 进入目录,启动 activemq
cd /usr/local/softwares/activemq/bin/linux-x86-64

执行
./activemq start

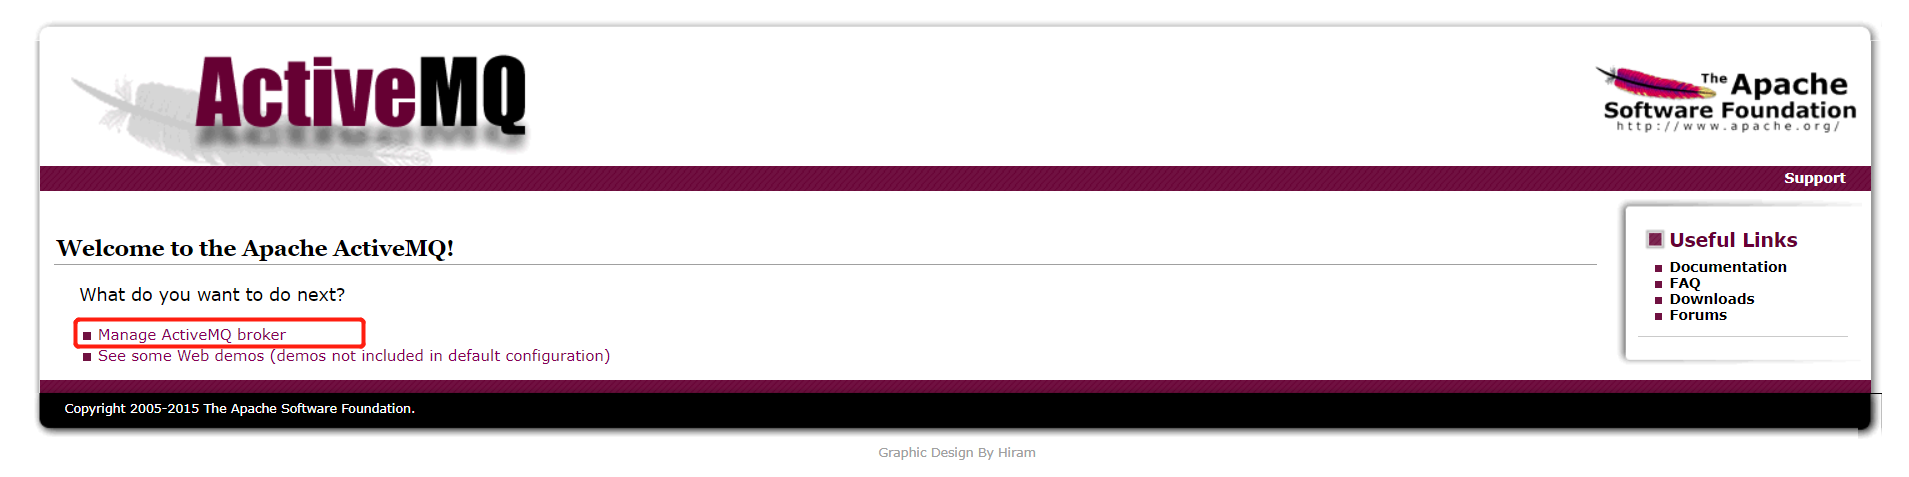
5. 访问
ip:8161
点击 Manage ActiveMQ broker
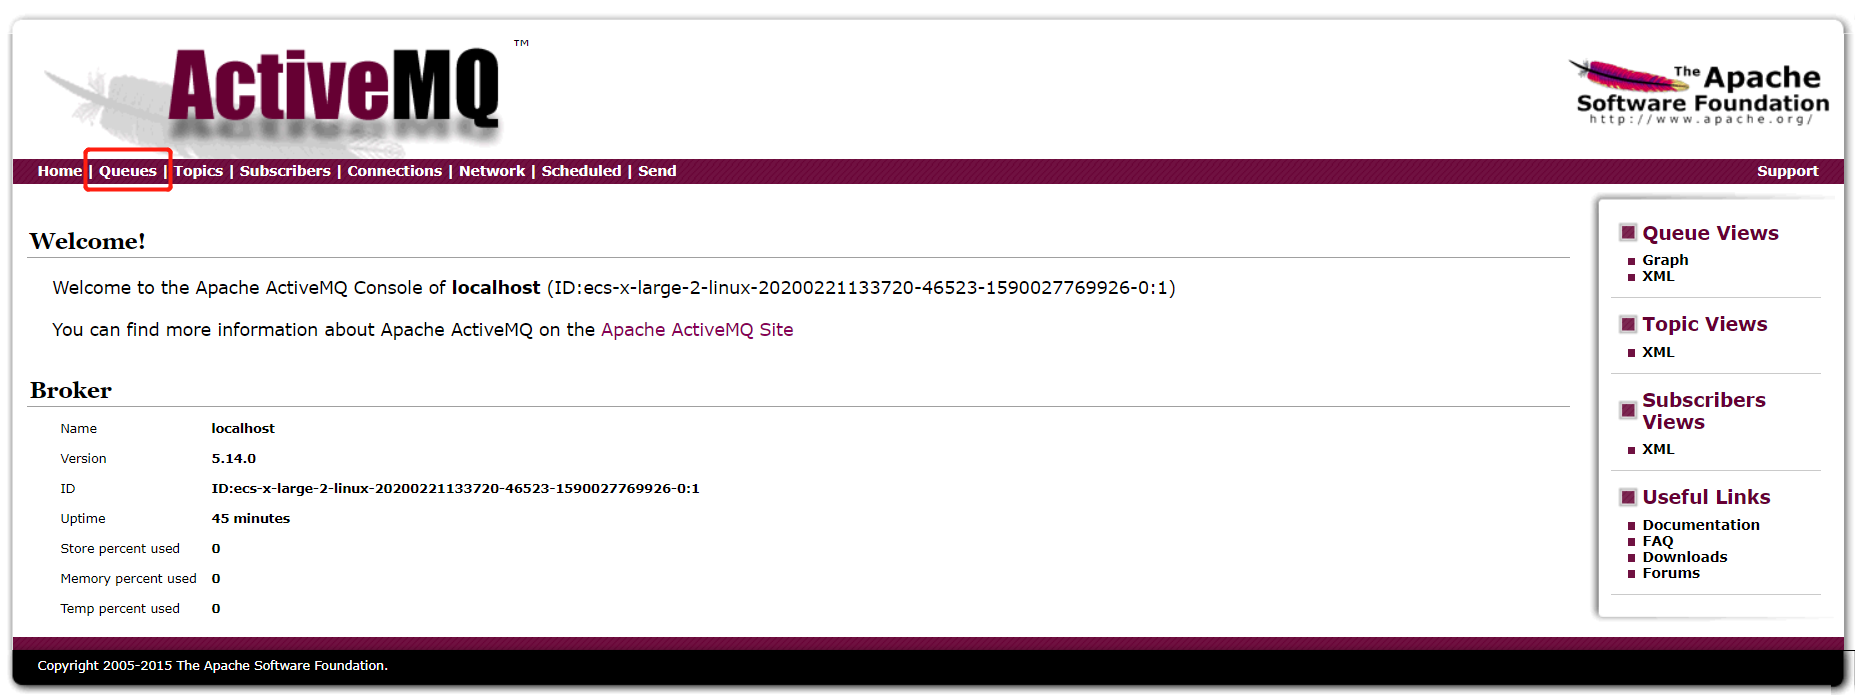
6. 如果要输入用户名、密码,默认的是 admin/admin
【备注】 如果访问不了,应该是被防火墙阻挡了,可以选择 关闭防火墙,或者在放行列表中 添加 8161(web管理页面端口)、61616(activemq服务监控端口) 两个端口
如果防火墙是开启的:
打开linux防火墙端口
/sbin/iptables -I INPUT -p tcp --dport 8161 -j ACCEPT&&/etc/init.d/iptables save&&service iptables restart&&/etc/init.d/iptables status
/sbin/iptables -I INPUT -p tcp --dport 61616 -j ACCEPT&&/etc/init.d/iptables save&&service iptables restart&&/etc/init.d/iptables status
二、spring boot 整合 activemq
1. 引入依赖
<dependency>

    <groupId>org.springframework.boot</groupId>

    <artifactId>spring-boot-starter-activemq</artifactId>

</dependency>

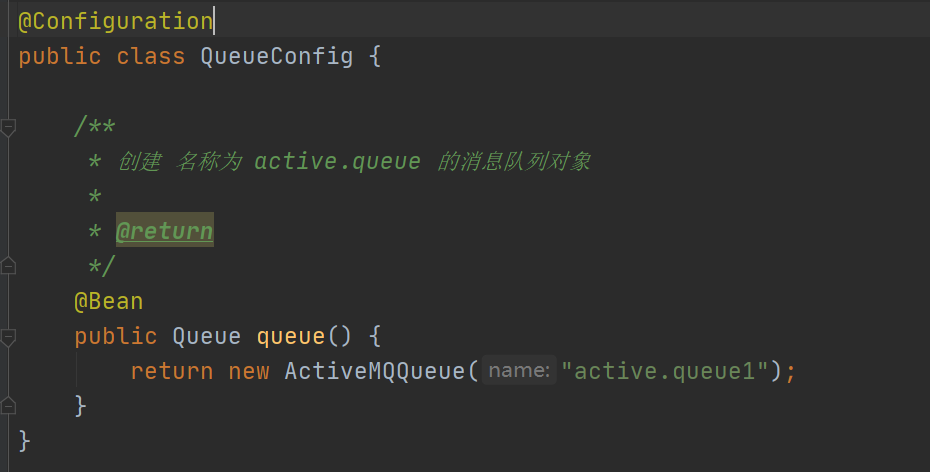
2. 创建消息队列对象
@Configuration

public class QueueConfig {

    /**

     * 创建 名称为 active.queue 的消息队列对象

     *

     * @return

     */

    @Bean

    public Queue queue() {

        return new ActiveMQQueue("active.queue1");

    }

}
3. 创建消息生产者
@RestController

public class QueueController {

    @Autowired

    private JmsMessagingTemplate messagingTemplate;

    @Autowired

    private Queue queue;

    /**

     * 消息生产者

     */

    @RequestMapping(value = "/send")

    public void send() {

        messagingTemplate.convertAndSend(queue, "hello world");

    }

}
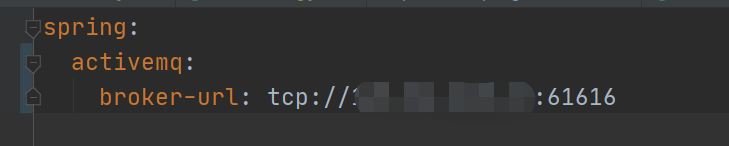
4. 在 application.yml 中配置连接
spring:

  activemq:

    broker-url: tcp://ip:61616
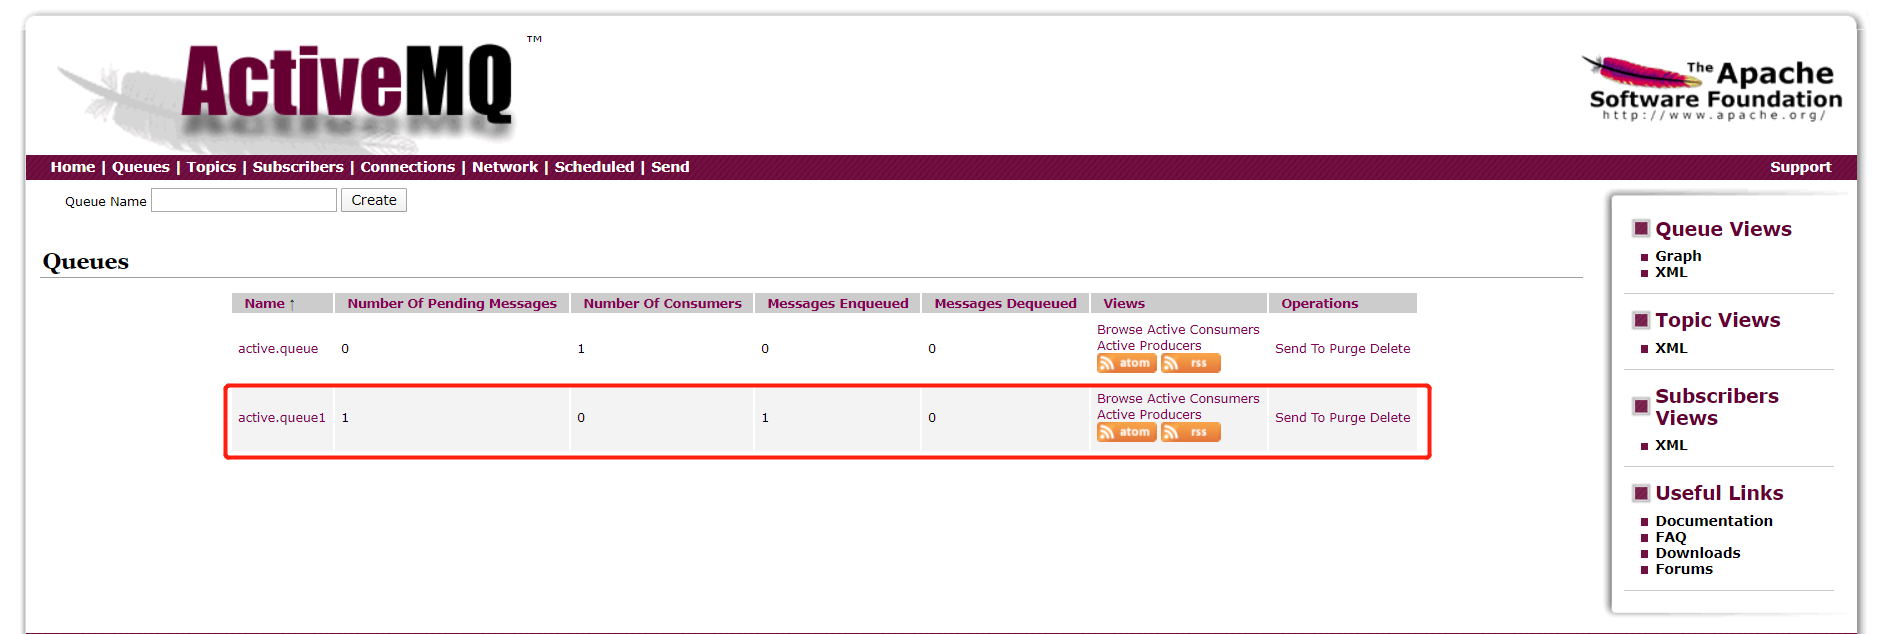
5. 启动项目,调用发送消息接口

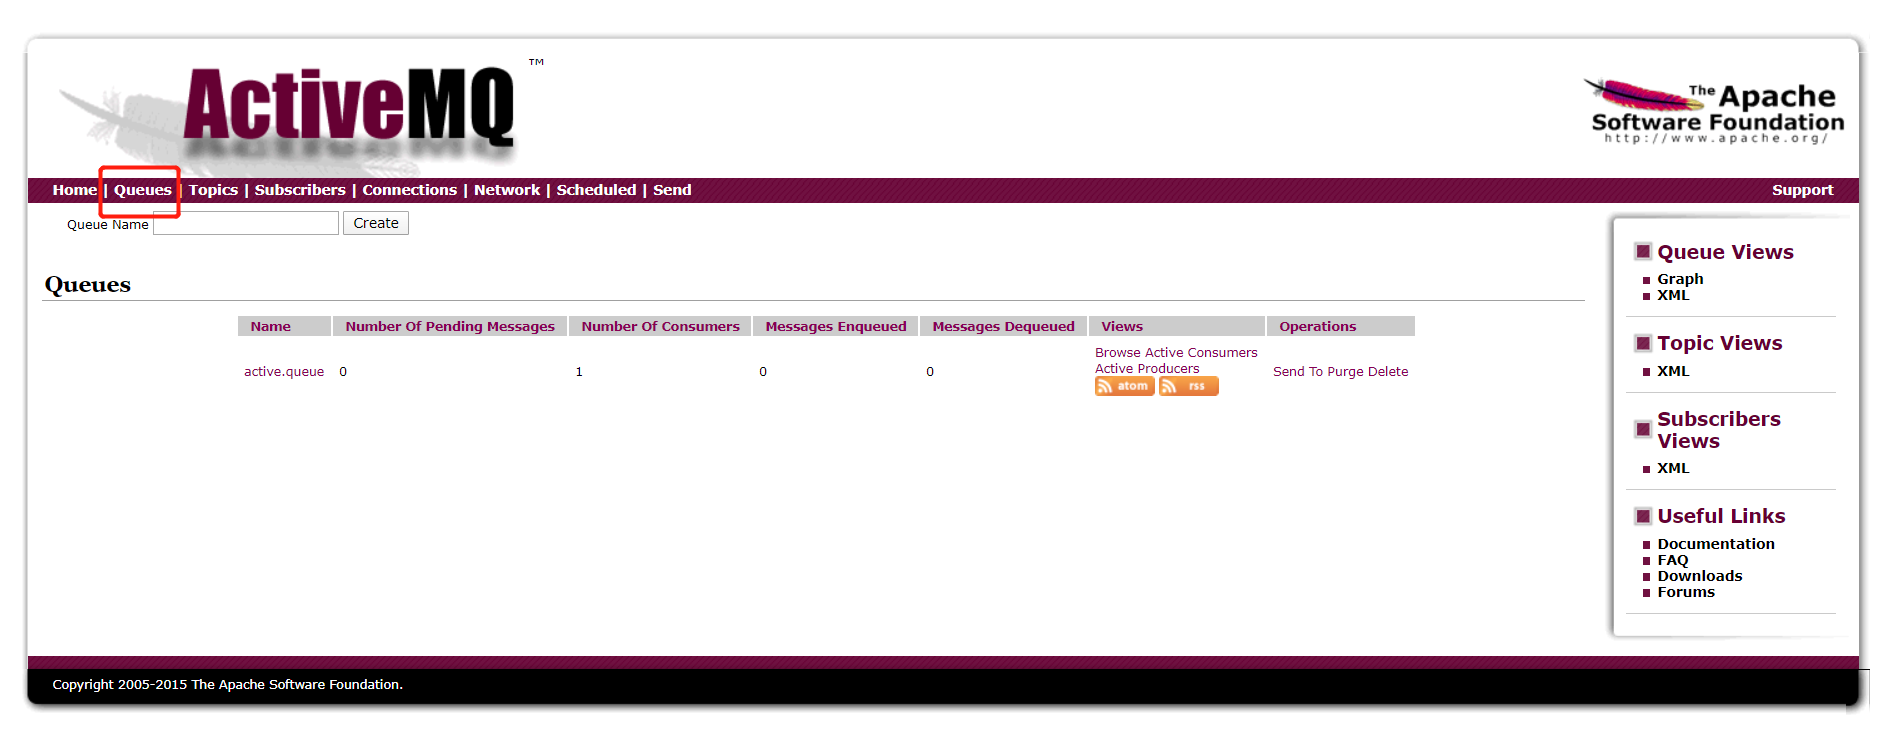
6. 查看消息队列
参考:https://www.cnblogs.com/shamo89/p/7645651.html
------------恢复内容开始------------
源码地址:
一、安装 ActiveMQ:
1. 下载 ActiveMQ
wget https://archive.apache.org/dist/activemq/5.14.0/apache-activemq-5.14.0-bin.tar.gz
2. 解压 并且重命名 为 activemq
tar -zxvf apache-activemq-5.14.0-bin.tar.gz && mv apache-activemq-5.14.0 activemq
3. 配置环境变量(不做也行,暂时没发现用处)
vim /etc/profile
添加
export ACTIVEMQ_HOME=/usr/local/softwares/activemq
export PATH=:$JAVA_HOME/bin:$ACTIVEMQ_HOME/bin:$PATH
使配置生效:
source /etc/profile
4. 进入目录,启动 activemq
cd /usr/local/softwares/activemq/bin/linux-x86-64
执行
./activemq start
5. 访问
ip:8161
点击 Manage ActiveMQ broker
6. 如果要输入用户名、密码,默认的是 admin/admin
【备注】 如果访问不了,应该是被防火墙阻挡了,可以选择 关闭防火墙,或者在放行列表中 添加 8161(web管理页面端口)、61616(activemq服务监控端口) 两个端口
如果防火墙是开启的:
打开linux防火墙端口
/sbin/iptables -I INPUT -p tcp --dport 8161 -j ACCEPT&&/etc/init.d/iptables save&&service iptables restart&&/etc/init.d/iptables status
/sbin/iptables -I INPUT -p tcp --dport 61616 -j ACCEPT&&/etc/init.d/iptables save&&service iptables restart&&/etc/init.d/iptables status
二、spring boot 整合 activemq
1. 引入依赖
<dependency>

    <groupId>org.springframework.boot</groupId>

    <artifactId>spring-boot-starter-activemq</artifactId>

</dependency>
2. 创建消息队列对象
@Configuration

public class QueueConfig {

    /**

     * 创建 名称为 active.queue 的消息队列对象

     *

     * @return

     */

    @Bean

    public Queue queue() {

        return new ActiveMQQueue("active.queue1");

    }

}
3. 创建消息生产者
@RestController

public class QueueController {

    @Autowired

    private JmsMessagingTemplate messagingTemplate;

    @Autowired

    private Queue queue;

    /**

     * 消息生产者

     */

    @RequestMapping(value = "/send")

    public void send() {

        messagingTemplate.convertAndSend(queue, "hello world");

    }

}
4. 在 application.yml 中配置连接
spring:

  activemq:

    broker-url: tcp://ip:61616
5. 启动项目,调用发送消息接口
6. 查看消息队列
参考:https://www.cnblogs.com/shamo89/p/7645651.html
------------恢复内容结束------------
liunx 安装ActiveMQ 及 spring boot 初步整合 activemq的更多相关文章
- elasticsearch 的安装配置与spring boot的整合应用
linux上的elasticsearch安装 一.下载elasticsearch 直接进入elasticsearch的官网,下载最新的安装包:https://www.elastic.co/downlo ...
- Spring Boot 监听 Activemq 中的特定 topic ,并将数据通过 RabbitMq 发布出去
1.Spring Boot 和 ActiveMQ .RabbitMQ 简介 最近因为公司的项目需要用到 Spring Boot , 所以自学了一下, 发现它与 Spring 相比,最大的优点就是减少了 ...
- 【ActiveMQ】2.spring Boot下使用ActiveMQ
在spring boot下使用ActiveMQ,需要一下几个条件 1.安装并启动了ActiveMQ,参考:http://www.cnblogs.com/sxdcgaq8080/p/7919489.ht ...
- Spring Boot Security 整合 JWT 实现 无状态的分布式API接口
简介 JSON Web Token(缩写 JWT)是目前最流行的跨域认证解决方案.JSON Web Token 入门教程 - 阮一峰,这篇文章可以帮你了解JWT的概念.本文重点讲解Spring Boo ...
- Spring boot Mybatis 整合(完整版)
个人开源项目 springboot+mybatis+thymeleaf+docker构建的个人站点开源项目(集成了个人主页.个人作品.个人博客) 朋友自制的springboot接口文档组件swagge ...
- Spring boot Mybatis 整合
PS: 参考博客 PS: spring boot配置mybatis和事务管理 PS: Spring boot Mybatis 整合(完整版) 这篇博客里用到了怎样 生成 mybatis 插件来写程 ...
- spring boot 学习(二)spring boot 框架整合 thymeleaf
spring boot 框架整合 thymeleaf spring boot 的官方文档中建议开发者使用模板引擎,避免使用 JSP.因为若一定要使用 JSP 将无法使用. 注意:本文主要参考学习了大神 ...
- Spring Boot 应用系列 5 -- Spring Boot 2 整合logback
上一篇我们梳理了Spring Boot 2 整合log4j2的配置过程,其中讲到了Spring Boot 2原装适配logback,并且在非异步环境下logback和log4j2的性能差别不大,所以对 ...
- Spring boot Mybatis 整合(注解版)
之前写过一篇关于springboot 与 mybatis整合的博文,使用了一段时间spring-data-jpa,发现那种方式真的是太爽了,mybatis的xml的映射配置总觉得有点麻烦.接口定义和映 ...
随机推荐
- mysql 免密码登录
mysql 8免密码登录 UPDATE mysql.user SET authentication_string=null WHERE User='root'; FLUSH PRIVILEGES; e ...
- 问题 G: 心急的C小加
题目描述 C小加有一些木棒,它们的长度和质量都已经知道,需要一个机器处理这些木棒,机器开启的时候需要耗费一个单位的时间,如果第i+1个木棒的重量和长度都大于等于第i个处理的木棒,那么将不会耗费时间,否 ...
- 18.jvm调优工具及案例分析
目标: Jmap.Jstack.Jinfo详解 JvisualVm调优工具实战 JVM内存或CPU飙高如何定位 JState命令预估JVM运行情况 系统频繁Full GC导致系统卡顿实战调优 内存泄漏 ...
- <C#任务导引教程>练习十
/*83,使用接口完成多继承问题 简化版*/using System;interface ITeacher{ string Name { get; set; ...
- [spojQTREE6]Query on a tree VI
考虑如下构造: 新建一条边$(0,1)$,并将原树以0为根建树,记$fa_{x}$为$x$的父亲(其中$1\le x\le n$) 维护两棵森林,分别记作$T_{0/1}$,每一条边恰属于一棵,其中$ ...
- 洛谷 P7078 - [CSP-S2020] 贪吃蛇(贪心)
题面传送门 题意: 有 \(n\) 条蛇,每条蛇有个实力 \(a_i\) 我们称编号为 \(x\) 的蛇比编号为 \(y\) 的蛇强,当且仅当 \(a_x>a_y\) 或 \(a_x=a_y\) ...
- Codeforces Gym 101480C - Cow Confinement(扫描线+线段树)
题面传送门 题意: 有一个 \(10^6\times 10^6\) 的地图.其中 \(m\) 个位置上有花,\(f\) 个矩形外围用栅栏围了起来.保证 \(f\) 个矩形两两之间没有公共点. \(q\ ...
- Codeforces 1089I - Interval-Free Permutations(析合树计数)
Codeforces 题面传送门 & 洛谷题面传送门 首先题目中涉及排列的 interval,因此可以想到析合树.由于本蒟蒻太菜了以至于没有听过这种神仙黑科技,因此简单介绍一下这种数据结构:我 ...
- 洛谷 P5406 - [THUPC2019]找树(FWT+矩阵树定理)
题面传送门 首先看到这道题你必须要有一个很清楚的认识:这题新定义的 \(\oplus\) 符号非常奇怪,也没有什么性质而言,因此无法通过解决最优化问题的思路来解决这个问题,只好按照计数题的思路来解决, ...
- AT695 マス目
AT695 マス目 本题选自 DP 优化方法大杂烩 状压部分. 这个题很 nb.下文记 \(n=H\),\(m=W\). 对于每一列,如果只记录一个格子是否为黑色,那么发现它无法处理从右边绕到左边再绕 ...