Kinect For Windows V2开发日志六:人体的轮廓的表示
> Kinect中带了一种数据源,叫做`BodyIndex`,简单来说就是它利用深度摄像头识别出最多6个人体,并且用数据将属于人体的部分标记,将人体和背景区别开来。利用这一特性,就可以在环境中显示出人体的轮廓而略去背景的细节。我采用了下面两种方式来实现。
用OpenCV表示
代码
#include <iostream>

#include <Kinect.h>

#include <opencv2\highgui.hpp>

using	namespace	std;

using	namespace	cv;

int	main(void)

{

	IKinectSensor	* mySensor = nullptr;			    //Sensor

	GetDefaultKinectSensor(&mySensor);

	mySensor->Open();

	IBodyIndexFrameSource	* mySource = nullptr;		//Source

	mySensor->get_BodyIndexFrameSource(&mySource);

	int	height = 0, width = 0;

	IFrameDescription	* myDescription = nullptr;

	mySource->get_FrameDescription(&myDescription);

	myDescription->get_Height(&height);

	myDescription->get_Width(&width);

	IBodyIndexFrameReader	* myReader = nullptr;		//Reader

	mySource->OpenReader(&myReader);

	IBodyIndexFrame		* myFrame = nullptr;		    //Frame

	Mat	img(height,width,CV_8UC3);

	Vec3b	color[7] = { Vec3b(0,0,255),Vec3b(0,255,255),Vec3b(255,255,255),Vec3b(0,255,0),Vec3b(255,0,0),Vec3b(255,0,255),Vec3b(0,0,0) };

	while (1)

	{

		if (myReader->AcquireLatestFrame(&myFrame) == S_OK)

		{

			UINT	size = 0;

			BYTE	* buffer = nullptr;

			myFrame->AccessUnderlyingBuffer(&size,&buffer);

			for (int i = 0; i < height; i++)

				for (int j = 0; j < width; j++)

				{

					int	index = buffer[i * width + j];		//0-5代表人体,其它值代表背景,用此将人体和背景渲染成不同颜色

					if (index <= 5)

						img.at<Vec3b>(i, j) = color[index];

					else

						img.at<Vec3b>(i, j) = color[6];

				}

			imshow("TEST",img);

			myFrame->Release();

		}

		if (waitKey(30) == VK_ESCAPE)

			break;

	}

	myReader->Release();

	myDescription->Release();

	mySource->Release();

	mySensor->Close();

	mySensor->Release();

	return	0;

}
详细说明
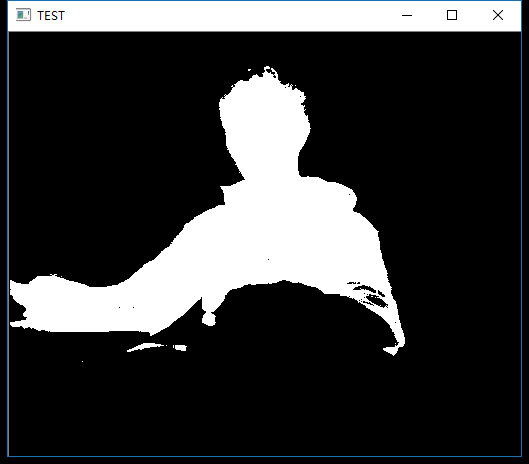
步骤和前面相似,不再赘述,关键在于对数据的处理。IBodyIndexFrame 里的数据分两种,值在0-5之间的点代表的是人体(因此最多识别出6个人),大于5的值代表的是背景。所以要显示人体时,只要简单的把代表人体的点渲染成一种颜色,背景渲染成另外一种颜色就可以了。值得注意的是在写颜色表color时,要用Vec3b把数据强转一下,不然会有问题。
最终的效果就是这样:
直接用数据勾画出人体
代码:
#include <iostream>

#include <Kinect.h>

#include <Windows.h>

using	namespace	std;

using	namespace	cv;

int	main(void)

{

	IKinectSensor	* mySensor = nullptr;			//Sensor

	GetDefaultKinectSensor(&mySensor);

	mySensor->Open();

	IBodyIndexFrameSource	* mySource = nullptr;		//Source

	mySensor->get_BodyIndexFrameSource(&mySource);

	int	height = 0, width = 0;

	IFrameDescription	* myDescription = nullptr;

	mySource->get_FrameDescription(&myDescription);

	myDescription->get_Height(&height);

	myDescription->get_Width(&width);

	IBodyIndexFrameReader	* myReader = nullptr;		//Reader

	mySource->OpenReader(&myReader);

	IBodyIndexFrame		* myFrame = nullptr;		    //Frame

	while (1)

	{

		Sleep(1000);

		if (myReader->AcquireLatestFrame(&myFrame) == S_OK)

		{

			UINT	size = 0;

			BYTE	* buffer = nullptr;

			myFrame->AccessUnderlyingBuffer(&size,&buffer);

			for (int i = 50; i < 350; i++)		    //调出一个合适的尺寸

			{

				for (int j = 0; j < width; j++)

				{

					int	index = buffer[i * width + j];

					if (index <= 5)

						cout << 0;

					else

						cout << 1;

				}

				cout << endl;

			}

			cout << endl << endl;

			myFrame->Release();

		}

	}

	myReader->Release();

	myDescription->Release();

	mySource->Release();

	mySensor->Close();

	mySensor->Release();

	return	0;

}
说明
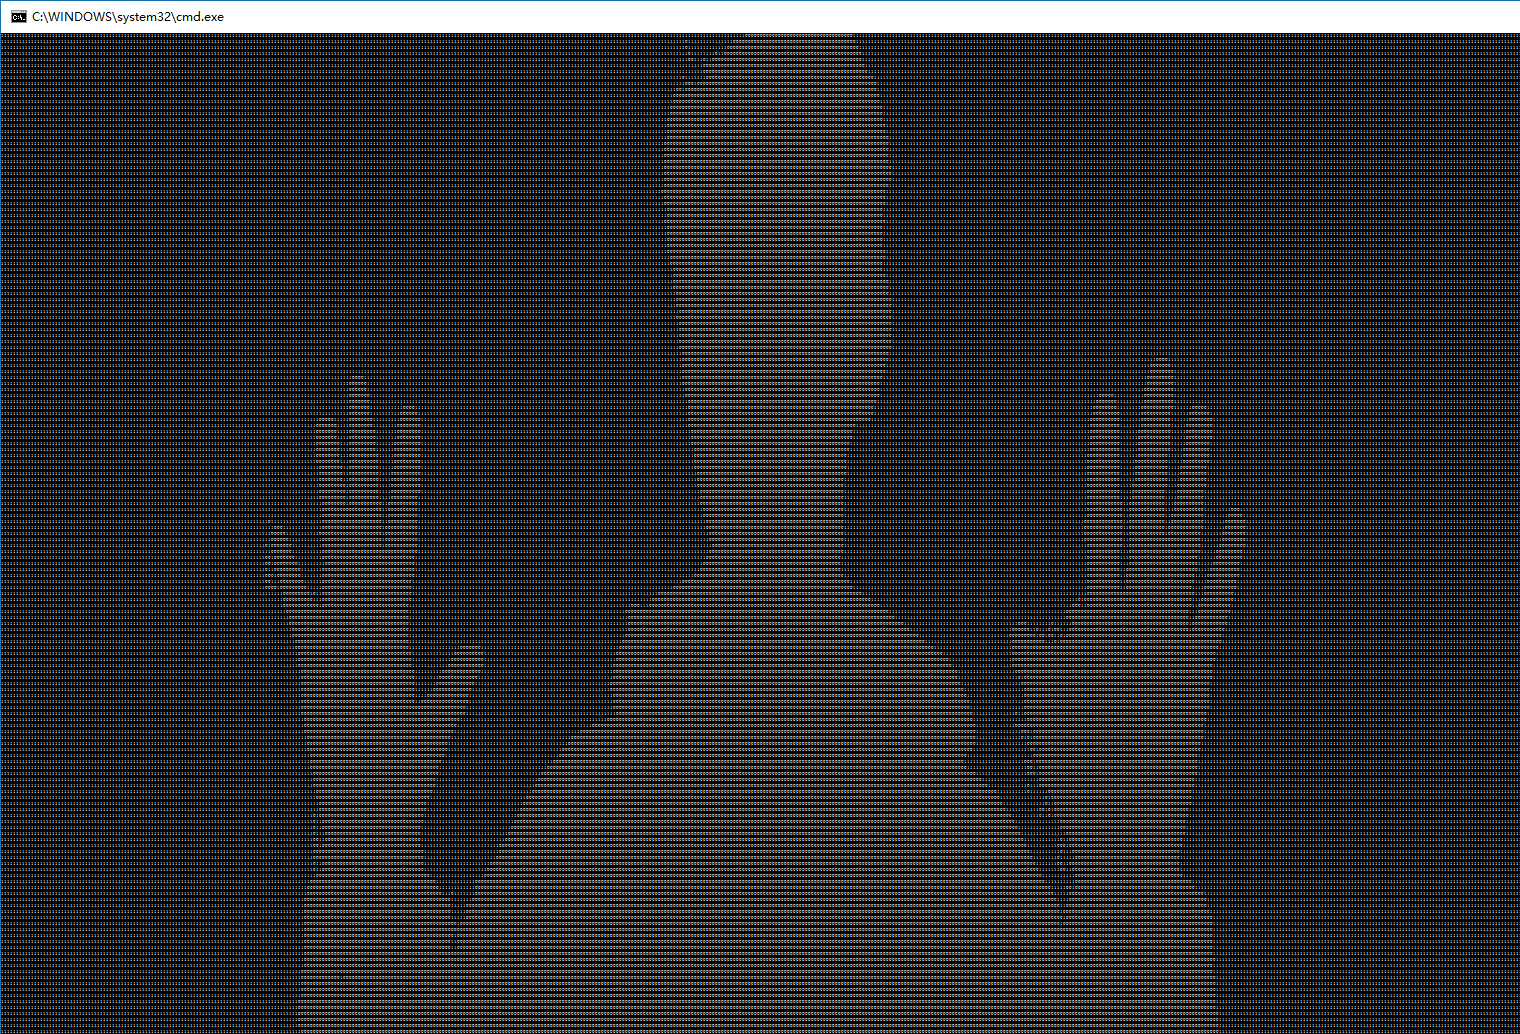
实际上,因为有可以用数字来区别人体和背景这一特性,所以甚至可以不用openCV,直接用数据来显示人体。将识别为人体的数据作为0输出,背景作为1输出,同时把控制台的窗口调大一些,字体调到最小,每秒钟输出一帧,就能直接看到数据画出的图。真是有趣。
效果如下:
Kinect For Windows V2开发日志六:人体的轮廓的表示的更多相关文章
- Kinect For Windows V2开发日志七:照片合成与背景消除
上一篇里讲到了Kinect可以从环境中区分出人体来.因此可以利用这个功能,来把摄像头前的人合成进照片里,和利用Photoshop不同的是,这样合成进去的人是动态且实时的. 简单的思路 BodyInde ...
- Kinect For Windows V2开发日志八:侦测、追踪人体骨架
简介 Kinect一个很强大的功能就是它可以侦测到人体的骨骼信息并追踪,在Kinect V2的SDK 2.0中,它最多可以同时获取到6个人.每个人25个关节点的信息,并且通过深度摄像头,可以同时获取到 ...
- Kinect For Windows V2开发日志九:侦测并绘制人体骨架
简介 在上一篇<侦测.追踪人体骨架>里,介绍了关节点的使用办法,这一篇记录将关节点与OpenCV结合的绘图方法. 代码 #include <iostream> #include ...
- Kinect For Windows V2开发日志一:开发环境的配置
算是正式进军Kinect了,前段时间学的东西现在就忘了,于是从此开始记录一下. 目前为止大部分的学习资料来自于Heresy的博客,写的非常优秀,清晰明了,十分感谢.开发语言为C++,应该会一直使用,但 ...
- Kinect For Windows V2开发日志五:使用OpenCV显示彩色图像及红外图像
彩色图像 #include <iostream> #include <Kinect.h> #include <opencv2\highgui.hpp> using ...
- Kinect For Windows V2开发日志二:Kinect V2的基本参数
以下内容节选自Heresy的博客: 彩色影像:1920 x 1080 @ 30 / 15 FPS(根据环境亮度) 深度影像:512 x 424 @ 30 FPS.16bit 距离值(mm).可侦测 ...
- Kinect For Windows V2开发日志四:使用OpenCV显示深度图像
代码示例: #include <Kinect.h> #include <iostream> #include <opencv2\highgui.hpp> using ...
- Kinect For Windows V2开发日志三:简单的深度读取
代码示例: #include <Kinect.h> #include <iostream> using namespace std; int main(void) { IKin ...
- Kinect for Windows V2开发教程
教程 https://blog.csdn.net/openbug/article/details/80921437 Windows版Kinect SDK https://docs.microsoft. ...
随机推荐
- java提高数据库访问效率代码优化
package com.jb.jubmis.comm; import java.sql.Connection;import java.sql.ResultSet;import java.sql.SQL ...
- .Net项目版本号的生成
给.Net项目编译的程序集加入版本号的方式有许多种,包括: 1. 默认的方式,在每个项目的AssemblyInfo.cs文件中指定版本号: // Version information for an ...
- Flex XML
一.创建XML类 1.把字符串对象转换为XML: var xmlStr:String="<students><student><name>吕布</n ...
- EXchange2010配置
DAG配置: 组织配置:如果见证服务器是DC不是exchange服务器,那么需要在AD用户和计算机里面,将exchange trusted subsystem 添加到 DC的本地管理员组(/built ...
- [程序猿入行必备]CSS样式之优先级
专业玩家请移步:http://www.w3.org/TR/CSS2/cascade.html 使用CSS控制页面样式时,常常出现设定的样式被"覆盖",不能生效的情况. 浏览器是根据 ...
- 【JavsScript】Ember.js
现在,我们经常都可以看到复杂的JavaScript应用程序,由于这些应用程序变得越来越复杂,一长串的jQuery回调语句或者通过应用程序在各个状态执行不同的函数调用,这些做法都会变得无法再让人接受,这 ...
- volatile synschonized的区别
在一次面试中,被问到volatile与synschonized的区别,概念模模糊糊,今天做一个总结,加强自己的认识. 本文参考http://www.cnblogs.com/dolphin0520/p/ ...
- cocos2dx 读取json及解析
ball.json 数据例如以下: { "entities": [ { "entity": { "TapOpposite": 0, &quo ...
- JRebel_修改class后无法正确调试问题解决【2014-03-12】
原文地址:http://www.cnblogs.com/hbbbs/p/3596179.html 现象 修改了class,编译后,JRebel自动装载到Web容器中.但此时调试这个类会发现无法正常调试 ...
- 深入学习PHP内核
http://www.php-internals.com/ 深入学习PHP内核 http://www.php-internals.com/book/ http://www.kancloud.cn/@ ...