
asp.net core 登录身份认证(Cookie)
asp.net core 2最简单的登录功能
创建asp.net core Web Mvc项目
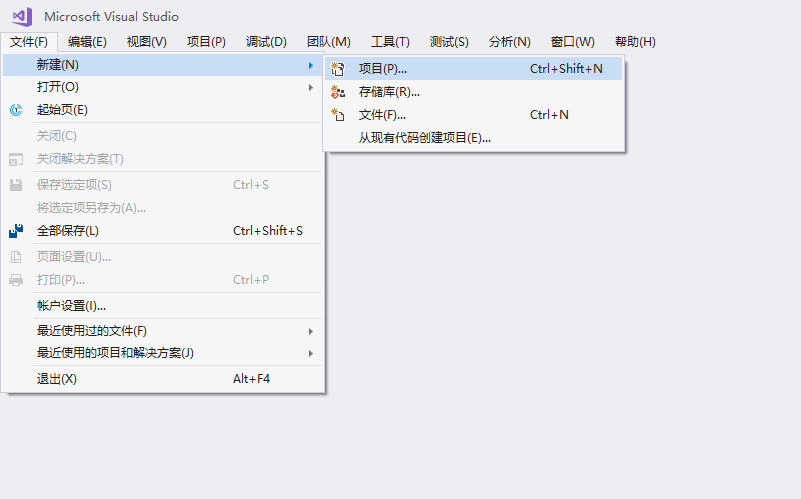
配置下选项

项目目录结构
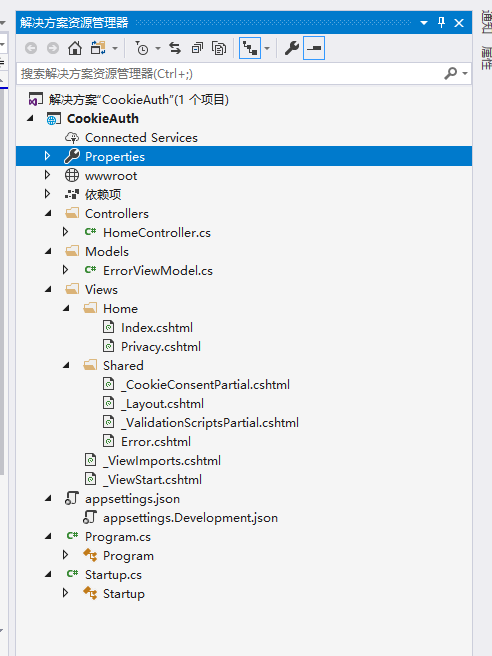
在Models文件夹下新建两个实体类

    public class Test

    {

        public int Id { get; set; }

        [Required]

        [Display(Name = "某人")]

        public string Someone { get; set; }

        [Required]

        [Display(Name = "某事")]

        public string Something { get; set; }

    }
    public class User

    {

        public int Id { get; set; }

        [Required]

        [Display(Name = "用户名")]

        public string UserName { get; set; }

        [Display(Name = "密码")]

        [Required]

        public string UserPwd { get; set; }

        public string Nothing { get; set; }

    }
在项目文件夹下新建Data文件夹,新建DbContext类
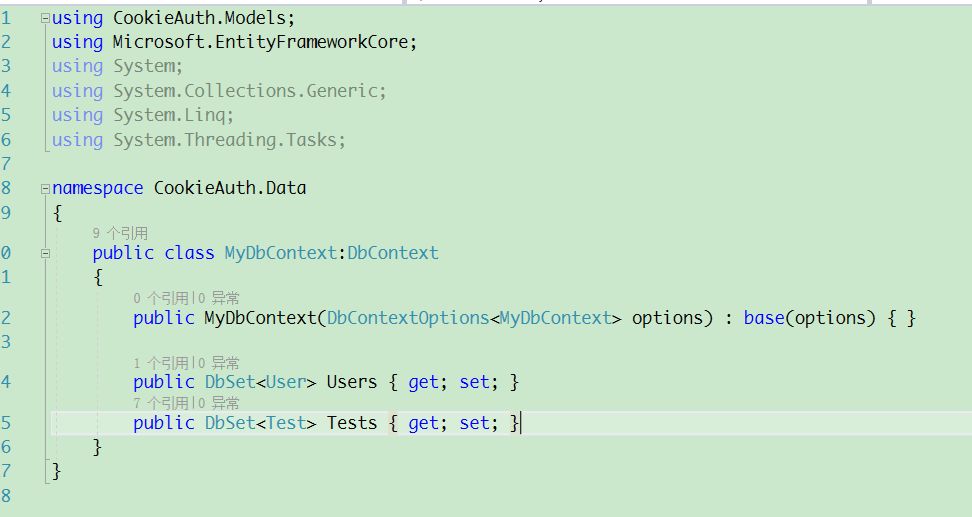
    public class MyDbContext:DbContext

    {

        public MyDbContext(DbContextOptions<MyDbContext> options) : base(options) { }

        public DbSet<User> Users { get; set; }

        public DbSet<Test> Tests { get; set; }

    }
在Startup.cs文件中的ConfigureServices下添加dbcontext服务
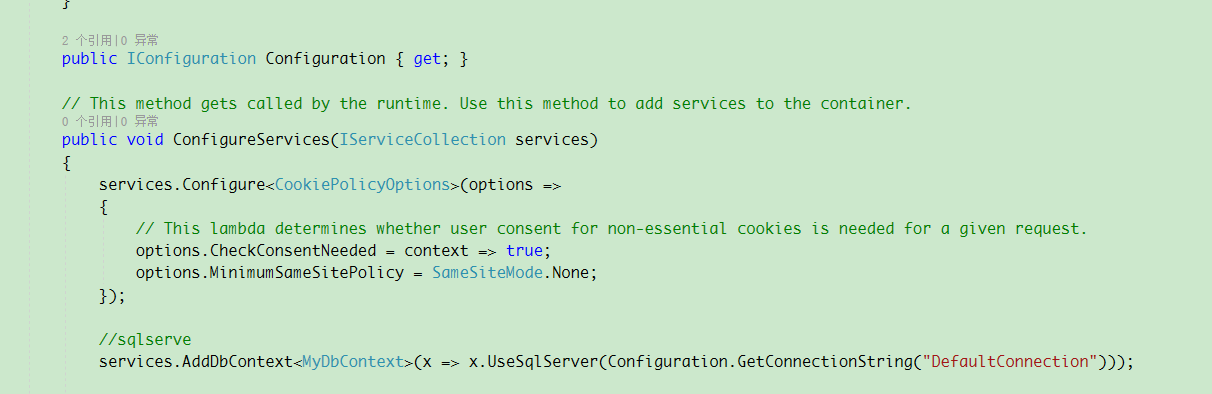
        public void ConfigureServices(IServiceCollection services)

        {

            services.Configure<CookiePolicyOptions>(options =>

            {

                // This lambda determines whether user consent for non-essential cookies is needed for a given request.

                options.CheckConsentNeeded = context => true;

                options.MinimumSameSitePolicy = SameSiteMode.None;

            });

            //sqlserver

            services.AddDbContext<MyDbContext>(x => x.UseSqlServer(Configuration.GetConnectionString("DefaultConnection")));

            services.AddMvc().SetCompatibilityVersion(CompatibilityVersion.Version_2_2);

        }
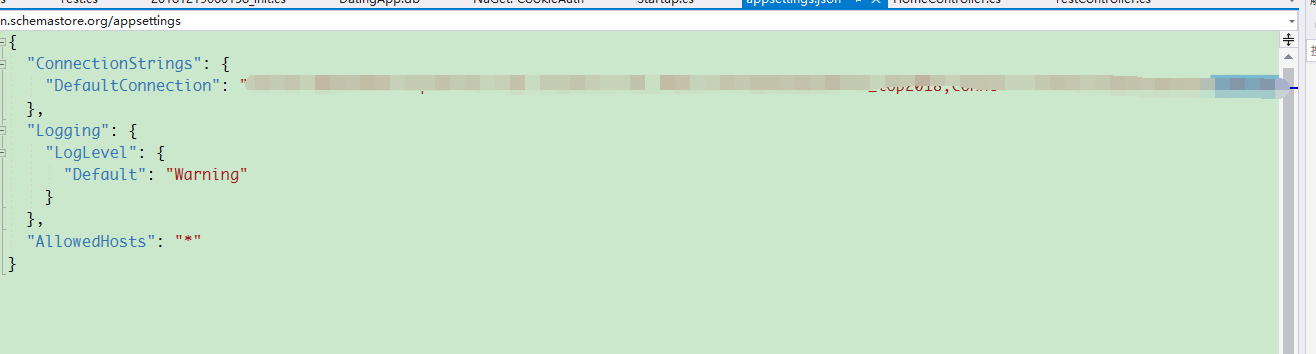
在appsettings.json下配置数据库连接字符串
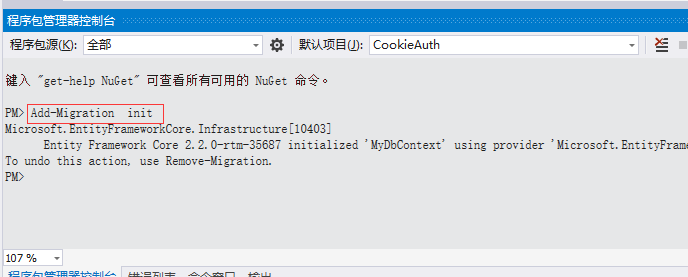
打开程序包管理器控制台,执行生成数据库上下文和创建更新数据库命令

去数据库查看下表是否生成,并直接添加一个种子数据。

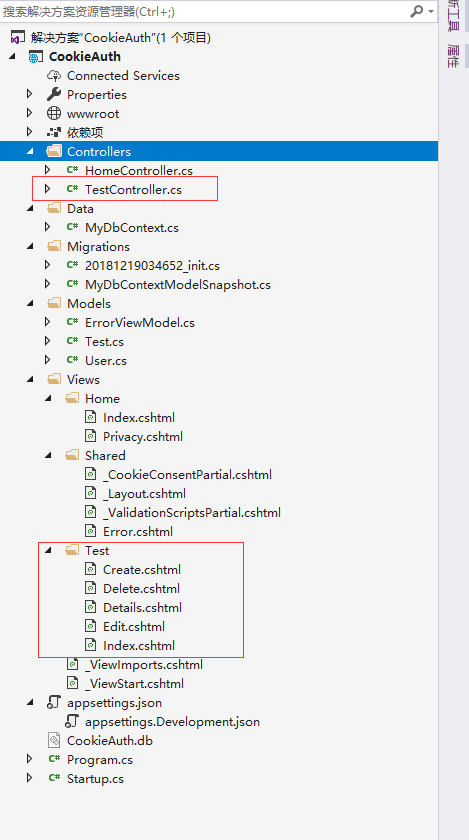
添加控制器和视图
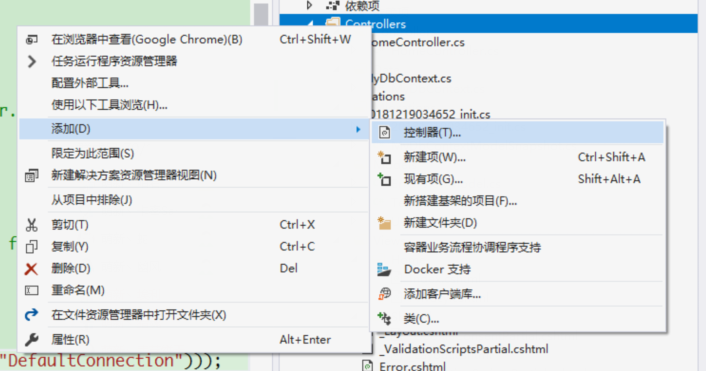
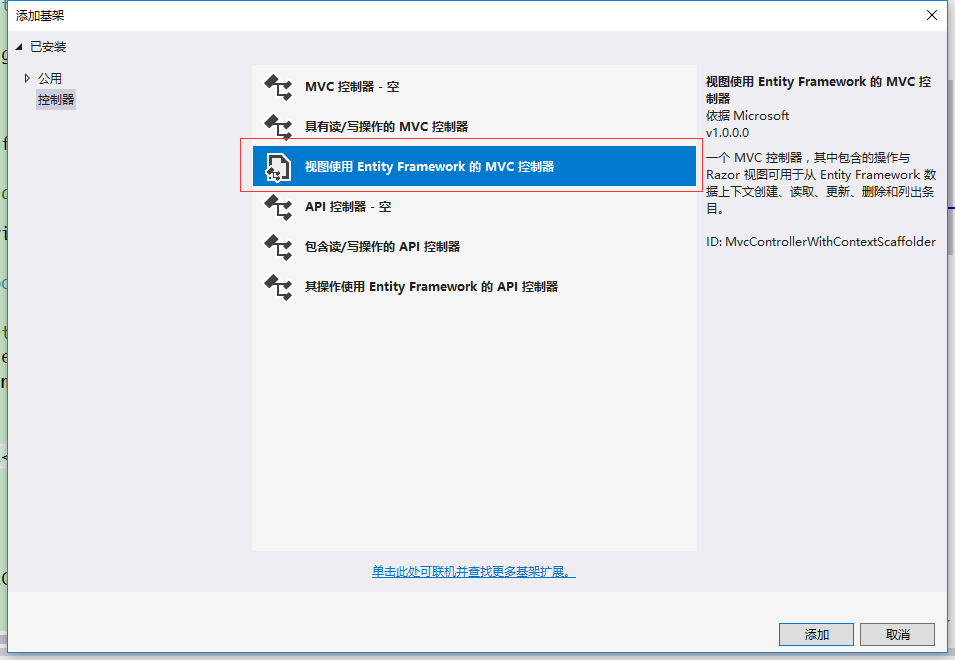

生成之后的项目结构目录如下
在homecontroller中编写一个Login方法
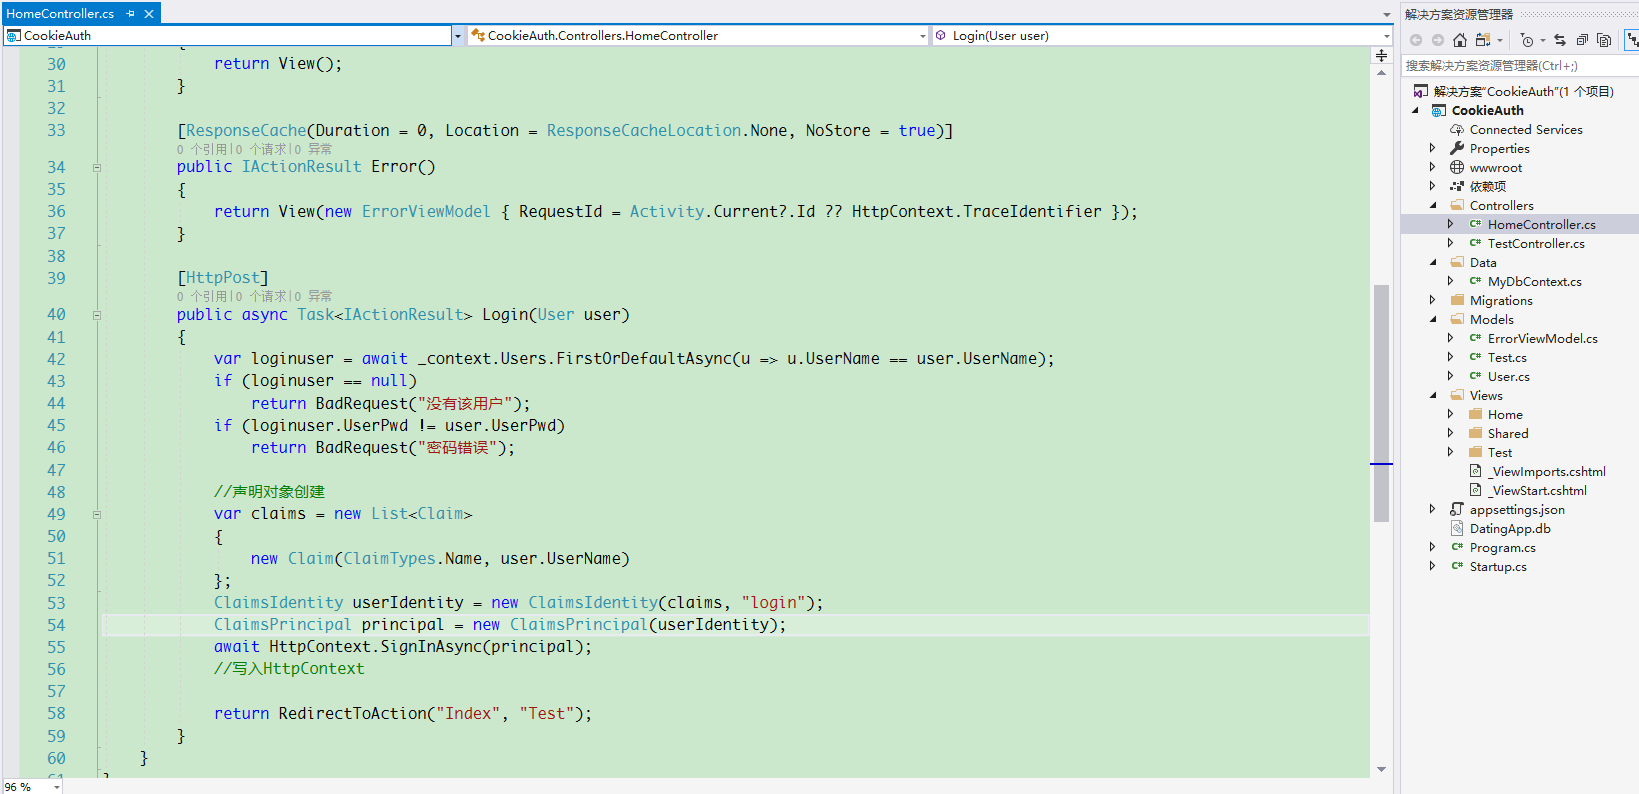
public class HomeController : Controller

    {

        private readonly MyDbContext _context;

        public HomeController(MyDbContext context)

        {

            _context = context;

        }

        public IActionResult Index()

        {

            return View();

        }

        public IActionResult Privacy()

        {

            return View();

        }

        [ResponseCache(Duration = , Location = ResponseCacheLocation.None, NoStore = true)]

        public IActionResult Error()

        {

            return View(new ErrorViewModel { RequestId = Activity.Current?.Id ?? HttpContext.TraceIdentifier });

        }

        [HttpPost]

        public async Task<IActionResult> Login(User user)

        {

            var loginuser = await _context.Users.FirstOrDefaultAsync(u => u.UserName == user.UserName);

            if (loginuser == null)

                return BadRequest("没有该用户");

            if (loginuser.UserPwd != user.UserPwd)

                return BadRequest("密码错误");

            //声明对象创建

            var claims = new List<Claim>

            {

                new Claim(ClaimTypes.Name, user.UserName)

            };

            ClaimsIdentity userIdentity = new ClaimsIdentity(claims, "login");

            ClaimsPrincipal principal = new ClaimsPrincipal(userIdentity);

            await HttpContext.SignInAsync(principal);

            //写入HttpContext

            return RedirectToAction("Index", "Test");

        }

    }
在Startup中添加cookie认证服务并使用
public IConfiguration Configuration { get; }

        // This method gets called by the runtime. Use this method to add services to the container.

        public void ConfigureServices(IServiceCollection services)

        {

            services.Configure<CookiePolicyOptions>(options =>

            {

                // This lambda determines whether user consent for non-essential cookies is needed for a given request.

                options.CheckConsentNeeded = context => true;

                options.MinimumSameSitePolicy = SameSiteMode.None;

            });

            //sqlserve

            services.AddDbContext<MyDbContext>(x => x.UseSqlServer(Configuration.GetConnectionString("DefaultConnection")));

            //添加cookie认证服务

            services.AddAuthentication(CookieAuthenticationDefaults.AuthenticationScheme)

            .AddCookie(options =>

            {

                options.LoginPath = "/Home/Index/";

            });

            services.AddMvc().SetCompatibilityVersion(CompatibilityVersion.Version_2_2);

        }

        // This method gets called by the runtime. Use this method to configure the HTTP request pipeline.

        public void Configure(IApplicationBuilder app, IHostingEnvironment env)

        {

            if (env.IsDevelopment())

            {

                app.UseDeveloperExceptionPage();

            }

            else

            {

                app.UseExceptionHandler("/Home/Error");

            }

            //使用认证服务

            app.UseAuthentication();

            app.UseStaticFiles();

            app.UseCookiePolicy();

            app.UseMvc(routes =>

            {

                routes.MapRoute(

                    name: "default",

                    template: "{controller=Home}/{action=Index}/{id?}");

            });

        }
修改Views/Home/Index.cshtml为下面内容
@model CookieAuth.Models.User

@{

    ViewData["Title"] = "Home Page";

}

<div class="row">

    <div class="col-md-4">

        <section>

            <form method="post" asp-action="Login">

                <h4>Login</h4>

                <hr />

                <div class="form-group">

                    <label asp-for="UserName"></label>

                    <input asp-for="UserName" class="form-control" />

                </div>

                <div class="form-group">

                    <label asp-for="UserPwd"></label>

                    <input asp-for="UserPwd" type="password" class="form-control" />

                </div>

                <div class="form-group">

                    <button type="submit" class="btn btn-default">登录</button>

                </div>

            </form>

        </section>

    </div>

</div>
在_Layout中添加一个导航栏

然后在Test控制器中添加认证特性

就可以启动项目。
如果不没输入正确的地址是会被重定向到登录页面。


就这样先,如果是已有项目 只需要在startup中添加cookie认证服务以及在login和logout方法中创建和销毁声明。
在controller或者action中添加启动认证或者不启用认证随意配置
asp.net core 登录身份认证(Cookie)的更多相关文章
- ASP.NET Core的身份认证框架IdentityServer4--入门
ASP.NET Core的身份认证框架IdentityServer4--入门 2018年08月11日 10:09:00 qq_42606051 阅读数 4002 https://blog.csdn ...
- ASP.NET Core的身份认证框架IdentityServer4--(4)添加第三方快捷登录
添加对外部认证的支持 接下来我们将添加对外部认证的支持.这非常简单,因为你真正需要的是一个兼容ASP.NET Core的认证处理程序. ASP.NET Core本身也支持Google,Facebook ...
- ASP.NET Core的身份认证框架IdentityServer4(9)-使用OpenID Connect添加用户认证
OpenID Connect OpenID Connect 1.0是OAuth 2.0协议之上的一个简单的身份层. 它允许客户端基于授权服务器执行的身份验证来验证最终用户的身份,以及以可互操作和类似R ...
- ASP.NET Core的身份认证框架IdentityServer4--入门【转】
原文地址 Identity Server 4是IdentityServer的最新版本,它是流行的OpenID Connect和OAuth Framework for .NET,为ASP.NET Cor ...
- ASP.NET Core的身份认证框架IdentityServer4--(3)令牌服务配置访问控制跟UI添加
使用密码保护API OAuth 2.0 资源所有者密码授权允许一个客户端发送用户名和密码到IdentityServer并获得一个表示该用户的可以用于访问api的Token. 该规范建议仅对" ...
- ASP.NET Core的身份认证框架IdentityServer4(7)- 使用客户端证书控制API访问
前言 今天(2017-9-8,写于9.8,今天才发布)一口气连续把最后几篇IdentityServer4相关理论全部翻译完了,终于可以进入写代码的过程了,比较累.目前官方的文档和Demo以及一些相关组 ...
- ASP.NET Core的身份认证框架IdentityServer4(5)- 包和构建
包和构建 IdentityServer有许多nuget包 IdentityServer4 nuget | github 包含IdentityServer核心对象模型,服务和中间件. 仅支持内存配置和用 ...
- ASP.NET Core的身份认证框架IdentityServer4(1)-特性一览
IdentityServer4是ASP.NET Core的一个包含OpenID和OAuth 2.0协议的框架.OpenID和OAuth 的区别请看 https://www.zhihu.com/ques ...
- ASP.NET Core的身份认证框架IdentityServer4--(2)API跟WEB端配置
API配置 可以使用ASP.NET Core Web API模板.同样,我们建议您控制端口并使用与之前一样的方法来配置Kestrel和启动配置文件.端口配置为http://localhost:5001 ...
随机推荐
- jenkins统计单元测试的覆盖率
前提:单元测试和被测代码在一个仓库 maven的pom配置 依赖增加 <dependency> <groupId>org.jacoco</groupId> < ...
- python装饰器简单使用
装饰器和闭包关联很大,要先明白闭包是什么 原始代码: def foo(): print('fcc') 增加装饰器 from time import ctime,sleep def w(fcc): de ...
- json简单操作
通过内置的json模块对json数据进行编码 1.对数据进行编码(dumps) import json #使用dumps将python数据结构转换为json data = { , "name ...
- TPO-18 C1 Apply for a part-time job on campus
TPO-18 C1 Apply for a part-time job on campus 第 1 段 1.Listen to a conversation between a student and ...
- spring 属性文件加载接口---PropertySourceLoader
org.springframework.boot.config Interface PropertySourceLoader 实现类: PropertiesPropertySourceLoader, ...
- 3星|《科技投资新时代》:TMT行业资讯汇编
科技投资新时代:TMT投资方法.趋势与热点聚焦 全书共6章,前4章是一些投资与分析的基本方法与技巧,第5章集中讲通信行业的现状与趋势,第6章讲大数据.物联网.全面屏等TMT行业热点. 总体来说数据.信 ...
- Python中如何实现im2col和col2im函数(sliding类型)
今天来说说im2col和col2im函数,这是MATLAB中两个内置函数,经常用于数字图像处理中.其中im2col函数在<MATLAB中的im2col函数>一文中已经进行了简单的介绍. 一 ...
- Tensorflow框架之AlexNet
from datetime import datetime import math import time import tensorflow as tf batch_size=32 num_batc ...
- 吴恩达 Deep learning 第一周 深度学习概论
知识点 1. Relu(Rectified Liner Uints 整流线性单元)激活函数:max(0,z) 神经网络中常用ReLU激活函数,与机器学习课程里面提到的sigmoid激活函数相比有以下优 ...
- Qt类继承关系图
分享两个资源,对于系统了解Qt框架的整体脉络很有帮助. Qt4类关系图+Qt5类关系图,PDF+JPG格式 [下载] Qt5类关系图(基于Qt5.1版),JPG格式[下载]