在anaconda中安装tensorflow
打开Anaconda Prompt,
step1: 输入清华仓库镜像
conda config --add channels https://mirrors.tuna.tsinghua.edu.cn/anaconda/pkgs/free/
conda config --set show_channel_urls yes
step2: 搭建tensorflow环境
输入conda create -n tensorflow python=3.5
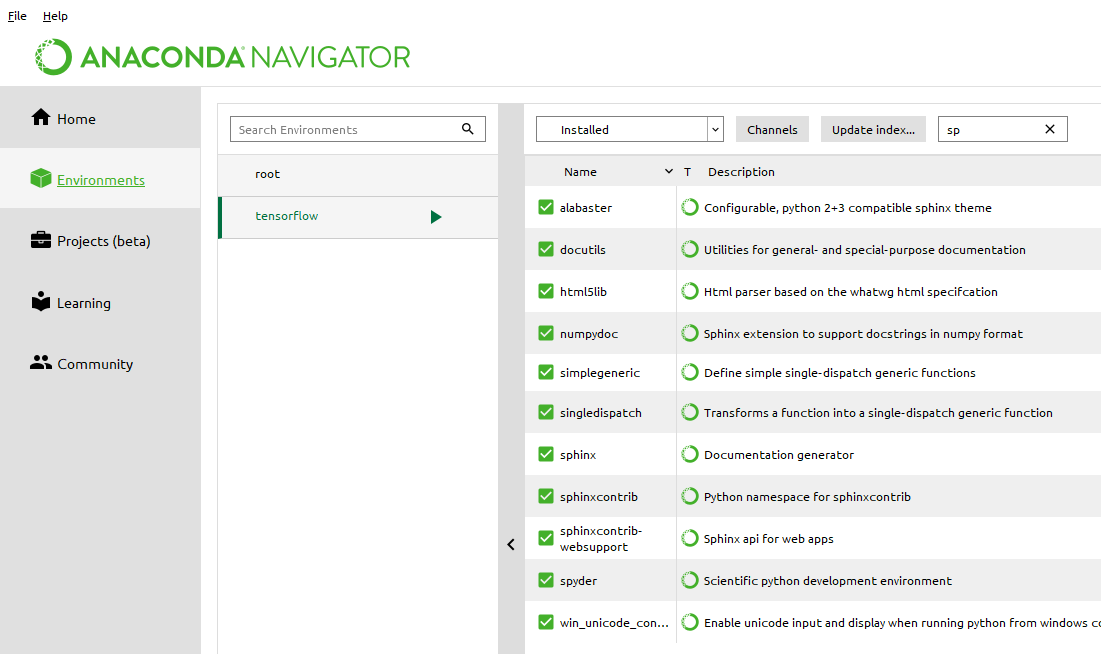
结束后anaconda中的environment中可以看到tensorflow,
step3: 输入activate tensorflow
(切换到该环境)
step4:安装cpu版本的TensorFlow
输入pip install --upgrade --ignore-installed tensorflow
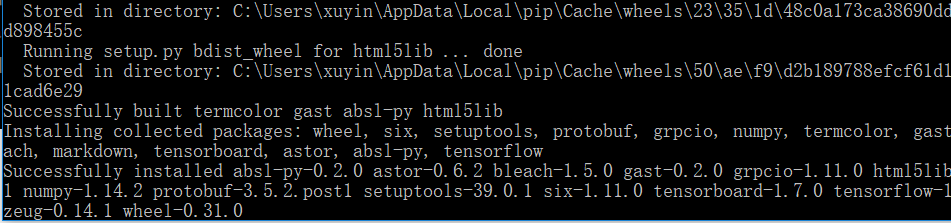
开始安装,网速快的话5分钟左右就ok!!
 安装好了 successfully .....
step5: 测试tensorflow
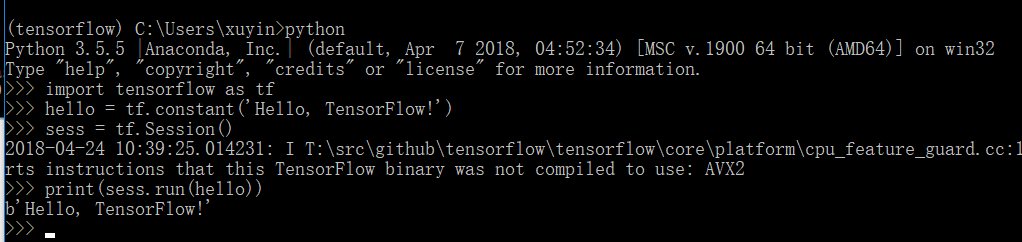
在Anaconda Prompt中启动tensorflow环境,并进入python环境
输入代码:
import tensorflow as tf
hello = tf.constant('Hello, TensorFlow!')
sess = tf.Session()
print(sess.run(hello))
显示结果如下, 说明已经成功.
关键!!!在spyder中 'import tensorflow' 提示错误...why?? 显示No module named ‘tensorflow’,
在anaconda navigator的environment tensorflow中,上方的菜单中选择 Not installed ,搜索spyder, (我这里已经install好了,因此搜不到了)
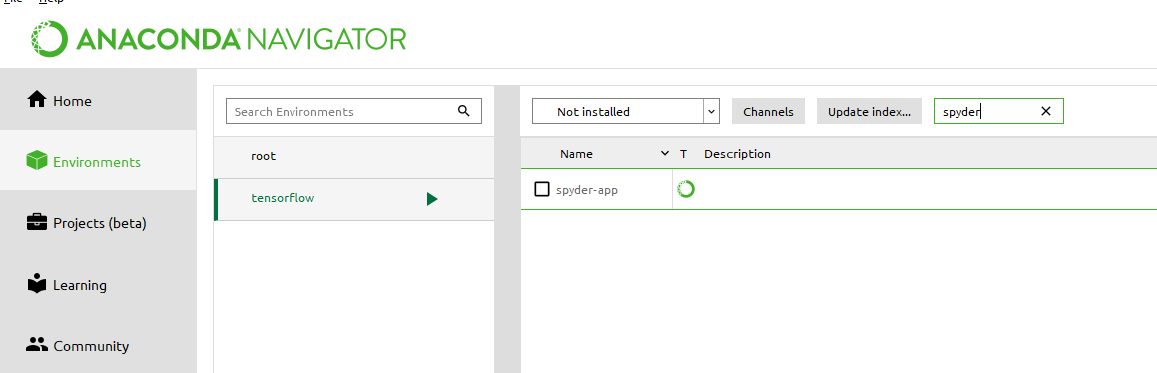
选择spyder, 在右下方有apply, 安装一下插件, for about 5分钟
最后在installed 中可以发现已经有了spyde, 接下来就可以在spyder中使用了!!

在anaconda中安装tensorflow的更多相关文章
- 在Win10 Anaconda中安装Tensorflow
有需要的朋友可以参考一下 1.安装Anaconda 下载:https://www.continuum.io/downloads,我用的是Python 3.5 下载完以后,安装. 安装完以后,打开A ...
- Win10下Anaconda中安装Tensorflow
1.安装Anaconda 下载:https://repo.continuum.io/archive/,我用的是Python 3.5 ,64位系统,所以选择的版本是Anaconda2-4.2.0-Win ...
- Ubuntu在Anaconda中安装TensorFlow GPU,Keras,Pytorch
安装TensorFlow GPU pip install --ignore-installed --upgrade tensorflow-gpu 安装测试: $ source activate tf ...
- anaconda中安装TensorFlow的方法
作为一个新手党加手残党真的折腾了好久才搞定,记录一下. step1:在anaconda prompt终端中输入 pip3 install -i https://pypi.tuna.tsinghua.e ...
- Anaconda上安装Tensorflow并在jupyter上运行
博客原文地址:https://blog.csdn.net/index20001/article/details/73555182 https://www.cnblogs.com/HongjianChe ...
- Anaconda3(2)Anaconda3中安装TensorFlow
https://zhuanlan.zhihu.com/p/34730661 1. 安装anaconda3:自行下载.安装[注意版本] (可参考引用链接) 2. 搭建TensorFlow环境 cuda1 ...
- Anaconda中安装pytorch
Anaconda中安装pytorch 创建一个虚拟环境 conda create --name machinelearning python=3.7 激活虚拟环境 activate machinele ...
- anaconda的安装tensorflow
在anaconda prompt中我们输入 anaconda search -t conda tensorflow 查看能在哪里安装tensorflow anaconda show dhirschfe ...
- (原)ubuntu中安装tensorflow
转载请注明出处: http://www.cnblogs.com/darkknightzh/p/6592052.html 参考网址: https://www.tensorflow.org/install ...
随机推荐
- MySql cmd下的学习笔记 —— 引擎和事务(engine,transaction)
engine 引擎就是MySQL存储数据的不同方式 myisam 插入速度快 支持全文索引 innoDB 插入速度慢 支持事务安全 假设两人同时购买火车票,两人同时看到只有一张火车票,几乎同时下单 或 ...
- SpringMVC中请求路径参数使用正则表达式
@GetMapping("/user/{id:\\d+}") //使用正则指定Id为数字 public User getInfo(@PathVariable String id){ ...
- Rasterization 学习笔记
======================Barycentric interpolation====================================== <1>2d/3d ...
- Deep Learning Tutorial - Convolutional Neural Networks(LENET)
CNN很多概述和要点在CS231n.Neural Networks and Deep Learning中有详细阐述,这里补充Deep Learning Tutorial中的内容.本节前提是前两节的内容 ...
- C++设计模式之工厂模式(1)
关于设计模式的作用: “帮助我们将应用组织成容易了解,容易维护,具有弹性的架构,建立可维护的OO系统,要诀在于随时想到系统以后可能需要的变化以及应付变化的原则.” 具体可参考:https://www. ...
- async_retrying
from async_retrying import retry import aiohttp import asyncio @retry(attempts=6) async def fetch(): ...
- ES6学习笔记七Generator、Decorators
Generator异步处理 { // genertaor基本定义,next()一步步执行 let tell=function* (){ yield 'a'; yield 'b'; return 'c' ...
- 036_lua应用扩展
一.request_id定义 ## # request id ## lua_package_path '/opt/nginx/conf/lua/lib/?.lua'; init_by_lua ' uu ...
- 025_lua脚本语言
一.--cat /opt/nginx/conf/conf.dlua_package_path '/opt/nginx/conf/lua/?.lua;;'; --lua模块路径,其中”;;”表示默认搜索 ...
- T-SQL删除存储过程
使用T-SQL脚本删除存储过程 语法: --声明数据库引用use 数据库名称;go --判断是否存在存储过程,如果存在则删除if exists(select * from sys.procedures ...