(数据科学学习手札117)Python+Dash快速web应用开发——交互表格篇(下)
本文示例代码已上传至我的
Github仓库https://github.com/CNFeffery/DataScienceStudyNotes
1 简介
这是我的系列教程Python+Dash快速web应用开发的第十四期,在前两期中,我们针对dash_table的自定义样式、前后端分页、单元格内容编辑等特点展开了介绍。
而在dash_table中还有很多高级特性,可以极大程度上丰富DataTable()所渲染网页表格的交互能力,今天的文章作为交互表格篇的下篇,我们就来一起学习其中比较实用的一些特性。
 图1
图1
2 dash_table的更多实用功能
2.1 更多表格交互特性
上一期文章最后我们学习了通过设置参数editable=True,使得渲染出的表格可以通过鼠标双击进行编辑,而dash_table除此之外,还有更多实用的交互能力:
2.1.1 按列排序
- 普通单列排序
在DataTable()中,我们只需要设置参数sort_action='native',即可开启列排序功能,此时每一列列名单元格内都会出现部件供我们点击切换排序方式:
app1.py
import dash

import dash_table

import dash_bootstrap_components as dbc

import seaborn as sns

df = sns.load_dataset('iris')

app = dash.Dash(__name__)

app.layout = dbc.Container(

    [

        dash_table.DataTable(

            data=df.to_dict('records'),

            columns=[

                {'name': column, 'id': column}

                for column in df.columns

            ],

            style_table={

                'height': '500px',

                'overflow-y': 'auto'

            },

            sort_action='native'

        )

    ],

    style={

        'margin-top': '50px'

    }

)

if __name__ == '__main__':

    app.run_server(debug=True)
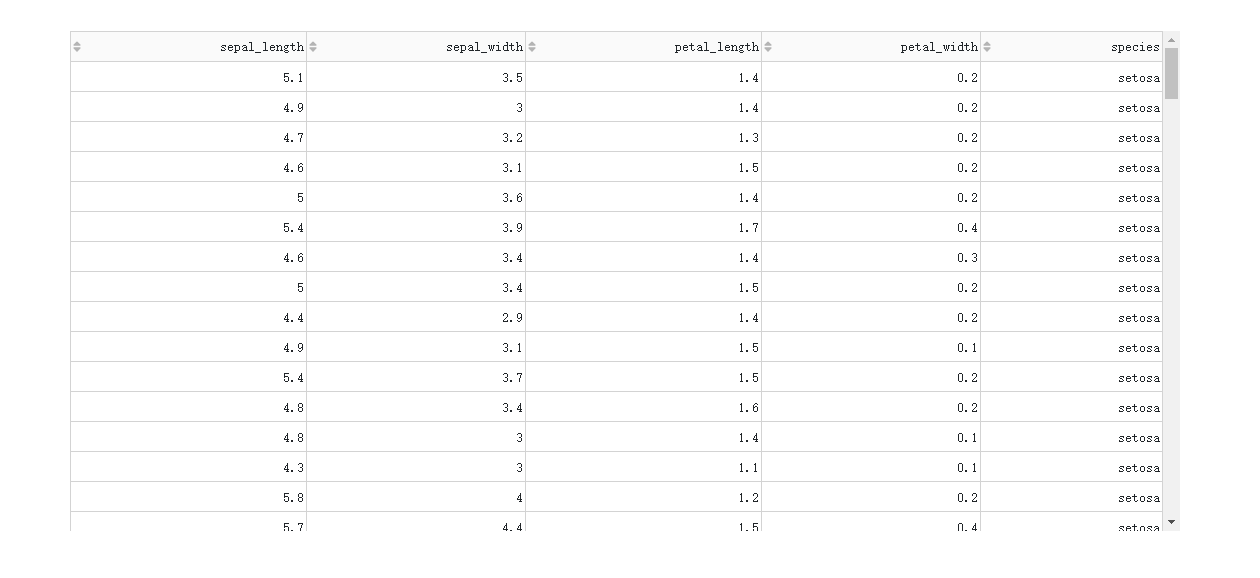 图2
图2
- 基于后端排序的多列排序
在DataTable()中设置sort_action='native'时,对应的是按列排序的前端模式,也即是数据一次性灌注到浏览器的前提下进行排序,这种方式不仅不适合大型数据集,而且只支持单列排序。
而当数据渲染方式为后端模式时,我们通过设置参数sort_action='custom'以及sort_mode='multi',配合在回调中获取属性sort_by中记录的参与排序的列名及升序降序方式,就可以实现多列排序。
我们在上一期的app2.py的基础上修改得到下面的例子:
app2.py
import dash

import dash_bootstrap_components as dbc

import dash_table

from dash.dependencies import Input, Output

import seaborn as sns

df = sns.load_dataset('iris')

df.insert(0, '#', df.index)

app = dash.Dash(__name__)

app.layout = dbc.Container(

    [

        dbc.Spinner(

            dash_table.DataTable(

                id='dash-table',

                columns=[

                    {'name': column, 'id': column}

                    for column in df.columns

                ],

                page_size=15,  # 设置单页显示15行记录行数

                page_action='custom',

                page_current=0,

                style_header={

                    'font-family': 'Times New Romer',

                    'font-weight': 'bold',

                    'text-align': 'center'

                },

                style_data={

                    'font-family': 'Times New Romer',

                    'text-align': 'center'

                },

                sort_action='custom',

                sort_mode='multi'

            )

        )

    ],

    style={

        'margin-top': '50px'

    }

)

@app.callback(

    [Output('dash-table', 'data'),

     Output('dash-table', 'page_count')],

    [Input('dash-table', 'page_current'),

     Input('dash-table', 'page_size'),

     Input('dash-table', 'sort_by')]

)

def refresh_page_data(page_current, page_size, sort_by):

    if sort_by:

        return (

            df

            .sort_values(

                [col['column_id'] for col in sort_by],

                ascending=[

                    col['direction'] == 'asc'

                    for col in sort_by

                ]

            )

            .iloc[page_current * page_size:(page_current + 1) * page_size]

            .to_dict('records'),

            1 + df.shape[0] // page_size

        )

    return (

        df.iloc[page_current * page_size:(page_current + 1) * page_size].to_dict('records'),

        1 + df.shape[0] // page_size

    )

if __name__ == '__main__':

    app.run_server(debug=True)
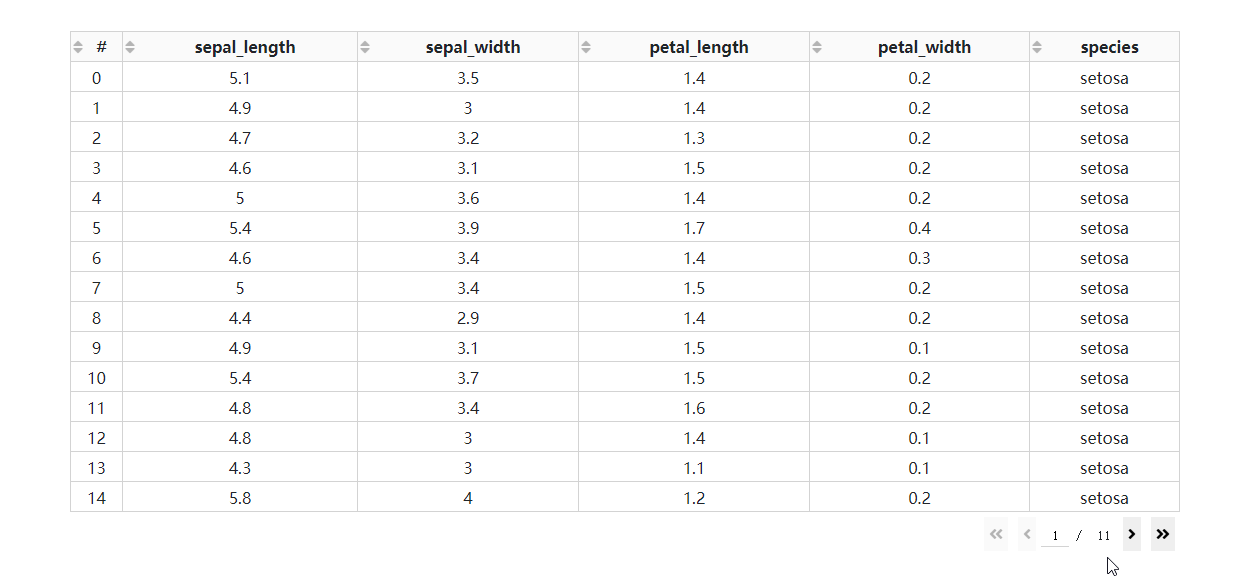 图3
图3
2.1.2 按列条件筛选
除了基于指定字段进行排序之外,dash_table还支持列的条件筛选,设置filter_action="native",就可以开启基础的按列条件筛选功能,此时每一列表头下都会多出供用户输入筛选条件的单元格:
app3.py
import dash

import dash_table

import dash_bootstrap_components as dbc

import seaborn as sns

df = sns.load_dataset('iris')

app = dash.Dash(__name__)

app.layout = dbc.Container(

    [

        dash_table.DataTable(

            data=df.to_dict('records'),

            columns=[

                {'name': column, 'id': column}

                for column in df.columns

            ],

            # 自定义条件筛选单元格样式

            style_filter={

                'font-family': 'Times New Romer',

                'background-color': '#e3f2fd'

            },

            style_table={

                'height': '500px',

                'overflow-y': 'auto'

            },

            style_header={

                'font-family': 'Times New Romer',

                'font-weight': 'bold',

                'text-align': 'center'

            },

            style_data={

                'font-family': 'Times New Romer',

                'text-align': 'center'

            },

            filter_action="native"

        )

    ],

    style={

        'margin-top': '50px'

    }

)

if __name__ == '__main__':

    app.run_server(debug=True)
 图4
图4
而dash_table中自带的条件筛选语法很丰富,有条件的朋友可以前往https://dash.plotly.com/datatable/filtering了解更多。
而dash_table同样可以实现后端筛选,和前面的后端排序类似,主要利用filter_query属性的回调变化在后台基于pandas等框架进行数据筛选,比较简单,这里就不再赘述。
2.2 自带的数据表格下载功能
dash_table还自带了将当前所渲染的表格内容直接下载为csv或xlsx格式文件的简易功能,通过参数export_format设置导出的文件格式,但自带的下载按钮样式比较丑,如果你对此有比较高的要求,还是建议结合之前的上传下载篇自己设计相关功能:
 图5
图5
2.3 冻结首行
通过设置参数fixed_rows={'headers': True},我们可以实现下滑查看表格的过程中,始终保持表头被冻结:
 图6
图6
3 开发一个在线取数工具
在学习完今天的内容之后,我们来结合之前上传下载篇中提到的下载功能,来制作一个简单的对指定数据库中的数据表进行快速条件筛选并下载的工具,其中DataTable的derived_virtual_data属性记录了经过排序、条件筛选等操作后当前显示的表格数据:
 图7
图7
app4.py
import dash

import dash_bootstrap_components as dbc

import dash_core_components as dcc

import dash_html_components as html

import dash_table

from dash.dependencies import Input, Output

from flask import send_from_directory

import os

import uuid

from sqlalchemy import create_engine

import pandas as pd

try:

    os.mkdir("downloads")

except FileExistsError:

    pass

engine = create_engine('mysql+pymysql://root:mysql@localhost/DASH')

app = dash.Dash(__name__)

@app.server.route('/download/<file>')

def download(file):

    return send_from_directory('downloads', file)

app.layout = dbc.Container(

    [

        dbc.Row(

            [

                dbc.Col(dbc.Button('更新数据表', id='refresh-tables', style={'width': '100%'}), width=2),

                dbc.Col(dcc.Dropdown(id='table-select', style={'width': '100%'}), width=2)

            ]

        ),

        html.Hr(),

        dash_table.DataTable(

            id='dash-table',

            editable=True,

            page_size=15,

            style_header={

                'font-family': 'Times New Romer',

                'font-weight': 'bold',

                'text-align': 'center'

            },

            style_data={

                'font-family': 'Times New Romer',

                'text-align': 'center'

            },

            style_data_conditional=[

                {

                    # 对选中状态下的单元格进行自定义样式

                    "if": {"state": "selected"},

                    "background-color": "#b3e5fc",

                    "border": "none"

                },

            ],

            filter_action="native"

        ),

        html.Br(),

        html.A(id='download-url', target="_blank")

    ],

    style={

        'margin-top': '50px'

    }

)

@app.callback(

    Output('table-select', 'options'),

    Input('refresh-tables', 'n_clicks')

)

def refresh_tables(n_clicks):

    if n_clicks:

        return [

            {

                'label': table,

                'value': table

            }

            for table in pd.read_sql_query('SHOW TABLES', con=engine)['Tables_in_dash']

        ]

    return dash.no_update

@app.callback(

    [Output('dash-table', 'data'),

     Output('dash-table', 'columns')],

    Input('table-select', 'value')

)

def render_dash_table(value):

    if value:

        df = pd.read_sql_table(value, con=engine)

        return df.to_dict('records'), [

            {'name': column, 'id': column}

            for column in df.columns

        ]

    else:

        return [], []

@app.callback(

    [Output("download-url", "href"),

     Output("download-url", "children")],

    [Input("dash-table", "derived_virtual_data"),

     Input("dash-table", "filter_query")],

    prevent_initial_call=True

)

def download_table(derived_virtual_data, filter_query):

    if derived_virtual_data:

        print(derived_virtual_data)

        filename = f"output_{uuid.uuid1()}.xlsx"

        pd.DataFrame(derived_virtual_data).to_excel("downloads/" + filename, index=False)

        return "/download/" + filename, "下载当前状态表格"

    return "", ""

if __name__ == '__main__':

    app.run_server(debug=True)
以上就是本文的全部内容,欢迎在评论区发表你的意见与观点。
(数据科学学习手札117)Python+Dash快速web应用开发——交互表格篇(下)的更多相关文章
- (数据科学学习手札115)Python+Dash快速web应用开发——交互表格篇(上)
本文示例代码已上传至我的Github仓库https://github.com/CNFeffery/DataScienceStudyNotes 1 简介 这是我的系列教程Python+Dash快速web ...
- (数据科学学习手札116)Python+Dash快速web应用开发——交互表格篇(中)
本文示例代码已上传至我的Github仓库https://github.com/CNFeffery/DataScienceStudyNotes 1 简介 这是我的系列教程Python+Dash快速web ...
- (数据科学学习手札118)Python+Dash快速web应用开发——特殊部件篇
本文示例代码已上传至我的Github仓库https://github.com/CNFeffery/DataScienceStudyNotes 1 简介 这是我的系列教程Python+Dash快速web ...
- (数据科学学习手札102)Python+Dash快速web应用开发——基础概念篇
本文示例代码与数据已上传至我的Github仓库https://github.com/CNFeffery/DataScienceStudyNotes 1 简介 这是我的新系列教程Python+Dash快 ...
- (数据科学学习手札108)Python+Dash快速web应用开发——静态部件篇(上)
本文示例代码已上传至我的Github仓库https://github.com/CNFeffery/DataScienceStudyNotes 1 简介 这是我的系列教程Python+Dash快速web ...
- (数据科学学习手札109)Python+Dash快速web应用开发——静态部件篇(中)
本文示例代码已上传至我的Github仓库https://github.com/CNFeffery/DataScienceStudyNotes 1 简介 这是我的系列教程Python+Dash快速web ...
- (数据科学学习手札103)Python+Dash快速web应用开发——页面布局篇
本文示例代码已上传至我的Github仓库https://github.com/CNFeffery/DataScienceStudyNotes 1 简介 这是我的系列教程Python+Dash快速web ...
- (数据科学学习手札110)Python+Dash快速web应用开发——静态部件篇(下)
本文示例代码已上传至我的Github仓库https://github.com/CNFeffery/DataScienceStudyNotes 1 简介 这是我的系列教程Python+Dash快速web ...
- (数据科学学习手札123)Python+Dash快速web应用开发——部署发布篇
1 简介 这是我的系列教程Python+Dash快速web应用开发的第二十期,在上一期中我介绍了利用内网穿透的方式,将任何可以联网的电脑作为"服务器"向外临时发布你的Dash应用. ...
随机推荐
- 「NGK每日快讯」11.20日NGK公链第17期官方快讯!
- C++算法代码——你要乘坐的飞碟在这里[usaco]
题目来自:http://218.5.5.242:9018/JudgeOnline/problem.php?id=1056 题目描述 一个众所周知的事实,在每一慧星后面是一个不明飞行物UFO. 这些不明 ...
- apiAutoTest:支持自定义函数,用例中可调用
0. 前言 apiAutoTest从去年8月以来开源至今,也更新了不少内容,一起来看看吧 第一个版本 - 2020/08/08 增加实际响应存储数据的方法,并在字典可以处理依赖见tools/svae_ ...
- MVCC多版本并发控制器
在多个事务并发执行的时候,MVCC机制可以协调数据的可见性,事务的隔离级别就是建立在MVCC之上的: MVCC机制通过undo log链和ReadView机制来实现: undo log版本链: 在数据 ...
- 看完我的笔记不懂也会懂----ECMAscript 567
目录 ECMAscript 567 严格模式 字符串扩展 数值的扩展 Object对象方法扩展 数组的扩展 数组方法的扩展 bind.call.apply用法详解 let const 变量的解构赋值 ...
- C# 中 string.Empty、""、null的差别
一.string.Empty 和 "" 原文1 原文2 1. ...
- HDOJ-1029(简单dp或者排序)
Ignatius and the Princess IV hdoj-1029 这里主要是先排序,因为要找出现了一半以上的数字,所以出现的数字一定在中间 方法一: #include<iostrea ...
- Java 查找算法
1 查找算法介绍 在 java 中,我们常用的查找有四种: 1) 顺序(线性)查找 2) 二分查找/折半查找 3) 插值查找 4) 斐波那契查找 2 线性查找算法 有一个数列: {1,8, 10, ...
- python引用C++ DLL文件若干解释及示例
python引用C++ DLL文件若干解释及示例 首先说一下,python不支持C++的DLL,但是支持C的DLL:C++因为和C兼容可以编译为C的DLL,这是下面文章的背景与前提 首先我这儿的示例使 ...
- MYSQL的replace into
replace into t(id, update_time) values(1, now()); 或 replace into t(id, update_time) select 1, now(); ...