saltstack 实现redis主从
centos7.4
172.16.80.5 redis 主
172.16.80.6 redis 从
目录结构如下
file_roots:

  base:

    - /srv/salt/base

  dev:

    - /srv/salt/dev

  test:

    - /srv/salt/test

  prod:

    - /srv/salt/prod
[root@zabbix redis]# vim /srv/salt/base/top.sls

[root@zabbix redis]# cat  redis.sls

redis-install:

  pkg.installed:

    - name: redis

redis-config:

  file.managed:

    - name: /etc/redis.conf

    - source: salt://redis/files/redis.conf

    - user: root

    - group: root
    - mode: 644

    - template: jinja

    - defaults:

      IPADDR: {{ grains['fqdn_ip4'][] }}

      PORT:

redis-service:

  service.running:

    - name: redis

    - enable: True

    - reload: True

[root@zabbix redis]# cat master.sls

include:

  - redis.redis

[root@zabbix redis]# cat slave.sls

include:

  - redis.redis

slave_config:

  cmd.run:

    - name: redis-cli -h 172.16.80.6 slaveof 172.16.80.5

    - unless: redis-cli -h 172.16.80.6 info|grep role:slave

    - require:

      - service: redis-service
Vim files/redis.conf 修改如下配置文件
bind {{ IPADDR }}
port {{ PORT }}
daemonize yes
[root@zabbix redis]# salt '*' state.highstate
zabbix:
----------
ID: redis-install
Function: pkg.installed
Name: redis
Result: True
Comment: The following packages were installed/updated: redis
Started: ::42.414507
Duration: 20238.065 ms
Changes:
----------
redis:
----------
new:
3.2.-.el7
old:
----------
ID: redis-config
Function: file.managed
Name: /etc/redis.conf
Result: True
Comment: File /etc/redis.conf updated
Started: ::02.743576
Duration: 421.028 ms
Changes:
----------
diff:
---
+++
@@ -, +, @@
# Examples:
#
# bind 192.168.1.100 10.0.0.1
-# bind 127.0.0.1 ::
+bind 172.16.80.5
#
# ~~~ WARNING ~~~ If the computer running Redis is directly exposed to the
# internet, binding to all the interfaces is dangerous and will expose the
@@ -, +, @@
# IF YOU ARE SURE YOU WANT YOUR INSTANCE TO LISTEN TO ALL THE INTERFACES
# JUST COMMENT THE FOLLOWING LINE.
# ~~~~~~~~~~~~~~~~~~~~~~~~~~~~~~~~~~~~~~~~~~~~~~~~~~~~~~~~~~~~~~~~~~~~~~~~
-bind 127.0.0.1 # Protected mode is a layer of security protection, in order to avoid that
# Redis instances left open on the internet are accessed and exploited.
@@ -, +, @@ # By default Redis does not run as a daemon. Use 'yes' if you need it.
# Note that Redis will write a pid file in /var/run/redis.pid when daemonized.
-daemonize no
+daemonize yes # If you run Redis from upstart or systemd, Redis can interact with your
# supervision tree. Options:
mode: user:
root
----------
ID: redis-service
Function: service.running
Name: redis
Result: True
Comment: Service redis has been enabled, and is running
Started: ::04.982412
Duration: 174.844 ms
Changes:
----------
redis:
True Summary for zabbix
------------
Succeeded: (changed=)
Failed:
------------
Total states run:
Total run time: 20.834 s
k8s-node1:
----------
ID: redis-install
Function: pkg.installed
Name: redis
Result: True
Comment: The following packages were installed/updated: redis
Started: ::41.350432
Duration: 47371.887 ms
Changes:
----------
redis:
----------
new:
3.2.-.el7
old:
----------
ID: redis-config
Function: file.managed
Name: /etc/redis.conf
Result: True
Comment: File /etc/redis.conf updated
Started: ::28.751141
Duration: 179.74 ms
Changes:
----------
diff:
---
+++
@@ -, +, @@
# Examples:
#
# bind 192.168.1.100 10.0.0.1
-# bind 127.0.0.1 ::
+bind 172.16.80.6
#
# ~~~ WARNING ~~~ If the computer running Redis is directly exposed to the
# internet, binding to all the interfaces is dangerous and will expose the
@@ -, +, @@
# IF YOU ARE SURE YOU WANT YOUR INSTANCE TO LISTEN TO ALL THE INTERFACES
# JUST COMMENT THE FOLLOWING LINE.
# ~~~~~~~~~~~~~~~~~~~~~~~~~~~~~~~~~~~~~~~~~~~~~~~~~~~~~~~~~~~~~~~~~~~~~~~~
-bind 127.0.0.1 # Protected mode is a layer of security protection, in order to avoid that
# Redis instances left open on the internet are accessed and exploited.
@@ -, +, @@ # By default Redis does not run as a daemon. Use 'yes' if you need it.
# Note that Redis will write a pid file in /var/run/redis.pid when daemonized.
-daemonize no
+daemonize yes # If you run Redis from upstart or systemd, Redis can interact with your
# supervision tree. Options:
mode: user:
root
----------
ID: redis-service
Function: service.running
Name: redis
Result: True
Comment: Service redis has been enabled, and is running
Started: ::29.930887
Duration: 147.004 ms
Changes:
----------
redis:
True
----------
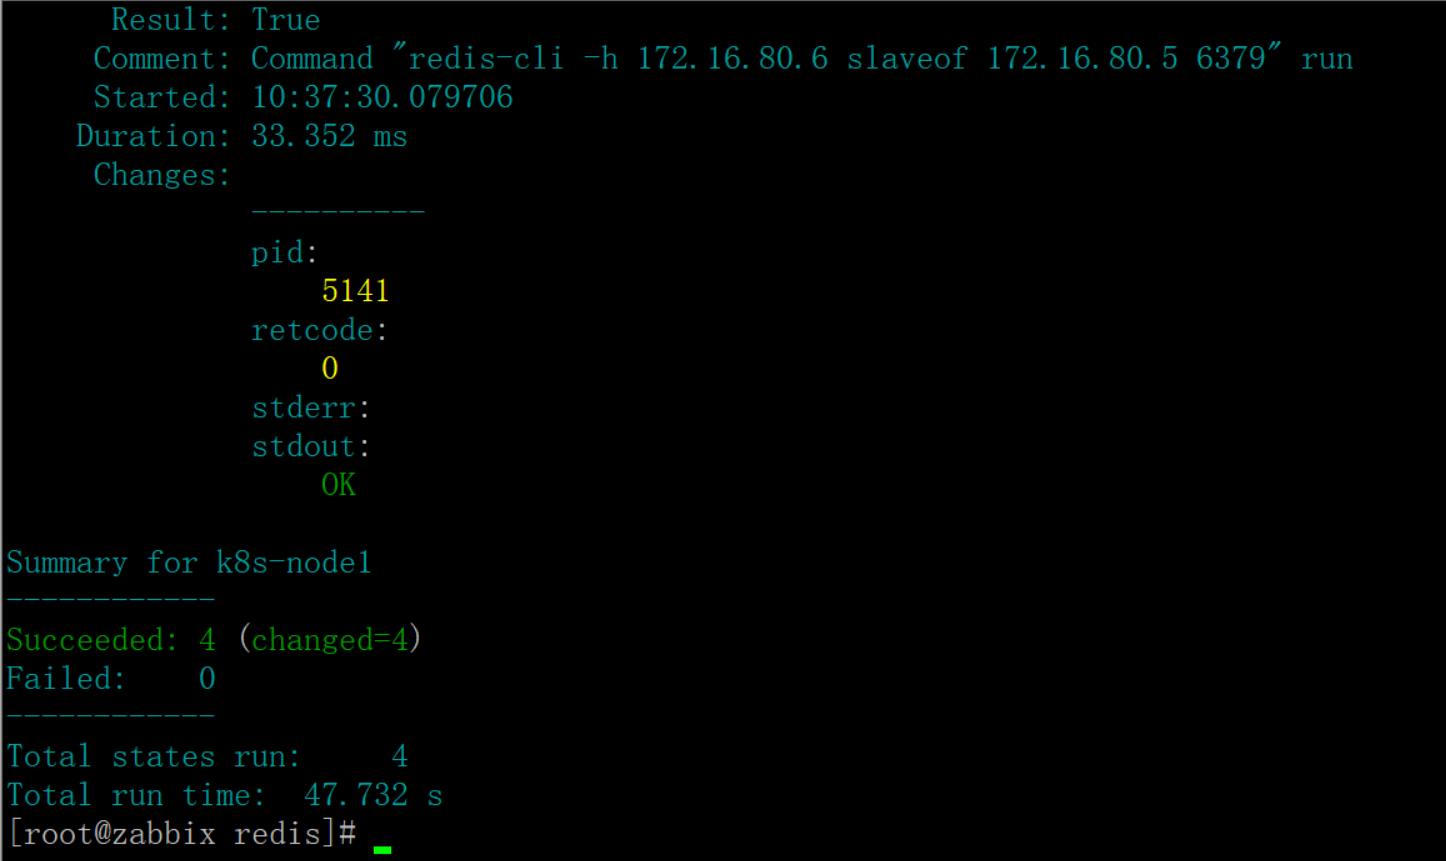
ID: slave_config
Function: cmd.run
Name: redis-cli -h 172.16.80.6 slaveof 172.16.80.5
Result: True
Comment: Command "redis-cli -h 172.16.80.6 slaveof 172.16.80.5 6379" run
Started: ::30.079706
Duration: 33.352 ms
Changes:
----------
pid: retcode: stderr:
stdout:
OK Summary for k8s-node1
------------
Succeeded: (changed=)
Failed:
------------
Total states run:
Total run time: 47.732 s
验证结果


saltstack 实现redis主从的更多相关文章
- SaltStack部署redis主从
需求: 一,部署redis主从,一台主一台从 二,redis监听自己的IP地址,而不是0.0.0.0 主:安装,配置,启动 从:安装,配置,启动,主从
- 5 LAMP配置管理:模块(state、file、pkg、service)、jinja模板、job管理、redis主从
1. 配置管理:state和file https://docs.saltstack.com/en/latest/topics/states/index.html Full list of states ...
- SaltStack入门篇(六)之部署Redis主从实现和Job管理
一.部署Redis主从 需求: 192.168.56.11是主,192.168.56.12是从 redis监听自己的ip地址,而不是0.0.0.0 分析: linux-node1 安装 配置 启动 l ...
- puppet工作原理及部署redis主从篇
一.简介 1.国际惯例什么是puppet puppet是一种Linux.Unix.windows平台的集中配置管理系统,使用自有的puppet描述语言,可管理配置文件.用户.cron任务.软件包.系统 ...
- Redis系列之(二):Redis主从同步,读写分离
1. Redis主从同步 Redis支持主从同步.数据可以从主服务器向任意数量的从服务器上同步,同步使用的是发布/订阅机制. 2. 配置主从同步 Mater Slave的模式,从Slave向Maste ...
- Redis 主从配置和参数详解
安装redis 下载redis wget http://download.redis.io/releases/redis-3.0.7.tar.gz 解压redis tar -xvf redis-.ta ...
- 基于Windows服务器集群的Redis主从配置指南
前段时间一个项目因并发量大.因防止宕机做了主从备份,首页的表连接查询又非常的耗时.故此拿出利器Redis缓存这个查询结果,并随着用户操作而更新. 因官方目前只有linux版,Windows版下载: ...
- redis 主从同步
修改redis.conf配置文件 vi redis.conf 在编辑模式下 输入 /slaveof 来搜索 将slaveof启用 即 将#删除 依次配置所有 slave 并将进程 kill 掉 重启 ...
- redis主从 以及认证配置
以前用redis用的很多,各种数据类型用的飞起,算是用得很溜了.不过那都是封装好的方法,自己直接调用.以前的公司比较规范,开发只是开发,很少去做跟运维相关的事情. 换了一份工作,不过这边项目刚开始起步 ...
随机推荐
- Lucene实战
导包
- python中的字符串内置方法小结
#!/usr/local/bin/python3 # -*- coding:utf-8 -*- ''' name="my wife is mahongyan" ---------- ...
- python3 练习题100例 (十九)
#!/usr/bin/env python3 # -*- coding: utf-8 -*- """练习十九:计算1-2+3...+99中除了88以外所有数的和" ...
- 17-比赛1 D - IPC Trainers (贪心 + 优先队列)
题目描述 本次印度编程训练营(Indian Programming Camp,IPC)共请到了 N 名教练.训练营的日程安排有 M 天,每天最多上一节课.第 i 名教练在第 Di 天到达,直到训练营结 ...
- 笔记-scrapy与twisted
笔记-scrapy与twisted Scrapy使用了Twisted作为框架,Twisted有些特殊的地方是它是事件驱动的,并且比较适合异步的代码. 在任何情况下,都不要写阻塞的代码.阻塞的代码包括: ...
- vue 组件轮播联动
组件轮播联动我使用的是 el-carousel 组件,具体代码如下: <el-carousel trigger="click" :interval="3000&qu ...
- WPF系列教程——(三)使用Win10 Edge浏览器内核 - 简书
原文:WPF系列教程--(三)使用Win10 Edge浏览器内核 - 简书 在需要显示一些 H5网站的时候自带的WebBrowser总是显示不了,WebBrowser使用的是IE内核,许多H5新特性都 ...
- Java线程和多线程(五)——单例类中的线程安全
单例模式是最广泛使用的创建模式之一.在现实世界之中,诸如Databae的连接或者是企业信息系统(EIS)等,通常其创建都是受到限制的,应该尽量复用已存在对象而不是频繁创建销毁.为了达到这个目的,开发者 ...
- 《1024伐木累》-小白篇之丽jie(结束篇)-总章节六
往期回顾: 机缘巧合,月侠发现了老王和他心仪女孩儿的秘密,这让他倍感愤怒,一年以后,丽姐又在去往老王家的路上,这让月侠感到历史即将重新上演,他想拦住丽姐,可恰巧丽姐手机没电,失去了联系. 小序 有人 ...
- CSS3 3D圆形设计教程
http://www.htmleaf.com/ziliaoku/qianduanjiaocheng/201502061338.html