(四)requests模块的cookies和代理操作
基于requests模块的cookie操作
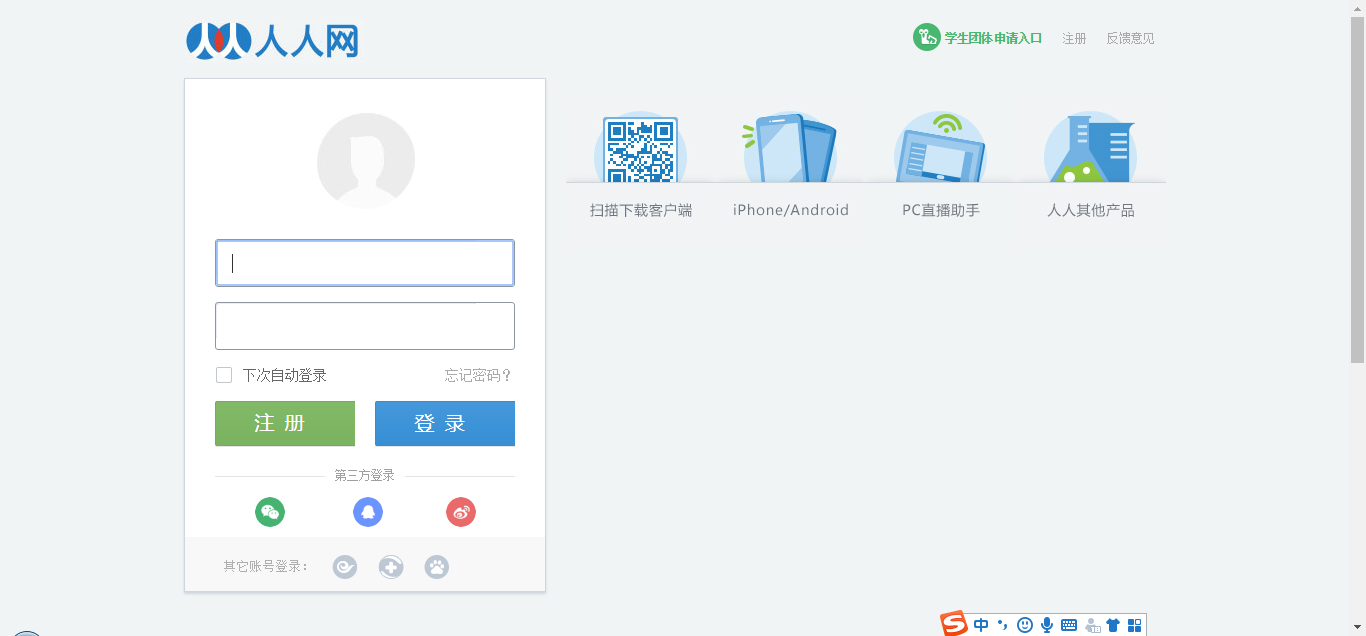
引言:有些时候,我们在使用爬虫程序去爬取一些用户相关信息的数据(爬取某个人“人人网”个人主页数据)时,如果使用之前requests模块常规操作时,往往达不到我们想要的目的
例如:我们要得到如下的形式

但是,我们通过之前所学习的知识
import requests

# 人人网个人信息页面的url

url = 'http://www.renren.com'

# 伪装UA

headers = {

    'user-agent': 'Mozilla/5.0 (Windows NT 6.1; Win64; x64) AppleWebKit/537.36 (KHTML, like Gecko) Chrome/71.0.3578.98 Safari/537.36'

}

# 发送请求,获取响应对象

response = requests.get(url=url, headers=headers)

# 将响应内容写入文件

with open('./renren.html', 'w', encoding='utf-8') as fp:

    fp.write(response.text)
得到的是,
呀 呀 呀 什么原因啊? 不是我想要的啊
不急不急,,我们分析一下啊
当用户通过浏览器首次访问一个域名时,访问的web服务器会给客户端发送数据,以保持web服务器与客户端之间的状态保持,这些数据就是cookies,,,我们之所以没有拿到我们想要的页面数据,其实就是cookies搞得,既然我们知道了病症在哪里,我们就可以对症下药了
回顾cookies:
cookie概念:当用户通过浏览器首次访问一个域名时,访问的web服务器会给客户端发送数据,以保持web服务器与客户端之间的状态保持,这些数据就是cookie。

cookie作用:我们在浏览器中,经常涉及到数据的交换,比如你登录邮箱,登录一个页面。我们经常会在此时设置30天内记住我,或者自动登录选项。那么它们是怎么记录信息的呢,

       答案就是今天的主角cookie了,Cookie是由HTTP服务器设置的,保存在浏览器中,但HTTP协议是一种无状态协议,在数据交换完毕后,服务器端和客户端的链接就会关闭,

      每次交换数据都需要建立新的链接。就像我们去超市买东西,没有积分卡的情况下,我们买完东西之后,超市没有我们的任何消费信息,但我们办了积分卡之后,
      超市就有了我们的消费信息。cookie就像是积分卡,可以保存积分,商品就是我们的信息,超市的系统就像服务器后台,http协议就是交易的过程。
ok 回答上面的问题,我们如何获取某个人的个人页面?
思路:
1.我们需要使用爬虫程序对人人网的登录时的请求进行一次抓取,获取请求中的cookie数据(也就是post请求,可以使用抓包工具)
2.在使用个人信息页的url进行请求时,该请求需要携带 1 中的cookie,只有携带了cookie后,服务器才可识别这次请求的用户信息,方可响应回指定的用户信息页数据
2.1创建一个session对象[session=request.session()],该对象可以发起请求,可以自动将请求后的创建cookies进行储存
2.2我们用session发送post请求和get请求
import requests
# 创建一个session对象,该对象会自动将请求中的cookie进行存储和携带
session = requests.session()
# 进行登录---抓包工具来抓取
url = 'http://www.renren.com/ajaxLogin/login?1=1&uniqueTimestamp=20181112117492'

data = {
    'email': 'xxxxxxxxx@qq.com',
    'icode': '',
    'origURL': 'http://www.renren.com/home',
    'domain': 'renren.com',
    'key_id': '1',
    'captcha_type': 'web_login',
    'password': '7811f0544e2349254cd09be8476db8a700c1e039d2b5f2',
    'rkey': '3f39d976fc598199c3e29b75c713bf2e',
    'f': 'http%3A%2F%2Fwww.renren.com%2F447007586'
}

headers = {
    'user-agent': 'Mozilla/5.0 (Windows NT 6.1; Win64; x64) AppleWebKit/537.36 (KHTML, like Gecko) Chrome/71.0.3578.98 Safari/537.36'
}
# 使用session发送请求,目的是为了将session保存该次请求中的cookie
res = session.post(url=url, headers=headers, data=data)

# 再次使用session进行请求的发送,该次请求中已经携带了cookie
person_url = 'http://www.renren.com/447007586'
person_res = session.get(url=person_url, headers=headers).text

with open('./renren.html', 'w', encoding='utf-8') as fp:
    fp.write(person_res)
没有验证码出现的时候可以采取以上步骤来实现,但是我们还会遇见带验证码的情况,我们怎么做呢?接下来 我们就操作携带验证码的操作
#  自己封装一下
import requests

from lxml import etree

import http.client, mimetypes, urllib, json, time, requests

###########################################################################

# 云打码自己的代码

class YDMHttp:

    apiurl = 'http://api.yundama.com/api.php'

    username = ''

    password = ''

    appid = ''

    appkey = ''

    def __init__(self, username, password, appid, appkey):

        self.username = username

        self.password = password

        self.appid = str(appid)

        self.appkey = appkey

    def request(self, fields, files=[]):

        response = self.post_url(self.apiurl, fields, files)

        response = json.loads(response)

        return response

    def balance(self):

        data = {'method': 'balance', 'username': self.username, 'password': self.password, 'appid': self.appid,

                'appkey': self.appkey}

        response = self.request(data)

        if (response):

            if (response['ret'] and response['ret'] < ):

                return response['ret']

            else:

                return response['balance']

        else:

            return -

    def login(self):

        data = {'method': 'login', 'username': self.username, 'password': self.password, 'appid': self.appid,

                'appkey': self.appkey}

        response = self.request(data)

        if (response):

            if (response['ret'] and response['ret'] < ):

                return response['ret']

            else:

                return response['uid']

        else:

            return -

    def upload(self, filename, codetype, timeout):

        data = {'method': 'upload', 'username': self.username, 'password': self.password, 'appid': self.appid,

                'appkey': self.appkey, 'codetype': str(codetype), 'timeout': str(timeout)}

        file = {'file': filename}

        response = self.request(data, file)

        if (response):

            if (response['ret'] and response['ret'] < ):

                return response['ret']

            else:

                return response['cid']

        else:

            return -

    def result(self, cid):

        data = {'method': 'result', 'username': self.username, 'password': self.password, 'appid': self.appid,

                'appkey': self.appkey, 'cid': str(cid)}

        response = self.request(data)

        return response and response['text'] or ''

    def decode(self, filename, codetype, timeout):

        cid = self.upload(filename, codetype, timeout)

        if (cid > ):

            for i in range(, timeout):

                result = self.result(cid)

                if (result != ''):

                    return cid, result

                else:

                    time.sleep()

            return -, ''

        else:

            return cid, ''

    def report(self, cid):

        data = {'method': 'report', 'username': self.username, 'password': self.password, 'appid': self.appid,

                'appkey': self.appkey, 'cid': str(cid), 'flag': ''}

        response = self.request(data)

        if (response):

            return response['ret']

        else:

            return -

    def post_url(self, url, fields, files=[]):

        for key in files:

            files[key] = open(files[key], 'rb');

        res = requests.post(url, files=files, data=fields)

        return res.text

###########################################################################

#  读取验证码

def get_code(ImgPath):

    # 用户名

    username = 'xxxxxxxxxxxxxx'

    # 密码

    password = 'yyyyyyyyyyyyyy'

    # 软件ID,开发者分成必要参数。登录开发者后台【我的软件】获得!

    appid = 010101010101

    # 软件密钥,开发者分成必要参数。登录开发者后台【我的软件】获得!

    appkey = '63e7af3a18ed1266b20dcbbb.......'

    # 图片文件

    filename = ImgPath

    # 验证码类型,# 例:1004表示4位字母数字,不同类型收费不同。请准确填写,否则影响识别率。在此查询所有类型 http://www.yundama.com/price.html

    codetype =

    # 超时时间,秒

    timeout =

    # 检查

    if (username == 'username'):

        print('请设置好相关参数再测试')

    else:

        # 初始化

        yundama = YDMHttp(username, password, appid, appkey)

        # 登陆云打码

        uid = yundama.login();

        print('uid: %s' % uid)

        # 查询余额

        balance = yundama.balance();

        print('balance: %s' % balance)

        # 开始识别,图片路径,验证码类型ID,超时时间(秒),识别结果

        cid, result = yundama.decode(filename, codetype, timeout);

        print('cid: %s, result: %s' % (cid, result))

        return result    # 返回值

############################################################################

headers = {

    'user-agent': 'Mozilla/5.0 (Windows NT 6.1; Win64; x64) AppleWebKit/537.36 (KHTML, like Gecko) Chrome/71.0.3578.98 Safari/537.36'

}

###############################################################################

#  下载验证码图片

url = 'http://www.renren.com/'

page_text = requests.get(url=url, headers=headers).text

tree = etree.HTML(page_text)

code_url = tree.xpath('//*[@id="codeimg"]/dd/img/@src')[]

code_pic = requests.get(url=code_url, headers=headers).content

with open('./code.jpg', 'wb') as f:

    f.write(code_pic)

#################################################################################

#  获取验证码图片的内容

code_content = get_code('./code.jpg')

##########################################################################

# 创建一个session对象,该对象会自动将请求中的cookie进行存储和携带

session = requests.session()

# 进行登录---抓包工具来抓取

url = 'http://www.renren.com/ajaxLogin/login?1=1&uniqueTimestamp=20181112117492'

data = {

    'email': 'xxxxxxx',

    'icode': code_content,

    'origURL': 'http://www.renren.com/home',

    'domain': 'renren.com',

    'key_id': '',

    'captcha_type': 'web_login',

    'password': '708cfa72a3e30bc6d11811f054e039d2b5f2',

    'rkey': '3f39d976fc598199c3e29b2e',

    'f': 'http%3A%2F%2Fwww.renren.com%2F447007586'

}

# 使用session发送请求,目的是为了将session保存该次请求中的cookie

res = session.post(url=url, headers=headers, data=data)

# 再次使用session进行请求的发送,该次请求中已经携带了cookie

person_url = 'http://www.renren.com/447007586'

person_res = session.get(url=person_url, headers=headers).text

with open('./renren.html', 'w', encoding='utf-8') as fp:

    fp.write(person_res)
基于requests模块的代理操作
- 什么是代理
代理就是第三方代替本体处理相关事务。例如:生活中的代理:代购,中介,微商......
爬虫中为什么需要使用代理
一些网站会有相应的反爬虫措施,例如很多网站会检测某一段时间某个IP的访问次数,如果访问频率太快以至于看起来不像正常访客,它可能就会会禁止这个IP的访问。所以我们需要设置一些代理IP,每隔一段时间换一个代理IP,就算IP被禁止,依然可以换个IP继续爬取。
代理的分类:
正向代理:代理客户端获取数据。正向代理是为了保护客户端防止被追究责任。
反向代理:代理服务器提供数据。反向代理是为了保护服务器或负责负载均衡。
免费代理ip提供网站
http://www.goubanjia.com/
import requests

url = 'https://www.baidu.com/s'

param = {

    'wd':"ip"

}

headers = {

    'User-Agent': 'Mozilla/5.0 (Windows NT 6.1; Win64; x64) AppleWebKit/537.36 (KHTML, like Gecko) Chrome/71.0.3578.98 Safari/537.36'

}

                                      # 加与不加的区别

                                      # 注意:免费的代理ip的协议头必须和请求url的协议头一致

page_text = requests.get(url=url,params=param,headers=headers,proxies={'https':'139.59.80.140:3128'}).text

with open('./ip.html','w',encoding='utf-8') as fp:

    fp.write(page_text)
(四)requests模块的cookies和代理操作的更多相关文章
- requests模块的cookie和代理操作
一.基于requests模块的cookie操作 引言:有些时候,我们在使用爬虫程序去爬取一些用户相关信息的数据(爬取张三“人人网”个人主页数据)时,如果使用之前requests模块常规操作时,往往达不 ...
- 爬虫开发5.requests模块的cookie和代理操作
代理和cookie操作 一.基于requests模块的cookie操作 引言:有些时候,我们在使用爬虫程序去爬取一些用户相关信息的数据(爬取张三“人人网”个人主页数据)时,如果使用之前requests ...
- 25-3 requests模块的cookie和代理操作
一.基于requests模块的cookie操作 引言:有些时候,我们在使用爬虫程序去爬取一些用户相关信息的数据(爬取张三“人人网”个人主页数据)时,如果使用之前requests模块常规操作时,往往达不 ...
- python3使用requests模块完成get/post/代理/自定义header/自定义Cookie
一.背景说明 http请求的难易对一门语言来说是很重要的而且是越来越重要,但对于python一是urllib一些写法不太符合人的思维习惯文档也相当难看,二是在python2.x和python3.x中写 ...
- 爬虫--requests模块高级(代理和cookie操作)
代理和cookie操作 一.基于requests模块的cookie操作 引言:有些时候,我们在使用爬虫程序去爬取一些用户相关信息的数据(爬取张三“人人网”个人主页数据)时,如果使用之前requests ...
- python网络爬虫之二requests模块
requests http请求库 requests是基于python内置的urllib3来编写的,它比urllib更加方便,特别是在添加headers, post请求,以及cookies的设置上,处理 ...
- 爬虫模块之requests模块
一 模块的下载安装 pip install requests 二 爬虫的介绍 什么是爬虫:就是模拟浏览器发送请求:保存到本地:提取有用的数据:保存到数据库 爬虫的价值:获取有用的数据,保存到数据库 爬 ...
- 【python爬虫】requests模块
文档:从 pythoneer 到 pythonista 的100个模块 链接:http://note.youdao.com/noteshare?id=2b95bb3651c21af80ca1936f8 ...
- 爬虫(四)requests模块1
引入 Requests 唯一的一个非转基因的 Python HTTP 库,人类可以安全享用. 警告:非专业使用其他 HTTP 库会导致危险的副作用,包括:安全缺陷症.冗余代码症.重新发明轮子症.啃文档 ...
随机推荐
- ADV-292 计算行列式 java
问题描述 //据说很多人的题目会有一大堆废话,本傻×就不在这里废话了. 给定一个N×N的矩阵A,求|A|. 输入格式 第一行一个正整数N. 接下来N行,每行N个整数,第i行第j个数字表示A[i][j] ...
- Python学习笔记001
二进制 换算: 十进制转二进制 除二取余,然后倒序排列,高位补零. 将正的十进制数除以二,得到的商再除以二,依次类推知道商为零或一时为止,然后在旁边标出各步的余数,最后倒着写出来,高位补零就可以. 二 ...
- VirtualBox安装Debian
1.下载Debian的dvd1,按照http://www.jb51.net/os/85858.html网上教程安装Debian 1.1.我创建了20G的虚拟磁盘,分区的时候我分了3个区,2G交换空间, ...
- redis-String字符串
存储类型:可以用来存储字符串.整数.浮点数. 常用命令: 1. SET key value [EX seconds] [PX milliseconds] [NX|XX] 1.1 EX seconds ...
- [翻译]使用Visual Studio Code怎样调试Rust
我将 Visual Studio Code 作为Rust首选编辑器.遗憾的是 VS Code 不能非常好地完成 Rust 的调试. 配置调试器不难,但仍然需要几个步骤.我已经完整配置了好几次.我正在写 ...
- SciPy k均值聚类
章节 SciPy 介绍 SciPy 安装 SciPy 基础功能 SciPy 特殊函数 SciPy k均值聚类 SciPy 常量 SciPy fftpack(傅里叶变换) SciPy 积分 SciPy ...
- imple-unpack---攻防世界
拿到题目查壳没有发现.题目已经明确说了,基本上是有壳的,Linux下面看看 应该就是upx的壳了,下载upx进行脱壳,https://sourceforge.net/projects/upx/file ...
- Timer(阿里CTF)
下载文件之后发现是.apk类型文件,于是百度搜索了一下推荐再电脑上安装安卓模拟器,都尝试了一下逍遥安卓是真的不好用,小白觉得还是BlueStacks好用一些,下载之后去安装打开就看到了, 什么都没有发 ...
- Zabbix——自动监控
zabbix简介 zabbix是一个基于WEB界面的提供分布式系统监视以及网络监视功能的企业级的开源解决方案. zabbix能监视各种网络参数,保证服务器系统的安全运营:并提供灵活的通知机制以让系统管 ...
- Linux系统测试工具
一.文件系统测试工具简介 1.LTP 参考网站:http://oss.sgi.com/projects/ltp/ LTP(Linux Test Project)是由SGI和IBM联合发起的项目,提供一 ...