How To Install and Secure phpMyAdmin on Ubuntu 12.04(MySQL图形管理)
原文参考链接:https://www.digitalocean.com/community/tutorials/how-to-install-and-secure-phpmyadmin-on-ubuntu-12-04
安装完成执行
sudo dpkg-reconfigure phpmyadmin
重新设置,选择tcp/ip方式
About phpMyAdmin
phpMyAdmin is an free web software to work with MySQL on the web—it provides a convenient visual front end to the MySQL capabilities.
Setup
The steps in this tutorial require the user to have root privileges on your virtual private server. You can see how to set that up here in steps 3 and 4.
Before working with phpMyAdmin you need to have LAMP installed on your server. If you don't have the Linux, Apache, MySQL, PHP stack on your server, you can find the tutorial for setting it up here.
Once you have the user and required software, you can start installing phpMyAdmin on your VPS!
Install phpMyAdmin
The easiest way to install phpmyadmin is through apt-get:
sudo apt-get install phpmyadmin apache2-utilsDuring the installation, phpMyAdmin will walk you through a basic configuration. Once the process starts up, follow these steps:
- Select Apache2 for the server
- Choose YES when asked about whether to Configure the database for phpmyadmin with dbconfig-common
- Enter your MySQL password when prompted
- Enter the password that you want to use to log into phpmyadmin
After the installation has completed, add phpmyadmin to the apache configuration.
sudo nano /etc/apache2/apache2.confAdd the phpmyadmin config to the file.
Include /etc/phpmyadmin/apache.confRestart apache:
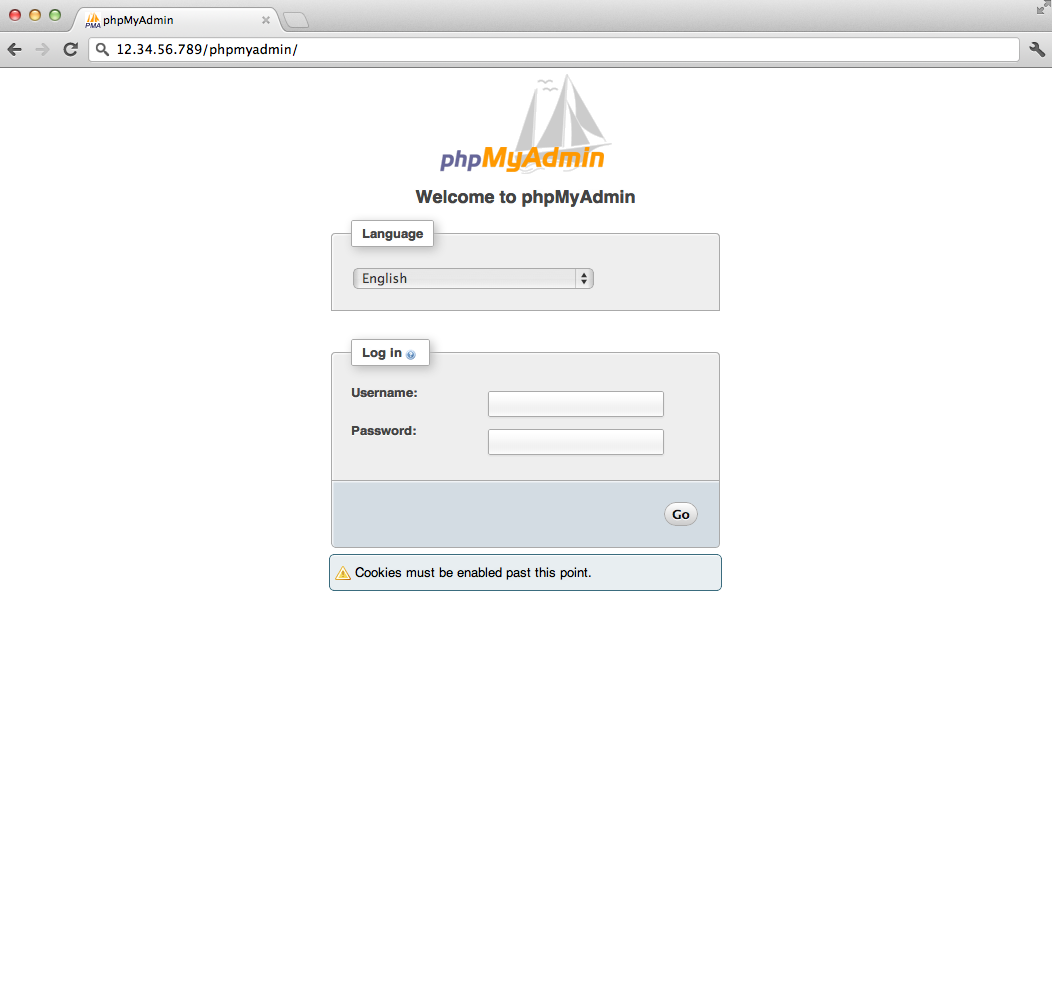
sudo service apache2 restartYou can then access phpmyadmin by going to youripaddress/phpmyadmin. The screen should look likethis
Security
Unfortunately older versions of phpMyAdmin have had serious security vulnerabilities including allowing remote users to eventually exploit root on the underlying virtual private server. One can prevent a majority of these attacks through a simple process: locking down the entire directory with Apache's native user/password restrictions which will prevent these remote users from even attempting to exploit older versions of phpMyAdmin.
Set Up the .htaccess File
To set this up start off by allowing the .htaccess file to work within the phpmyadmin directory. You can accomplish this in the phpmyadmin configuration file:
sudo nano /etc/phpmyadmin/apache.confUnder the directory section, add the line “AllowOverride All” under “Directory Index”, making the section look like this:
<Directory /usr/share/phpmyadmin>

        Options FollowSymLinks

        DirectoryIndex index.php

        AllowOverride All

        [...]
Configure the .htaccess file
With the .htaccess file allowed, we can proceed to set up a native user whose login would be required to even access the phpmyadmin login page.
Start by creating the .htaccess page in the phpmyadmin directory:
sudo nano /usr/share/phpmyadmin/.htaccessFollow up by setting up the user authorization within .htaccess file. Copy and paste the following text in:
AuthType Basic

AuthName "Restricted Files"

AuthUserFile /etc/apache2/.phpmyadmin.htpasswd

Require valid-user
Below you’ll see a quick explanation of each line
- AuthType: This refers to the type of authentication that will be used to the check the passwords. The passwords are checked via HTTP and the keyword Basic should not be changed.
- AuthName: This is text that will be displayed at the password prompt. You can put anything here.
- AuthUserFile: This line designates the server path to the password file (which we will create in the next step.)
- Require valid-user: This line tells the .htaccess file that only users defined in the password file can access the phpMyAdmin login screen.
Create the htpasswd file
Now we will go ahead and create the valid user information.
Start by creating a htpasswd file. Use the htpasswd command, and place the file in a directory of your choice as long as it is not accessible from a browser. Although you can name the password file whatever you prefer, the convention is to name it .htpasswd.
sudo htpasswd -c /etc/apache2/.phpmyadmin.htpasswd usernameA prompt will ask you to provide and confirm your password.
Once the username and passwords pair are saved you can see that the password is encrypted in the file.
FInish up by restarting apache:
sudo service apache2 restartAccessing phpMyAdmin
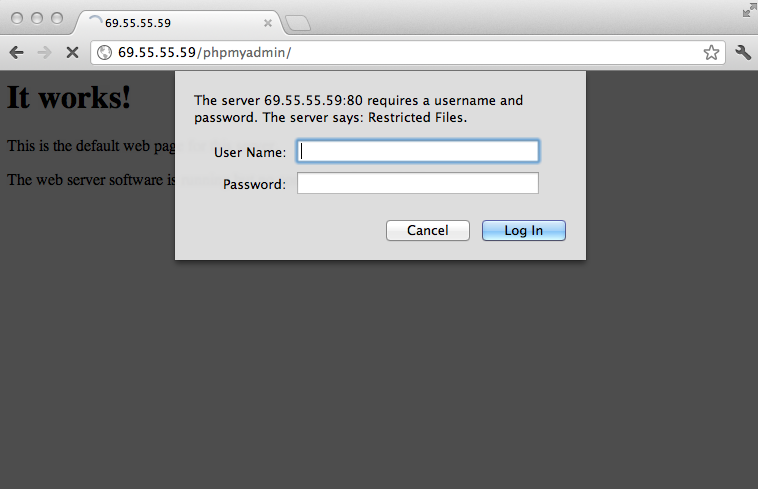
phpMyAdmin will now be much more secure since only authorized users will be able to reach the login page. Accessing youripaddress/phpmyadmin should display a screen like this.
Fill it in with the username and password that you generated. After you login you can access phpmyadmin with the MySQL username and password.
By Etel Sverdlov
How To Install and Secure phpMyAdmin on Ubuntu 12.04(MySQL图形管理)的更多相关文章
- Ruby on Rails Session 2: How to install Aptana Studio 3 on Ubuntu 12.04 LTS
Update: An updated version of these instructions for Ubuntu 12.10 (Quantal Quetzal) is available her ...
- ubuntu 12.04 mysql转移目录后 无法 启动
http://www.boyunjian.com/do/article/snapshot.do?uid=com.iteye.xgbjmxn%2Fblog%2F1208086(转,) 我是用ap ...
- Install Ruby on Rails on Ubuntu 12.04 LTS
1:Update package repository. sudo apt-get update 2:Install git and Curl. Git:是一个简单,快速,高效的版本控制系统. ...
- ubuntu 12.04 install docker-engine1.12.3
root@node3:/data/src# cat /etc/issueUbuntu 12.04.4 LTS \n \l root@node3:/data/src# cat /etc/apt/so ...
- Install Asterisk 11 on Ubuntu 12.04 LTS
http://blogs.digium.com/2012/11/14/how-to-install-asterisk-11-on-ubuntu-12-4-lts/ Last week I put up ...
- (转) How to install eclipse in ubuntu 12.04
源地址:http://www.krizna.com/ubuntu/install-eclipse-in-ubuntu-12-04/ Eclipse installation in ubuntu 12. ...
- Install Cocos2d-x v3.3 on Ubuntu 14.04 & Ubuntu 14.10(转)
Install Cocos2d-x v3.3 on Ubuntu 14.04 & Ubuntu 14.10 1 get the source code sudo apt-get install ...
- How to install / setup /upgrade PHP 5.5.x on Ubuntu 12.04 LTS
原文:http://www.dev-metal.com/how-to-setup-latest-version-of-php-5-5-on-ubuntu-12-04-lts/ 最近遇到了要在ubunt ...
- How to install the NVIDIA drivers on Ubuntu 18.04 Bionic Beaver Linux
Objective The objective is to install the NVIDIA drivers on Ubuntu 18.04 Bionic Beaver Linux. This a ...
随机推荐
- for循环的一个注意点
unsigned int i =10; for(i;i > 0; i--) { xxxxx } 因为i是unsigned int 类型的,永远不可能小于0,也就是说是个死循环了.
- CS231n 2016 通关 第三章-Softmax 作业
在完成SVM作业的基础上,Softmax的作业相对比较轻松. 完成本作业需要熟悉与掌握的知识: cell 1 设置绘图默认参数 mport random import numpy as np from ...
- 上传图片时压缩图片 - 前端(canvas)做法
HTML前端代码: <?php $this->layout('head'); ?> <?php $this->layout('sidebar'); ?> <m ...
- Python 之Event
线程间互相等状态. import threading import time import logging logging.basicConfig(level=logging.DEBUG, forma ...
- 3-3 浮点型字面量 & 3-4浮点型案例
双精度的浮点类型,末尾加d或者D 3-4浮点型案例 如果一个浮点类型的末尾什么也不写 他表示就是一个double类型的.所以这里定义报错了. float f=1234.328; 把一个范围大的数赋值给 ...
- UVaLive 3971 Assemble (水题二分+贪心)
题意:你有b元钱,有n个配件,每个配件有各类,品质因子,价格,要每种买一个,让最差的品质因子尽量大. 析:很简单的一个二分题,二分品质因子即可,每次计算要花的钱的多少,每次尽量买便宜且大的品质因子. ...
- FlashkUI v1.33 发布(提供移动设备支持)
v1.33 Beta更新内容:增加对移动设备的支持,新增自定义双渲染器双层树组件.List增加按数据子项排序功能. <ignore_js_op> 介绍: Flex已经不作为Adobe官方支 ...
- HDU - 3410 Passing the Message 单调递减栈
Passing the Message What a sunny day! Let’s go picnic and have barbecue! Today, all kids in “Sun Flo ...
- lightoj 1085【离散化+树状数组】
题意: 求所有的上升子序列种数: 思路: 我想先离散化一下,然后用树状数组维护一下. 最终答案就是sum(n) ? 卧槽,好像是:然后就过了.. #include <bits/stdc++.h& ...
- Unity3D中调用外接摄像头,并保存为图片文件
http://bbs.9ria.com/thread-170539-1-1.html 项目要求调用摄像头,并且把图像保存下来,上传到服务器. 这里有几个难点,调用摄像头是很简单的,unity已经提供好 ...