ASP.NET Core3.1使用IdentityServer4中间件系列随笔(四):创建使用[ResourceOwnerPassword-资源所有者密码凭证]授权模式的客户端
配套源码:https://gitee.com/jardeng/IdentitySolution
本篇将创建使用[ResourceOwnerPassword-资源所有者密码凭证]授权模式的客户端,来对受保护的API资源进行访问。
接上一篇项目,在IdentityServer项目Config.cs中添加一个客户端

/// 资源所有者密码凭证(ResourceOwnerPassword)

///     Resource Owner其实就是User,所以可以直译为用户名密码模式。

///     密码模式相较于客户端凭证模式,多了一个参与者,就是User。

///     通过User的用户名和密码向Identity Server申请访问令牌。

new Client

{

    ClientId = "client1",

    AllowedGrantTypes = GrantTypes.ResourceOwnerPassword,

    ClientSecrets = { new Secret("secret".Sha256()) },

    AllowedScopes = { "api1" }

}
再添加一个用户的集合(测试数据来自IdentityServer官方)。
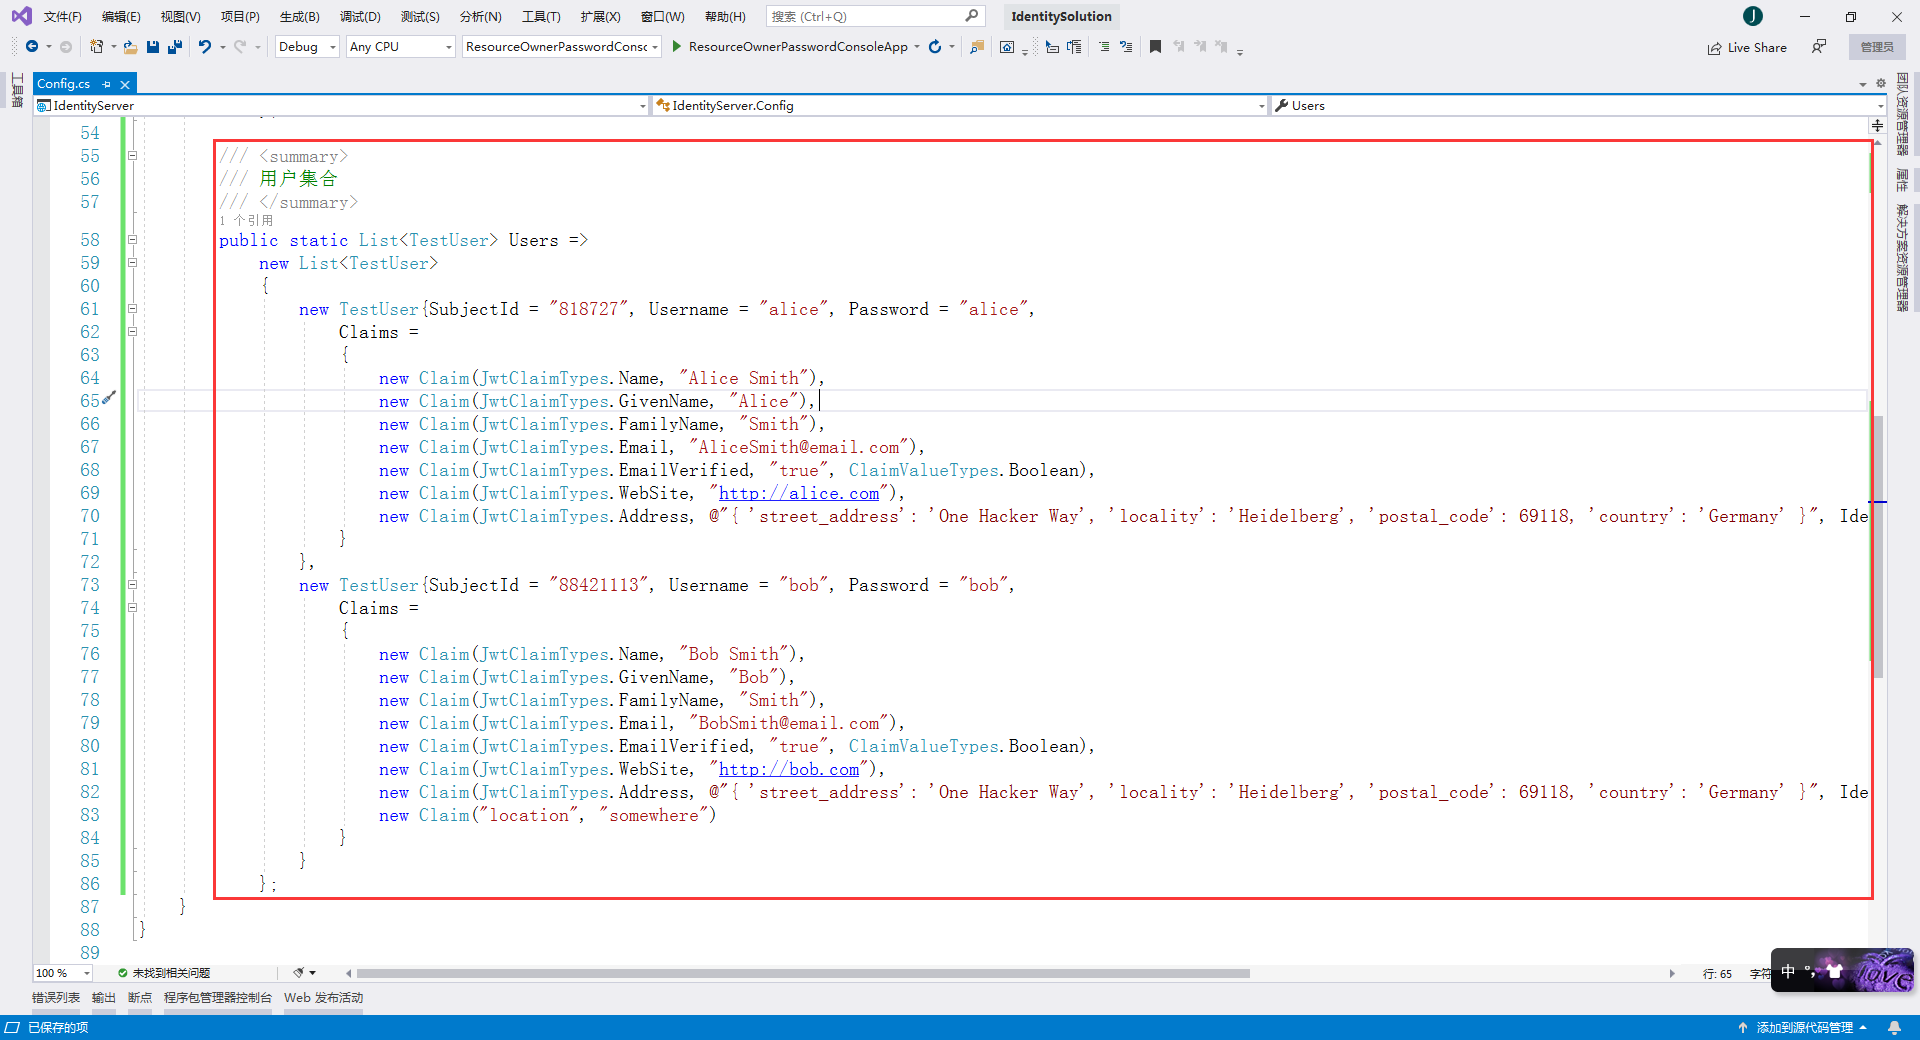
完整的Config.cs代码
using System.Collections.Generic;

using System.Security.Claims;

using IdentityModel;

using IdentityServer4.Models;

using IdentityServer4.Test;

namespace IdentityServer

{

    /// <summary>

    /// IdentityServer资源和客户端配置文件

    /// </summary>

    public static class Config

    {

        /// <summary>

        /// API资源集合

        ///     如果您将在生产环境中使用此功能,那么给您的API取一个逻辑名称就很重要。

        ///     开发人员将使用它通过身份服务器连接到您的api。

        ///     它应该以简单的方式向开发人员和用户描述您的api。

        /// </summary>

        public static IEnumerable<ApiResource> Apis => new List<ApiResource> { new ApiResource("api1", "My API") };

        /// <summary>

        /// 客户端集合

        /// </summary>

        public static IEnumerable<Client> Clients =>

            new List<Client>

            {

                /// 客户端模式(Client Credentials)

                ///     可以将ClientId和ClientSecret视为应用程序本身的登录名和密码。

                ///     它将您的应用程序标识到身份服务器,以便它知道哪个应用程序正在尝试与其连接。

                new Client

                {

                    //客户端标识

                    ClientId = "client",

                    //没有交互用户,使用clientid/secret进行身份验证,适用于和用户无关,机器与机器之间直接交互访问资源的场景。

                    AllowedGrantTypes = GrantTypes.ClientCredentials,

                    //认证密钥

                    ClientSecrets = { new Secret("secret".Sha256()) },

                    //客户端有权访问的作用域

                    AllowedScopes = { "api1" }

                },

                /// 资源所有者密码凭证(ResourceOwnerPassword)

                ///     Resource Owner其实就是User,所以可以直译为用户名密码模式。

                ///     密码模式相较于客户端凭证模式,多了一个参与者,就是User。

                ///     通过User的用户名和密码向Identity Server申请访问令牌。

                new Client

                {

                    ClientId = "client1",

                    AllowedGrantTypes = GrantTypes.ResourceOwnerPassword,

                    ClientSecrets = { new Secret("secret".Sha256()) },

                    AllowedScopes = { "api1" }

                }

            };

        /// <summary>

        /// 用户集合

        /// </summary>

        public static List<TestUser> Users =>

            new List<TestUser>

            {

                new TestUser{SubjectId = "", Username = "alice", Password = "alice",

                    Claims =

                    {

                        new Claim(JwtClaimTypes.Name, "Alice Smith"),

                        new Claim(JwtClaimTypes.GivenName, "Alice"),

                        new Claim(JwtClaimTypes.FamilyName, "Smith"),

                        new Claim(JwtClaimTypes.Email, "AliceSmith@email.com"),

                        new Claim(JwtClaimTypes.EmailVerified, "true", ClaimValueTypes.Boolean),

                        new Claim(JwtClaimTypes.WebSite, "http://alice.com"),

                        new Claim(JwtClaimTypes.Address, @"{ 'street_address': 'One Hacker Way', 'locality': 'Heidelberg', 'postal_code': 69118, 'country': 'Germany' }", IdentityServer4.IdentityServerConstants.ClaimValueTypes.Json)

                    }

                },

                new TestUser{SubjectId = "", Username = "bob", Password = "bob",

                    Claims =

                    {

                        new Claim(JwtClaimTypes.Name, "Bob Smith"),

                        new Claim(JwtClaimTypes.GivenName, "Bob"),

                        new Claim(JwtClaimTypes.FamilyName, "Smith"),

                        new Claim(JwtClaimTypes.Email, "BobSmith@email.com"),

                        new Claim(JwtClaimTypes.EmailVerified, "true", ClaimValueTypes.Boolean),

                        new Claim(JwtClaimTypes.WebSite, "http://bob.com"),

                        new Claim(JwtClaimTypes.Address, @"{ 'street_address': 'One Hacker Way', 'locality': 'Heidelberg', 'postal_code': 69118, 'country': 'Germany' }", IdentityServer4.IdentityServerConstants.ClaimValueTypes.Json),

                        new Claim("location", "somewhere")

                    }

                }

            };

    }

}
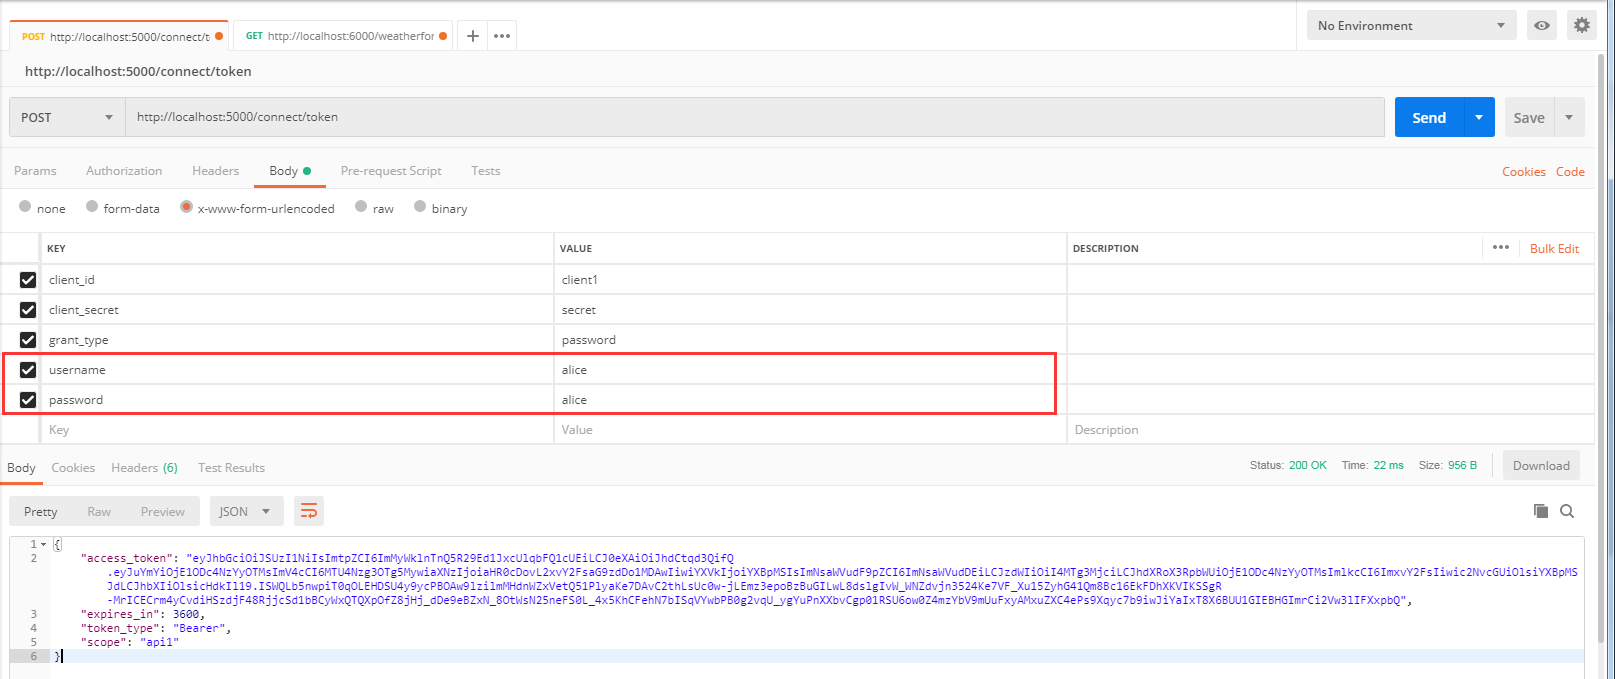
我们使用Postman来获取ResourceOwnerPassword这种模式的AcceccToken
与上一种 Client Credentials 模式不同的是 client_id 使用 client1,grant_type 由原来的 client_credentials 改为 password,多了 username 和 password 两个参数,使用用户名密码 alice / alice 来登录
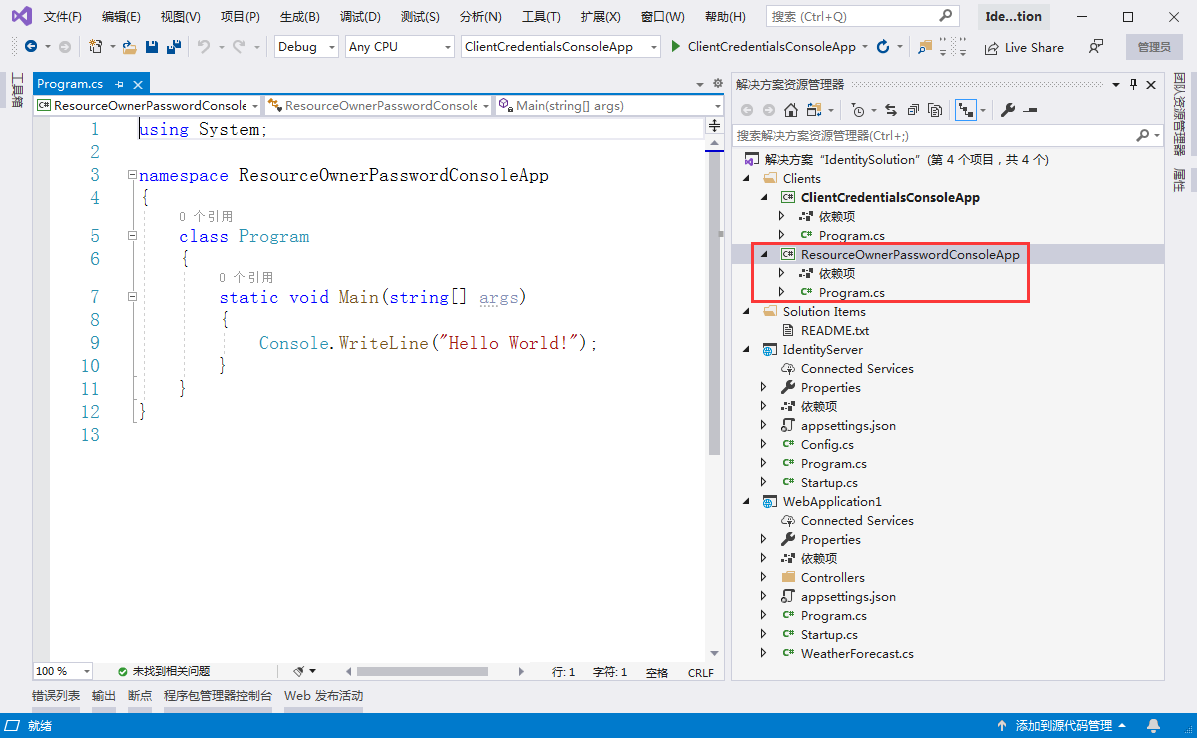
2、创建一个名为 ResourceOwnerPasswordConsoleApp 的控制台客户端应用。

创建完成后的项目截图
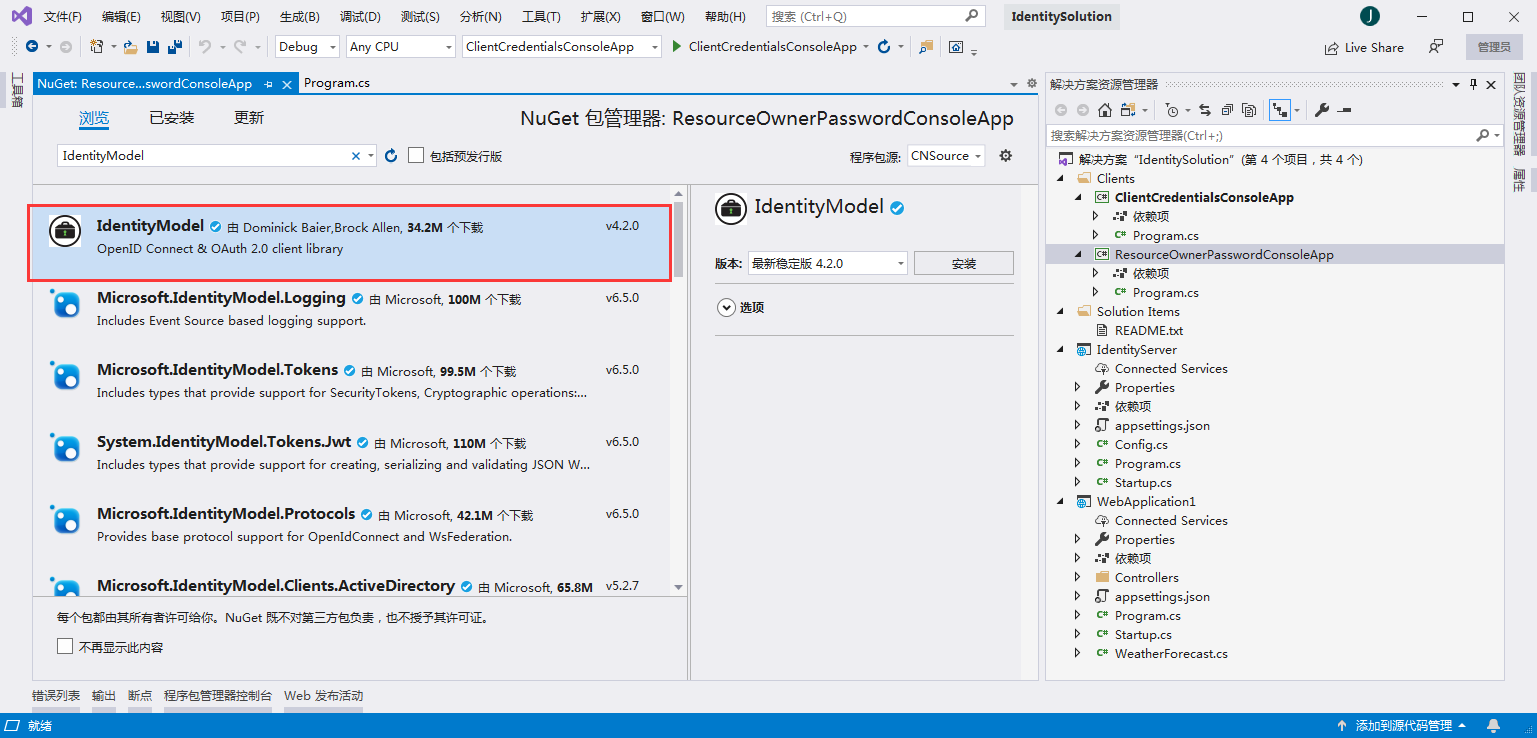
3、添加nuget包:IdentityModel
在Program.cs编写代码
using System;
using System.Net.Http;
using System.Threading.Tasks; using IdentityModel.Client; using Newtonsoft.Json.Linq; namespace ResourceOwnerPasswordConsoleApp
{
class Program
{
static async Task Main(string[] args)
{
bool verifySuccess = false;
TokenResponse tokenResponse = null;
while (!verifySuccess)
{
Console.WriteLine("请输入用户名:");
string userName = Console.ReadLine();
Console.WriteLine("请输入密码:");
string password = Console.ReadLine(); //discovery endpoint - 发现终结点
HttpClient client = new HttpClient();
DiscoveryDocumentResponse disco = await client.GetDiscoveryDocumentAsync("http://localhost:5000");
if (disco.IsError)
{
Console.WriteLine($"[DiscoveryDocumentResponse Error]: {disco.Error}");
return;
} //request assess token - 请求访问令牌
tokenResponse = await client.RequestPasswordTokenAsync(new PasswordTokenRequest
{
Address = disco.TokenEndpoint,
ClientId = "client1",
ClientSecret = "secret",
Scope = "api1",
UserName = userName,
Password = password
});
if (tokenResponse.IsError)
{
//ClientId 与 ClientSecret 错误,报错:invalid_client
//Scope 错误,报错:invalid_scope
//UserName 与 Password 错误,报错:invalid_grant
string errorDesc = tokenResponse.ErrorDescription;
if (string.IsNullOrEmpty(errorDesc)) errorDesc = "";
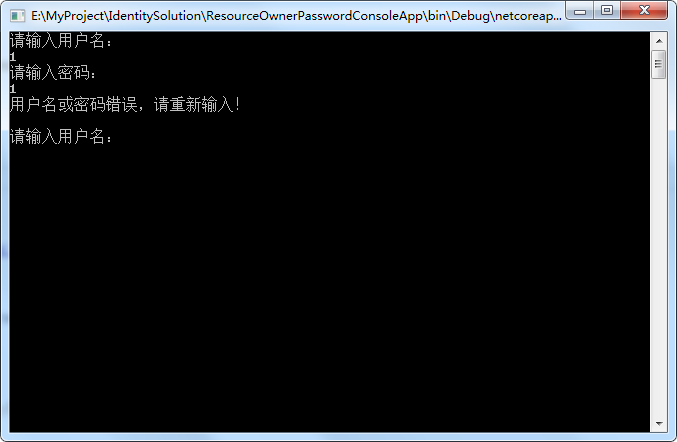
if (errorDesc.Equals("invalid_username_or_password"))
{
Console.WriteLine("用户名或密码错误,请重新输入!");
}
else
{
Console.WriteLine($"[TokenResponse Error]: {tokenResponse.Error}, [TokenResponse Error Description]: {errorDesc}");
}
Console.WriteLine("");
continue;
}
else
{
Console.WriteLine("");
Console.WriteLine($"Access Token: {tokenResponse.AccessToken}");
verifySuccess = true;
}
} //call API Resource - 访问API资源
HttpClient apiClient = new HttpClient();
apiClient.SetBearerToken(tokenResponse?.AccessToken);
HttpResponseMessage response = await apiClient.GetAsync("http://localhost:6000/weatherforecast");
if (!response.IsSuccessStatusCode)
{
Console.WriteLine($"API Request Error, StatusCode is : {response.StatusCode}");
}
else
{
string content = await response.Content.ReadAsStringAsync();
Console.WriteLine("");
Console.WriteLine($"Result: {JArray.Parse(content)}");
} Console.ReadKey();
}
}
}
用户名密码错误的话,会一直提示重新输入
我们使用用户名密码 alice / alice 进行登录
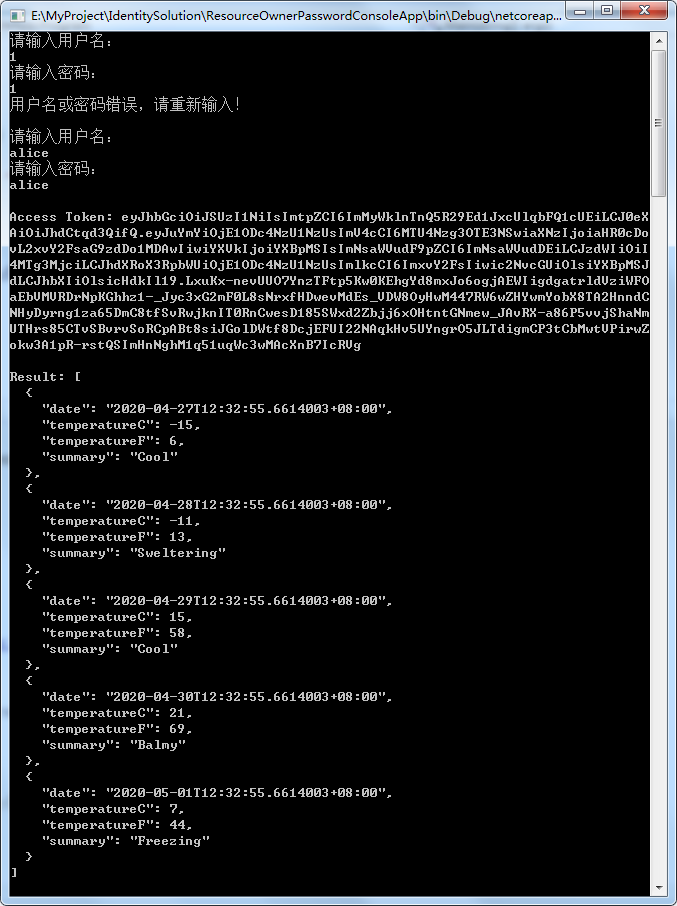
可以看到,成功获取到AccessToken,并使用AccessToken访问到受保护的API获取到结果。
ASP.NET Core3.1使用IdentityServer4中间件系列随笔(四):创建使用[ResourceOwnerPassword-资源所有者密码凭证]授权模式的客户端的更多相关文章
- ASP.NET Core3.1使用IdentityServer4中间件系列随笔(三):创建使用[ClientCredentials客户端凭证]授权模式的客户端
配套源码:https://gitee.com/jardeng/IdentitySolution 上一篇<ASP.NET Core3.1使用IdentityServer4中间件系列随笔(二):创建 ...
- ASP.NET Core3.1使用IdentityServer4中间件系列随笔(二):创建API项目,配置IdentityServer保护API资源
配套源码:https://gitee.com/jardeng/IdentitySolution 接上一篇<ASP.NET Core3.1使用IdentityServer4中间件系列随笔(一):搭 ...
- ASP.NET Core3.1使用IdentityServer4中间件系列随笔(五):创建使用[Code-授权码]授权模式的客户端
配套源码:https://gitee.com/jardeng/IdentitySolution 本篇将创建使用[Code-授权码]授权模式的客户端,来对受保护的API资源进行访问. 1.接上一篇项目, ...
- ASP.NET Core3.1使用IdentityServer4中间件系列随笔(一):搭建认证服务器
配套源码:https://gitee.com/jardeng/IdentitySolution 1.创建ASP.NET Core Web应用程序,选择空模板. 去掉HTTPS 2.添加nuget包:I ...
- IdentityServer4(8)- 使用密码认证方式控制API访问(资源所有者密码授权模式)
一.前言 本文已经更新到 .NET Core 2.2 OAuth 2.0 资源所有者密码模式允许客户端向令牌服务发送用户名和密码,并获取代表该用户的访问令牌. 除了通过无法浏览器进行交互的应用程序之外 ...
- IdentityServer4系列 | 资源密码凭证模式
一.前言 从上一篇关于客户端凭证模式中,我们通过创建一个认证授权访问服务,定义一个API和要访问它的客户端,客户端通过IdentityServer上请求访问令牌,并使用它来控制访问API.其中,我们也 ...
- asp.net core IdentityServer4 实现 resource owner password credentials(密码凭证)
前言 OAuth 2.0默认四种授权模式(GrantType) 授权码模式(authorization_code) 简化模式(implicit) 密码模式(resource owner passwor ...
- 认证授权:IdentityServer4 - 各种授权模式应用
前言: 前面介绍了IdentityServer4 的简单应用,本篇将继续讲解IdentityServer4 的各种授权模式使用示例 授权模式: 环境准备 a)调整项目结构如下: b)调整cz.Id ...
- 探索Asp net core3中的 项目文件、Program.cs和通用host(译)
引言 原文地址 在这篇博客中我将探索一些关于Asp.net core 3.0应用的基础功能--.csproj 项目文件和Program源文件.我将会描述他们从asp.net core 2.X在默认模版 ...
随机推荐
- Python time ctime()方法
描述 Python time ctime() 函数把一个时间戳(按秒计算的浮点数)转化为time.asctime()的形式.高佣联盟 www.cgewang.com 如果参数未给或者为None的时候, ...
- PHP ftp_systype() 函数
定义和用法 ftp_systype() 函数返回 FTP 服务器的系统类型标识符. 如果成功,该函数返回系统类型.如果失败,则返回 FALSE. 语法 ftp_systype(ftp_connecti ...
- MySQL选错索引导致的线上慢查询事故
前言 又和大家见面了!又两周过去了,我的云笔记里又多了几篇写了一半的文章草稿.有的是因为质量没有达到预期还准备再加点内容,有的则完全是一个灵感而已,内容完全木有.羡慕很多大佬们,一周能产出五六篇文章, ...
- Typora+PicGo-Core(command line)+SMMS、github、gitee实现Typora图片上传到图床
Typora+PicGo-Core(command line)+SMMS.github.gitee实现Typora图片上传到图床 1 安装插件2 配置config.json 2.1 设置SMMS ...
- 从别人的代码中学习golang系列--03
这篇博客还是整理从https://github.com/LyricTian/gin-admin 这个项目中学习的golang相关知识. 作者在项目中使用了 github.com/casbin/casb ...
- php操作mysql关于文件上传、存储
php+前端+mysql实现文件上传并储存 我们都知道很多网站都需要上传文件,最普遍的就是图片上传,即是用户头像等等: 关于mysql+php实现文件查询,存储大致两个方式, 1.直接把文件写入mys ...
- 用python悄悄记录了室友的抖音在线时间
今天给大家分享一篇有趣的文章,灵感来自于前几天与室友的聊天,他告诉我抖音可以实时显示人的在线情况,如下图: 很多人学习python,不知道从何学起.很多人学习python,掌握了基本语法过后,不知道在 ...
- CSS基础知识(下)
3.层叠 稍微复杂的样式表中都可能存在两条甚至多条规则同时选择一个元素的情况.CSS通过一种叫作层叠(cascade)的机制来处理这种冲突. 层叠机制的原理是为规则赋予不同的重要程度.最重要的是作者样 ...
- Java单元测试 Junit TestNG之介绍
Junit是Java中默认的单元测试框架,通过注解的方式去识别测试方法 JUnit4 JUnit4通过注解的方式来识别测试方法.目前支持的主要注解有: @BeforeClass 全局只会执行一次,而且 ...
- java中threadlocal的理解
[TOC] #java中threadlocal的理解##一.threadlocal的生命周期和ThreadLocalMap的生命周期可以吧TreadLocal看做是一个map来使用,只不过这个map是 ...