Docker harbor 安装和基础操作
简介
Docker容器应用的开发和运行离不开可靠的镜像管理,虽然Docker官方也提供了公共的镜像仓库,但是从安全和效率等方面考虑,部署我们私有环境内的Registry也是非常必要的。
Harbor是由VMware公司开源的企业级的Docker Registry管理项目,它包括权限管理(RBAC)、LDAP、日志审核、管理界面、自我注册、
镜像复制和中文支持等功能。
离线安装
本次安装的前提是已经安装好了 docker 环境的服务器,centos 7
本次使用离线安装的方式进行安装。
首先安装依赖:
yum install docker-compose -y
目前Harbor托管在GitHub上,所以需要在GitHub上下载离线安装包。
地址: https://github.com/goharbor/harbor
在GitHub上下载 harbor 的离线安装包
[root@registory src]# wget https://storage.googleapis.com/harbor-releases/release-1.9.0/harbor-offline-installer-v1.9.1-rc1.tgz

--2019-10-12 11:17:14--  https://storage.googleapis.com/harbor-releases/release-1.9.0/harbor-offline-installer-v1.9.1-rc1.tgz

Resolving storage.googleapis.com (storage.googleapis.com)... 216.58.200.48, 2404:6800:4008:801::2010

Connecting to storage.googleapis.com (storage.googleapis.com)|216.58.200.48|:443... connected.

HTTP request sent, awaiting response... 200 OK

Length: 619113214 (590M) [application/x-tar]

Saving to: ‘harbor-offline-installer-v1.9.1-rc1.tgz’

100%[===================================================================================================================================================>] 619,113,214 5.13MB/s   in 1m 53s

2019-10-12 11:19:07 (5.24 MB/s) - ‘harbor-offline-installer-v1.9.1-rc1.tgz’ saved [619113214/619113214]
[root@registory src]# ll harbor

total 607872

-rw-r--r-- 1 root root 622428100 Sep 27 14:52 harbor.v1.9.1.tar.gz

-rw-r--r-- 1 root root      5805 Sep 27 14:52 harbor.yml

-rwxr-xr-x 1 root root      5088 Sep 27 14:52 install.sh

-rw-r--r-- 1 root root     11347 Sep 27 14:52 LICENSE

-rwxr-xr-x 1 root root      1748 Sep 27 14:52 prepare
配置文件
[root@registory harbor]# egrep -v '#|^$' harbor.yml

hostname: 192.168.1.120     # 这里配置的监听地址,可以是域名

http:

  port: 80                  # 端口

harbor_admin_password: Harbor12345  # 配置admin用户的密码

database:                   # 配置数据库相关的信息

  password: root123         # 数据库密码

  max_idle_conns: 50

  max_open_conns: 100

data_volume: /data              # 镜像存放的目录

clair:

  updaters_interval: 12

jobservice:

  max_job_workers: 10

notification:

  webhook_job_max_retry: 10

chart:

  absolute_url: disabled

log:

  level: info

  local:

    rotate_count: 50

    rotate_size: 200M

    location: /var/log/harbor       # 日志目录

_version: 1.9.0

proxy:

  http_proxy:

  https_proxy:

  no_proxy: 127.0.0.1,localhost,.local,.internal,log,db,redis,nginx,core,portal,postgresql,jobservice,registry,registryctl,clair

  components:

    - core

    - jobservice

    - clair
安装
直接执行解压后文件中的 install.sh 文件:
[root@registory harbor]# ./install.sh

[Step 0]: checking installation environment ...

Note: docker version: 19.03.2

Note: docker-compose version: 1.18.0

[Step 1]: loading Harbor images ...

b80136ee24a4: Loading layer [==================================================>]  34.25MB/34.25MB

cad87ea2da29: Loading layer [==================================================>]  77.02MB/77.02MB

034ded39ed39: Loading layer [==================================================>]  3.072kB/3.072kB

f6ca716ef169: Loading layer [==================================================>]   59.9kB/59.9kB

baf21a4a14d3: Loading layer [==================================================>]  61.95kB/61.95kB

Loaded image: goharbor/redis-photon:v1.9.1

... ... ...

... ... ...

Creating registry ... done

Creating harbor-core ... done

Creating network "harbor_harbor" with the default driver

Creating nginx ... done

Creating redis ...

Creating harbor-db ...

Creating registryctl ...

Creating registry ...

Creating harbor-portal ...

Creating harbor-core ...

Creating harbor-jobservice ...

Creating nginx ...

✔ ----Harbor has been installed and started successfully.----

Now you should be able to visit the admin portal at http://192.168.1.120.

For more details, please visit https://github.com/goharbor/harbor .
查看
[root@registory harbor]# netstat -lntup | grep 80

tcp6       0      0 :::80                   :::*                    LISTEN      3071/docker-proxy
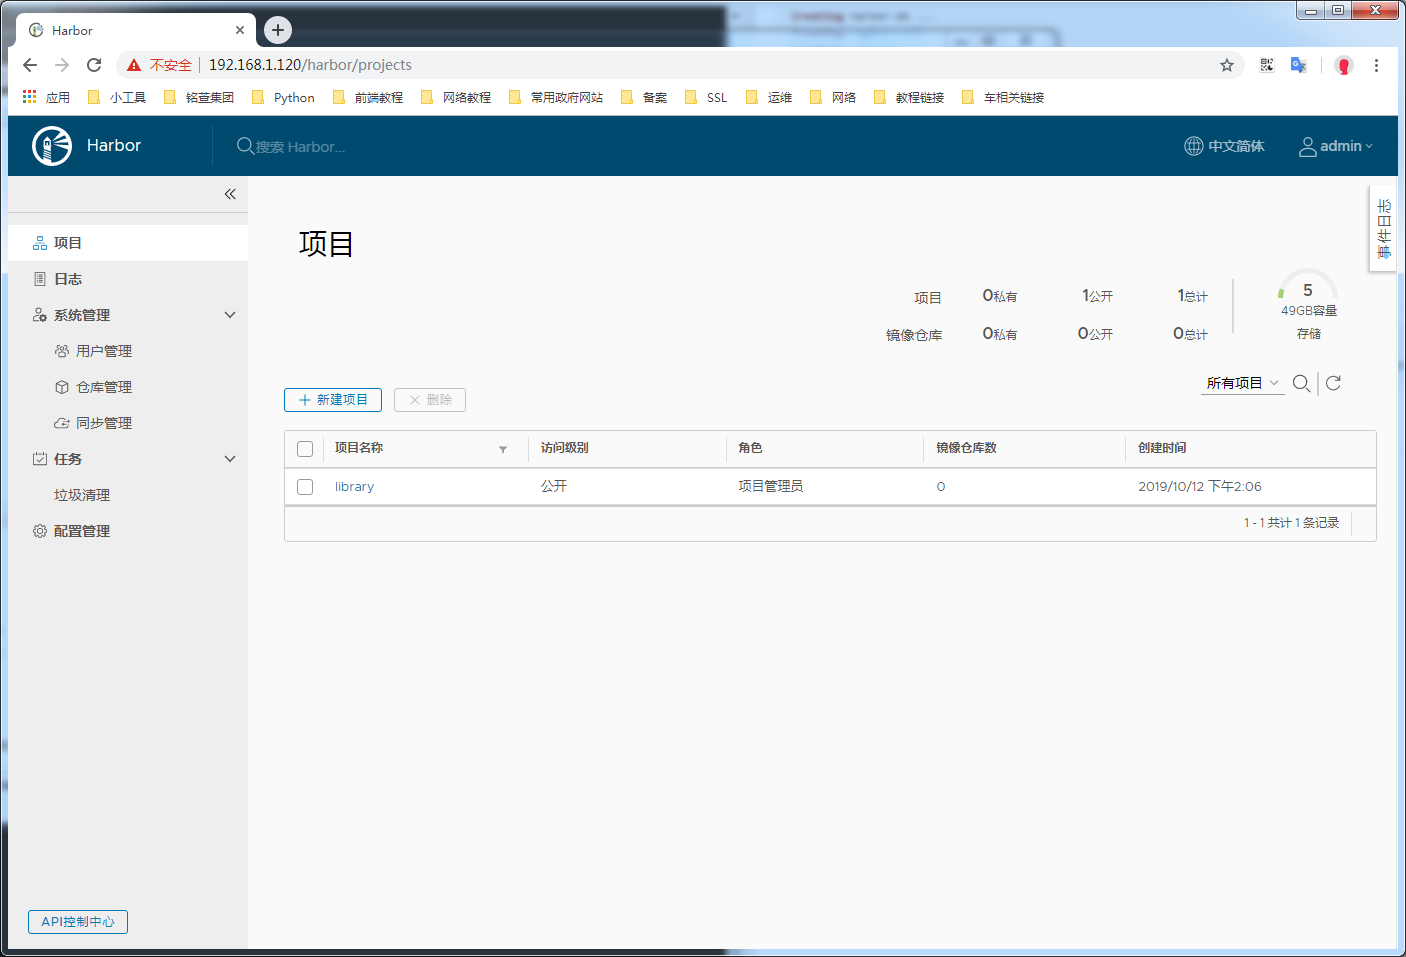
访问测试 及 简单操作
直接访问 192.168.1.120

登陆
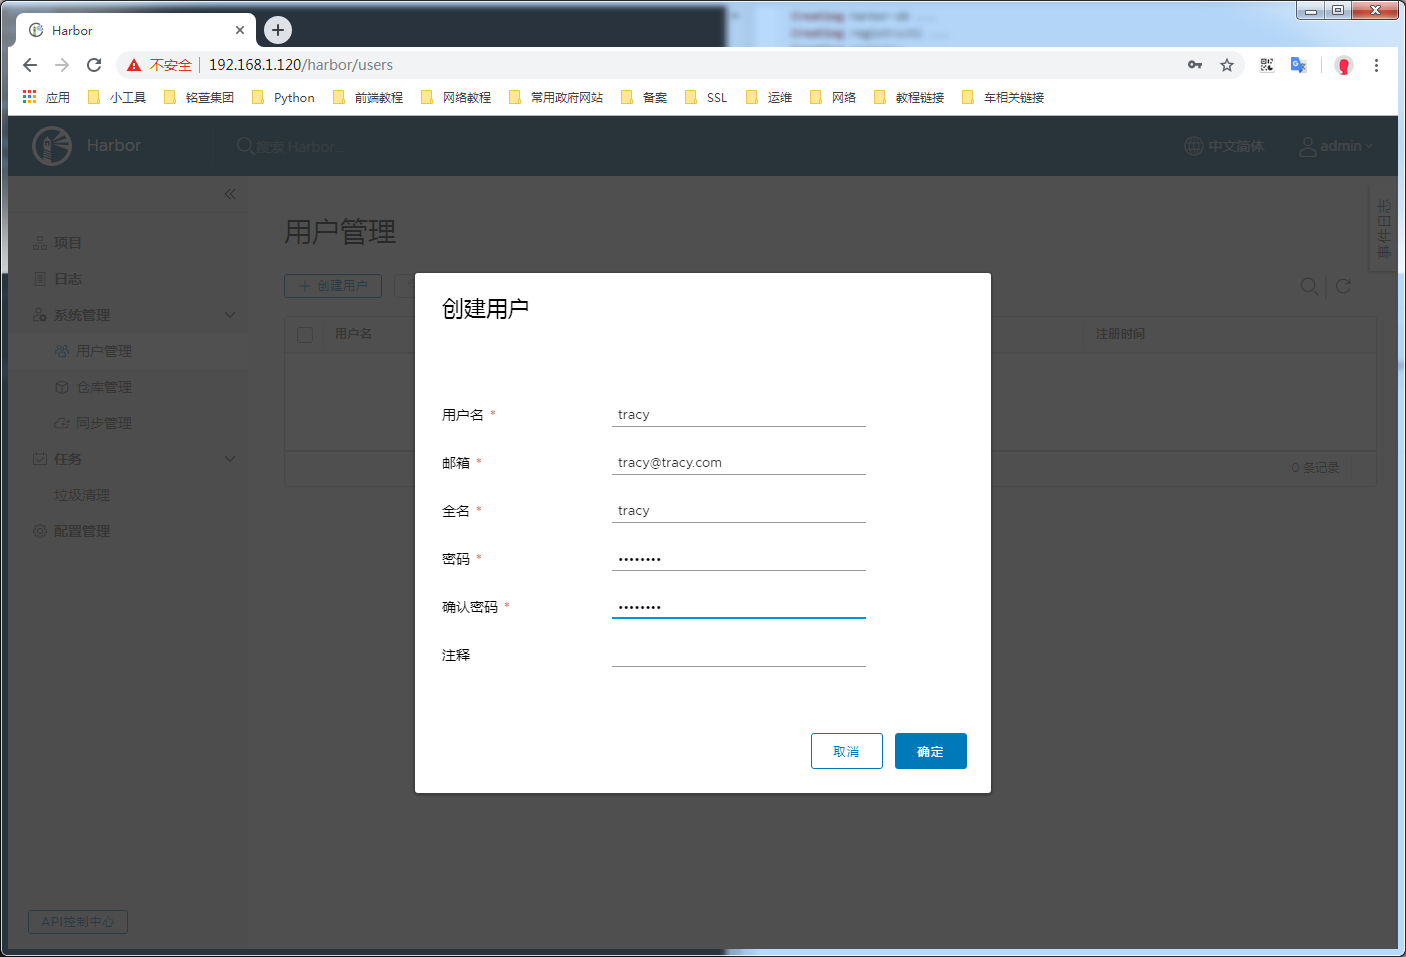
创建一个用户
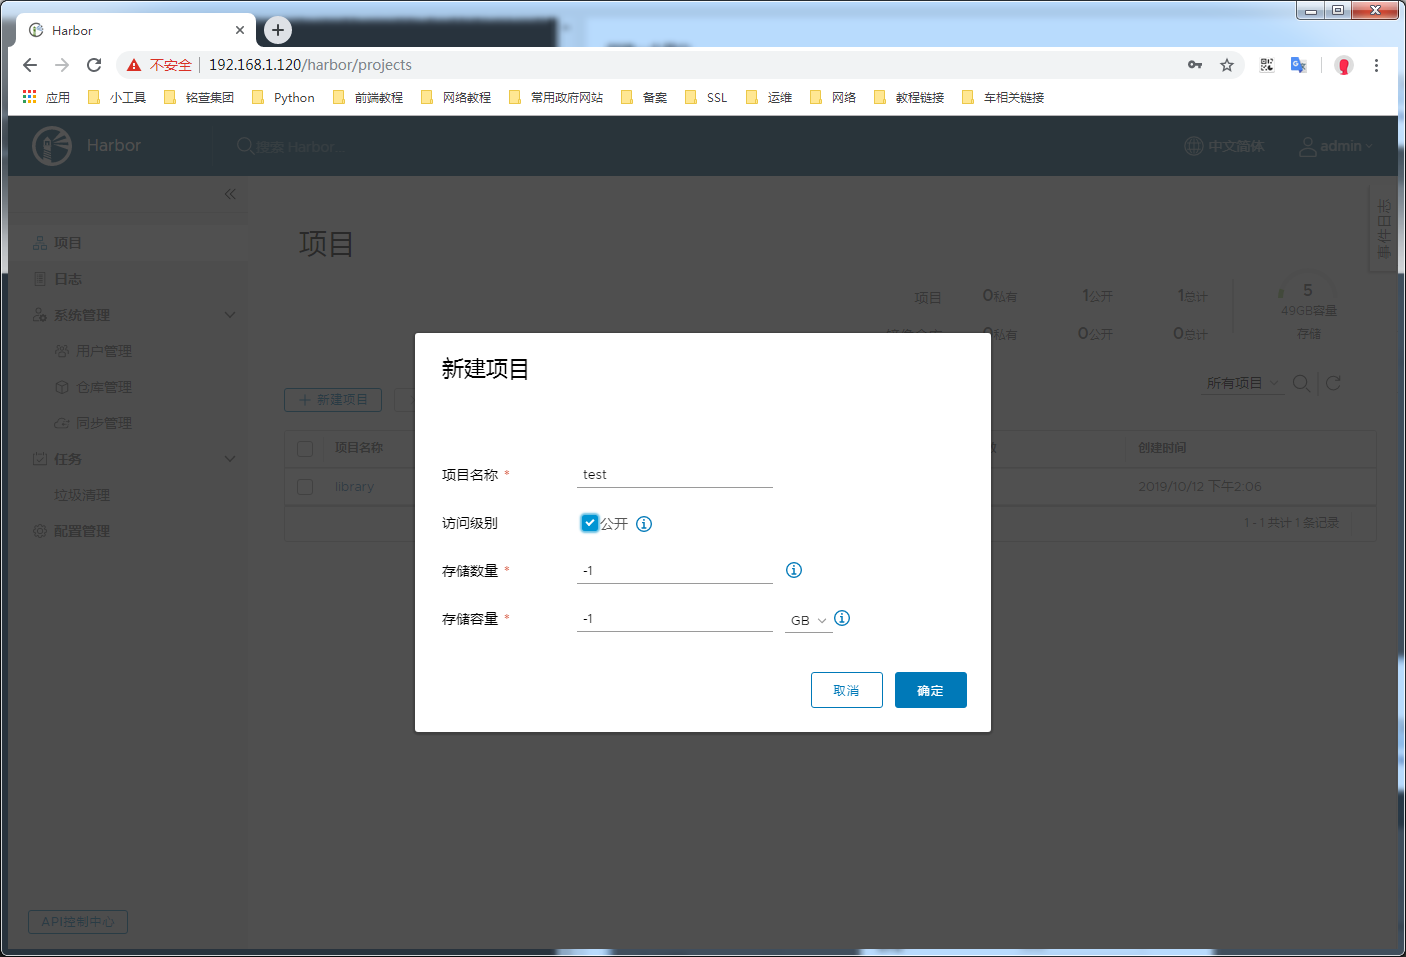
创建一个测试仓库
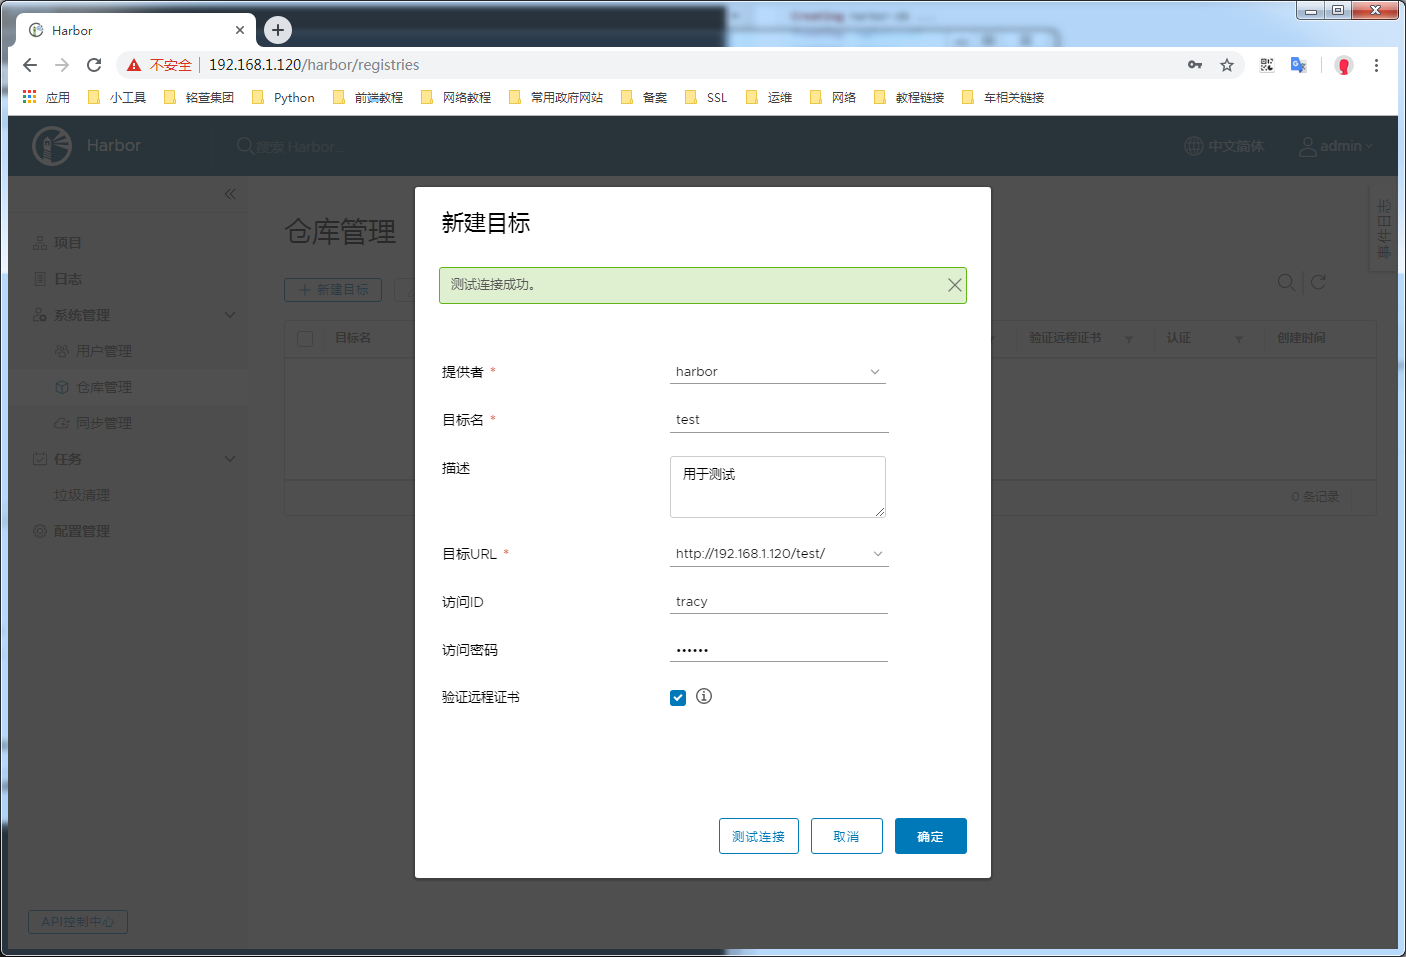
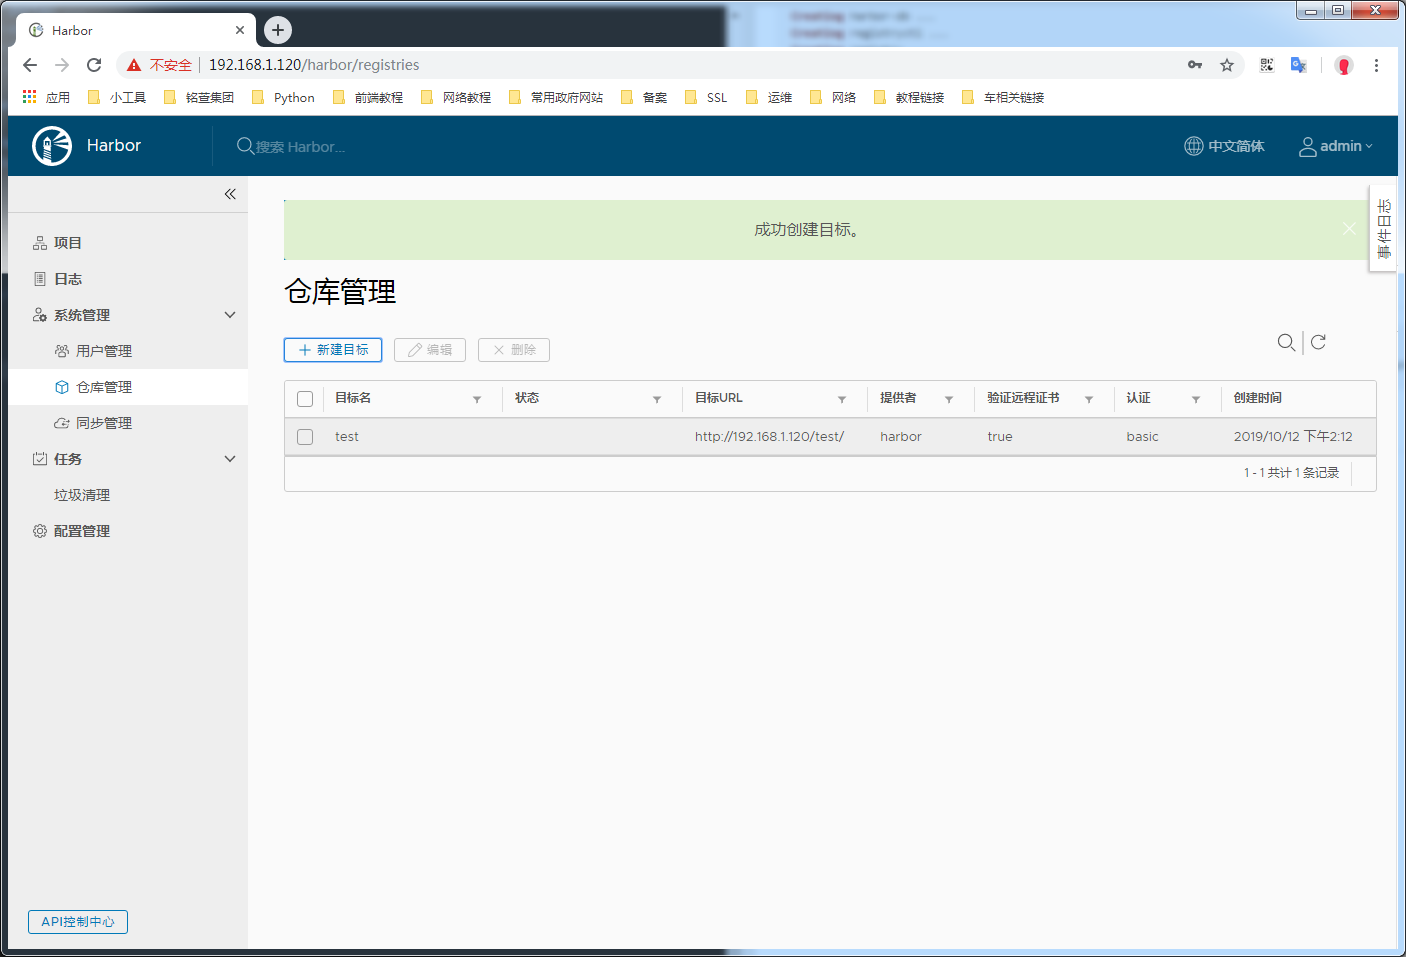
创建测试仓库
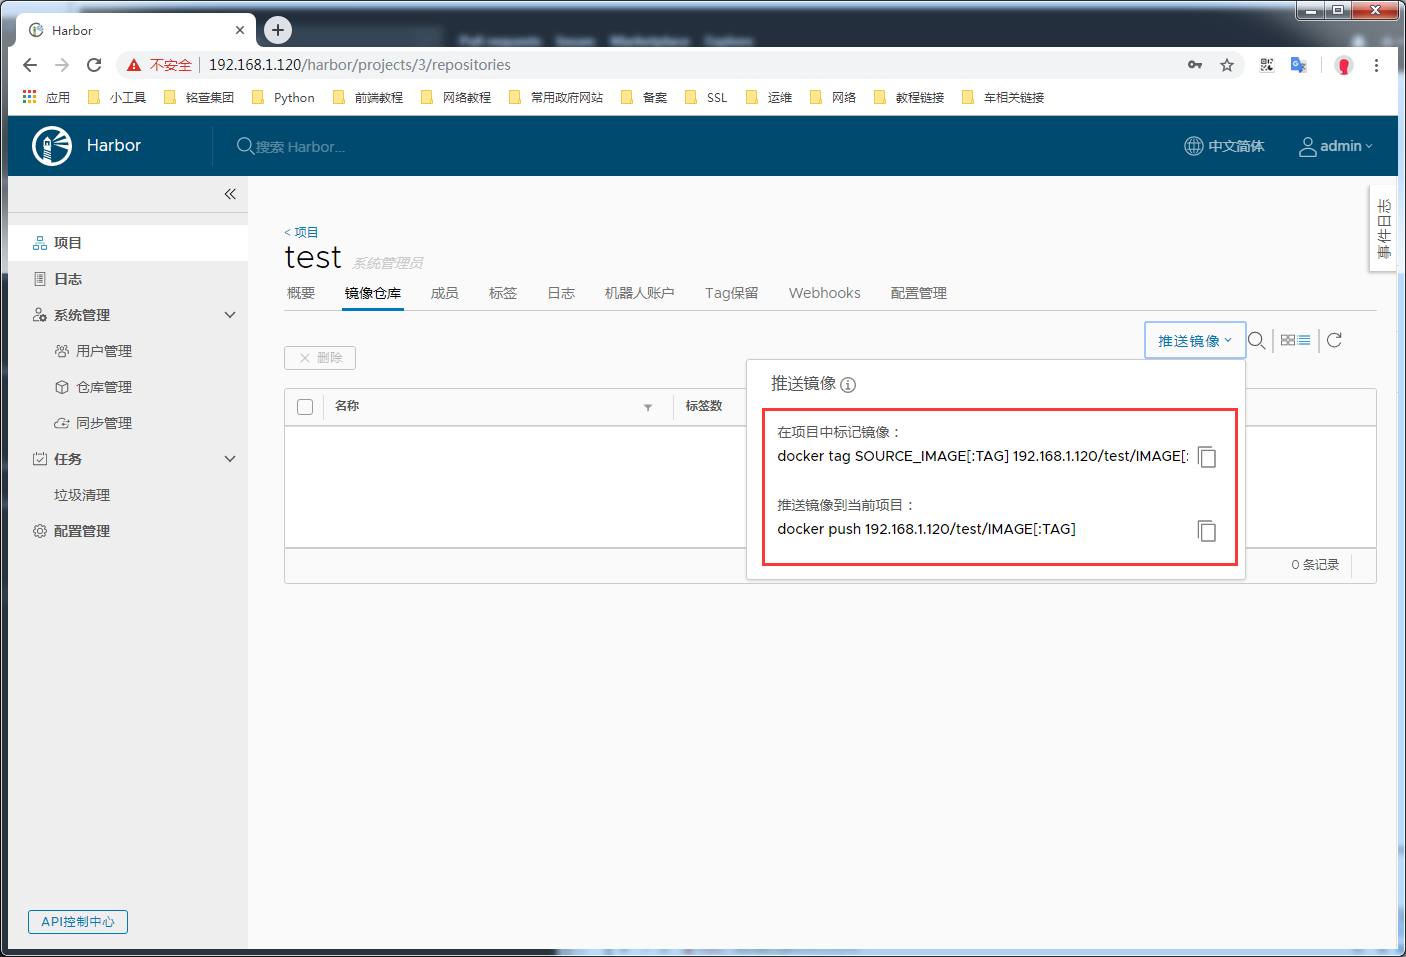
测试上传和下载镜像
上传
注意: 默认情况下,docker使用的是https方式上传和下载,本次是用的是80端口,所以需要手动配置一下
[root@registory ~]# cat /etc/docker/daemon.json

{

  "registry-mirrors": ["https://0tb09e4d.mirror.aliyuncs.com"],     # 镜像加速

  "insecure-registries": ["registry.kubernetes"]               # 这里列表中可配置多个

}
说明:上述中的registry.kubernetes手动写了hosts文件,所以需要注意,在需要使用该registry的机器上,都需要能解析。
[root@registory ~]# grep registry /etc/hosts

192.168.1.120 registry registry.kubernetes
修改镜像 tag 之后上传
首先登陆harbor,使用上面创建的tracy用户
[root@registory harbor]# docker login registry.kubernetes

Username: tracy

Password:

WARNING! Your password will be stored unencrypted in /root/.docker/config.json.

Configure a credential helper to remove this warning. See

https://docs.docker.com/engine/reference/commandline/login/#credentials-store

Login Succeeded
修改tag后上传
[root@registory harbor]# docker tag myweb:v0.3-5 registry.kubernetes/test/myweb:v0.3-5

[root@registory harbor]# docker push registry.kubernetes/test/myweb:v0.3-5

The push refers to repository [registry.kubernetes/test/myweb]

aac16c52a6d5: Pushed

076c58d2644f: Pushed

b2cbae4b8c15: Pushed

5ac9a5170bf2: Pushed

a464c54f93a9: Pushed

v0.3-5: digest: sha256:2ec492300be9fe3e79bf7992fcf8e643bd72fe5e64c63091f86dc3a50991fe9c size: 1360
下载镜像测试
注意: 默认情况下,docker使用的是https方式上传和下载,本次是用的是80端口,所以需要手动配置一下
[root@node03 ~]# cat /etc/docker/daemon.json

{

  "registry-mirrors": ["https://0tb09e4d.mirror.aliyuncs.com"],     # 镜像加速

  "insecure-registries": ["registry.kubernetes"]               # 这里列表中可配置多个

}
说明:上述中的registry.kubernetes手动写了hosts文件,所以需要注意,在需要使用该registry的机器上,都需要能解析。
[root@node03 ~]# grep registry /etc/hosts

192.168.1.120 registry registry.kubernetes
[root@node03 ~]# docker image pull registry.kubernetes/test/myweb:v0.3-5

v0.3-5: Pulling from test/myweb

bdf0201b3a05: Pull complete

3d0a573c81ed: Pull complete

8129faeb2eb6: Pull complete

3dc99f571daf: Pull complete

f17647d105d9: Pull complete

Digest: sha256:2ec492300be9fe3e79bf7992fcf8e643bd72fe5e64c63091f86dc3a50991fe9c

Status: Downloaded newer image for registry.kubernetes/test/myweb:v0.3-5

registry.kubernetes/test/myweb:v0.3-5
Docker harbor 安装和基础操作的更多相关文章
- docker的安装及基础操作与镜像构建
仓库配置及安装启动 [root@localhost ~]# yum install -y yum-utils device-mapper-persistent-data lvm2 [root@loca ...
- mysql二进制安装及基础操作
mysql二进制安装及基础操作 环境说明: 系统版本 CentOS 6.9 x86_64 软件版本 mysql-5.6.36-linux-glibc2.5-x86_64 1.安装 采用二进 ...
- 项目实战12.1—企业级监控工具应用实战-zabbix安装与基础操作
无监控,不运维.好了,废话不多说,下面都是干货. 警告:流量党勿入,图片太多!!! 项目实战系列,总架构图 http://www.cnblogs.com/along21/p/8000812.html ...
- Kafka 教程(二)-安装与基础操作
单机安装 1. 安装 java 2. 安装 zookeeper [这一步可以没有,因为 kafka 自带了 zookeeper] 3. 安装 kafka 下载链接 kafka kafka 是 scal ...
- docker安装和基础操作
docker安装 yum install docker 配置镜像下载加速器 curl -sSL https://get.daocloud.io/daotools/set_mirror.sh | sh ...
- Linux ubuntu下docker容器安装和基础命令
Docker介绍: 云计算就好比大货轮,docker就是集装箱虚拟机虽然可以隔离出很多"子电脑",但占用空间更大,启动更慢,虚拟机软件可能还要花钱(例如VMWare). 而容器技术 ...
- docker harbor 安装 使用总结
总结:没有验证,但是猜测. 我这个harbor的机器上 有起了一个 docker的 registry, 5000端口的,不知道是不是二者冲突. 猜测是这个情况. 1. 安装参考 收藏的链接 1.1 ...
- docker入门——安装及简单操作
和安装其他软件一样,安装Docker也需要一些基本的前提条件.Docker要求的条件具体如下: 运行64位CPU构架的计算机(目前只能是x86_64和amd64),Docker目前不支持32位CPU. ...
- docker harbor安装
# 官网下载离线包,https://github.com/goharbor/harbor/releases src]# tar xf harbor-offline-installer-v1.8.3.t ...
随机推荐
- ApplicationContext refresh 过程及一些重要的 processor 解析
回顾 上文 其实我们已经实现了一个简单的 BeanFactory 它具的功能有 注册 Bean 到容器,通过限定名获取 Bean 可以拦截 Bean 初始化前后的处理 可以在 Bean 属性注入后和即 ...
- NOIP模拟 11
差点迟到没赶上开题 开题后看了T1,好像一道原题,没分析复杂度直接敲了个NC线段树,敲了个暴力,敲了个对拍,就1h了.. 对拍还对出错了,发现标记下传有点问题,改了以后对拍通过,就把T1扔掉看T2 觉 ...
- kettle6.1如何连接mongodb
. Kettle的结构图如下: 2.介绍各个组件详细情况 表输入:通常是你的sql语句,这个会Kettle基础知识的都会不介绍了 JSON Output如下: MogoDB output如下: 下面这 ...
- 腾讯新闻构建高性能的 react 同构直出方案
在腾讯新闻抢金达人活动 node 同构直出渲染方案的总结文章中我们整体了解了下同构直出渲染方案在我们项目中的使用.正如我在上篇文章结尾所说的: 应用型技术的难点不是在克服技术问题,而是在于能够不断的结 ...
- 描述Linux发行版的系统目录名称命名规则以及用途
linux各种发行版都遵循LSB(Linux Stadards Base)规则,使用一致的相关的基础目录名称,使用根目录系统结构(root filesystem),使用FHS(Files Hierar ...
- python基础-闭包函数和装饰器
闭包函数和装饰器 闭包函数 概念:在函数中(嵌套)定义另一个函数时,内部函数引用了外层函数的名字. 特性 闭包函数必须在函数内部定义 闭包函数可引用外层函数的名字 闭包函数是函数嵌套.函数对象.名称空 ...
- 只需十四步:从零开始掌握Python机器学习(附资源)
转载:只需十四步:从零开始掌握Python机器学习(附资源) Python 可以说是现在最流行的机器学习语言,而且你也能在网上找到大量的资源.你现在也在考虑从 Python 入门机器学习吗?本教程或许 ...
- VUE 表格进入页面加载初始数据及操作后刷新数据
1.获取列表数据方法 2.打开页面默认加载数据 3.操作后重新获取数据
- Dockerfile介绍及指令详情
Dockerfile简介: 镜像的定制实际上就是定制每一层所添加的配置.文件.如果我们可以把每一层修改.安装.构建.操作的命令都写入一个脚本,用这个脚本来构建.定制镜像,那么哪些无法重复的问题.镜 ...
- Eclipse添加自定义注释
首先介绍几个常用的注解: @author 作者名 @date 日期 @version 版本标识 @parameter 参数及其意义 @return 返回值 @throws 异常类及抛出条件 @depr ...