【共享单车】—— React后台管理系统开发手记:权限设置和菜单调整(未完)
前言:以下内容基于React全家桶+AntD实战课程的学习实践过程记录。最终成果github地址:https://github.com/66Web/react-antd-manager,欢迎star。
一、创建角色

- 权限菜单设计:RBAC权限模型(详解链接)
- RBAC,即基于角色的访问控制(Role-Based Access Control),是优秀的权限控制模型
- 主要通过角色和权限建立管理,再赋予用户不同的角色,来实现权限控制的目标

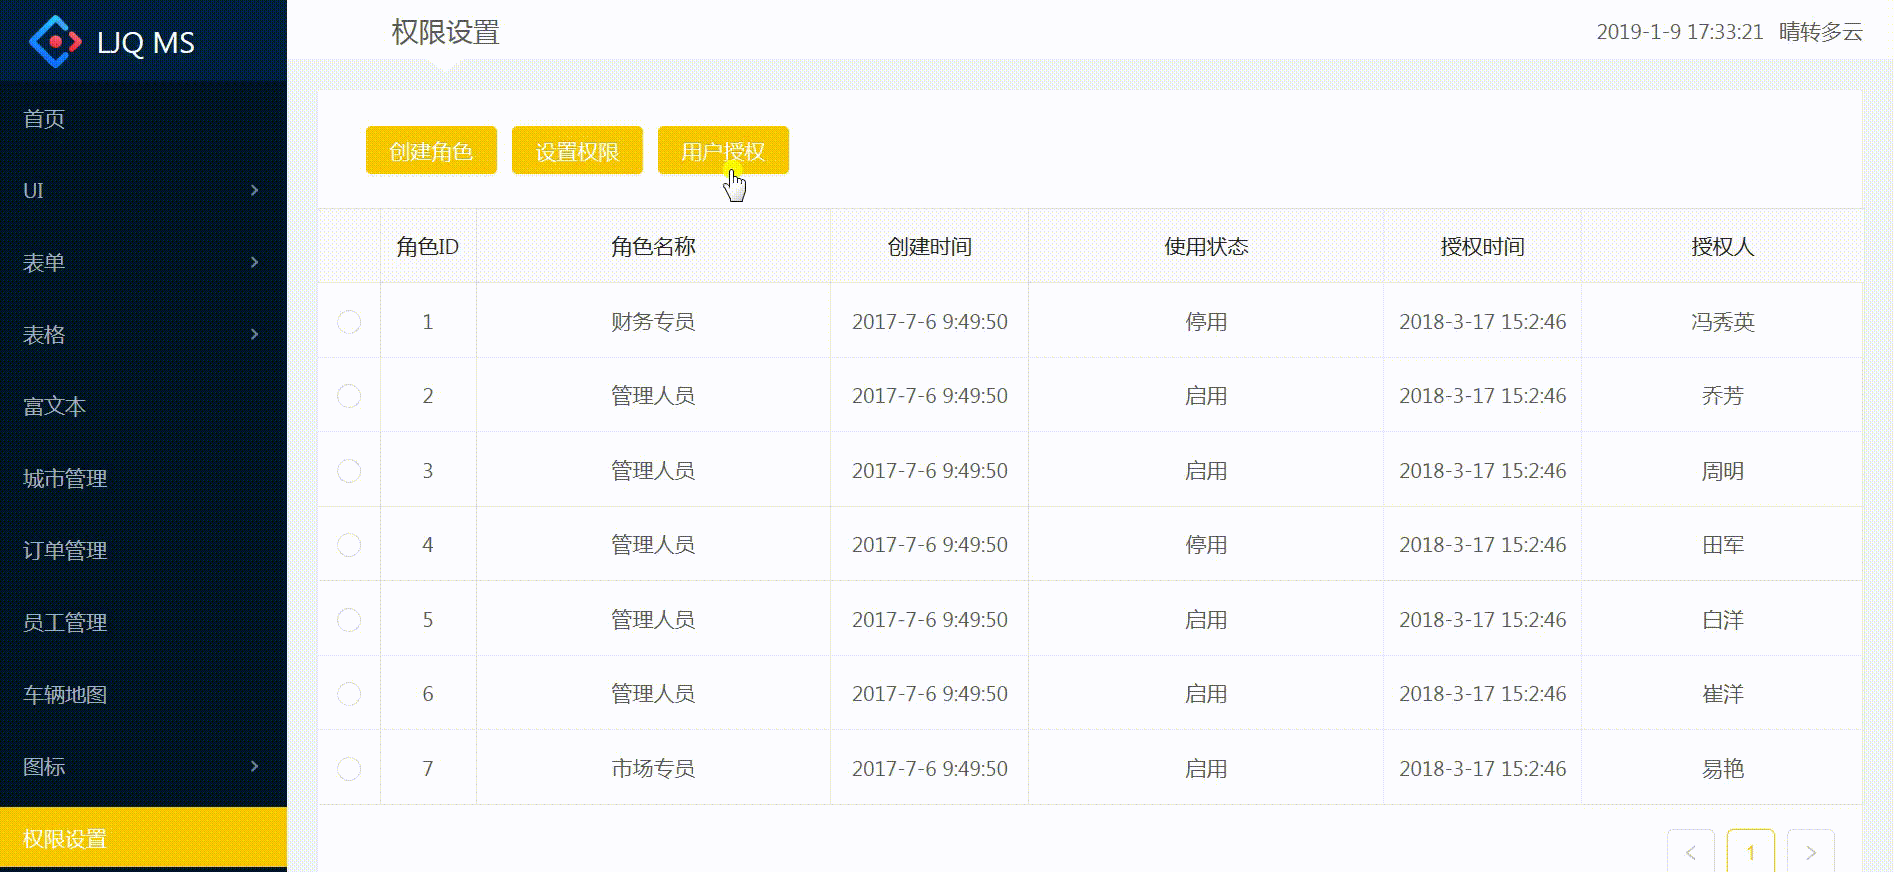
- 角色列表展示:对应Easy Mock数据接口/role/list
{

  "code": 0,

  "list": {

    "item_list|7": [{

      "id|+1": 1,

      "role_name": /(管理人员)|(客服专员)|(财务专员)|(市场专员)|(人力专员)|(研发)|(测试)|(系统管理员)/,

      "status|0-1": 1,

      "authorize_user_name": "@cname",

      "authorize_time": 1521270166000,

      "create_time": 1499305790000,

      "menus": ["/home", "/ui/buttons", "/ui/modals", "/ui/loadings", "/ui/notification", "/ui/messages", "/ui/tabs", "/ui/gallery", "/ui/carousel", "/ui"]

    }]

  },

  "page": 1,

  "page_size": 10,

  "total_count": 25,

  "page_count": 3

}
调用封装好的axios.requestList()获取角色数据
componentWillMount(){

        this.requestList();

}

requestList = ()=>{

        axios.requestList(this, '/role/list', {})

}
使用封装好的ETable组件实现角色列表的展示
<div className="content-wrap">

      <ETable

           updateSelectedItem={Utils.updateSelectedItem.bind(this)}

           selectedRowKeys={this.state.selectedRowKeys}

           dataSource={this.state.list}

           columns={columns}

       />

</div>
创建角色:Modal弹框中嵌入表单子组件
表单组件:RoleForm = Form.create({})(RoleForm)实现表单数据的双向绑定
// 角色创建

class RoleForm extends React.Component{

    render(){

        const { getFieldDecorator } = this.props.form;

        const formItemLayout = {

            labelCol: {span: 5},

            wrapperCol: {span: 16}

        };

        return (

            <Form layout="horizontal">

                <FormItem label="角色名称" {...formItemLayout}>

                    {

                        getFieldDecorator('role_name',{

                            initialValue:''

                        })(

                            <Input type="text" placeholder="请输入角色名称"/>

                        )

                    }

                </FormItem>

                <FormItem label="状态" {...formItemLayout}>

                    {

                        getFieldDecorator('state',{

                            initialValue:1

                        })(

                        <Select>

                            <Option value={1}>开启</Option>

                            <Option value={0}>关闭</Option>

                        </Select>

                    )}

                </FormItem>

            </Form>

        );

    }

}

RoleForm = Form.create({})(RoleForm);
Modal弹框中应用表单组件:通过wrappedComponentRef={(inst) => this.roleForm = inst }获取表单元素的数据对象
<Modal

        title="创建角色"

        visible={this.state.isRoleVisible}

        onOk={this.handleRoleSubmit}

        onCancel={()=>{

              this.roleForm.props.form.resetFields();//表单重置

              this.setState({

                   isRoleVisible:false

              })

        }}

 >

        <RoleForm wrappedComponentRef={(inst) => this.roleForm = inst }/>

</Modal>
点击【创建角色】按钮弹出弹框:给onClick事件绑定this.handleRole(),设置this.state.isRoleVisible为true
点击【OK】提交创建角色:给onOk事件绑定this.handleRoleSubmit()。①通过this.roleForm.props.form.getFieldsValue()获取表单的值,赋给params;②接口访问成功后,关闭弹框,刷新列表数据。
// 角色提交

handleRoleSubmit = ()=>{

    let data = this.roleForm.props.form.getFieldsValue(); //获取表单的值

    axios.ajax({

            url:'role/create', //Easy Mock中只有{"code": 0}

            data:{

                params:{

                    ...data

                }

            }

    }).then((res)=>{

            if(res.code === 0){

                this.setState({

                    isRoleVisible:false   //关闭弹框

                })

                this.requestList();  //刷新列表数据

            }

        })

}
二、设置权限

- 设置权限表单组件 :AntD Tree树形结构组件的使用
- TreeNode树形节点:const TreeNode = Tree.TreeNode;
- 加载完整的权限列表:本地定义menuConfig.js权限列表文件,通过递归方法渲染TreeNode
import menuConfig from '../../config/menuConfig'

renderTreeNodes = (data,key='') => {

        return data.map((item) => {

            let parentKey = key+item.key;

            if (item.children) {

                return (

                    <TreeNode title={item.title} key={parentKey} dataRef={item} className="op-role-tree">

                        {this.renderTreeNodes(item.children,parentKey)}

                    </TreeNode>

                );

            } else if (item.btnList) {

                return (

                    <TreeNode title={item.title} key={parentKey} dataRef={item} className="op-role-tree">

                        { this.renderBtnTreedNode(item,parentKey) }

                    </TreeNode>

                );

            }

            return <TreeNode {...item} />;

        });

};

renderBtnTreedNode = (menu,parentKey='')=> {

        const btnTreeNode = []

        menu.btnList.forEach((item)=> {

            // console.log(parentKey+'-btn-'+item.key);

            btnTreeNode.push(<TreeNode title={item.title} key={parentKey+'-btn-'+item.key} className="op-role-tree"/>);

        })

        return btnTreeNode;

}

<Tree

     checkable

     defaultExpandAll

     >

       <TreeNode title="平台权限" key="platform_all">

               {this.renderTreeNodes(menuConfig)}

       </TreeNode>

</Tree>
- Modal弹框中应用表单组件:
- 点击【设置权限】按钮弹出弹框:判断若没有this.state.selectedItem,提示需“选择”
//权限设置

handlePermission = ()=>{

        if (!this.state.selectedItem) {

            Modal.info({

                title: '信息',

                content: '请选择一个角色'

            })

            return;

        }

        this.setState({

            isPermVisible: true,

            detailInfo: this.state.selectedItem //角色详细信息

        });

        let menuList = this.state.selectedItem.menus; //角色权限

        this.setState({

            menuInfo:menuList

        })

} - 点击【OK】提交权限:给onOk事件绑定this.handlePermEditSubmit()
三、菜单调整
四、用户授权
注:项目来自慕课网
【共享单车】—— React后台管理系统开发手记:权限设置和菜单调整(未完)的更多相关文章
- 【共享单车】—— React后台管理系统开发手记:主页面架构设计
前言:以下内容基于React全家桶+AntD实战课程的学习实践过程记录.最终成果github地址:https://github.com/66Web/react-antd-manager,欢迎star. ...
- 【共享单车】—— React后台管理系统开发手记:Redux集成开发
前言:以下内容基于React全家桶+AntD实战课程的学习实践过程记录.最终成果github地址:https://github.com/66Web/react-antd-manager,欢迎star. ...
- 【共享单车】—— React后台管理系统开发手记:项目工程化开发
前言:以下内容基于React全家桶+AntD实战课程的学习实践过程记录.最终成果github地址:https://github.com/66Web/react-antd-manager,欢迎star. ...
- 【共享单车】—— React后台管理系统开发手记:城市管理和订单管理
前言:以下内容基于React全家桶+AntD实战课程的学习实践过程记录.最终成果github地址:https://github.com/66Web/react-antd-manager,欢迎star. ...
- 【共享单车】—— React后台管理系统开发手记:AntD Form基础组件
前言:以下内容基于React全家桶+AntD实战课程的学习实践过程记录.最终成果github地址:https://github.com/66Web/react-antd-manager,欢迎star. ...
- 【共享单车】—— React后台管理系统开发手记:Router 4.0路由实战演练
前言:以下内容基于React全家桶+AntD实战课程的学习实践过程记录.最终成果github地址:https://github.com/66Web/react-antd-manager,欢迎star. ...
- 【共享单车】—— React后台管理系统开发手记:员工管理之增删改查
前言:以下内容基于React全家桶+AntD实战课程的学习实践过程记录.最终成果github地址:https://github.com/66Web/react-antd-manager,欢迎star. ...
- 【共享单车】—— React后台管理系统开发手记:AntD Table高级表格
前言:以下内容基于React全家桶+AntD实战课程的学习实践过程记录.最终成果github地址:https://github.com/66Web/react-antd-manager,欢迎star. ...
- 【共享单车】—— React后台管理系统开发手记:AntD Table基础表格
前言:以下内容基于React全家桶+AntD实战课程的学习实践过程记录.最终成果github地址:https://github.com/66Web/react-antd-manager,欢迎star. ...
随机推荐
- Codeforces Round #352 (Div. 2) A
A. Summer Camp time limit per test 1 second memory limit per test 256 megabytes input standard input ...
- reduce实现数组求和
对于实现数组求和,我们常用的思路是通过for.while,对数组进行迭代,依次将他们的值加起来,下面列举常用的两种方法 第一种: var arr = [1,2,3,4,5,6]; Array.prot ...
- 总结各种width,height,top,left
1.offsetWidth 内容+内边距(padding)+边框(border) 2.offsetHeight 内容+内边距(padding)+边框(border) 3.offsetLeft 获取对象 ...
- 百度之星复赛T5&&hdu6148
Problem Description 众所周知,度度熊非常喜欢数字. 它最近发明了一种新的数字:Valley Number,像山谷一样的数字. 当一个数字,从左到右依次看过去数字没有出现先递增接着递 ...
- [ZJOI2008]树的统计——树链剖分
本题是一个树链剖分裸题,由于比较菜,老是RE,后来发现是因为使用了全局变量. /************************************************************ ...
- 【原创】Linux环境下的图形系统和AMD R600显卡编程(9)——R600显卡的3D引擎和图形流水线
1. R600 3D引擎 R600核心是AMD一款非常重要的GPU核心,这个核心引入了统一处理器架构,其寄存器和指令集同以前的GPU 都完全不同,对其编程也有比较大的区别. 图1显示了R600 GPU ...
- python--enum
# enum用于枚举,该模块下有一个Enum,我们定义的类要继承它 # 一旦继承,那么我们定义的key(仮),不能有重复值. # 如果要保证value(仮)不重复,那就引入unique,给我们定义的类 ...
- linux的文件布局
/bin---权限为 rwxr-xr-x 所有者为root/root 用户bin最先进入的工作目录就是这里.这里放置的是执行目录,但是特殊在这里的命令可以被一般用户使用(root更能使用).例如 ca ...
- Selenium2+python自动化8-SeleniumBuilder辅助定位元素【转载】
前言 福利来了,对于用火狐浏览器的小伙伴们,你还在为定位元素而烦恼嘛? 上古神器Selenium Builder来啦,哪里不会点哪里,妈妈再也不用担心我的定位元素问题啦!(但是也不是万能,基本上都能覆 ...
- JAVA版拆分大整数为2幂的和算法
import java.util.ArrayList; import java.util.List; public class StrTest { public static void main(St ...