springboot笔记-文件上传
使用 Spring Boot 和 Thymeleaf 上传文件
Spring Boot 利用 MultipartFile 的特性来接收和处理上传的文件,本示例前端页面使用 Thymeleaf 来处理。
快速上手:
1、添加依赖包
    <dependency>

        <groupId>org.springframework.boot</groupId>

        <artifactId>spring-boot-starter-web</artifactId>

    </dependency>

    <dependency>

        <groupId>org.springframework.boot</groupId>

        <artifactId>spring-boot-starter-thymeleaf</artifactId>

    </dependency>
2、application.properties配置信息
#支持的最大文件

spring.servlet.multipart.max-file-size=100MB

#文件请求最大限制

spring.servlet.multipart.max-request-size=100MB
#除过以上配置,常用的配置信息如下:
spring.servlet.multipart.enabled=true,是否支持 multipart 上传文件
spring.servlet.multipart.file-size-threshold=0,支持文件写入磁盘
spring.servlet.multipart.location=,上传文件的临时目录
spring.servlet.multipart.max-file-size=10Mb,最大支持文件大小
spring.servlet.multipart.max-request-sizee=10Mb,最大支持请求大小
spring.servlet.multipart.resolve-lazily=false,是否支持 multipart 上传文件时懒加载
3、启动类
@SpringBootApplication

public class FileUploadWebApplication {

    public static void main(String[] args) throws Exception {

        SpringApplication.run(FileUploadWebApplication.class, args);

    }

    //Tomcat large file upload connection reset

    @Bean

    public TomcatServletWebServerFactory tomcatEmbedded() {

        TomcatServletWebServerFactory tomcat = new TomcatServletWebServerFactory();

        tomcat.addConnectorCustomizers((TomcatConnectorCustomizer) connector -> {

            if ((connector.getProtocolHandler() instanceof AbstractHttp11Protocol<?>)) {

                //-1 means unlimited

                ((AbstractHttp11Protocol<?>) connector.getProtocolHandler()).setMaxSwallowSize(-);

            }

        });

        return tomcat;

    }

}
TomcatServletWebServerFactory() 方法主要是为了解决上传文件大于 10M 出现连接重置的问题
4、简单前端页面:
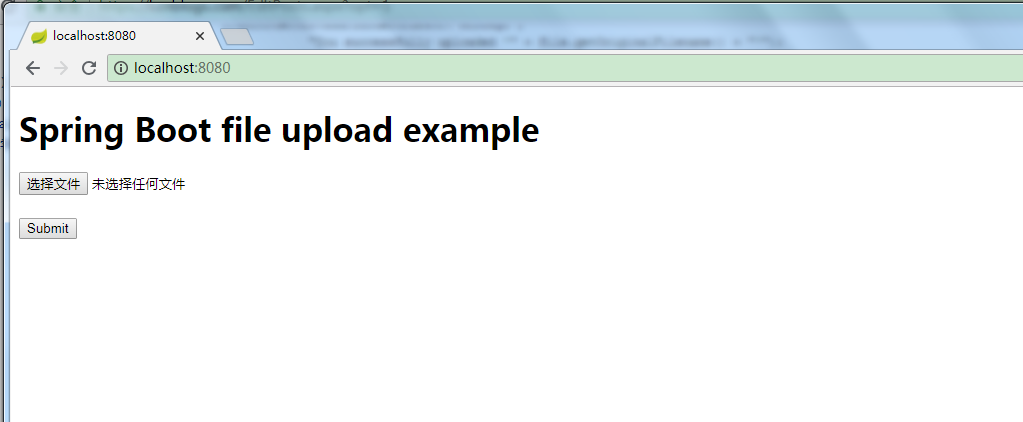
单个文件上传页面 upload.html:
    <!DOCTYPE html>

    <html xmlns:th="http://www.thymeleaf.org">

    <body>

    <h1>Spring Boot file upload example</h1>

    <form method="POST" action="/upload" enctype="multipart/form-data">

        <input type="file" name="file" /><br/><br/>

        <input type="submit" value="Submit" />

    </form>

    </body>

    </html>
多个文件上传页面 uploadMore.html:
<!DOCTYPE html>

    <html xmlns:th="http://www.thymeleaf.org">

    <body>

    <h1>Spring Boot files upload example</h1>

    <form method="POST" action="/uploadMore" enctype="multipart/form-data">

        <input type="file" name="file" /><br/><br/>

        <input type="file" name="file" /><br/><br/>

        <input type="file" name="file" /><br/><br/>

        <input type="submit" value="Submit" />

    </form>

    </body>

    </html>
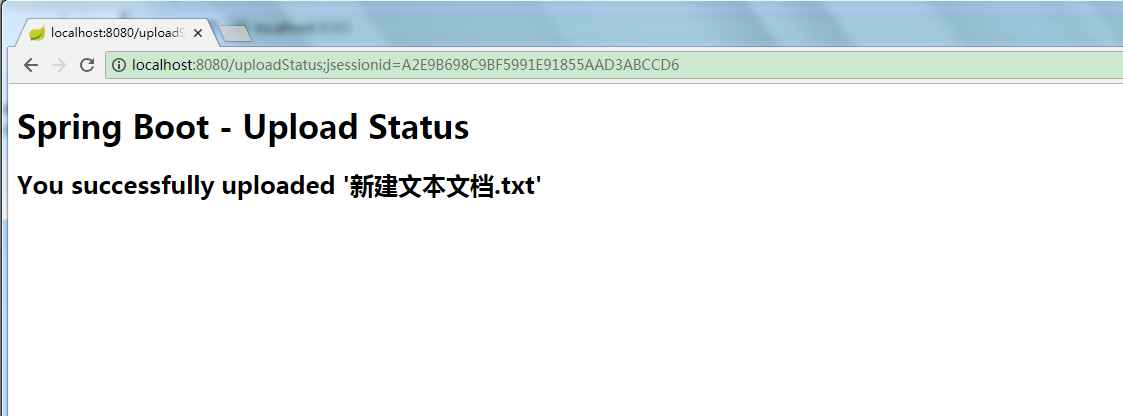
上传结果页面:uploadStatus.html
<!DOCTYPE html>

    <html lang="en" xmlns:th="http://www.thymeleaf.org">

    <body>

    <h1>Spring Boot - Upload Status</h1>

    <div th:if="${message}">

        <h2 th:text="${message}"/>

    </div>

    </body>

    </html>
5、后台上传控制类
@Controller

public class UploadController {

    //文件存储目录

    private String UPLOAD_PATH="E://temp//";

    //跳转上传页面

    @RequestMapping("/")

    public String index() {

        return "upload";

    }

    @GetMapping("/more")

    public String uploadMore() {

        return "uploadMore";

    }

    //多个文件上传

    @RequestMapping("/uploadMore")

    public String moreFileUpload(@RequestParam("file") MultipartFile[] files,RedirectAttributes redirectAttrs) {

        if(files.length ==0) {

            redirectAttrs.addFlashAttribute("message", "Please select a file to upload");

            return "redirect:uploadStatus";

        }

        for(MultipartFile file :files) {

            try {

                byte[] bytes = file.getBytes();

                Path path = Paths.get(UPLOAD_PATH+file.getOriginalFilename());

                Files.write(path, bytes);

            } catch (IOException e) {

                e.printStackTrace();

            }

        }

        redirectAttrs.addFlashAttribute("message",

                "You successfully uploaded all files");

        return "redirect:/uploadStatus";

    }

    //单个文件上传

    @PostMapping("/upload")

    public String singleFileUpload(@RequestParam("file") MultipartFile file,RedirectAttributes redirectAttrs) {

        if(file.isEmpty()) {

            redirectAttrs.addFlashAttribute("message", "Please select a file to upload");

            return "redirect:uploadStatus";

        }

        try {

            byte[] bytes = file.getBytes();

            Path path = Paths.get(UPLOAD_PATH+file.getOriginalFilename());

            Files.write(path, bytes);

            redirectAttrs.addFlashAttribute("message",

                        "You successfully uploaded '" + file.getOriginalFilename() + "'");

        } catch (IOException e) {

            e.printStackTrace();

        }

        return "redirect:/uploadStatus";

    }

    //跳转结果页面

    @RequestMapping("/uploadStatus")

    public String uploadStatus() {

        return "uploadStatus";

    }

}
6、运行启动类:FileUploadWebApplication
在浏览器访问:
多个文件上传:

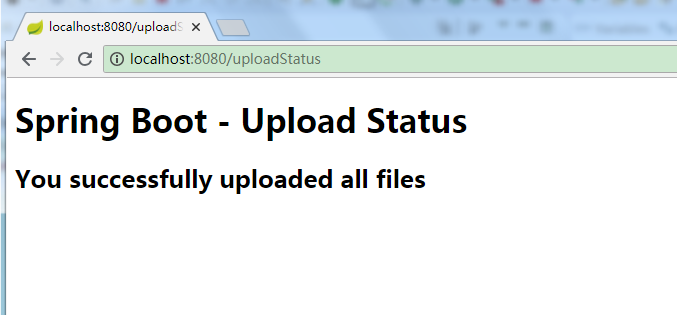
OK ,上传成功。
springboot笔记-文件上传的更多相关文章
- SpringBoot图文教程4—SpringBoot 实现文件上传下载
有天上飞的概念,就要有落地的实现 概念+代码实现是本文的特点,教程将涵盖完整的图文教程,代码案例 文章结尾配套自测面试题,学完技术自我测试更扎实 概念十遍不如代码一遍,朋友,希望你把文中所有的代码案例 ...
- SpringBoot 整合文件上传 elment Ui 上传组件
SpringBoot 整合文件上传 elment Ui 上传组件 本文章记录 自己学习使用 侵权必删! 前端代码 博主最近在学 elment Ui 所以 前端使用 elmentUi 的 upload ...
- springboot+web文件上传和下载
一.首先安装mysql数据库,开启web服务器. 二.pom.xml文件依赖包配置如下: <?xml version="1.0" encoding="UTF-8&q ...
- SpringBoot(3) 文件上传和访问
springboot文件上传 MultipartFile file,源自SpringMVC MultipartFile 对象的transferTo方法,用于文件保存(效率和操作比原先用FileOutS ...
- SpringBoot的文件上传
先在src/main/resources下新建一个static目录用以存放html页面,简单的html页面如下 <!DOCTYPE html> <html> <head& ...
- springBoot的文件上传功能
知识点: 后台:将上传的图片写入指定服务器路径,保存起来,返回上传后的图片路径(在springBoot中,参考博客:http://blog.csdn.net/change_on/article/det ...
- SpringBoot下文件上传与下载的实现
原文:http://blog.csdn.net/colton_null/article/details/76696674 SpringBoot后台如何实现文件上传下载? 最近做的一个项目涉及到文件上传 ...
- Angular14 利用Angular2实现文件上传的前端、利用springBoot实现文件上传的后台、跨域问题
一.angular2实现文件上传前端 Angular2使用ng2-file-upload上传文件,Angular2中有两个比较好用的上传文件的第三方库,一个是ng2-file-upload,一个是ng ...
- springboot 修改文件上传大小限制
springboot 1.5.9文件上传大小限制spring:http:multipart:maxFileSize:50MbmaxRequestSize:50Mb springboot 2.0文件上传 ...
随机推荐
- .net core 下载文件 其他格式
app.UseStaticFiles(); app.UseStaticFiles(new StaticFileOptions { //FileProvider = new PhysicalFilePr ...
- MFC:OnCreate PreCreateWindow PreSubclassWindow
OnCreate PreCreateWindow PreSubclassWindow PreCreateWindow和PreSubclassWindow是虚函数,而OnCreate是一个消息响应函数. ...
- 悲观锁,乐观锁以及MVCC
在上文中,我们探讨了MySQL不同存储引擎中的各类锁,在这篇文章中我们将要讨论的是MySQL是如何实现并发控制的.并发问题有三种,分别为: 读-读,不存在任何问题 读-写,有隔离性问题,可能遇到脏读( ...
- jQuery_复制操作
复制操作代码: <!DOCTYPE html> <html> <head> <meta charset="UTF-8"> <t ...
- [洛谷P5361][SDOI2019]热闹又尴尬的聚会:构造题
分析 构造方法 (截图自UOJ群) 可以使用std::set维护这个过程,不过据说可以做到\(O(n+m)\).. 正确性证明 题目中的要求等价于\((p+1)(q+1) > n\) 设每次找出 ...
- AcWing:106. 动态中位数(对顶堆)
依次读入一个整数序列,每当已经读入的整数个数为奇数时,输出已读入的整数构成的序列的中位数. 输入格式 第一行输入一个整数PP,代表后面数据集的个数,接下来若干行输入各个数据集. 每个数据集的第一行首先 ...
- JS框架_(JQuery.js)圆形多选菜单选项
百度云盘 传送门 密码:zb1c 圆形多选菜单选项效果: <!DOCTYPE html> <html lang="en" > <head> &l ...
- JS框架_(JQuery.js)Tooltip弹出式按钮插件
百度云盘 传送门 密码:7eh5 弹出式按钮效果 <!DOCTYPE html> <html > <head> <meta charset="UTF ...
- Spring Boot使用阿里云证书启用HTTPS
1.到阿里云下载证书页面下载证书 2.根据页面内容,可以使用2种证书:PFX JKS 把对应证书放到src/main/resources目录下 在application.properties文件中加入 ...
- Scala学习(四)——模式匹配与函数组合
函数组合 让我们创建两个函数: def f(s: String) = "f(" + s + ")" def g(s: String) = "g(&qu ...