
uniapp中前端canvas合成图片使用详解
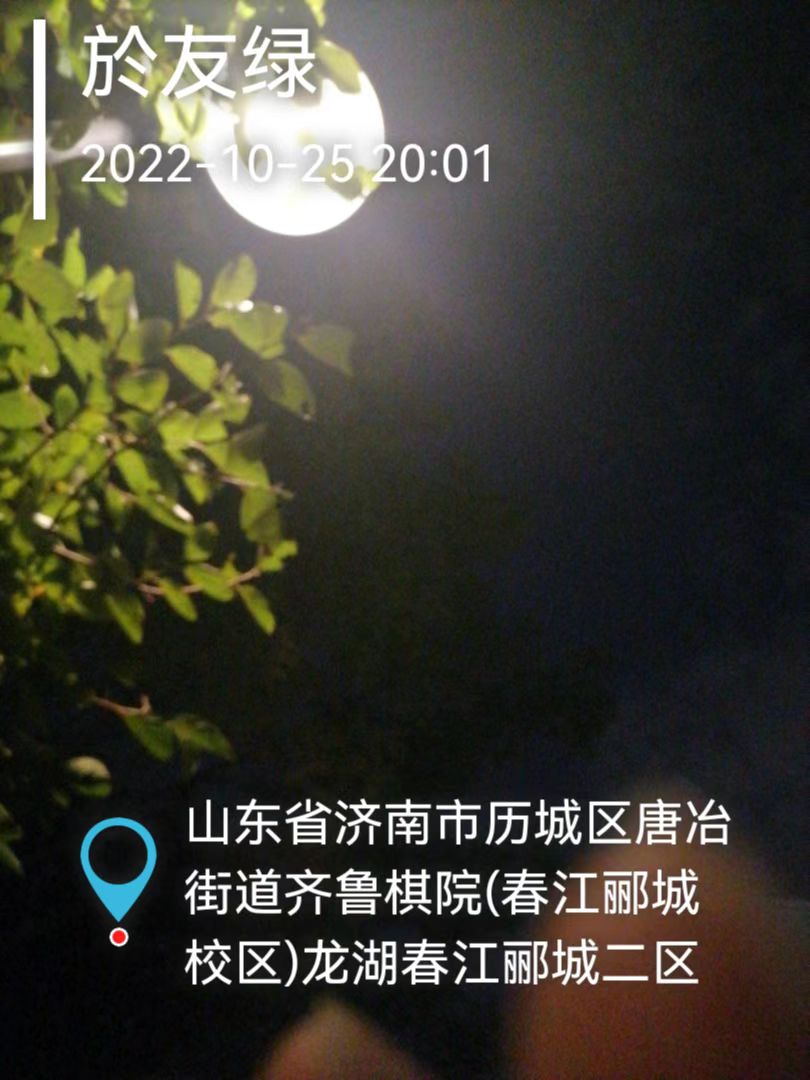
项目开发中用到了定位打卡,保存当前位置到上传图片的功能。刚开始想着后端人员合成,前端上传经纬度、位置信息和图片就OK,没想到后端人员以使用项目中现有的组件为借口,让前端合成图片,造成前端工作量大增,再加上网上前端合成水印的资料不是很多,被领导反复的摧残。幸得几位朋友指点迷津,一步步的钻研改进,最终完成图片水印合成的功能,适配横屏和竖屏图片、添加图片等比例压缩(否则图片太大画布会黑屏)、文字多行展示、uniapp图片控件转换、定时器的合理使用,效果图和核心代码如下。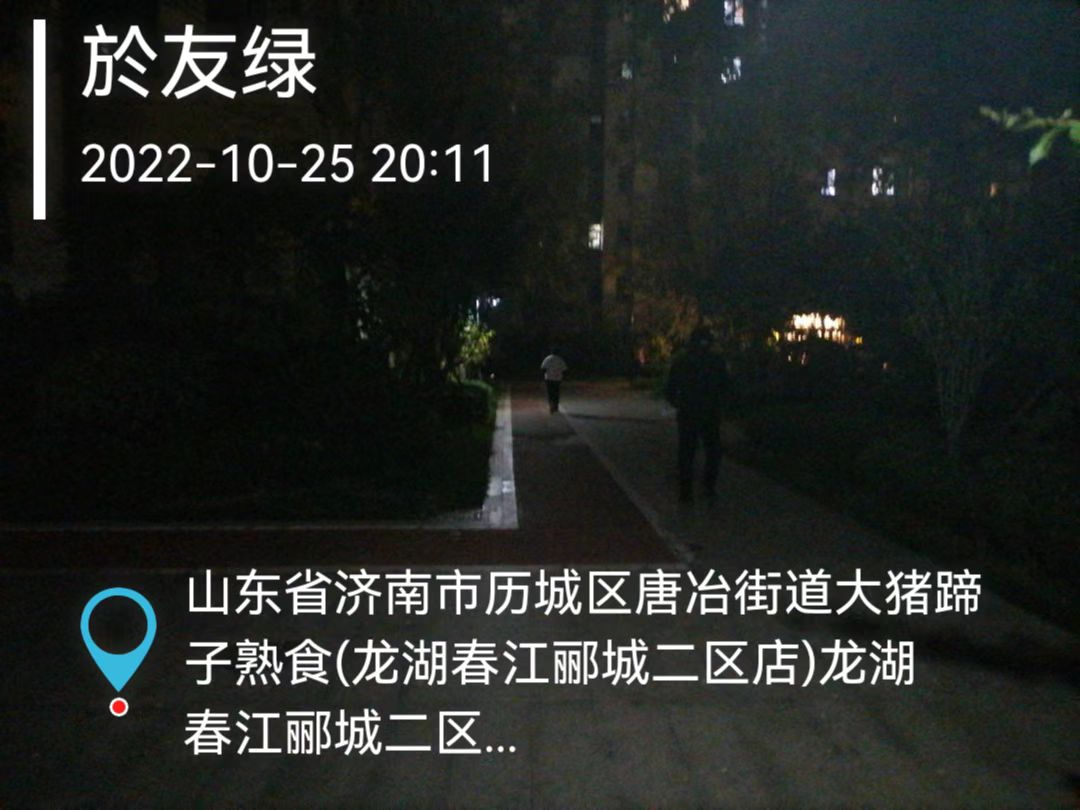
beforeUpload(index, list) {
let that = this
console.log('图片信息', list[0].file.size)
const imagesize=list[0].file.size
//水印信息添加 用户名 地址 时间
let ress = list[0].file
var name = that.$store.getters.userInfo.userName
var address = that.$store.getters.locationaddress
var time = that.createTimeComputed(list[0].file.lastModified)
if (!name) {
name = '测试'
}
if (!address) {
address = '济南'
}
if (!time) {
time = '20221019'
}
uni.getImageInfo({
src: list[0].url,
success: res => {
console.log('图片信息', res)
// that.imagewidth = res.width
// that.imageheight = res.height
var width = res.width;
var height = res.height;
//图片大小超过100k
if(imagesize>102400){
//按比例压缩2倍
var rate = (width < height ? width / height : height / width) / 2;
that.imagewidth = width * rate;
that.imageheight = height * rate;
}else{
that.imagewidth = width;
that.imageheight = height;
}
that.isshow = true
setTimeout(() => {
console.log('实际图片大小', that.imagewidth, that.imageheight)
let ctx = uni.createCanvasContext('firstCanvas', that); /** 创建画布 */
console.log('尺寸', ress.path)
console.log(ctx)
// ctx.beginPath()
//将图片src放到cancas内,宽高为图片大小
ctx.drawImage(ress.path, 0, 0, that.imagewidth, that.imageheight)
ctx.setFillStyle('#ffffff')
//ctx.rotate(30 * Math.PI / 180);
ctx.shadowColor = "#333"; // 阴影颜色
ctx.shadowOffsetX = 0; // 阴影x轴位移。正值向右,负值向左。
ctx.shadowOffsetY = 0; // 阴影y轴位移。正值向下,负值向上。
ctx.shadowBlur = 20; // 阴影模糊滤镜。数据越大,扩散程度越大。
ctx.setFontSize(40)
ctx.fillText(name, 40, 45)
ctx.setFontSize(20)
ctx.fillText(time, 40, 90)
ctx.lineTo()
//绘制竖线
ctx.beginPath();//开始绘制线条,若不使用beginPath,则不能绘制多条线条
ctx.lineWidth = 6;//设置线条宽度
ctx.strokeStyle = "#ffffff";//设置线条颜色
ctx.moveTo(20, 10);
ctx.lineTo(20, 110);
ctx.stroke();//用于绘制线条
ctx.closePath();//结束绘制线条,不是必须的
//绘制定位图标
uni.getImageInfo({
src: '/static/maplocation.png',
success: res => {
console.log('定位图片',res)
ctx.setFontSize(20)
//判断是横屏还是竖屏拍照,宽大于高是横屏
if(width>height){
this.toFormateStr(ctx, address, that.imagewidth - 80-10-res.width/2, 3, 40+10+res.width/2, that.imageheight - 100, 35)
ctx.drawImage(res.path, 40, that.imageheight - 90-res.height/2+that.linesNumber*30/2, res.width/2, res.height/2)
}else{
this.toFormateStr(ctx, address, that.imagewidth - 80-10-res.width/2, 4, 40+10+res.width/2, that.imageheight - 120, 35)
ctx.drawImage(res.path, 40, that.imageheight - 110-res.height/2+that.linesNumber*30/2, res.width/2, res.height/2)
}
ctx.draw(false, () => {
uni.showLoading({
title: "水印图片合成中,请稍后...",
mask: true
});
setTimeout(() => {
uni.canvasToTempFilePath({
canvasId: 'firstCanvas',
success: (res1) => {
that.src = res1.tempFilePath;
list[0].url = res1.tempFilePath
this.isshow = false
this.btnenabled = false
console.log('我绘制成功了', list)
uni.hideLoading();
},
fail(err) {
uni.hideLoading();
console.log(err)
}
}, that);
}, 3000)
});
},
fail: (res) => {
console.log('定位图片',res)
}
})
}, 1)
}
})
}
整理总结不易,如需全部代码,请联系我15098950589(微信同号)
uniapp中前端canvas合成图片使用详解的更多相关文章
- 用canvas实现图片滤镜效果详解之灰度效果
前面展示了一些canvas实现图片滤镜效果的展示,并且给出了相应的算法,下面来介绍一下具体的实现方法. 前面介绍的特效中灰度效果最简单,就从这里开始介绍吧. 1.获取图像数据 img.src = ’h ...
- 用canvas实现图片滤镜效果详解之视频效果
这是一个很有意思的特效,模拟摄像机拍摄电视屏幕画面时出现点状颗粒的效果.颗粒的大小通过变换矩阵实现,可以任意调节,有兴趣研究的朋友可以尝试更多的效果,代码没有经过优化,只是一个粗糙的Demo,大家可以 ...
- 通过canvas合成图片
通过canvas合成图片 效果图 页面布局部分 两个图片以及一个canvas画布 <img src="https://qnlite.gtimg.com/qqnewslite/20190 ...
- Springboot项目中 前端展示本地图片
Springboot项目中 前端展示本地图片 本文使用的是Springboot官方推荐的thymeleaf(一种页面模板技术) 首先在pom文件加依赖 <dependency> <g ...
- [转帖]前端-chromeF12 谷歌开发者工具详解 Console篇
前端-chromeF12 谷歌开发者工具详解 Console篇 https://blog.csdn.net/qq_39892932/article/details/82655866 趁着搞 cloud ...
- CSS中的ul与li样式详解
CSS中的ul与li样式详解ul和li列表是使用CSS布局页面时常用的元素.在CSS中,有专门控制列表表现的属性,常用的有list-style-type属性.list-style-image属性.li ...
- [转帖]前端-chromeF12 谷歌开发者工具详解 Network篇
前端-chromeF12 谷歌开发者工具详解 Network篇 https://blog.csdn.net/qq_39892932/article/details/82493922 blog 也是原作 ...
- [转帖]前端-chromeF12 谷歌开发者工具详解 Sources篇
前端-chromeF12 谷歌开发者工具详解 Sources篇 原贴地址:https://blog.csdn.net/qq_39892932/article/details/82498748 cons ...
- Linux中redis安装配置及使用详解
Linux中redis安装配置及使用详解 一. Redis基本知识 1.Redis 的数据类型 字符串 , 列表 (lists) , 集合 (sets) , 有序集合 (sorts sets) , 哈 ...
- PNG,JPEG,BMP,JIF图片格式详解及其对比
原文地址:http://blog.csdn.net/u012611878/article/details/52215985 图片格式详解 不知道大家有没有注意过网页里,手机里,平板里的图片,事实上,图 ...
随机推荐
- Jmeter函数助手17-StringtoFile
StringtoFile函数用于将字符串写入文件 Path to file (absolute):将写入的文件路径 String to write:要写入的字符 Append to file (tru ...
- 利用sql查出的结果集重新生成一张虚拟表
"select * from ( SELECT mc.id,mc.sn,mc.updated,mc.client_name,mc.brand,mc.mileage,mc.displace,m ...
- 遥遥领先!鲲鹏ARM架构下国产数据同步能力大幅提升16.9倍
在上篇文章<2.6倍!WhaleTunnel客户POC实景对弈DataX>发布之后,一个客户突然向我们控诉其苦DataX久矣,因为是在信创的鲲鹏ARM CPU上运行 ,每天同步需要很长时间 ...
- 20-canvas之形变
1 <!DOCTYPE html> 2 <html lang="en"> 3 <head> 4 <meta charset="U ...
- apollo配置动态更新
简单配置 使用@Value注解的配置会自动刷新配置 复杂对象 @Component("systemConfig") @ConfigurationProperties(prefix ...
- 2.2 Memory model
1. 内存区域.类型及属性 内存被分成不同的区域,不同区域有着不同的类型及属性:内存的类型及属性决定着访问这些区域时的行为. 内存的类型有: Normal,处理器可以为了效率而重新排序事务,或者执行推 ...
- Nuitka打包
Nuitka打包PySide6/PyQt 本文仅供本人知识总结使用,所以内容会比较浅显,不喜勿喷. 文章目录 Nuitka打包PySide6/PyQt 一.需要C++编译器 二.安装Nuitka 三. ...
- Tomcat的配置文件中有哪些关键的配置项,它们分别有什么作用?
Tomcat的配置文件主要包括server.xml和web.xml,它们位于Tomcat安装目录下的conf文件夹中.今天的内容重点介绍 server.xml 文件的配置,V 哥会结合一些业务场景来介 ...
- 我的 mac 生产力工具
应用名称 说明 安装命令 Homebrew mac 上的强大包管理器 /bin/bash -c "$(curl -fsSL https://raw.githubusercontent.com ...
- Docker Windows 下的绑定挂载
在 Windows 环境下进行绑定挂载时,需要注意路径的写法,需要使用 Windows 风格 (C:\xxx\xxx) 的路径,而不是 Cygwin (/c/xxx/xxx) 风格的路径.这一点在使用 ...