Linux系统系统盘扩容
在Linux学习过程中,可能会遇到根目录存储空间不足的问题,这时候如果只是新增一块硬盘并挂载到某个目录上,还需要将数据转移至新的硬盘中才能缓解存储压力。这种操作未免有些繁琐,那可不可以直接对跟目录进行扩容呢?当然是可以的,接下来就给大家介绍操作步骤:
实验环境:RHEL7系统(默认已部署LVM)、VMware Workstation 12虚拟软件
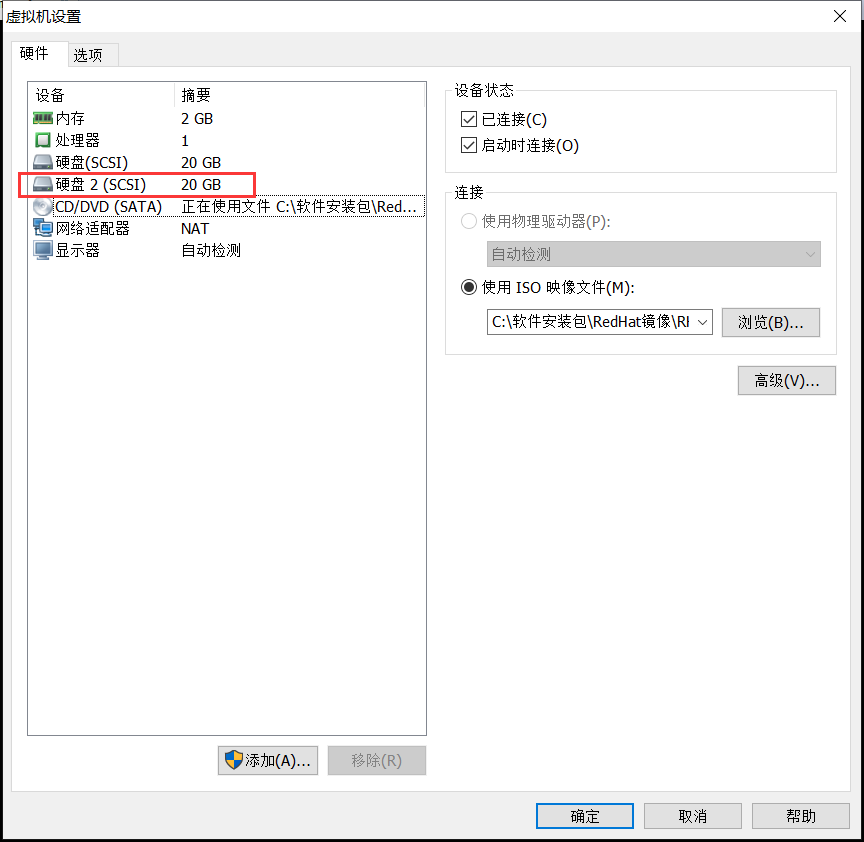
第1步:给虚拟机新增一块20GB的硬盘
第2步:查看系统盘的分区类型,最后记得输入q不保存退出
[root@linuxprobe ~]# fdisk /dev/sda

Welcome to fdisk (util-linux 2.23.).

Changes will remain in memory only, until you decide to write them.

Be careful before using the write command.

Command (m for help): p      //输入p查看分区信息

Disk /dev/sda: 21.5 GB,  bytes,  sectors

Units = sectors of  *  =  bytes

Sector size (logical/physical):  bytes /  bytes

I/O size (minimum/optimal):  bytes /  bytes

Disk label type: dos

Disk identifier: 0x00091636

   Device Boot      Start         End      Blocks   Id  System

/dev/sda1   *                        Linux

/dev/sda2                    8e  Linux LVM    //分区类型为Linux LVM
Command (m for help): q //输入q不保存退出
第3步:对新硬盘进行分区,并设置分区类型
[root@linuxprobe ~]# fdisk /dev/sdb

Welcome to fdisk (util-linux 2.23.).

Changes will remain in memory only, until you decide to write them.

Be careful before using the write command.

Command (m for help): n    //添加一个新分区

Partition type:

   p   primary ( primary,  extended,  free)

   e   extended

Select (default p): p    //主分区

Partition number (-, default ): 1    //分区编号为1

First sector (-, default ): <此处按下回车键>

Using default value

Last sector, +sectors or +size{K,M,G} (-, default ): +10G    //分区大小为10GB

Partition  of type Linux and of size  GiB is set

Command (m for help): p    //再次查看分区信息

Disk /dev/sdb: 21.5 GB,  bytes,  sectors

Units = sectors of  *  =  bytes

Sector size (logical/physical):  bytes /  bytes

I/O size (minimum/optimal):  bytes /  bytes

Disk label type: dos

Disk identifier: 0x1894a517

   Device Boot      Start         End      Blocks   Id  System

/dev/sdb1                         Linux     //新的分区添加成功,不过分区类型不对

Command (m for help): t   //变更分区的类型

Selected partition

Hex code (type L to list all codes): 8e    //输入8e即"Linux LVM"

Changed type of partition 'Linux' to 'Linux LVM'

Command (m for help): p     //再次查看分区信息

Disk /dev/sdb: 21.5 GB,  bytes,  sectors

Units = sectors of  *  =  bytes

Sector size (logical/physical):  bytes /  bytes

I/O size (minimum/optimal):  bytes /  bytes

Disk label type: dos

Disk identifier: 0x1894a517

   Device Boot      Start         End      Blocks   Id  System

/dev/sdb1                       8e  Linux LVM   //分区类型变更成功,与系统分区一致

Command (m for help): w      //最后记得要保存退出

The partition table has been altered!

Calling ioctl() to re-read partition table.

Syncing disks.
第4步:让新添加的硬盘分区支持LVM技术
[root@linuxprobe ~]# pvcreate /dev/sdb1

  Physical volume "/dev/sdb1" successfully created
第5步:查看当前系统的卷组,并将/dev/sdb1硬盘分区加入到卷组中
[root@linuxprobe ~]# vgdisplay

  --- Volume group ---

  VG Name               rhel    //卷组名为"rhel"

  System ID

  Format                lvm2

  Metadata Areas

  Metadata Sequence No

  VG Access             read/write

  VG Status             resizable

  MAX LV

  Cur LV

  Open LV

  Max PV

  Cur PV

  Act PV

  VG Size               19.51 GiB     //卷组的总容量大小

  PE Size               4.00 MiB

  Total PE

  Alloc PE / Size        / 19.51 GiB

  Free  PE / Size        /

  VG UUID               mGomiV-U0sF-wKii-YxOh-V7Gw-VEQ4-yIkcRD

[root@linuxprobe ~]# vgextend rhel /dev/sdb1         //把/dev/sdb1硬盘分区加入到rhel卷组中

  Volume group "rhel" successfully extended

[root@linuxprobe ~]# vgdisplay

  --- Volume group ---

  VG Name               rhel

  System ID

  Format                lvm2

  Metadata Areas

  Metadata Sequence No

  VG Access             read/write

  VG Status             resizable

  MAX LV

  Cur LV

  Open LV

  Max PV

  Cur PV

  Act PV

  VG Size               29.50 GiB      //卷组的容量增大了10GB

  PE Size               4.00 MiB

  Total PE

  Alloc PE / Size        / 19.51 GiB

  Free  PE / Size        / 10.00 GiB

  VG UUID               mGomiV-U0sF-wKii-YxOh-V7Gw-VEQ4-yIkcRD
第6步:查看当前逻辑卷信息
[root@linuxprobe ~]# lvdisplay

  --- Logical volume ---

  LV Path                /dev/rhel/swap    //用来充当SWAP分区,我们这里不管它

  LV Name                swap

  VG Name                rhel

  LV UUID                d2gNWI-6Oin-9Q3r-OGLp-0nf5-0Dun-Z8EvgS

  LV Write Access        read/write

  LV Creation host, time localhost, -- :: +

  LV Status              available

  # open

  LV Size                2.00 GiB

  Current LE

  Segments

  Allocation             inherit

  Read ahead sectors     auto

  - currently set to

  Block device           :

  --- Logical volume ---

  LV Path                /dev/rhel/root   //该逻辑卷实际就是Linux系统盘,我们将对它进行扩容

  LV Name                root     //逻辑卷名为root

  VG Name                rhel

  LV UUID                rI6Xvu-eCJx-0WFO-TuUj-LQWM-WuUc-3uE6zc

  LV Write Access        read/write

  LV Creation host, time localhost, -- :: +

  LV Status              available

  # open

  LV Size                17.51 GiB   //逻辑卷的大小,即系统盘大小

  Current LE

  Segments

  Allocation             inherit

  Read ahead sectors     auto

  - currently set to

  Block device           :
第7步:对root逻辑卷进行扩容操作
[root@linuxprobe ~]# lvextend -L +10G /dev/rhel/root

  Extending logical volume root to 27.51 GiB

  Insufficient free space:  extents needed, but only  available   //显示实际空闲容量不足10GB,比10GB稍微小一点点

[root@linuxprobe ~]# lvextend -L +5G /dev/rhel/root    //这里我们先扩容5GB

  Extending logical volume root to 22.51 GiB

  Logical volume root successfully resized

[root@linuxprobe ~]# lvdisplay

----------------省略部分输出内容------------------------

  --- Logical volume ---

  LV Path                /dev/rhel/root

  LV Name                root

  VG Name                rhel

  LV UUID                rI6Xvu-eCJx-0WFO-TuUj-LQWM-WuUc-3uE6zc

  LV Write Access        read/write

  LV Creation host, time localhost, -- :: +

  LV Status              available

  # open

  LV Size                22.51 GiB   //容量已从17.51GB提升至22.51GB

  Current LE

  Segments

  Allocation             inherit

  Read ahead sectors     auto

  - currently set to

  Block device           :
第8步:重置root逻辑卷的大小。xfs系统不需要先umount操作
[root@linuxprobe ~]# df -h

Filesystem             Size  Used Avail Use% Mounted on

/dev/mapper/rhel-root   18G  .1G   15G  % /           //重置之前,先查看当前系统盘的大小,此时显示为18GB

devtmpfs               985M       985M   % /dev

tmpfs                  994M   80K  994M   % /dev/shm

tmpfs                  994M  8.9M  986M   % /run

tmpfs                  994M       994M   % /sys/fs/cgroup

/dev/sr0               .5G  .5G      % /media/cdrom

/dev/sda1              497M  119M  379M  % /boot

[root@linuxprobe ~]# xfs_growfs /dev/rhel/root        //重置root逻辑卷大小

meta-data=/dev/mapper/rhel-root  isize=    agcount=, agsize= blks

         =                       sectsz=   attr=, projid32bit=

         =                       crc=

data     =                       bsize=   blocks=, imaxpct=

         =                       sunit=      swidth= blks

naming   =version               bsize=   ascii-ci= ftype=

log      =internal               bsize=   blocks=, version=

         =                       sectsz=   sunit= blks, lazy-count=

realtime =none                   extsz=   blocks=, rtextents=

data blocks changed from  to

[root@linuxprobe ~]# df -h

Filesystem             Size  Used Avail Use% Mounted on

/dev/mapper/rhel-root   23G  .1G   20G  % /       //系统盘成功扩容至23G,增加了5GB容量,且重启依然生效

devtmpfs               985M       985M   % /dev

tmpfs                  994M   80K  994M   % /dev/shm

tmpfs                  994M  8.9M  986M   % /run

tmpfs                  994M       994M   % /sys/fs/cgroup

/dev/sr0               .5G  .5G      % /media/cdrom

/dev/sda1              497M  119M  379M  % /boot
至此,Linux系统盘扩容操作完毕。
知识补充:
1、重置逻辑卷命令 "xfs_growfs /dev/rhel/root" 和 "xfs_growfs /dev/mapper/rhel-root" 效果一样;
2、如果是ext4文件系统,重置命令为"resize2fs /dev/rhel/root";
3、xfs文件系统只能扩容,不允许缩容。
[root@linuxprobe ~]# pvs

  PV         VG   Fmt  Attr PSize  PFree

  /dev/sda2  rhel lvm2 a--  .51g

  /dev/sdb1  rhel lvm2 a--  .00g .00g      //还省5GB空闲容量
Linux系统系统盘扩容的更多相关文章
- Linux系统硬盘扩容
参考教程:https://www.jb51.net/article/144291.htm 1.查看硬盘已经用了99% $ df -h #查看硬盘已经使用了99% 文件系统 容量 已用 可用 已用% 挂 ...
- Oracle VM VirtualBox虚拟机内Linux系统硬盘扩容步骤(CentOS6.5)
1.首先获取要扩容的虚拟机的 UUID VBoxManage 改命令在C:\Program Files\Oracle\VirtualBox目录内,可先添加该目录到环境变量.C:\Users\yzkj- ...
- linux LVM 系统盘扩容
1.fdisk /dev/sda2.输入n,开始创建新分区3.输入p4.输入w5.mkfs.ext4 /dev/sda36.pvcreate /dev/sda37.vgdisplay 查看VG nam ...
- Linux系统盘扩容-物理机非虚拟机
# Linux系统盘扩容 ## 了解磁盘分区情况 - `blkid` 查看分区情况- `fdisk -l` 分区表 ## 系统挂载分区 - `/etc/fstab` 启动挂载分区情况 ## 双系统下分 ...
- Linux系统LVM分区减容扩容
Linux系统LVM分区减容扩容 目标:将VolGroup-lv_home缩小到20G,并将剩余的空间添加给VolGroup-lv_root 1.首先查看磁盘使用情况 [root@localhost ...
- linux 系统扩容 VMware Centos---VMware ESXi
用到的命令 df fdisk pvcreate pvdisplay vgdisplay vgextend lvdisplay lvextend resize2fs 0 ...
- 虚拟机linux系统 硬盘/root路径扩容
调整完后,重新打开虚拟机,使用fdisk -l查看,可以看到我们刚刚扩容的空间已经可以看到,但没有分区,还不能使用./dev/sda已经拥有了扩大的空间. 使用Linux的fdisk分区工具给磁盘/d ...
- centos7下使用LVM给系统硬盘扩容超详细
简单介绍: LVM是逻辑盘卷管理(Logical Volume Manager)的简称,它是Linux环境下对磁盘分区进行管理的一种机制,LVM是建立在硬盘和分区之上的一个逻辑层,来提高磁盘分区管理的 ...
- 【转载】CentOS7下使用LVM给系统硬盘扩容
原文地址:https://www.cnblogs.com/ding2016/p/9680690.html 简单介绍: LVM是逻辑盘卷管理(Logical Volume Manager)的简称,它是L ...
随机推荐
- mongo rename collection
db.getCollection('a').renameCollection("b"); db.getCollection('a').find({}, {_id: 0}).forE ...
- springboot学习笔记:7.IDEA下5步完成热部署配置
开发工具IDEA 2017.02 JDK1.8 1.pom.xml中增加: <dependency> <groupId>org.springframework.boot&l ...
- mysql索引详细介绍
博客: https://blog.csdn.net/tongdanping/article/details/79878302#%E4%B8%89%E3%80%81%E7%B4%A2%E5%BC%95% ...
- [LC] 242. Valid Anagram
Given two strings s and t , write a function to determine if t is an anagram of s. Example 1: Input: ...
- spring security梳理
核心服务:AuthenticationManager,UserDetailsService和AccessDecisionManager The AuthenticationManager, Provi ...
- Halcon算子函数
Chapter_1_:Classification 1.1 Gaussian-Mixture-Models 1.add_sample_class_gmm 功能:把一個訓練樣本添加到一個高斯混合模型的 ...
- ZOJ-1177-K-Magic Number
就是分别以1到9作为开头构造结果,取最小答案.看了参考书之后才做出来,对参考书上的代码进行了一些改进 Accepted 1177 C++11 0 408 #include "bits/std ...
- springdatajpa 认识以及使用方式
1.spingdatajpa是什么? Spring Data JPA 是 Spring 基于 ORM 框架.JPA 规范的基础上封装的一套JPA应用框架(即上述的:JPA的实现产品),可使开发者用极简 ...
- cas单点登录打包时下载慢!
环境:win10 百度网盘下载 版本: cas-overlay-template-5.3 提取码 d1b6 添加阿里的到pom.xml 注意添加到第一列 <!--阿里云仓库--& ...
- Spring+Struts2+Mybatis整合
1. 创建项目 2. 添加Spring能力 使用MyEclipse自动加载Struts2和Spring的jar包和配置文件,并在web.xml文件中添加上下文和监听器 web.xml文件如下: < ...