底部导航栏实现一 Fragment-replace
【效果】(这里下载的软件收费的试用有水印)

【推荐】这里推荐一个图标网http://iconfont.cn/。以上图标来自此图标网
【项目结构】

【步骤】
①创建布局文件,写底部导航栏
 <?xml version="1.0" encoding="utf-8"?>

 <LinearLayout xmlns:android="http://schemas.android.com/apk/res/android"

     xmlns:app="http://schemas.android.com/apk/res-auto"

     xmlns:tools="http://schemas.android.com/tools"

     android:layout_width="match_parent"

     android:layout_height="match_parent"

     tools:context=".MainActivity"

     android:orientation="vertical">

     <RelativeLayout

         android:id="@+id/rl_content"

         android:layout_width="match_parent"

         android:layout_height="0dp"

         android:layout_weight="1">

        <!--这里设置权重weight为1, 下面不设置权重。-->

         <!--意思是,剩余的位置全都是RelativeLayout的-->

     </RelativeLayout>

     <TextView

         android:layout_width="match_parent"

         android:layout_height="1dp"

         android:background="#797878"/>

     <LinearLayout

         android:layout_width="match_parent"

         android:layout_height="80dp"

         android:orientation="horizontal">

         <LinearLayout

             android:id="@+id/item1"

             android:layout_width="0dp"

             android:layout_weight="1"

             android:layout_height="match_parent"

             android:orientation="vertical">

             <ImageView

                 android:id="@+id/item1_iv"

                 android:layout_width="match_parent"

                 android:layout_height="0dp"

                 android:layout_weight="3"

                 android:layout_margin="3dp"

                 android:scaleType="fitCenter"

                 android:src="@drawable/wxb"

                 android:padding="1dp"/>

             <TextView

                 android:id="@+id/item1_tv"

                 android:text="女王"

                 android:textSize="16sp"

                 android:layout_width="match_parent"

                 android:layout_height="0dp"

                 android:layout_weight="1"

                 android:gravity="center"/>

         </LinearLayout>

         <LinearLayout

             android:id="@+id/item2"

             android:layout_width="0dp"

             android:layout_weight="1"

             android:layout_height="match_parent"

             android:orientation="vertical">

             <ImageView

                 android:id="@+id/item2_iv"

                 android:layout_width="match_parent"

                 android:layout_height="0dp"

                 android:layout_weight="3"

                 android:layout_margin="3dp"

                 android:scaleType="fitCenter"

                 android:src="@drawable/meizhuang"

                 android:padding="4dp"/>

             <TextView

                 android:id="@+id/item2_tv"

                 android:text="美妆"

                 android:textSize="16sp"

                 android:layout_width="match_parent"

                 android:layout_height="0dp"

                 android:layout_weight="1"

                 android:gravity="center"/>

         </LinearLayout>

         <LinearLayout

             android:id="@+id/item3"

             android:layout_width="0dp"

             android:layout_weight="1"

             android:layout_height="match_parent"

             android:orientation="vertical">

             <ImageView

                 android:id="@+id/item3_iv"

                 android:layout_width="match_parent"

                 android:layout_height="0dp"

                 android:layout_weight="3"

                 android:layout_margin="3dp"

                 android:scaleType="fitCenter"

                 android:src="@drawable/fuzhuang"

                 android:padding="5dp"/>

             <TextView

                 android:id="@+id/item3_tv"

                 android:text="衣帽"

                 android:textSize="16sp"

                 android:layout_width="match_parent"

                 android:layout_height="0dp"

                 android:layout_weight="1"

                 android:gravity="center" />

         </LinearLayout>

         <LinearLayout

             android:id="@+id/item4"

             android:layout_width="0dp"

             android:layout_weight="1"

             android:layout_height="match_parent"

             android:orientation="vertical">

             <ImageView

                 android:id="@+id/item4_iv"

                 android:layout_width="match_parent"

                 android:layout_height="0dp"

                 android:layout_weight="3"

                 android:layout_margin="3dp"

                 android:scaleType="fitCenter"

                 android:src="@drawable/xiebaopeishi"

                 android:padding="3dp"/>

             <TextView

                 android:id="@+id/item4_tv"

                 android:text="鞋包"

                 android:textSize="16sp"

                 android:layout_width="match_parent"

                 android:layout_height="0dp"

                 android:layout_weight="1"

                 android:gravity="center" />

         </LinearLayout>

     </LinearLayout>

 </LinearLayout>
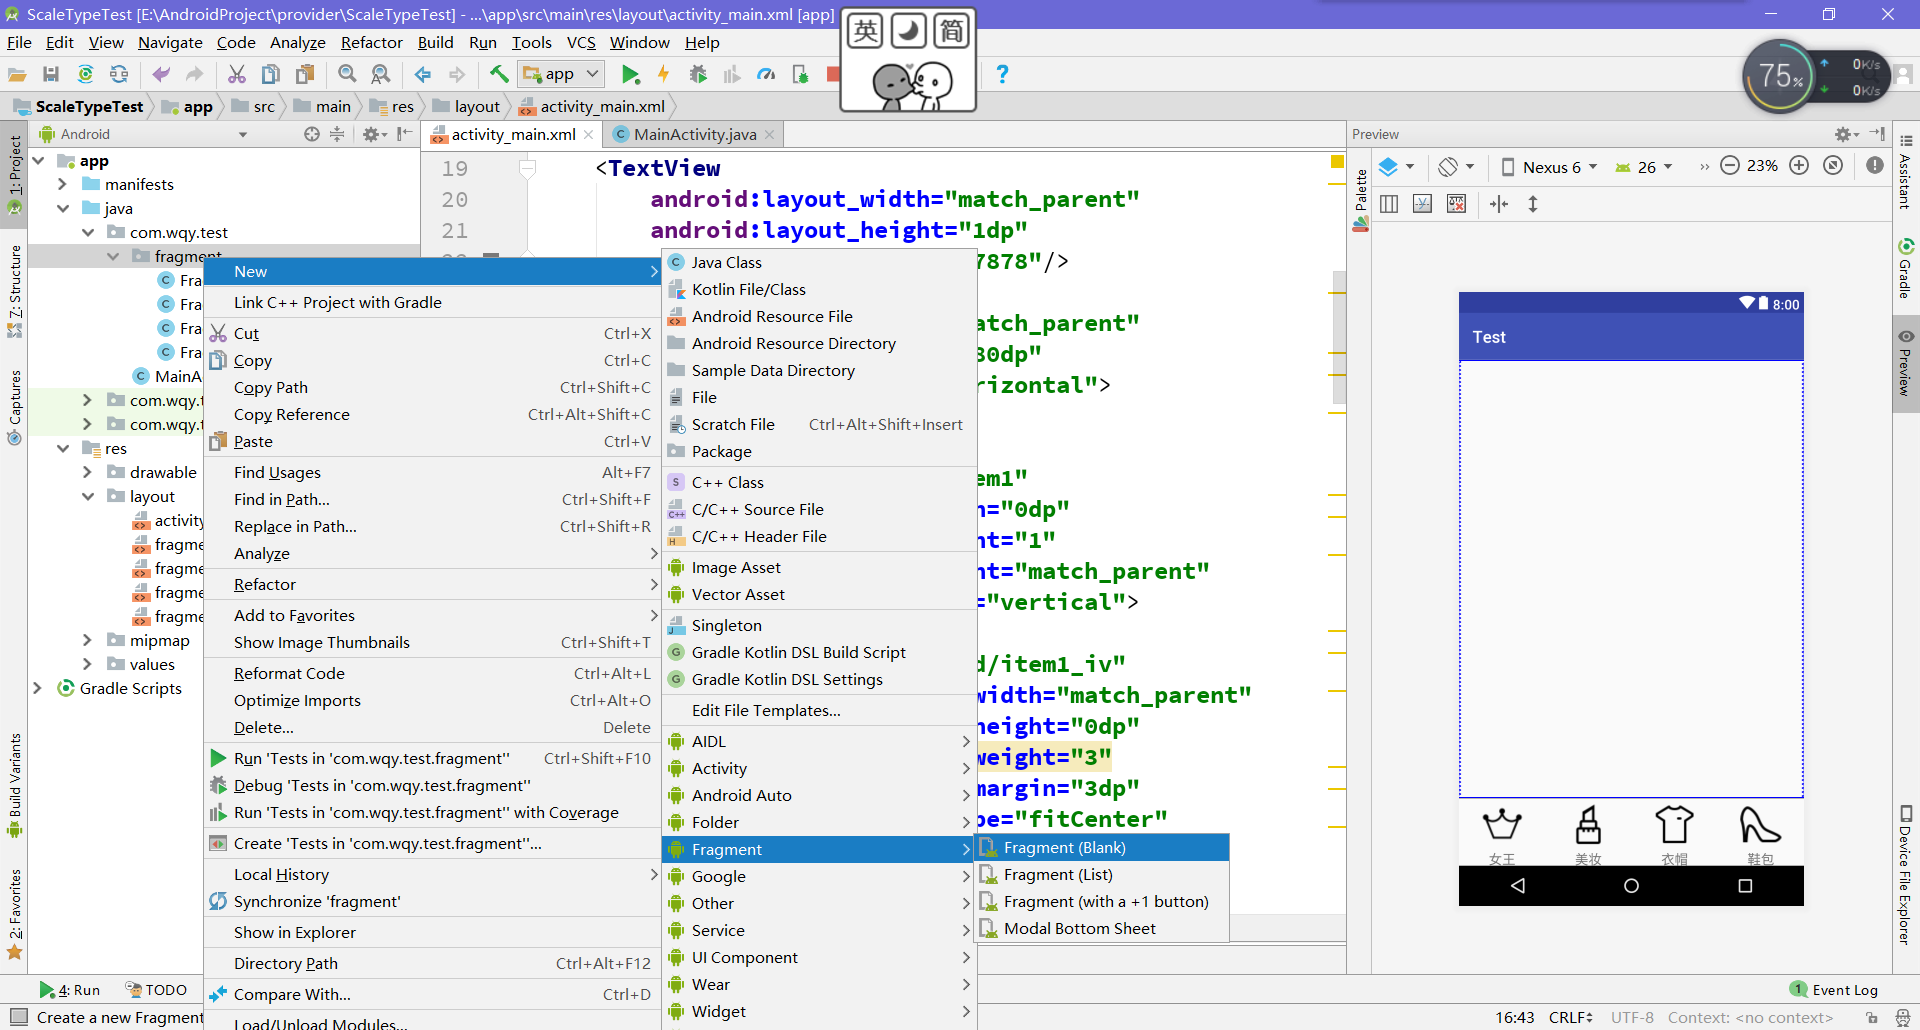
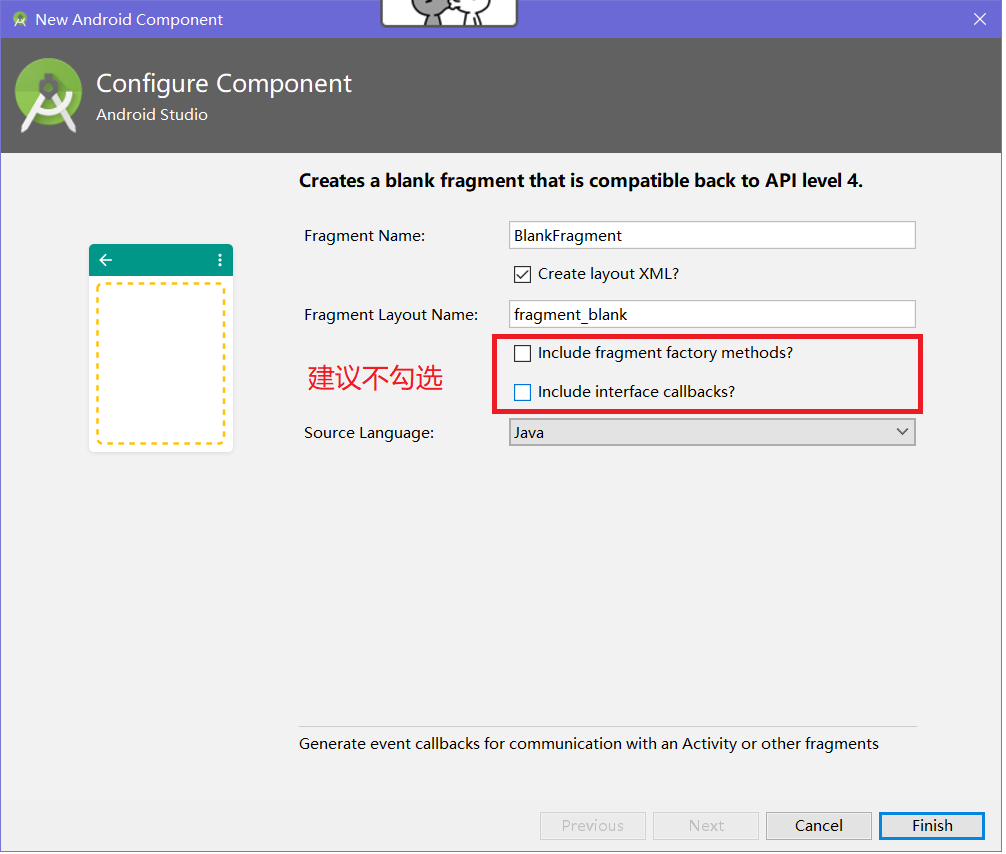
②定义Fragment
【提示】可以通过下图方式创建
 public class FragmentA extends Fragment {

     public FragmentA() {

         // Required empty public constructor

     }

     @Override

     public View onCreateView(LayoutInflater inflater, ViewGroup container,

                              Bundle savedInstanceState) {

         // Inflate the layout for this fragment

         return inflater.inflate(R.layout.fragment_a, container, false);

     }

 }
对于生成的Fragment不用作修改,对应的布局中设置一个背景颜色便于观察。
③MainActivity代码的编写
 public class MainActivity extends AppCompatActivity implements View.OnClickListener{

     private FragmentManager fragmentManager;

     private RelativeLayout rl_content;

     private ImageView item1_iv,item2_iv,item3_iv,item4_iv;

     private TextView item1_tv,item2_tv,item3_tv,item4_tv;

     private LinearLayout item1,item2,item3,item4;

     private ImageView[] ivs;

     private TextView[] tvs;

     @Override

     protected void onCreate(Bundle savedInstanceState) {

         super.onCreate(savedInstanceState);

         setContentView(R.layout.activity_main);

         initView();

         fragmentManager = getSupportFragmentManager();

         initListener();

     }

     private void initListener() {

         item1.setOnClickListener(this);

         item2.setOnClickListener(this);

         item3.setOnClickListener(this);

         item4.setOnClickListener(this);

     }

     private void initView() {

         rl_content = (RelativeLayout) findViewById(R.id.rl_content);

         item1_iv = (ImageView) findViewById(R.id.item1_iv);

         item1_tv = (TextView) findViewById(R.id.item1_tv);

         item1 = (LinearLayout) findViewById(R.id.item1);

         item2_iv = (ImageView) findViewById(R.id.item2_iv);

         item2_tv = (TextView) findViewById(R.id.item2_tv);

         item2 = (LinearLayout) findViewById(R.id.item2);

         item3_iv = (ImageView) findViewById(R.id.item3_iv);

         item3_tv = (TextView) findViewById(R.id.item3_tv);

         item3 = (LinearLayout) findViewById(R.id.item3);

         item4_iv = (ImageView) findViewById(R.id.item4_iv);

         item4_tv = (TextView) findViewById(R.id.item4_tv);

         item4 = (LinearLayout) findViewById(R.id.item4);

         ivs = new ImageView[]{item1_iv,item2_iv,item3_iv,item4_iv};

         tvs = new TextView[]{item1_tv,item2_tv,item3_tv,item4_tv};

     }

     @Override

     public void onClick(View view) {

         switch (view.getId()){

             case R.id.item1: {

                 FragmentTransaction transaction = fragmentManager.beginTransaction();//创建一个事务

                 transaction.replace(R.id.rl_content,new FragmentA());

                 transaction.commit();//事务一定要提交,replace才会有效

                 setCheck(0);//自定义方法

                 break;

             }

             case R.id.item2: {

                 FragmentTransaction transaction = fragmentManager.beginTransaction();

                 transaction.replace(R.id.rl_content,new FragmentB());

                 transaction.commit();

                 setCheck(1);

                 break;

             }

             case R.id.item3: {

                 FragmentTransaction transaction = fragmentManager.beginTransaction();

                 transaction.replace(R.id.rl_content,new FragmentC());

                 transaction.commit();

                 setCheck(2);

                 break;

             }

             case R.id.item4: {

                 FragmentTransaction transaction = fragmentManager.beginTransaction();

                 transaction.replace(R.id.rl_content,new FragmentD());

                 transaction.commit();

                 setCheck(3);

                 break;

             }

             default:break;

         }

     }

     public void setCheck(int itemId){

         //这个方法设置底部导航栏选中时的效果

         for (int i = 0; i < 4; i++) {

             ivs[i].setColorFilter(Color.parseColor("#0f0f0f"));

             tvs[i].setTextColor(Color.parseColor("#0f0f0f"));

         }

         ivs[itemId].setColorFilter(Color.GREEN);

         tvs[itemId].setTextColor(Color.GREEN);

     }

 }
【提示】①这里的点击事件是通过Activity实现Onclick接口的方式
②getSupportFragmentManager()是v4包中的,兼容效果好,如果用getFragmentManager()可能会崩掉
③FragmentManager只需要获取一次,但是事务FragmentTransaction要重新开启。最后事务一定要提交commit。
④方法setCheck是为了设置导航的被选中效果。
底部导航栏实现一 Fragment-replace的更多相关文章
- AndroidStudio制作底部导航栏以及用Fragment实现切换功能
前言 大家好,给大家带来AndroidStudio制作底部导航栏以及用Fragment实现切换功能的概述,希望你们喜欢 学习目标 AndroidStudio制作底部导航栏以及用Fragment实现切换 ...
- TextView+Fragment实现底部导航栏
前言:项目第二版刚上线没多久,产品又对需求进行了大改动,以前用的是左滑菜单,现在又要换成底部导航栏,于是今天又苦逼加班了.花了几个小时实现了一个底部导航栏的demo,然后总结一下.写一篇博客.供自己以 ...
- 二、Fragment+RadioButton实现底部导航栏
在App中经常看到这样的tab底部导航栏 那么这种效果是如何实现,实现的方式有很多种,最常见的就是使用Fragment+RadioButton去实现.下面我们来写一个例子 首先我们先在activi ...
- Android学习笔记- Fragment实例 底部导航栏的实现
1.要实现的效果图以及工程目录结构: 先看看效果图吧: 接着看看我们的工程的目录结构: 2.实现流程: Step 1:写下底部选项的一些资源文件 我们从图上可以看到,我们底部的每一项点击的时候都有不同 ...
- [置顶]
xamarin android Fragment实现底部导航栏
前段时间写了篇关于Fragment的文章,介绍了基础的概念,用静态和动态的方式加载Fragment Xamarin Android Fragment的两种加载方式.下面的这个例子介绍xamarin ...
- Android商城开发系列(三)——使用Fragment+RadioButton实现商城底部导航栏
在商城第一篇的开篇当中,我们看到商城的效果图里面有一个底部导航栏效果,如下图所示: 今天我们就来实现商城底部导航栏,最终效果图如下所示: 那么这种效果是如何实现,实现的方式有很多种,最常见的就是使 ...
- Android_ViewPager+Fragment实现页面滑动和底部导航栏
1.Xml中底部导航栏由一个RadioGroup组成,其上是ViewPager. <?xml version="1.0" encoding="utf-8" ...
- Android底部导航栏——FrameLayout + RadioGroup
原创文章,转载请注明出处http://www.cnblogs.com/baipengzhan/p/6285881.html Android底部导航栏有多种实现方式,本文详细介绍FrameLayout ...
- Android 底部导航栏实现一 Fragment-replace
[效果](这里下载的软件收费的试用有水印) [推荐]这里推荐一个图标网http://iconfont.cn/.以上图标来自此图标网 [项目结构] [步骤] ①创建布局文件,写底部导航栏 <?xm ...
随机推荐
- Window7下安装Jmeter
解压Jmeter,存放位置为D:\apache-jmeter-2.11 用户变量——>新建变量名JMETER_HOME,变量值为存放目录 系统变量——>添加;%JMETER_HOME%/l ...
- python多进程--------linux系统中python的os.fork()方法
linux下python 创建子进程的原理: os.fork()方法 的原理 为了实现并发.多任务,我们可以在主程序种开启一个进程或者线程.在类unix操作系统当中(非windows),可以用pyth ...
- jsp和servlet的区别和联系
jsp和servlet的区别和联系:1.jsp经编译后就变成了Servlet.(JSP的本质就是Servlet,JVM只能识别java的类,不能识别JSP的代码,Web容器将JSP的代码编译成JVM能 ...
- django Form组件
django Form组件 Django的Form主要具有一下几大功能: 生成HTML标签 验证用户数据(显示错误信息) HTML Form提交保留上次提交数据 初始化页面显示内容 小试牛刀 1.创建 ...
- python基础——继承实现的原理
python基础--继承实现的原理 1 继承顺序 class A(object): def test(self): print('from A') class B(A): def test(self) ...
- Spark:scala集合转化为DS/DF
scala集合转化为DS/DF case class TestPerson(name: String, age: Long, salary: Double) val tom = TestPerson( ...
- 妙用 scale 与 transfrom-origin,精准控制动画方向
上次发完 不可思议的纯 CSS 导航栏下划线跟随效果 这篇文章之后,很多朋友找我讨论,感叹 CSS 的奇妙. 然后昨天,群里一位朋友问到了一个和这个效果比较类似的效果,问如何 将下面这个动画的下划线效 ...
- [LeetCode] Maximum Swap 最大置换
Given a non-negative integer, you could swap two digits at most once to get the maximum valued numbe ...
- 织云Lite发布:详解包管理核心能力
本文由 织云平台团队 发布于 腾讯云云+社区 织云Lite发布 腾讯织云自动化运维体系经过10年技术积淀,维护近万个业务模块,超过20万节点.鉴于业界朋友的呼声,我们将织云的核心功能独立抽象出来,凝结 ...
- ReactNative Android之原生UI组件动态addView不显示问题解决
ReactNative Android之原生UI组件动态addView不显示问题解决 版权声明:本文为博主原创文章,未经博主允许不得转载. 转载请表明出处:http://www.cnblogs.com ...