Harbor 镜像管理专家
Harbor是一个企业级的镜像管理仓库,是VMware主导的一个开源项目(github地址:https://github.com/vmware/harbor)。
部署要求
Harbor会被部署为多个Docker容器,因此可以被部署到任何支持Docker的发行版Linux上。
部署步骤
1. 安装Docker
https://www.cnblogs.com/vincenshen/p/12726919.html
2. 安装Composer
curl -L "https://github.com/docker/compose/releases/download/1.25.5/docker-compose-$(uname -s)-$(uname -m)" -o /usr/local/bin/docker-compose

chmod +x /usr/local/bin/docker-compose

ln -s /usr/local/bin/docker-compose /usr/bin/docker-compose

docker-compose --version
3. 下载Harbor安装包并解压到指定目录
https://github.com/goharbor/harbor/releases
mkdir -p /data/app
tar -zxvf harbor-offline-installer-v1.x.x.tgz -C /data/app
4. 生成SSL证书
openssl genrsa -out ca.key

openssl req -x509 -new -nodes -sha512 -days  \

 -subj "/C=CN/ST=Beijing/L=Beijing/O=Bytedance/OU=IT/CN=bytedance.com" \

 -key ca.key \

 -out ca.crt

openssl genrsa -out bytedance.com.key

openssl req -sha512 -new \

    -subj "/C=CN/ST=Beijing/L=Beijing/O=example/OU=Personal/CN=yourdomain.com" \

    -key yourdomain.com.key \

    -out yourdomain.com.csr

cat > v3.ext <<-EOF

authorityKeyIdentifier=keyid,issuer

basicConstraints=CA:FALSE

keyUsage = digitalSignature, nonRepudiation, keyEncipherment, dataEncipherment

extendedKeyUsage = serverAuth

subjectAltName = @alt_names

[alt_names]

DNS.=yourdomain.com

DNS.=yourdomain

DNS.=hostname

EOF

openssl x509 -req -sha512 -days  \

    -extfile v3.ext \

    -CA ca.crt -CAkey ca.key -CAcreateserial \

    -in yourdomain.com.csr \

    -out yourdomain.com.crt

openssl x509 -inform PEM -in yourdomain.com.crt -out yourdomain.com.cert
5. 将证书复制到指定目录
mkdir -p /data/cert

cp yourdomain.com.crt /data/cert/

cp yourdomain.com.key /data/cert/

mkdir -p /etc/docker/certs.d/yourdomain.com/

cp yourdomain.com.cert /etc/docker/certs.d/yourdomain.com/

cp yourdomain.com.key /etc/docker/certs.d/yourdomain.com/

cp ca.crt /etc/docker/certs.d/yourdomain.com/
systemctl restart docker6. 修改harbor配置文件
# vim /data/app/harbor/harbor.yml

hostname: harbor.xxxx.com

certificate: /data/cert/xxxx.com.crt

private_key: /data/cert/xxxx.com.key

harbor_admin_password: Harbor12345
7. 运行准备脚本
# cd /data/app/harbor/

# ./prepare

prepare base dir is set to /data/app/harbor

Clearing the configuration file: /config/log/logrotate.conf

Clearing the configuration file: /config/log/rsyslog_docker.conf

Generated configuration file: /config/log/logrotate.conf

Generated configuration file: /config/log/rsyslog_docker.conf

Generated configuration file: /config/nginx/nginx.conf

Generated configuration file: /config/core/env

Generated configuration file: /config/core/app.conf

Generated configuration file: /config/registry/config.yml

Generated configuration file: /config/registryctl/env

Generated configuration file: /config/db/env

Generated configuration file: /config/jobservice/env

Generated configuration file: /config/jobservice/config.yml

Generated and saved secret to file: /secret/keys/secretkey

Generated certificate, key file: /secret/core/private_key.pem, cert file: /secret/registry/root.crt

Generated configuration file: /compose_location/docker-compose.yml

Clean up the input dir
8. 运行安装脚本
# cd /data/app/harbor/

# ./install.sh

[Step ]: checking if docker is installed ...

Note: docker version: 19.03.

[Step ]: checking docker-compose is installed ...

Note: docker-compose version: 1.25.

[Step ]: loading Harbor images ...

Loaded image: goharbor/harbor-db:v1.10.2

Loaded image: goharbor/notary-server-photon:v1.10.2

Loaded image: goharbor/clair-photon:v1.10.2

Loaded image: goharbor/harbor-portal:v1.10.2

Loaded image: goharbor/harbor-core:v1.10.2

Loaded image: goharbor/harbor-jobservice:v1.10.2

Loaded image: goharbor/harbor-registryctl:v1.10.2

Loaded image: goharbor/redis-photon:v1.10.2

Loaded image: goharbor/nginx-photon:v1.10.2

Loaded image: goharbor/chartmuseum-photon:v1.10.2

Loaded image: goharbor/harbor-log:v1.10.2

Loaded image: goharbor/registry-photon:v1.10.2

Loaded image: goharbor/notary-signer-photon:v1.10.2

Loaded image: goharbor/harbor-migrator:v1.10.2

Loaded image: goharbor/prepare:v1.10.2

Loaded image: goharbor/clair-adapter-photon:v1.10.2

[Step ]: preparing environment ...

[Step ]: preparing harbor configs ...

prepare base dir is set to /data/app/harbor

Clearing the configuration file: /config/log/logrotate.conf

Clearing the configuration file: /config/log/rsyslog_docker.conf

Clearing the configuration file: /config/nginx/nginx.conf

Clearing the configuration file: /config/core/env

Clearing the configuration file: /config/core/app.conf

Clearing the configuration file: /config/registry/config.yml

Clearing the configuration file: /config/registryctl/env

Clearing the configuration file: /config/registryctl/config.yml

Clearing the configuration file: /config/db/env

Clearing the configuration file: /config/jobservice/env

Clearing the configuration file: /config/jobservice/config.yml

Generated configuration file: /config/log/logrotate.conf

Generated configuration file: /config/log/rsyslog_docker.conf

Generated configuration file: /config/nginx/nginx.conf

Generated configuration file: /config/core/env

Generated configuration file: /config/core/app.conf

Generated configuration file: /config/registry/config.yml

Generated configuration file: /config/registryctl/env

Generated configuration file: /config/db/env

Generated configuration file: /config/jobservice/env

Generated configuration file: /config/jobservice/config.yml

loaded secret from file: /secret/keys/secretkey

Generated configuration file: /compose_location/docker-compose.yml

Clean up the input dir

[Step ]: starting Harbor ...

Creating network "harbor_harbor" with the default driver

Creating harbor-log ... done

Creating harbor-db     ... done

Creating harbor-portal ... done

Creating redis         ... done

Creating registry      ... done

Creating registryctl   ... done

Creating harbor-core   ... done

Creating nginx             ... done

Creating harbor-jobservice ... done

✔ ----Harbor has been installed and started successfully.----
9. 验证
# docker-compose ps

      Name                     Command                  State                          Ports

---------------------------------------------------------------------------------------------------------------

harbor-core         /harbor/harbor_core              Up (healthy)

harbor-db           /docker-entrypoint.sh            Up (healthy)   /tcp

harbor-jobservice   /harbor/harbor_jobservice  ...   Up (healthy)

harbor-log          /bin/sh -c /usr/local/bin/ ...   Up (healthy)   127.0.0.1:->/tcp

harbor-portal       nginx -g daemon off;             Up (healthy)   /tcp

nginx               nginx -g daemon off;             Up (healthy)   0.0.0.0:->/tcp, 0.0.0.0:->/tcp

redis               redis-server /etc/redis.conf     Up (healthy)   /tcp

registry            /home/harbor/entrypoint.sh       Up (healthy)   /tcp

registryctl         /home/harbor/start.sh            Up (healthy)
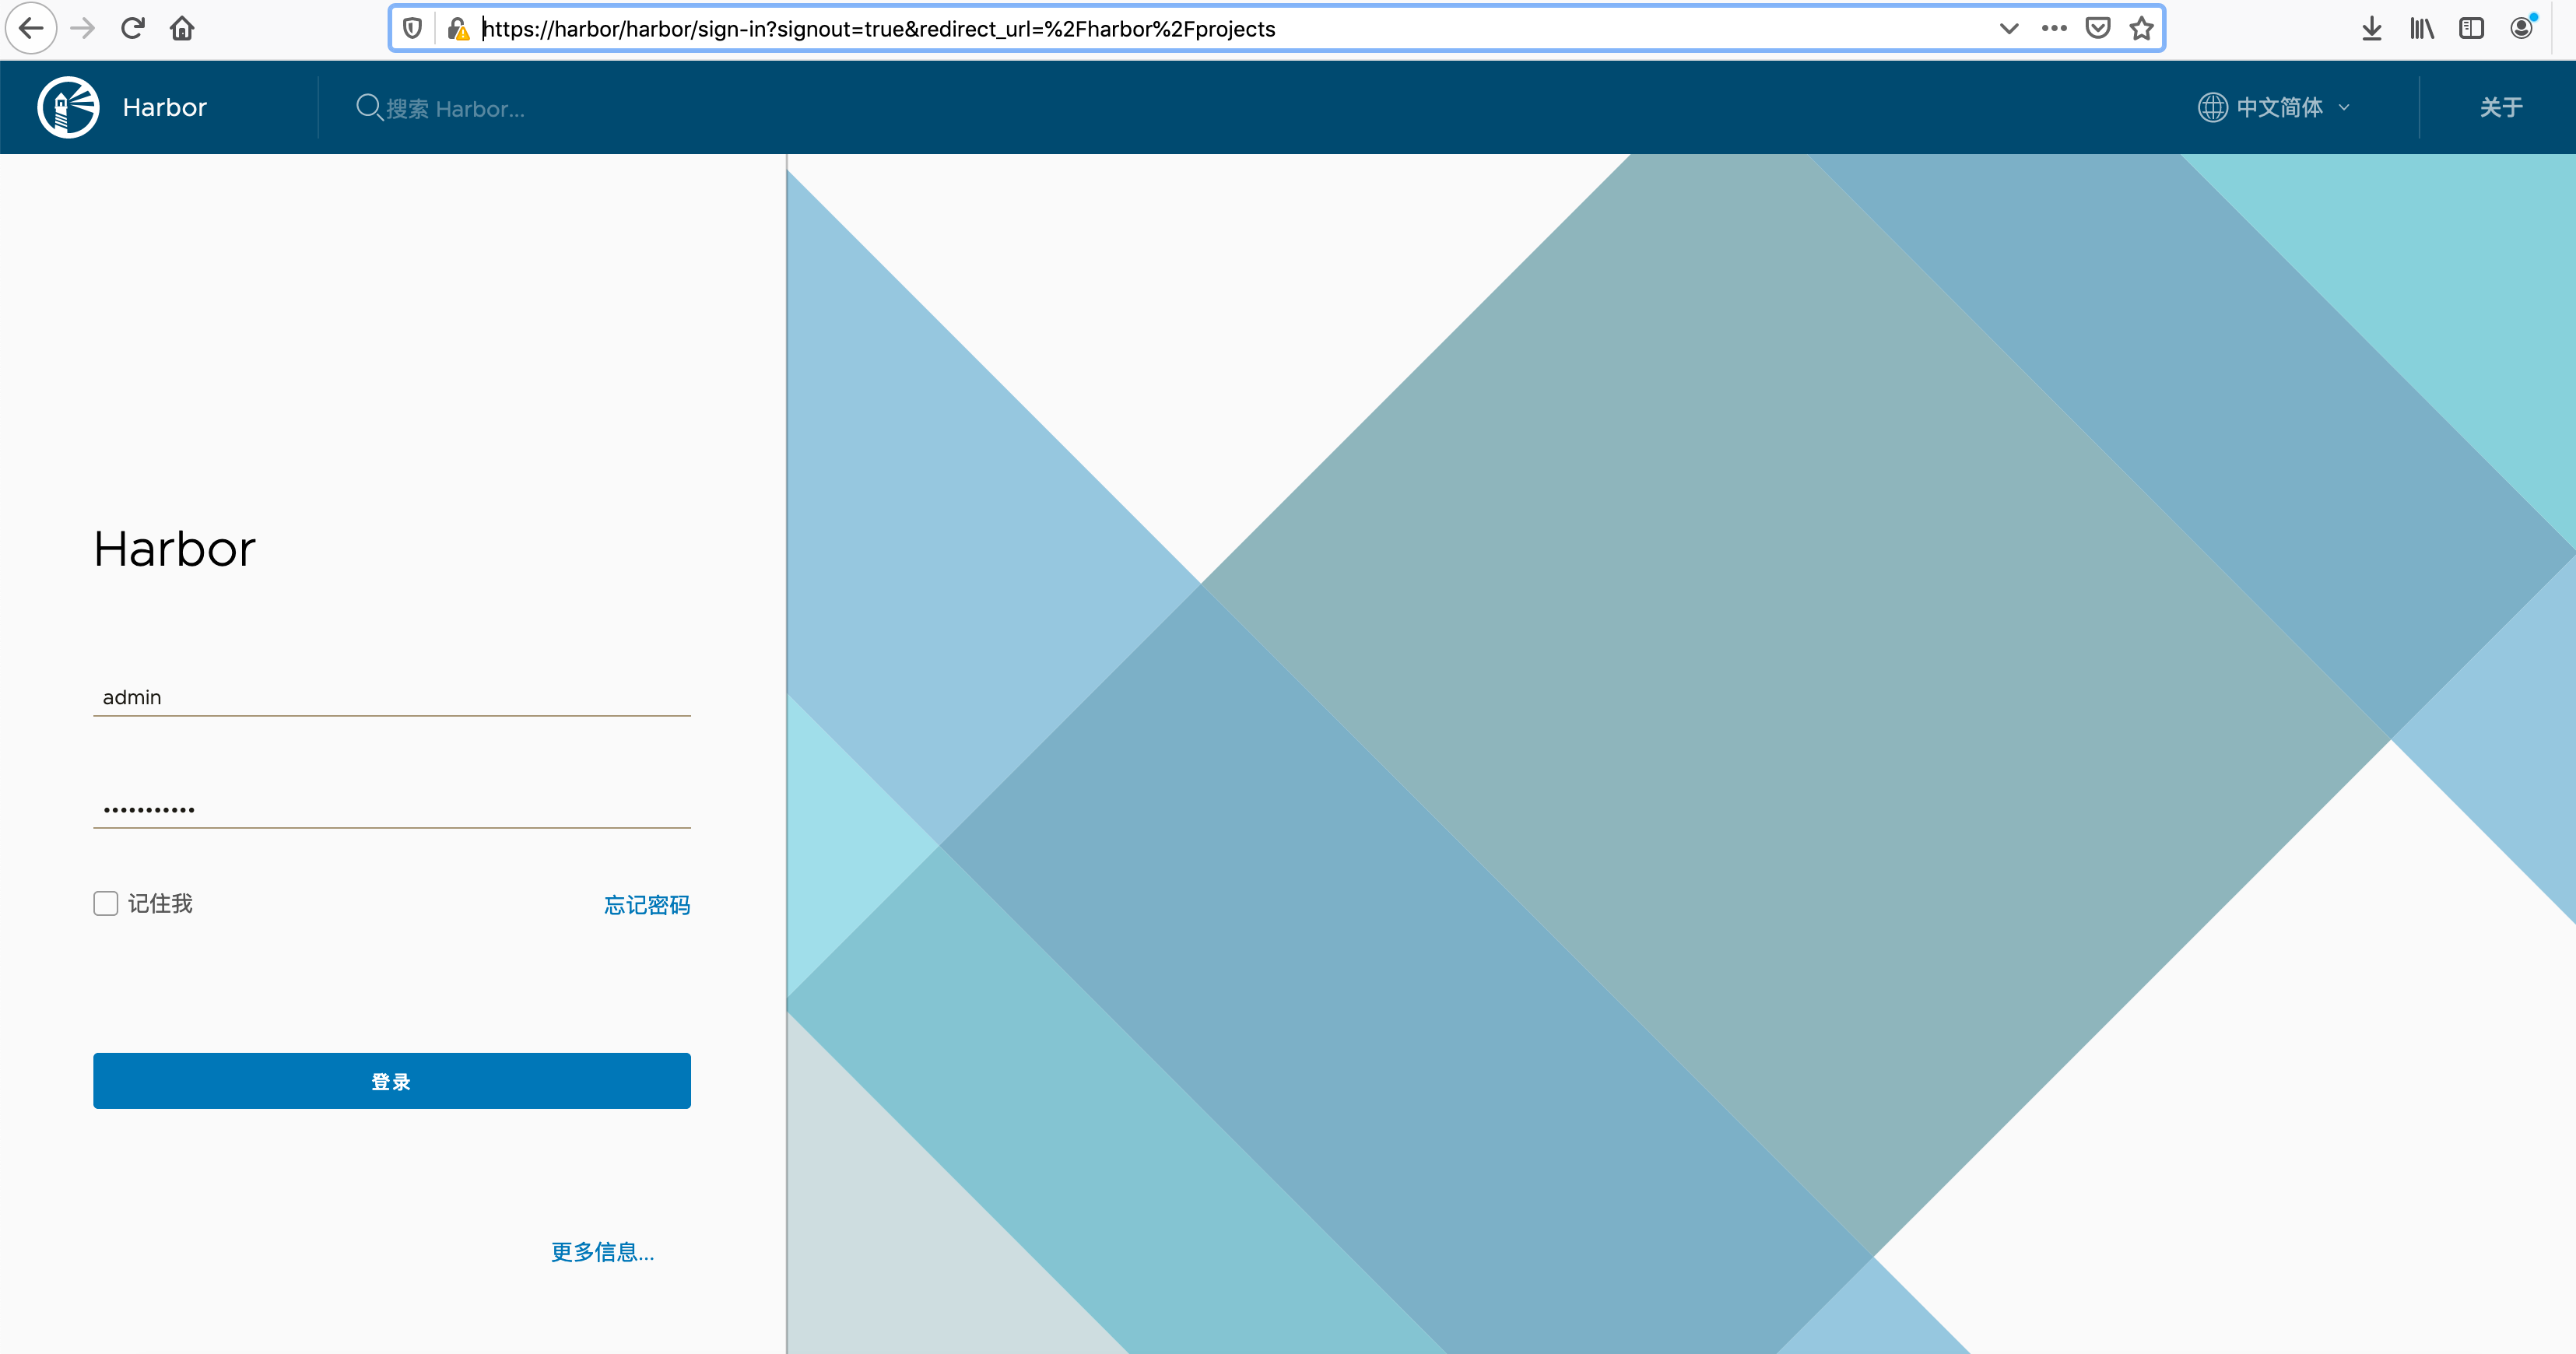
10. 浏览器登录
https://harbor-ip
用户名: admin 密码:Harbor12345
11. docker cli 登录 harbor
/usr/lib/systemd/system/docker.service中修改ExecStart的启动参数增加:
--insecure-registry harbor.test.com
重启docker
systemctl daemon-reload && systemctl restart docker.service
登录harbor
docker login -u admin -p Harbor12345 harbor.test.com
参考文档
https://goharbor.io/docs/1.10/install-config/
Harbor 镜像管理专家的更多相关文章
- 2、Docker镜像和镜像管理
一.镜像介绍 1.定义 一个只读层被称为镜像,一个镜像是永久不会变的. 由于 Docker 使用一个统一文件系统,Docker 进程认为整个文件系统是以读写方式挂载的. 但是所有的变更都发生顶层的可写 ...
- OpenStack云计算快速入门之三:OpenStack镜像管理
原文:http://blog.chinaunix.net/uid-22414998-id-3272059.html 第三部分 OpenStack镜像管理 一.简介 很多源都有为OpenStack已经编 ...
- paas架构之docker——镜像管理
1. 镜像管理 1.1. 列出镜像 Sudo docker images 1.2. 查看镜像 Sudo docker images xxxx 1.3. 拉取镜像 Sudo docker pull ub ...
- 云计算PAAS平台测试设计之镜像管理
下面是云计算PAAS平台页面概览: 今天我们要讲的是镜像管理页面的测试设计: 可以看到,这个页面主要有增删改查四个功能. 1. 查询镜像 (1)易用性:查看镜像查询界面,界面上各组件设计合理.美观.易 ...
- 一张图比較 Docker 和 Git:镜像管理设计理念
Docker 的镜像管理设计中大量借鉴了 Git 的理念. 以下这张图将对两者的核心概念和操作进行比較,有助于大家高速掌握管理 Docker 镜像的正确方式. watermark/2/text/aHR ...
- KVM镜像管理利器-guestfish使用详解
原文 http://xiaoli110.blog.51cto.com/1724/1568307 KVM镜像管理利器-guestfish使用详解 本文介绍以下内容: 1. 虚拟机镜像挂载及w2k8 ...
- OpenStack镜像管理3
第三部分 OpenStack镜像管理 一.简介 很多源都有为OpenStack已经编译好的各种镜像了,您可以直接下载并通过使用这些镜像来熟悉OpenStack. 不过如果是为生产环境进行部署的话,您一 ...
- Docker镜像管理
镜像是docker的三大核心概念之一.可以用来创建容器. Docker的镜像实际上由一层一层的文件系统组成,这种层级的文件系统被称为UnionFS.镜像可以基于Dockerfile构建,Dockerf ...
- Docker进阶之四:镜像管理
一.什么是镜像? 简单说,Docker镜像是一个不包含Linux内核而又精简的Linux操作系统. 二.镜像从哪里来? Docker Hub是由Docker公司负责维护的公共注册中心,包含大量的容 ...
随机推荐
- html 模版
使用后台开发语言的都很了解语言的动态性给开发带来的好处,PHP,aspx,jsp页面都可以直接使用相应的语法和变量,输出的事就交给解释器或编译器了,用起来方便快捷,但需要额外的解释工作: 例如php模 ...
- C和MATLAB中:同时对多个变量连续赋值
C语言中绝对不可以连续赋值!!!这是C语言的基本要求. 可以int a,b,c; a=5;b=5;c=5; 或者int a =5;int b=5;int c=5; 但是! 绝对不可以:int a=b= ...
- iOS 实现从后台切换到前台-复制分享宝贝内容,打开淘宝APP,自动弹出宝贝提示信息
- (void)applicationDidBecomeActive:(UIApplication *)application { NSLog(@"\n ===> 程序重新激活 !&q ...
- ng-model ng-show
<!DOCTYPE html> <html lang="en"> <head> <meta charset="UTF-8&quo ...
- Codeforces 678E Another Sith Tournament 状压DP
题意: 有\(n(n \leq 18)\)个人打擂台赛,编号从\(1\)到\(n\),主角是\(1\)号. 一开始主角先选一个擂主,和一个打擂的人. 两个人之中胜的人留下来当擂主等主角决定下一个人打擂 ...
- 1878: [SDOI2009]HH的项链
1878: [SDOI2009]HH的项链 Time Limit: 4 Sec Memory Limit: 64 MBSubmit: 4420 Solved: 2199[Submit][Statu ...
- 解决一个项目里面加载两个同名不同版本的DLL的问题
在config里面这样配置,可以加载不同版本的dll <runtime> <assemblyBinding xmlns="urn:schemas-microsoft-com ...
- Java实现单例模式的两种方式
单例模式在实际开发中有很多的用途,比如我们在项目中常用的工具类,数据库等资源的连接类.这样做的好处是避免创建多个对象,占用内存资源,自始自终在内存中只有一个对象为我们服务. 单例对象一般有两种实现方式 ...
- ubuntu14.0 hadoop2.4.0 64位基于jdk1.7搭建
注意:hadoop有两种运行模式,安全模式和非安全模式.安装模式是以指定在健壮的,基于身份验证上运行的,本文无需运行在非安全模式下,可以直接使用root用户. 本文用户是基于root用户来运行的 一. ...
- Guava Joiner 拼接字符串
Joiner Guava 是Google 对Java的内置类型进行增强和扩展的工具. Joiner.on(", ").join(Iterator<> iter) Joi ...